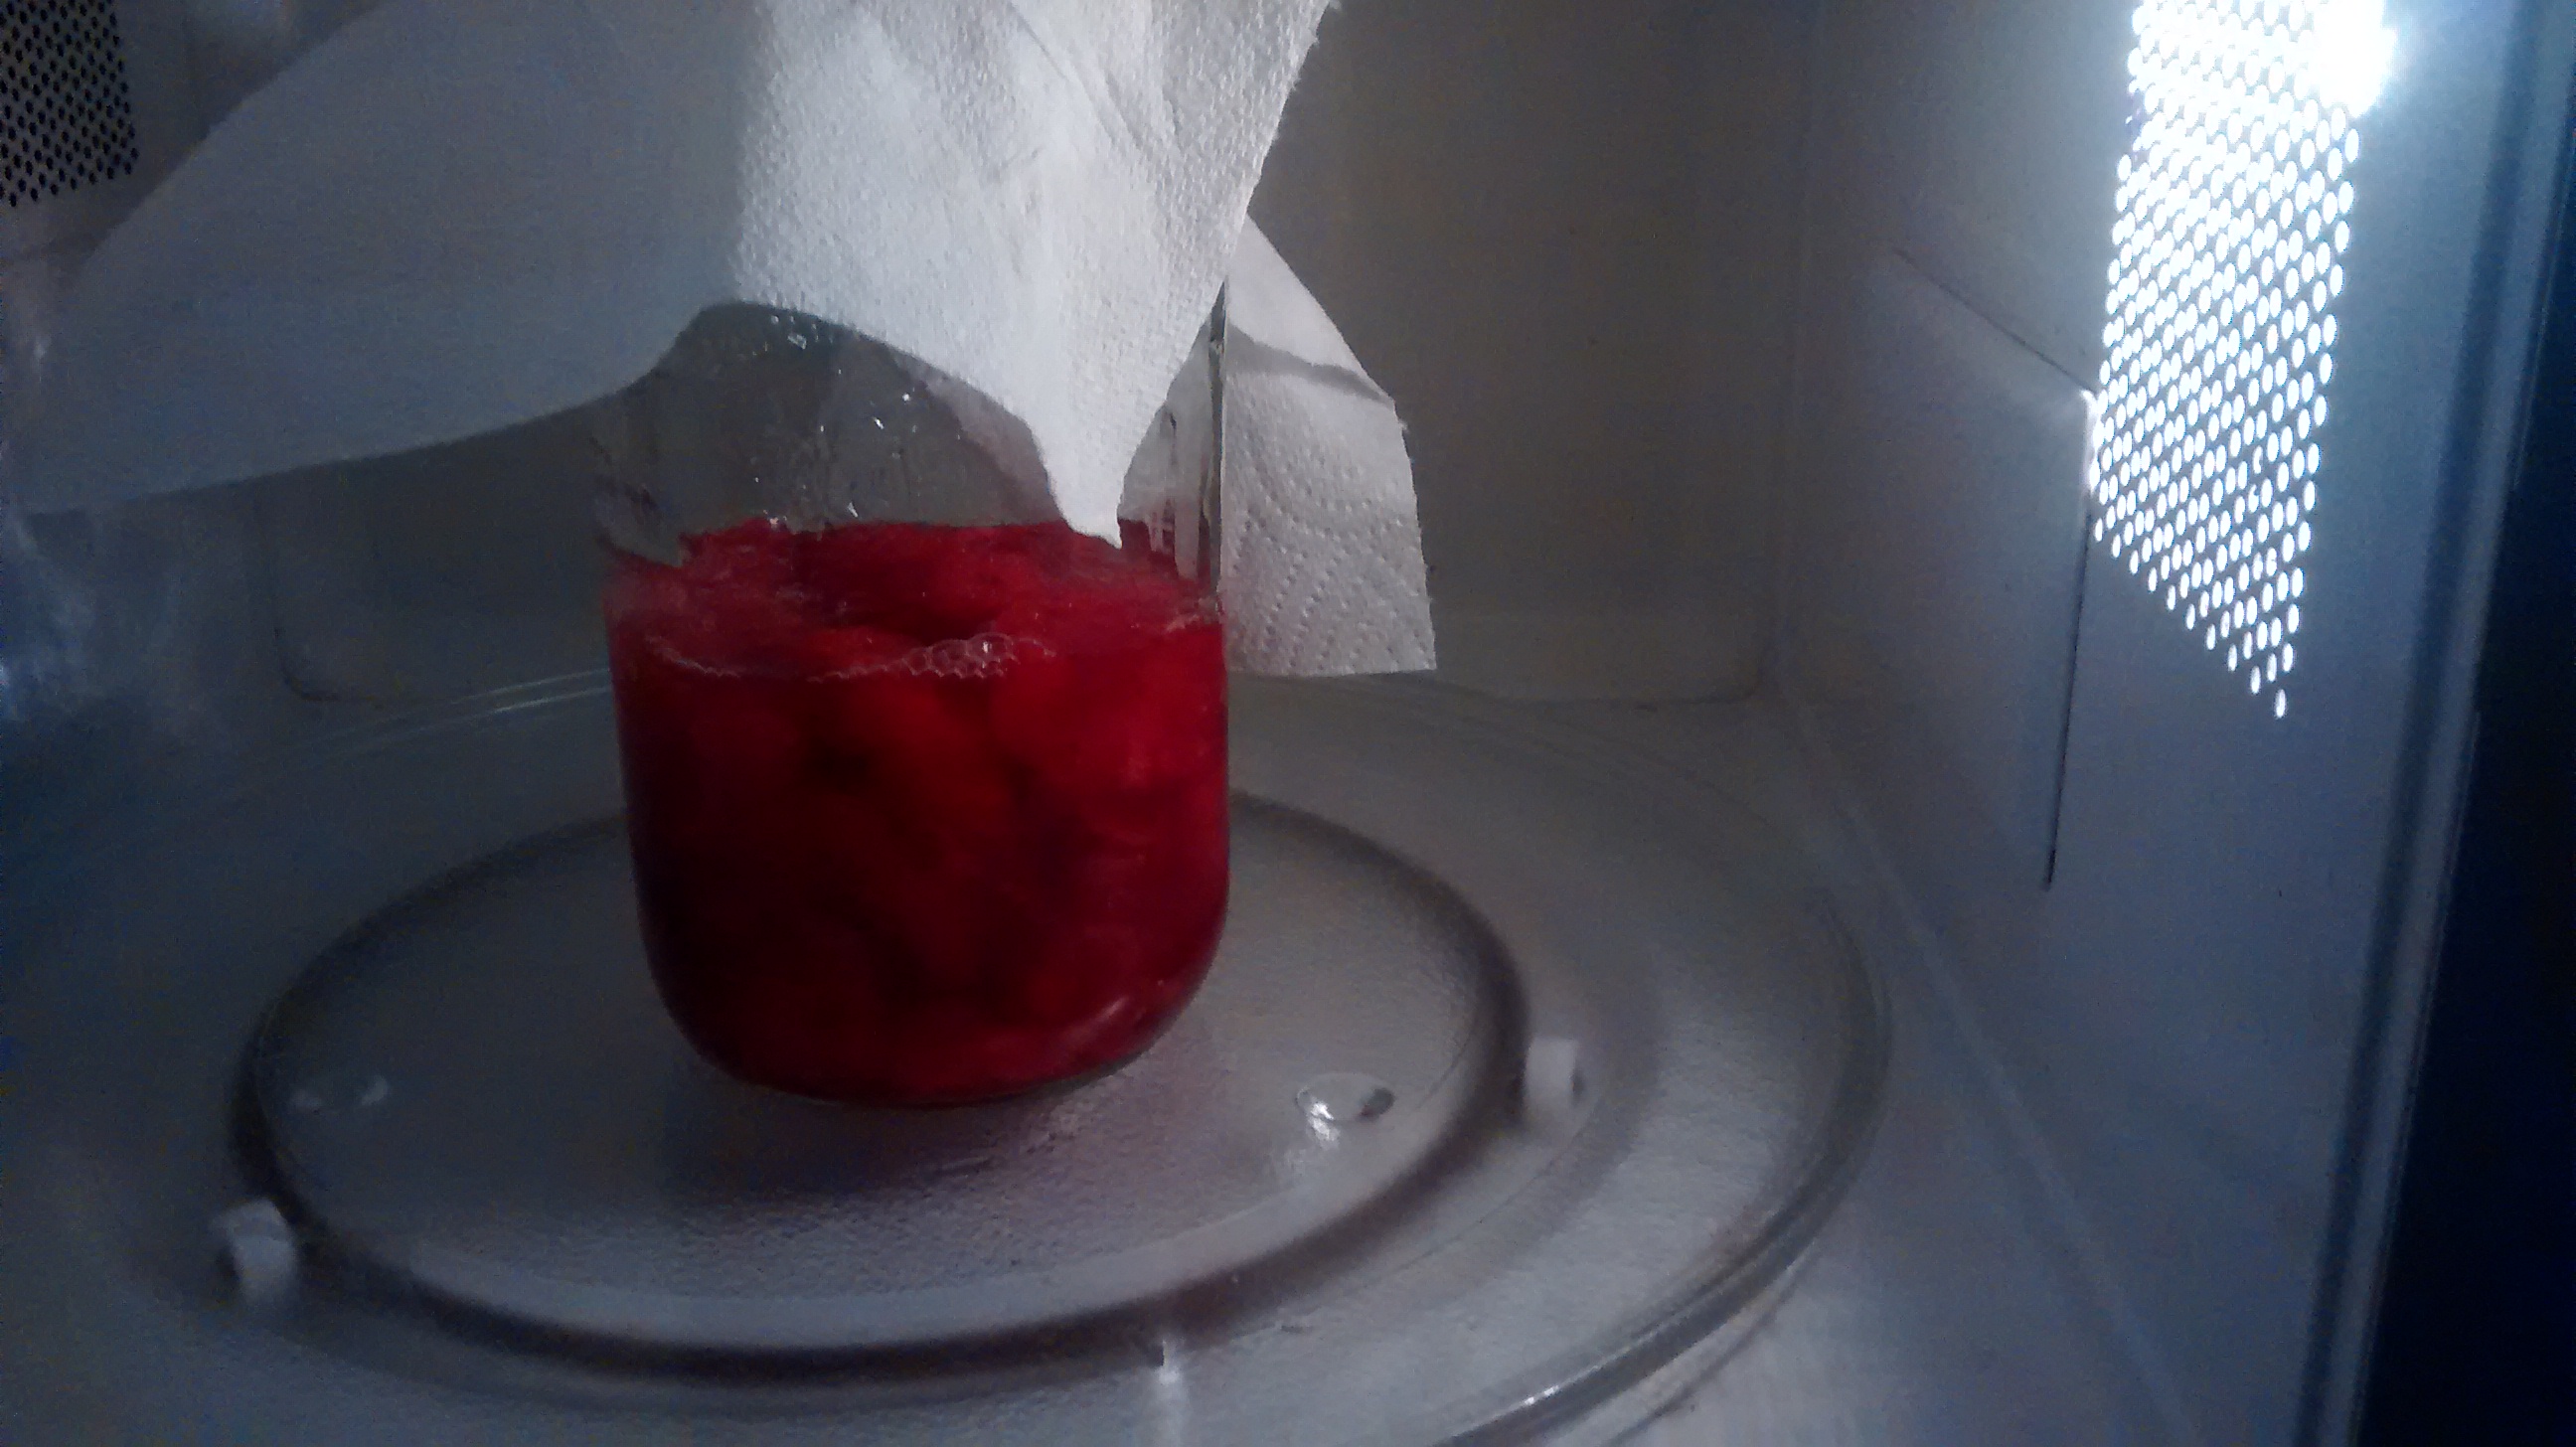
I have no desire to eat mushrooms, but I do think that they’re super cute. I’ve been meaning to felt some christmas ornaments for some time, especially since, for the last couple of years, poorly made ones have been showing up at Chapters, or wherever. When I came across an image of felted mushrooms online, I knew that this was something that would be easy for me to try, with only the risk of wasting a few hours. My mom (Lynn) has all of the supplies, and a good store of unused sheep’s roving. I knew that the style of mushroom I wanted has a red cap, so I needed roving in red. Mom, a great lover of all things fleece, suggested that we dye some with Koolaid. This involves microwaving the wool in the Koolaid until it sucks up all of the colour, a process that you can easily find online.
Microwaving Koolaid and wool.
The colour came out pretty yummy. It was a little uneven, but that works for me.
It looked delicious!
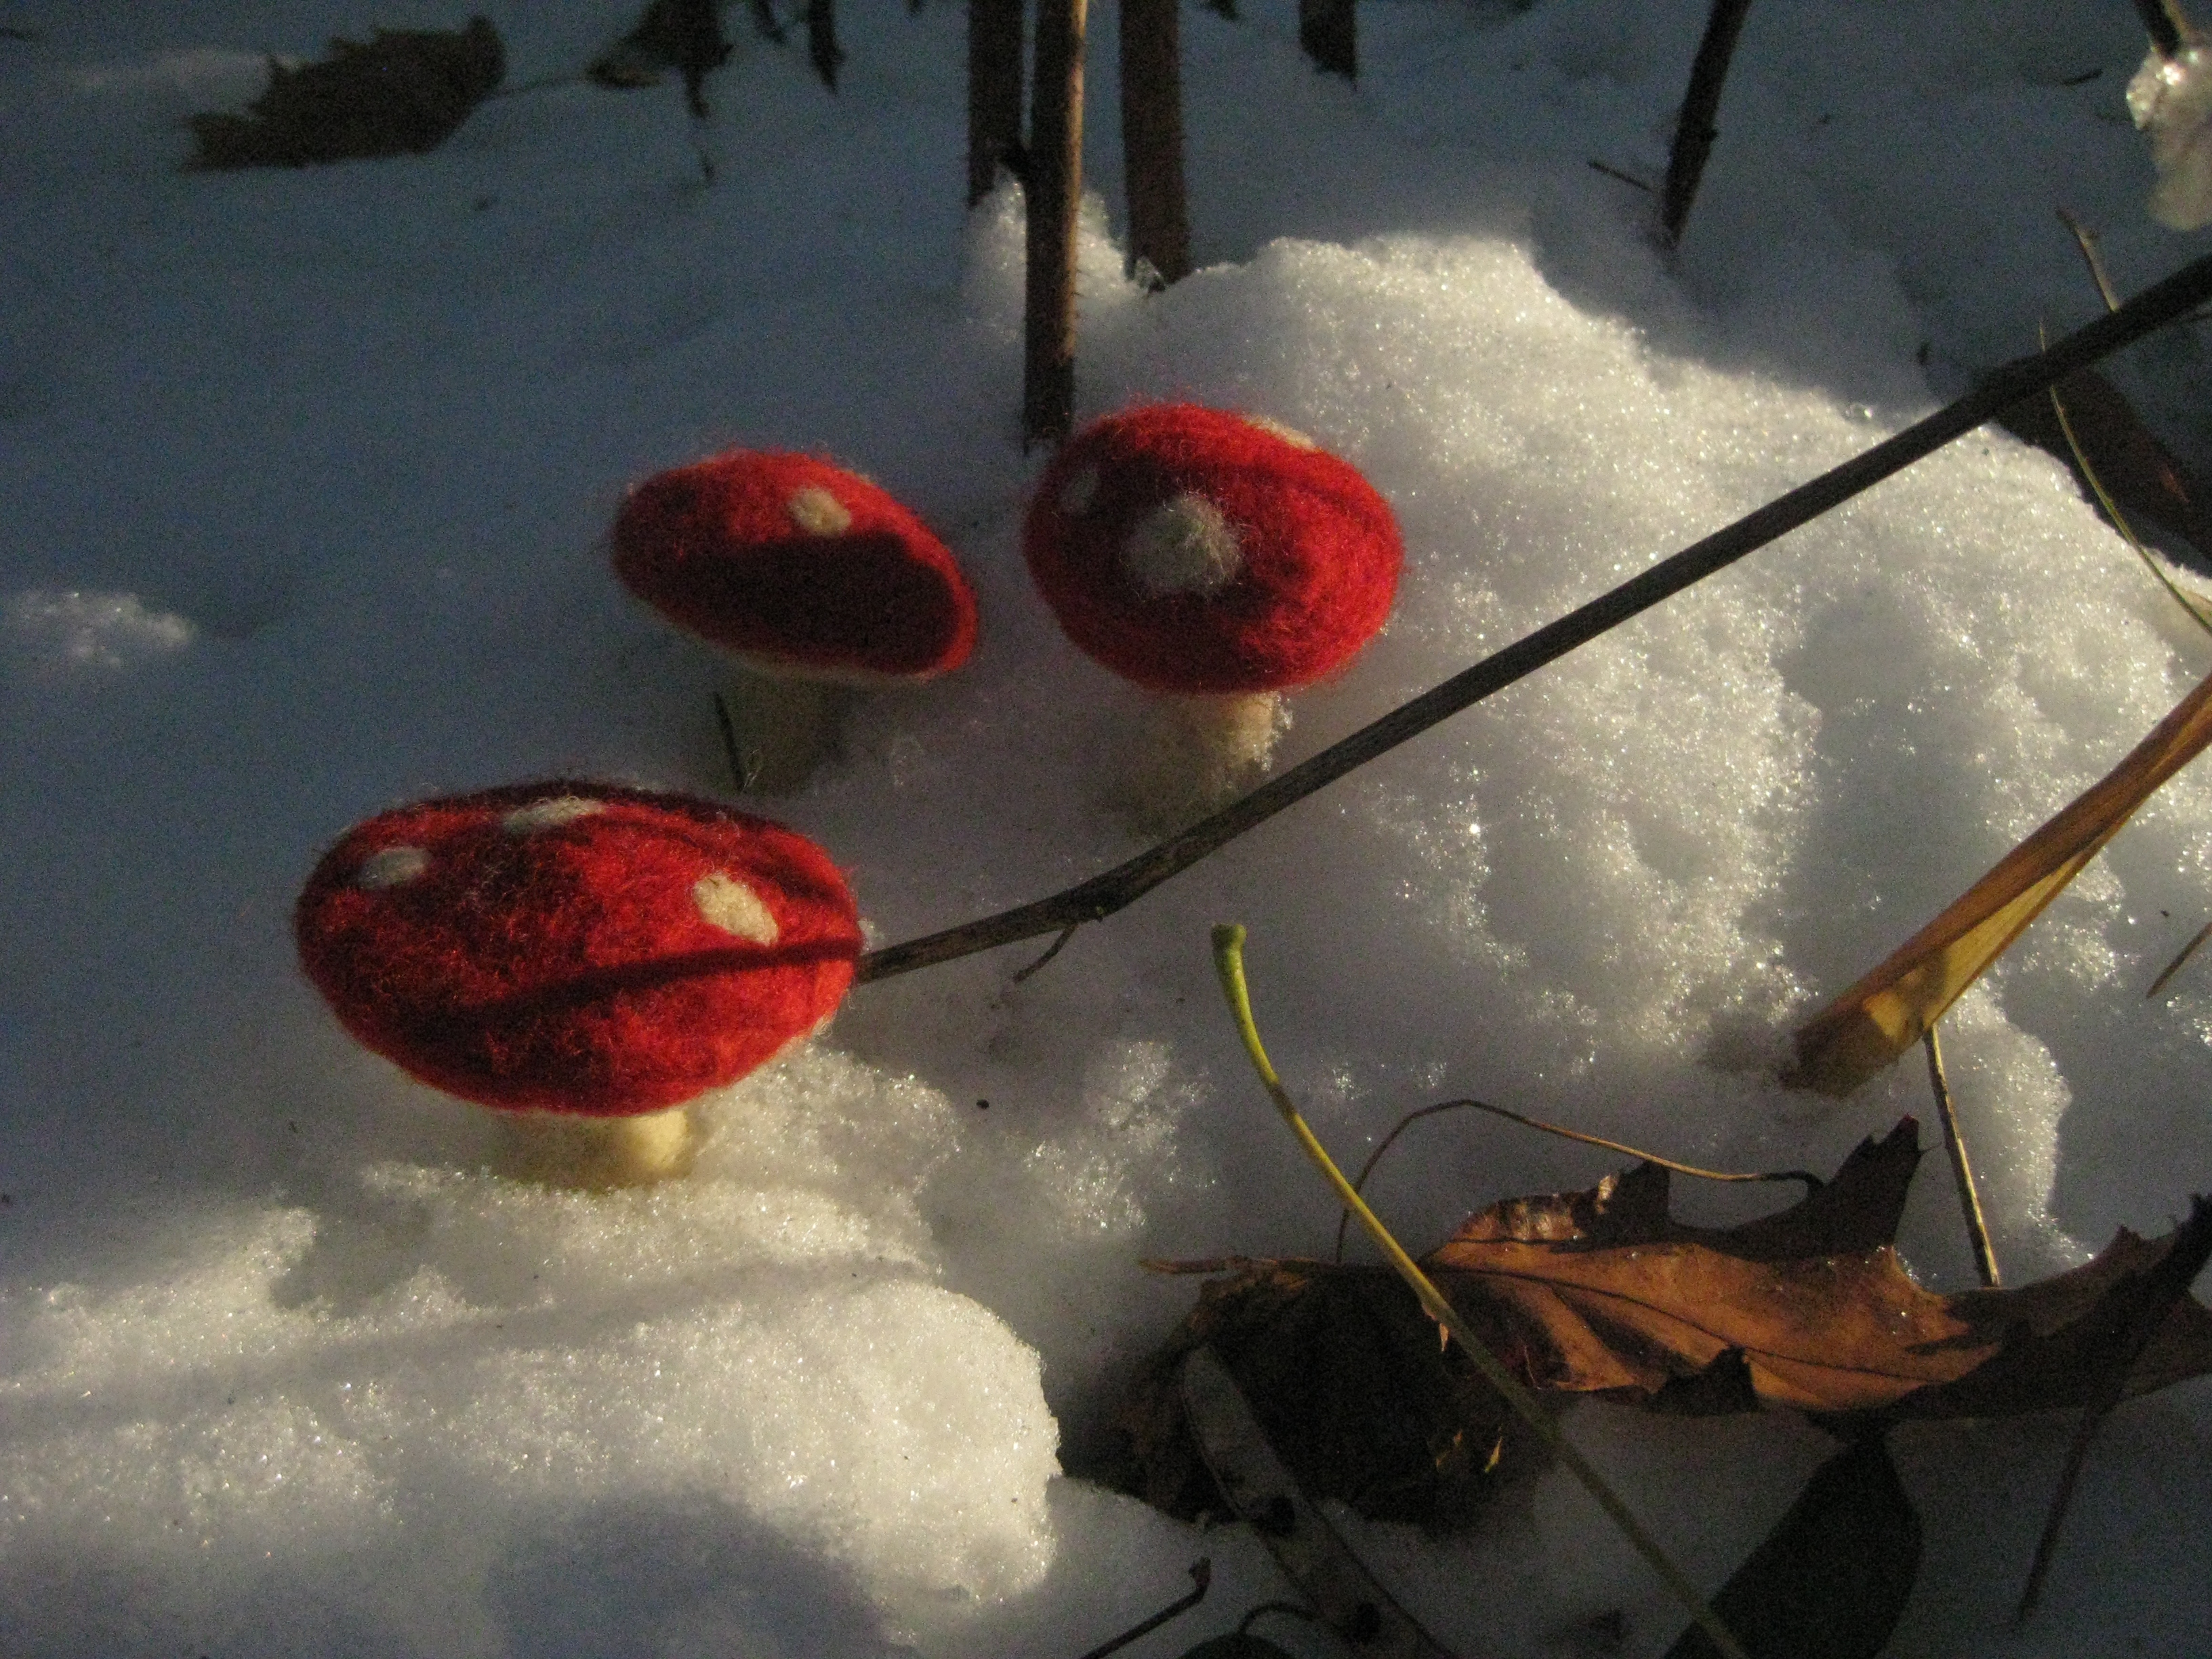
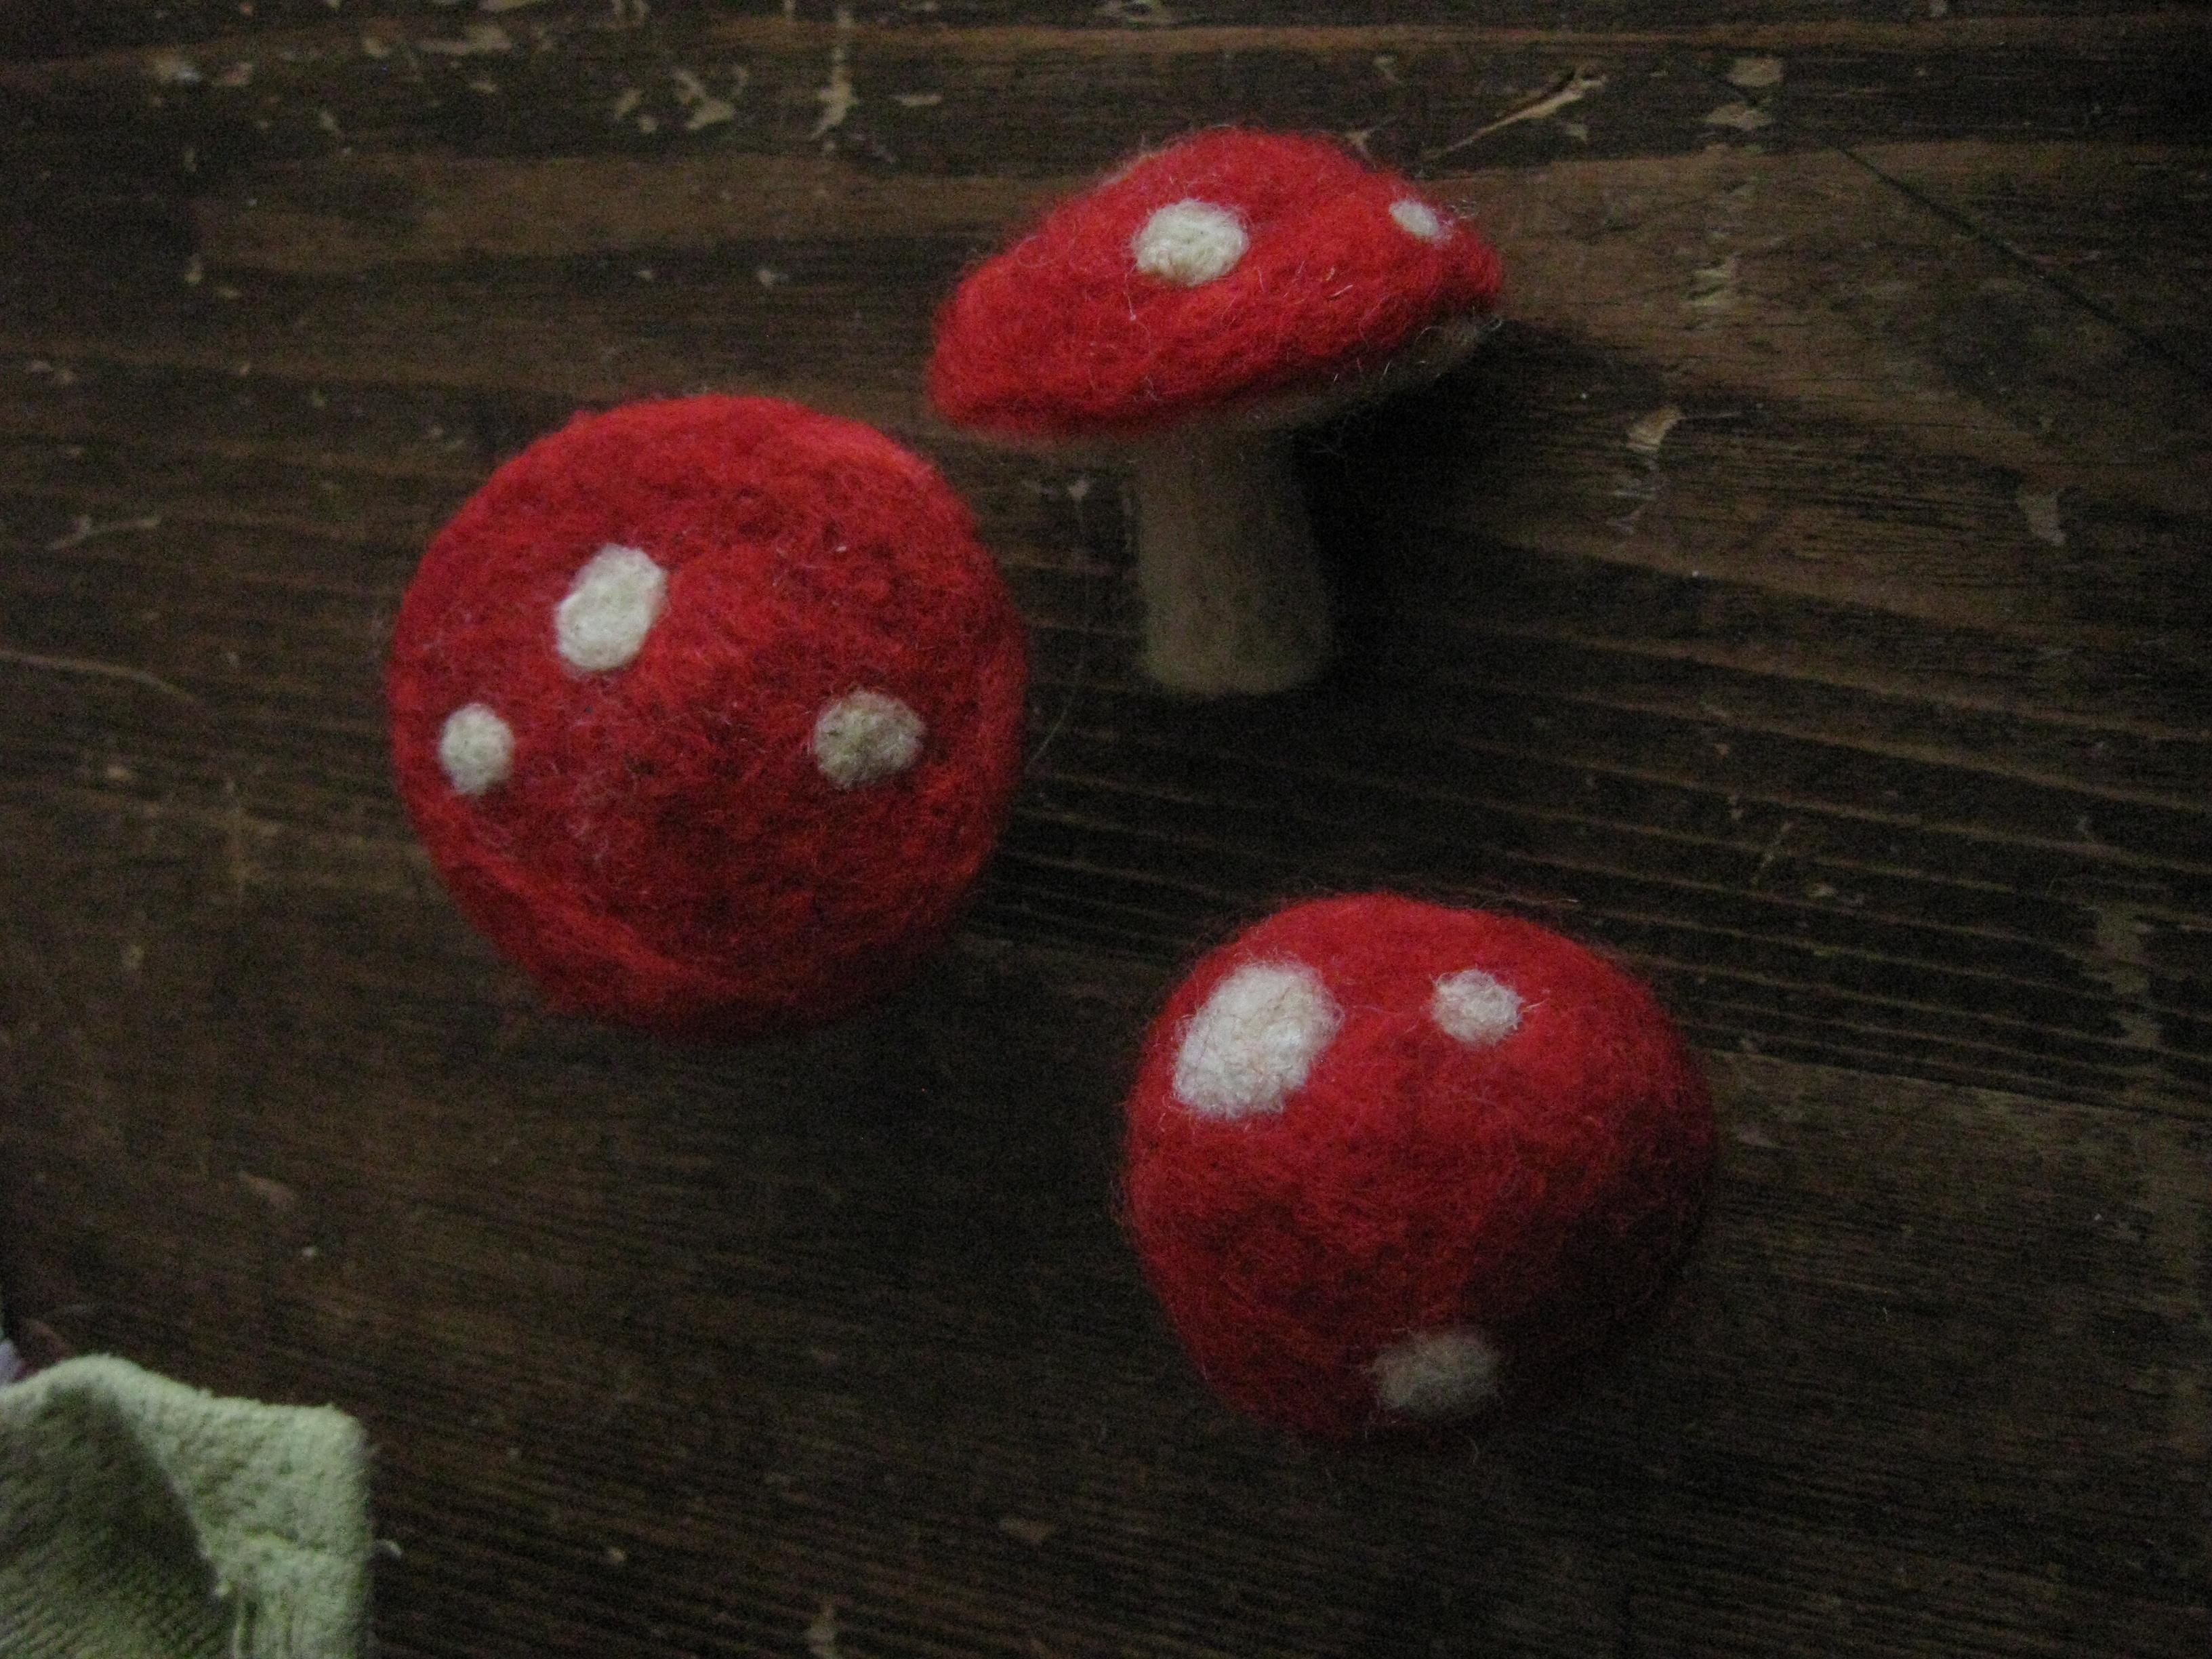
Making the mushrooms was easy. I started making the stem from the natural white with the felting tool. Then moved on to a lumpy cap. After, I added the red to line the top and added white dots for added cute factor.
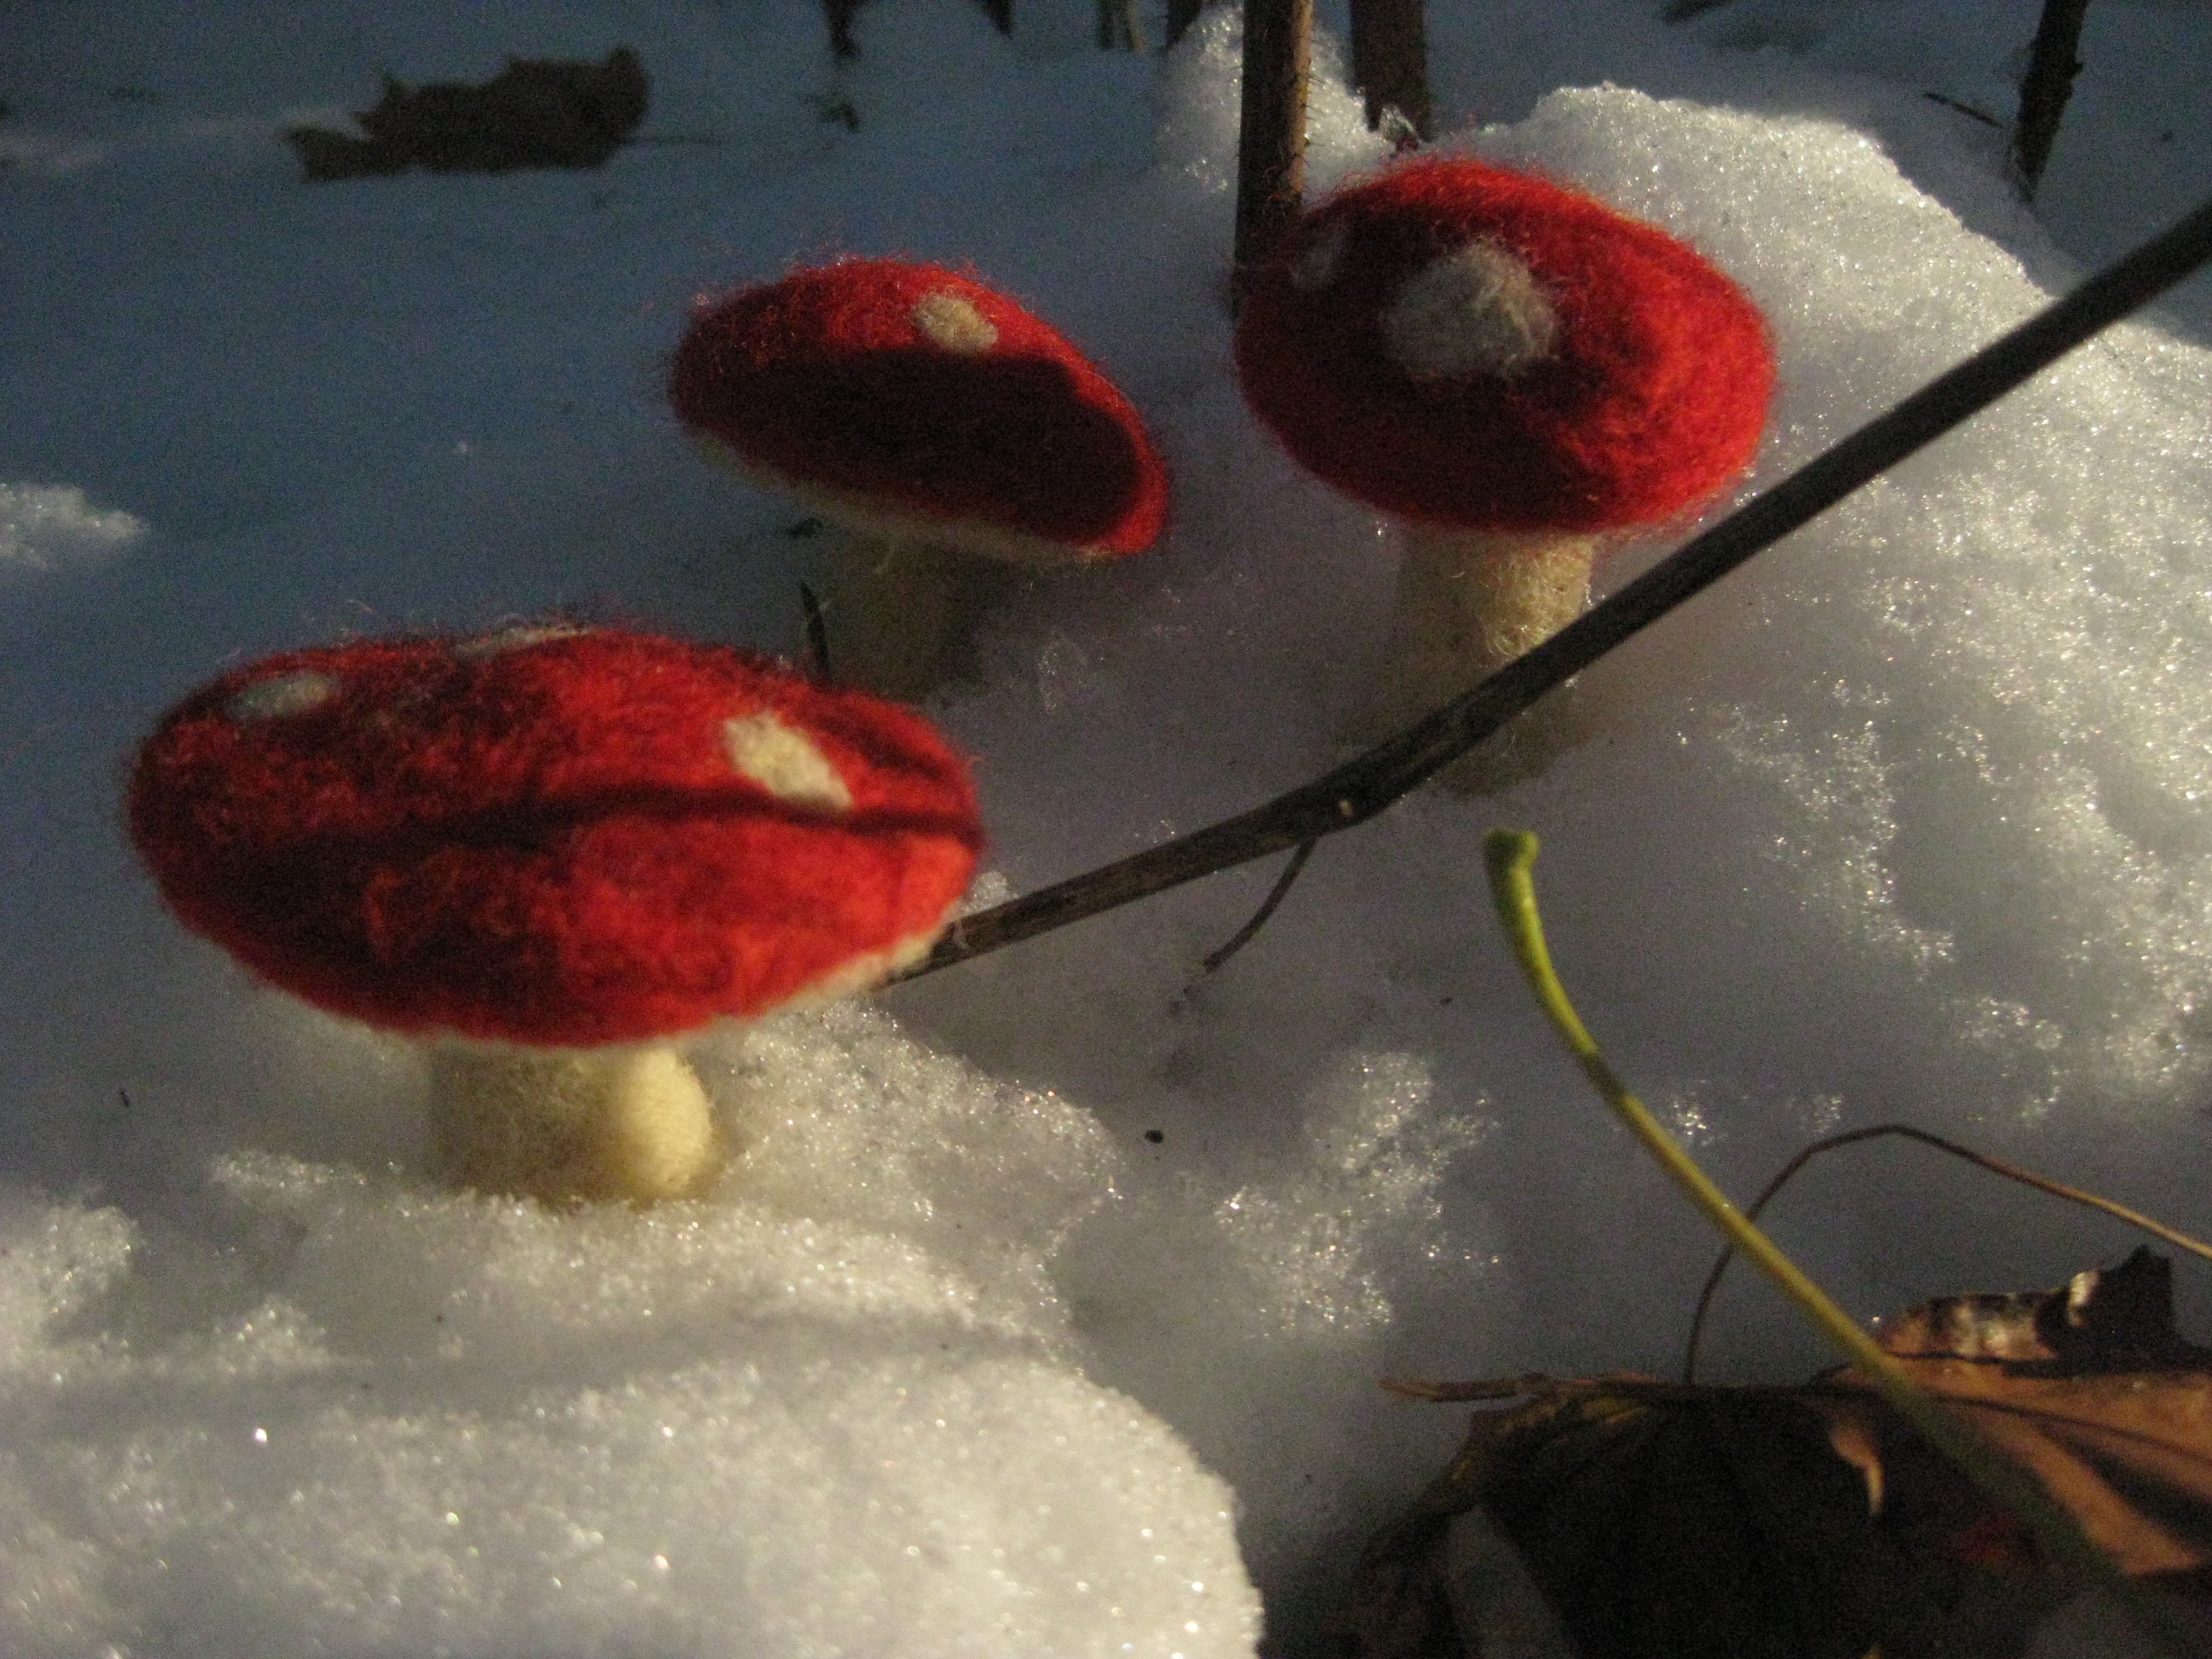
After I made my first mushroom, I knew that I needed mire ( the number 3 is always good). Without realizing it, I created the exact same pattern of white dots on my second mushroom…and then kittens stole it. I made two more mushrooms, attempting to place the dots differently…but I can’t help it, that number 3…
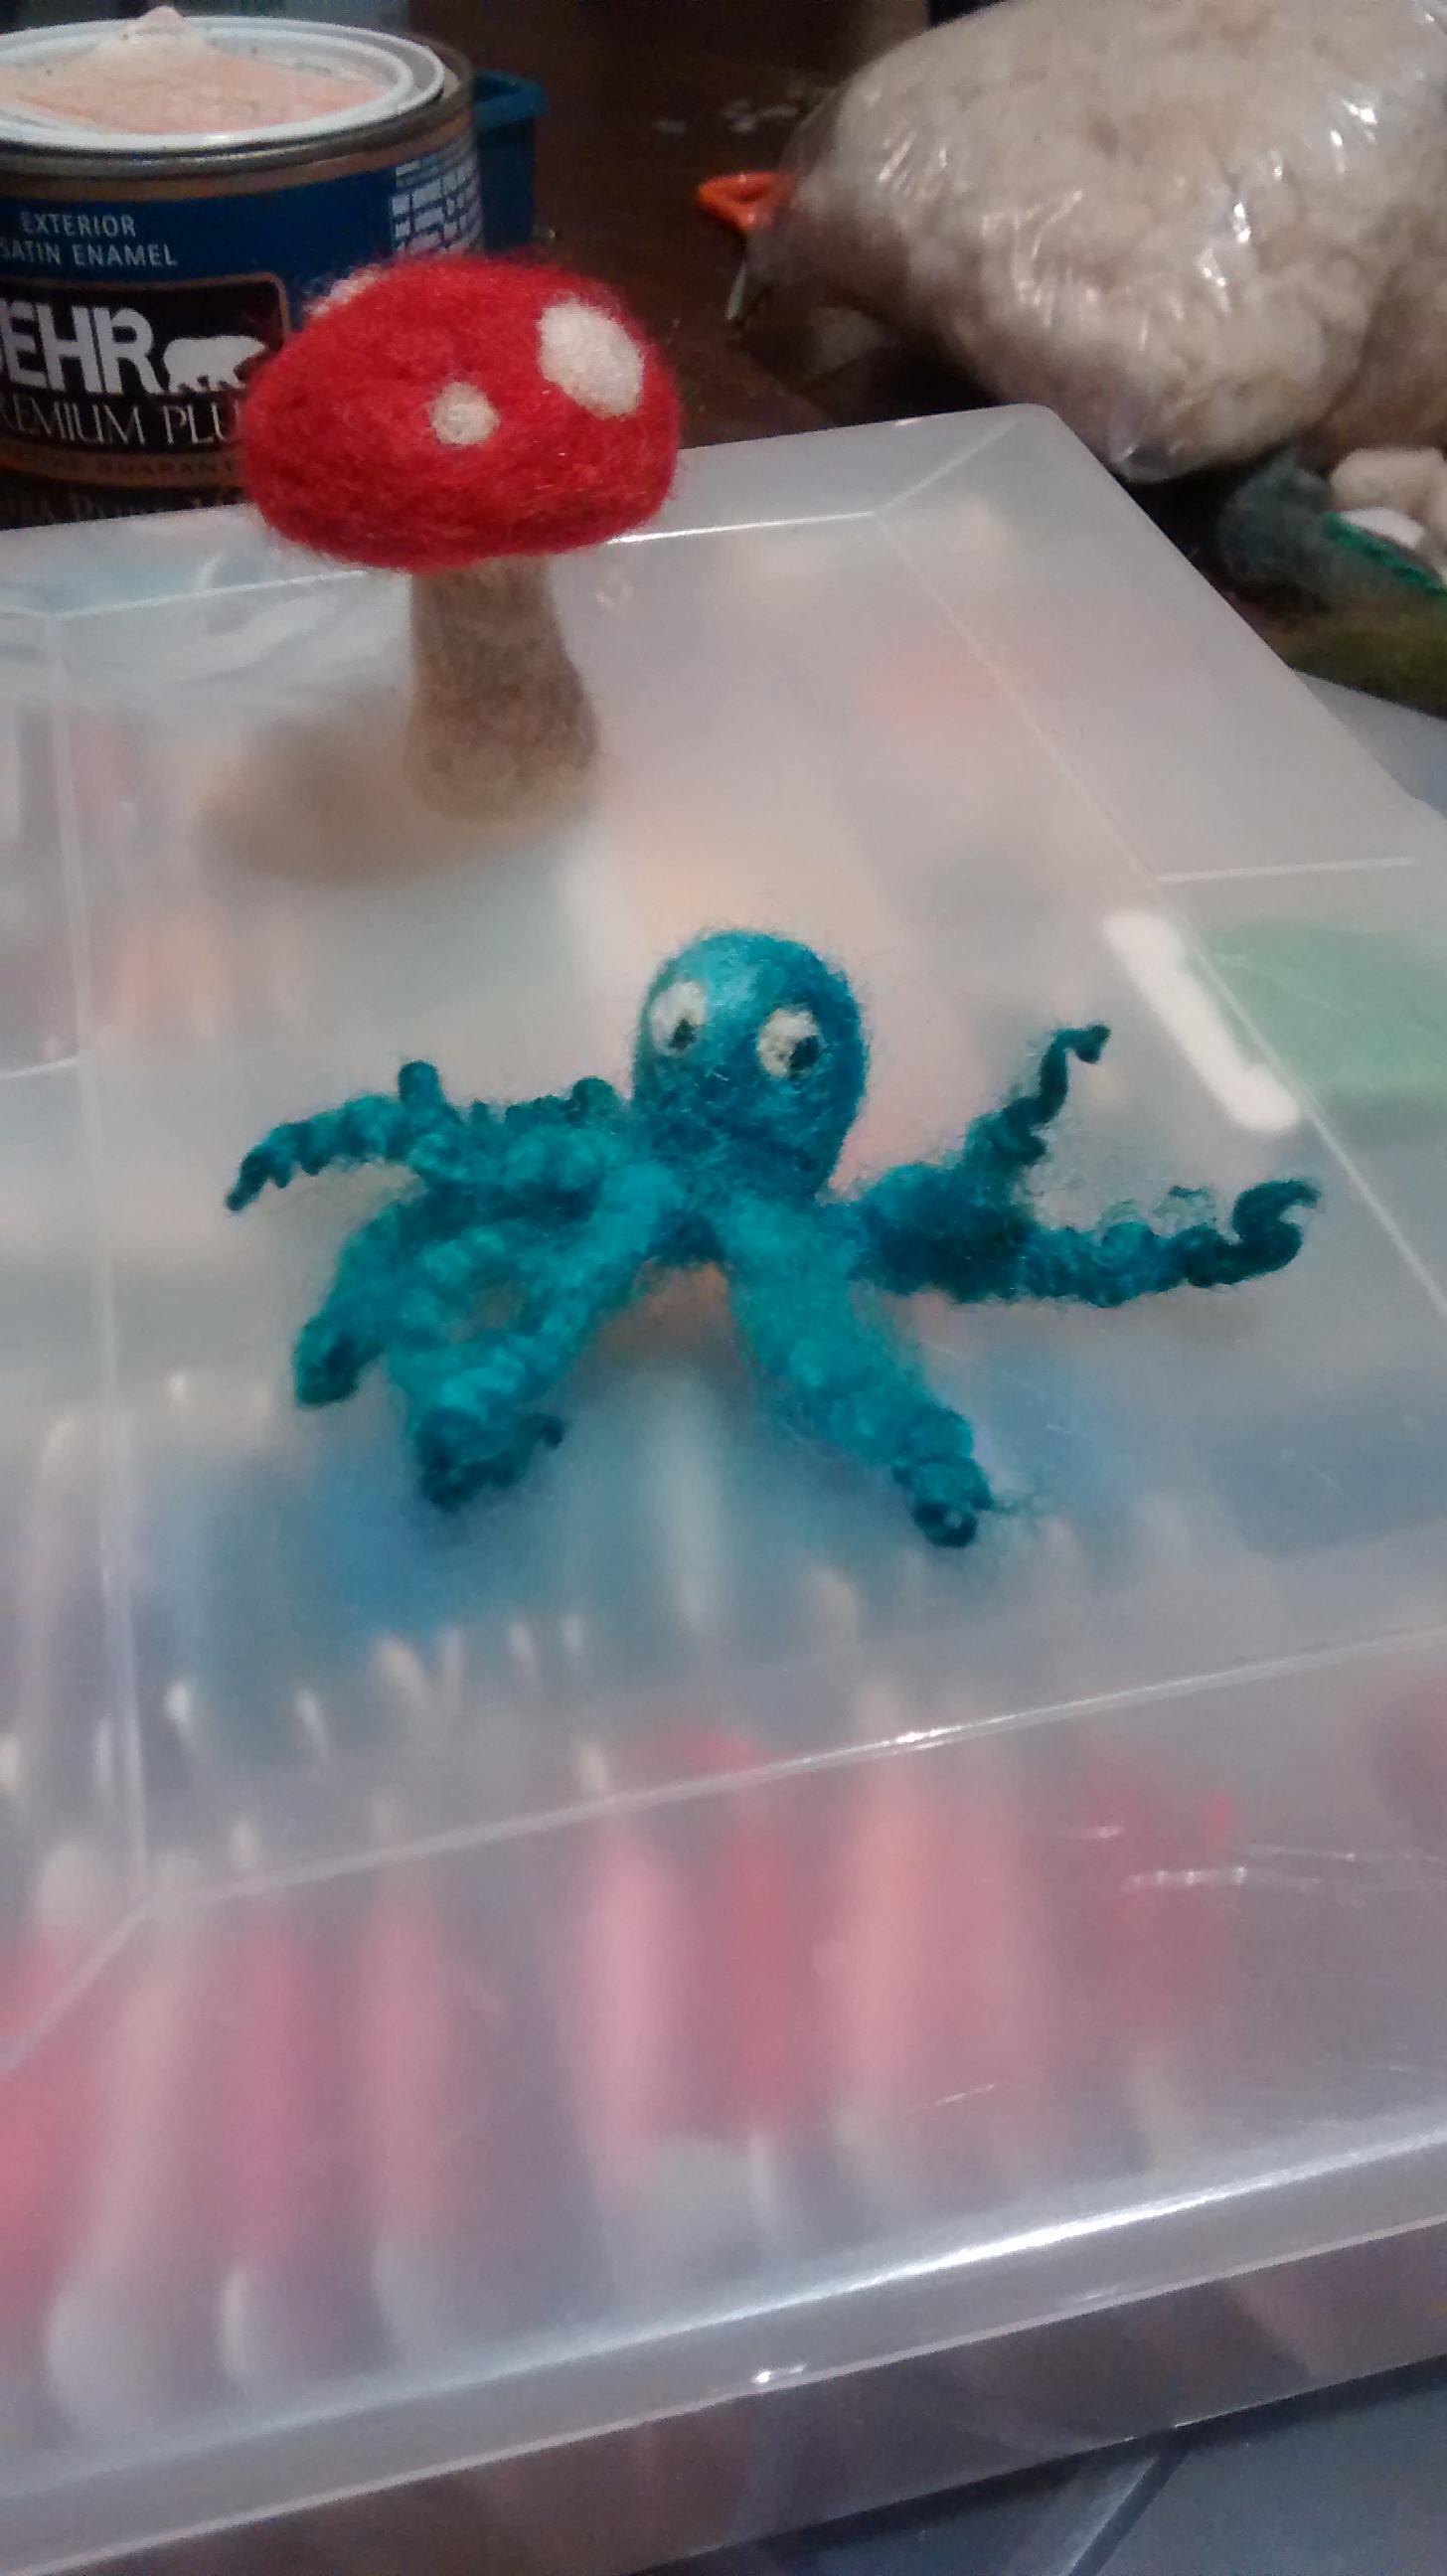
Anyway, felting leads to more felting… me and Sammi have a little something in mind with these guys…
Next time, a painting.
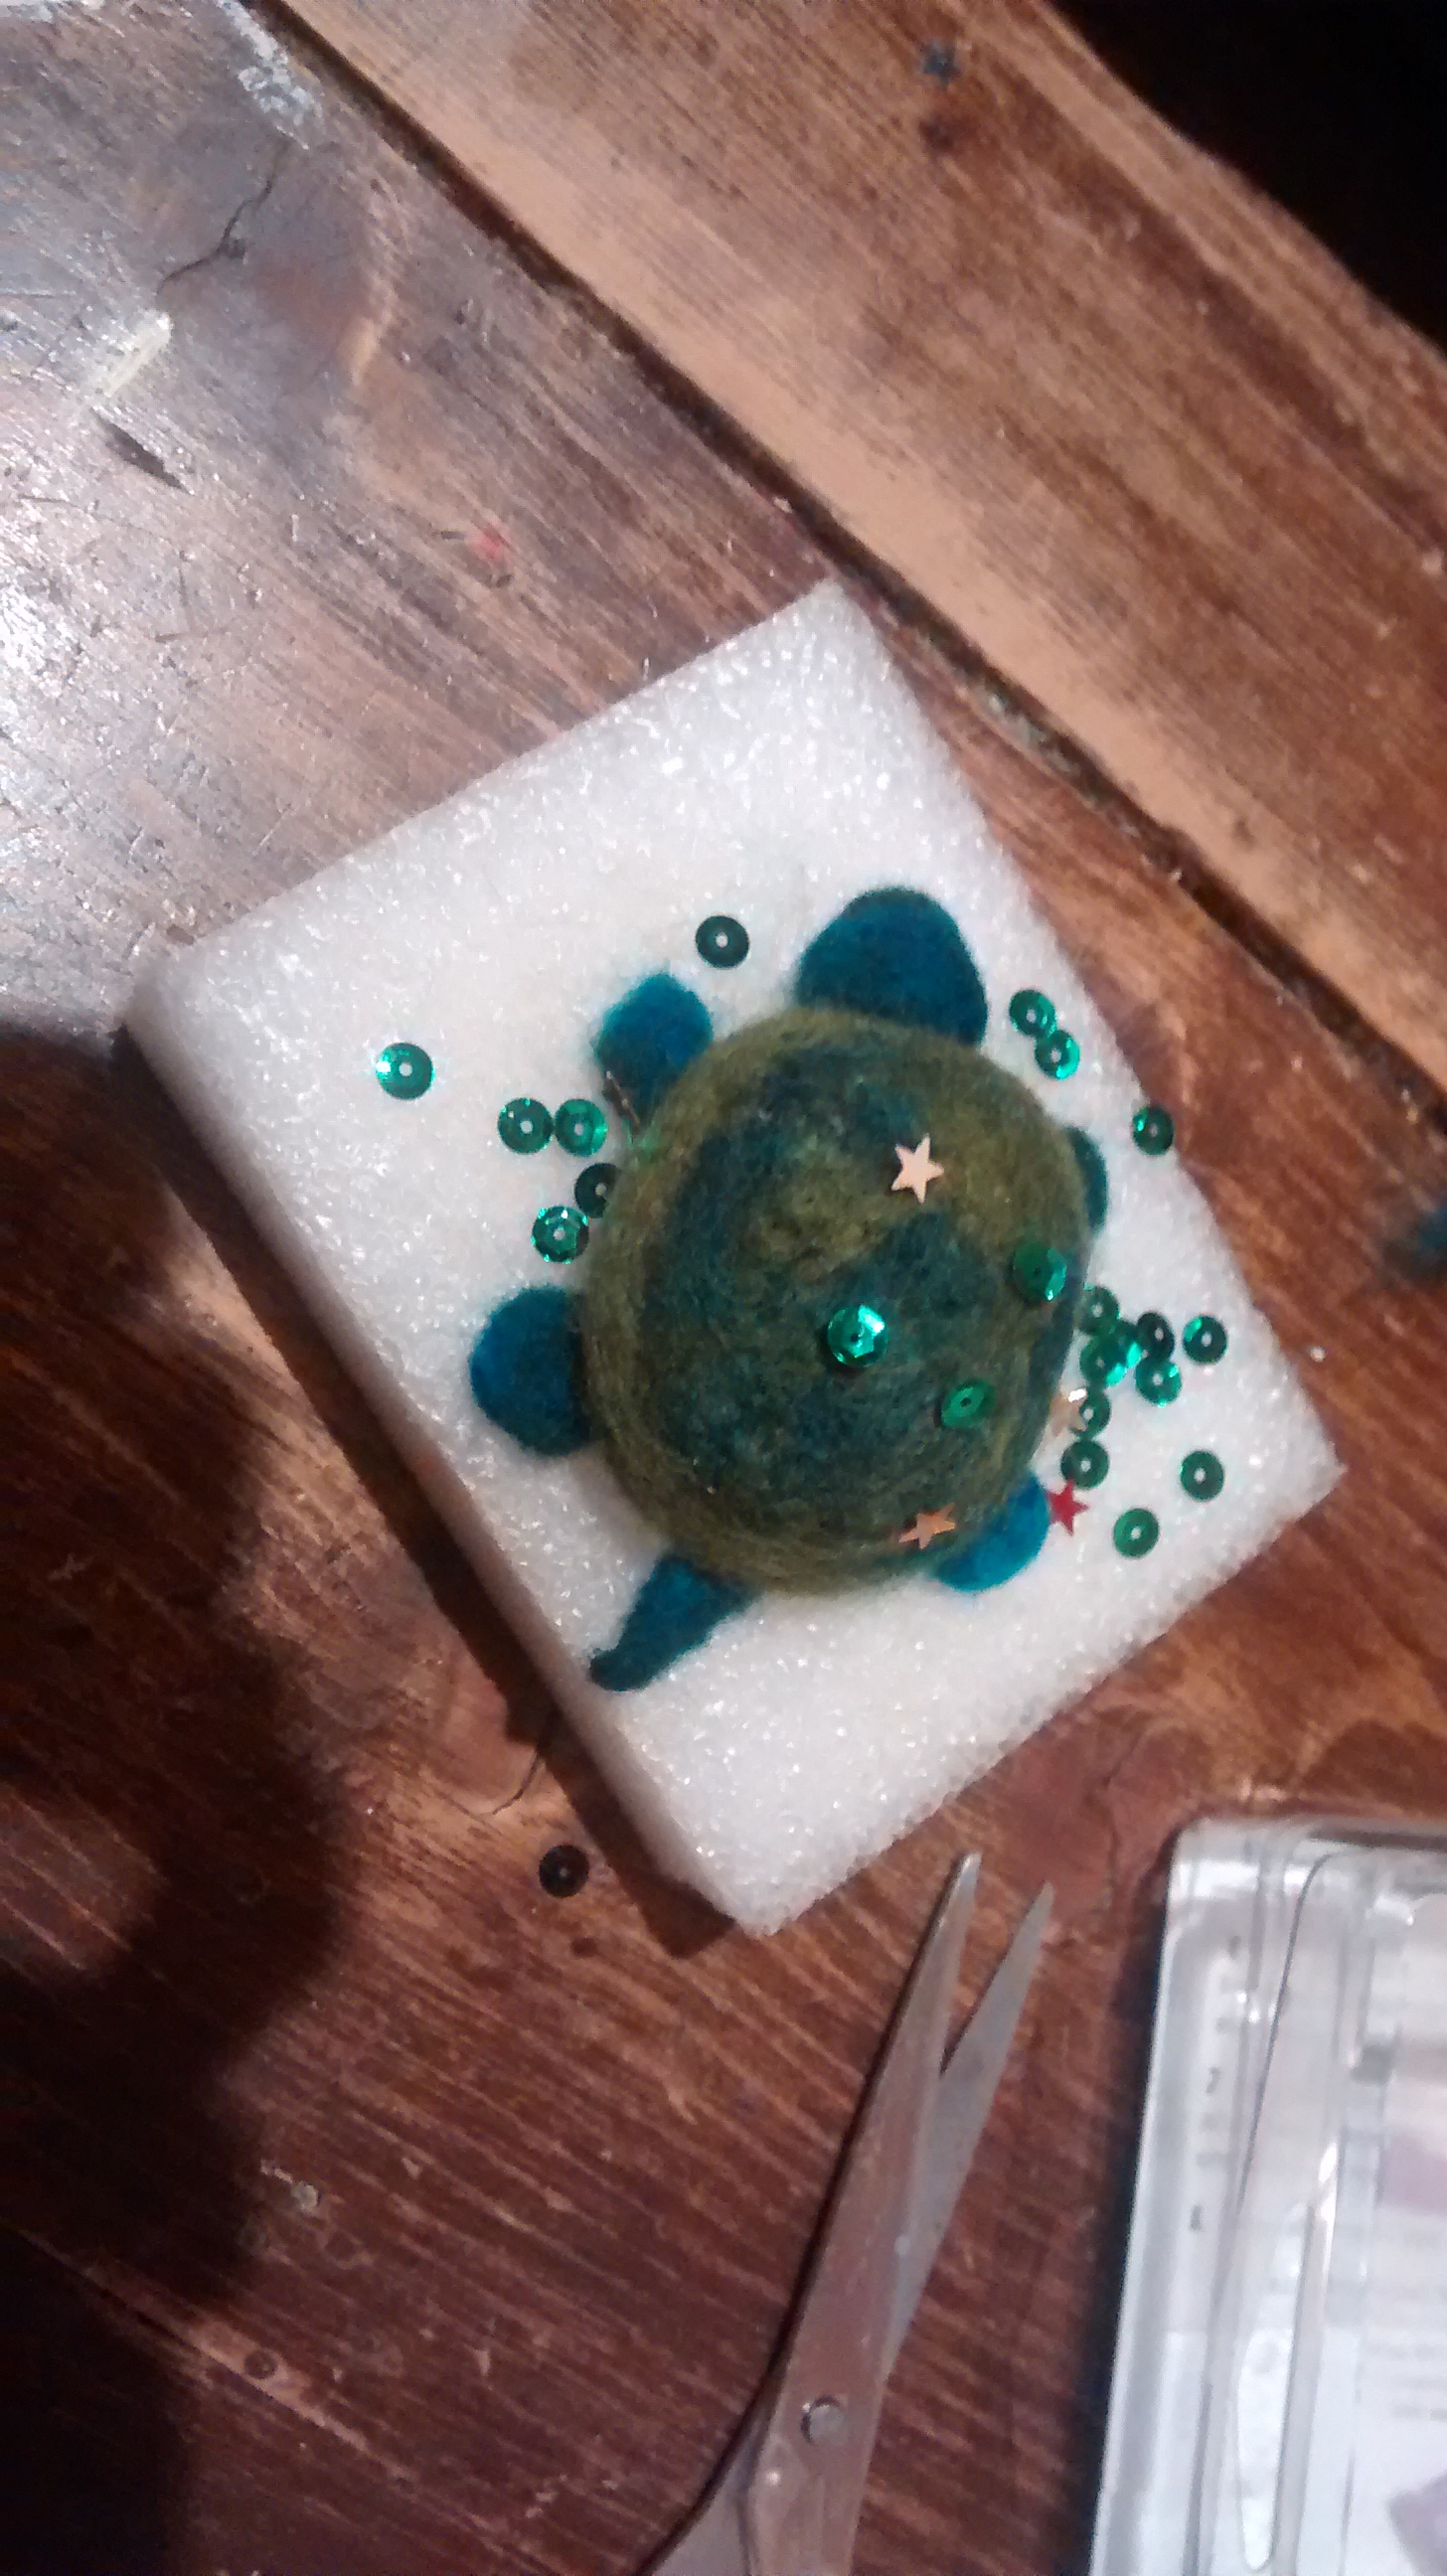
Octopus. Roving in the background.Turtle. I made this to give to the Kawartha Turtle Trauma Centre, but missed the deadline (very sad).
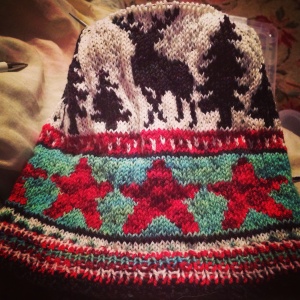
I have a bunch of this lovely wool that makes images come out fairly clearly, so my next few posts will likely be me experimenting with different image designs in knitting. I start with an idea, some graph paper and coloured pencil crayons. Sometimes the idea changes several times within one project. Sometimes it’s better to stick to the initial plan rather than change your mind part way through. For this toque in particular, I wanted to use up some wool and decided on a Christmas theme. Using up leftover wool narrows the colour choice…so it became a kind of 1950s palette. My sister Cassie helped me with the design and shaping the stars and trees. In retrospect I would make the stars smaller, but didn’t realize how big they’d be until I had knit many, many rows…
After finalizing a theme half-way through knitting the toque, I started wondering whether it would be better as a balaclava or tube-scarf neck-warmer. It is super-warm worn around the neck and I fully considered it. I will likely do something like that for my next project…
This one ended up as a kitschy toque and is cozily keeping my head and ears warm as I write this. It’s a bit silly, a bit awesome, and mostly experimental. The best part is taking the image you want and figuring out if it works graphically in knitting. Weeee!
This summer, I decided to take a course at the Haliburton School of the Arts, with my youngest daughter Samantha. Because she had taken the shoe making course last year (which was very labour intensive) we thought it would be fun to take the the Sandal Making class (which was supposed to be like a vacation in comparison). The two classes were taught by Jon Grey from Nova Scotia.
The materials that you needed to bring were: a special extra sharp X-acto Knife, with extra blades and an apron.
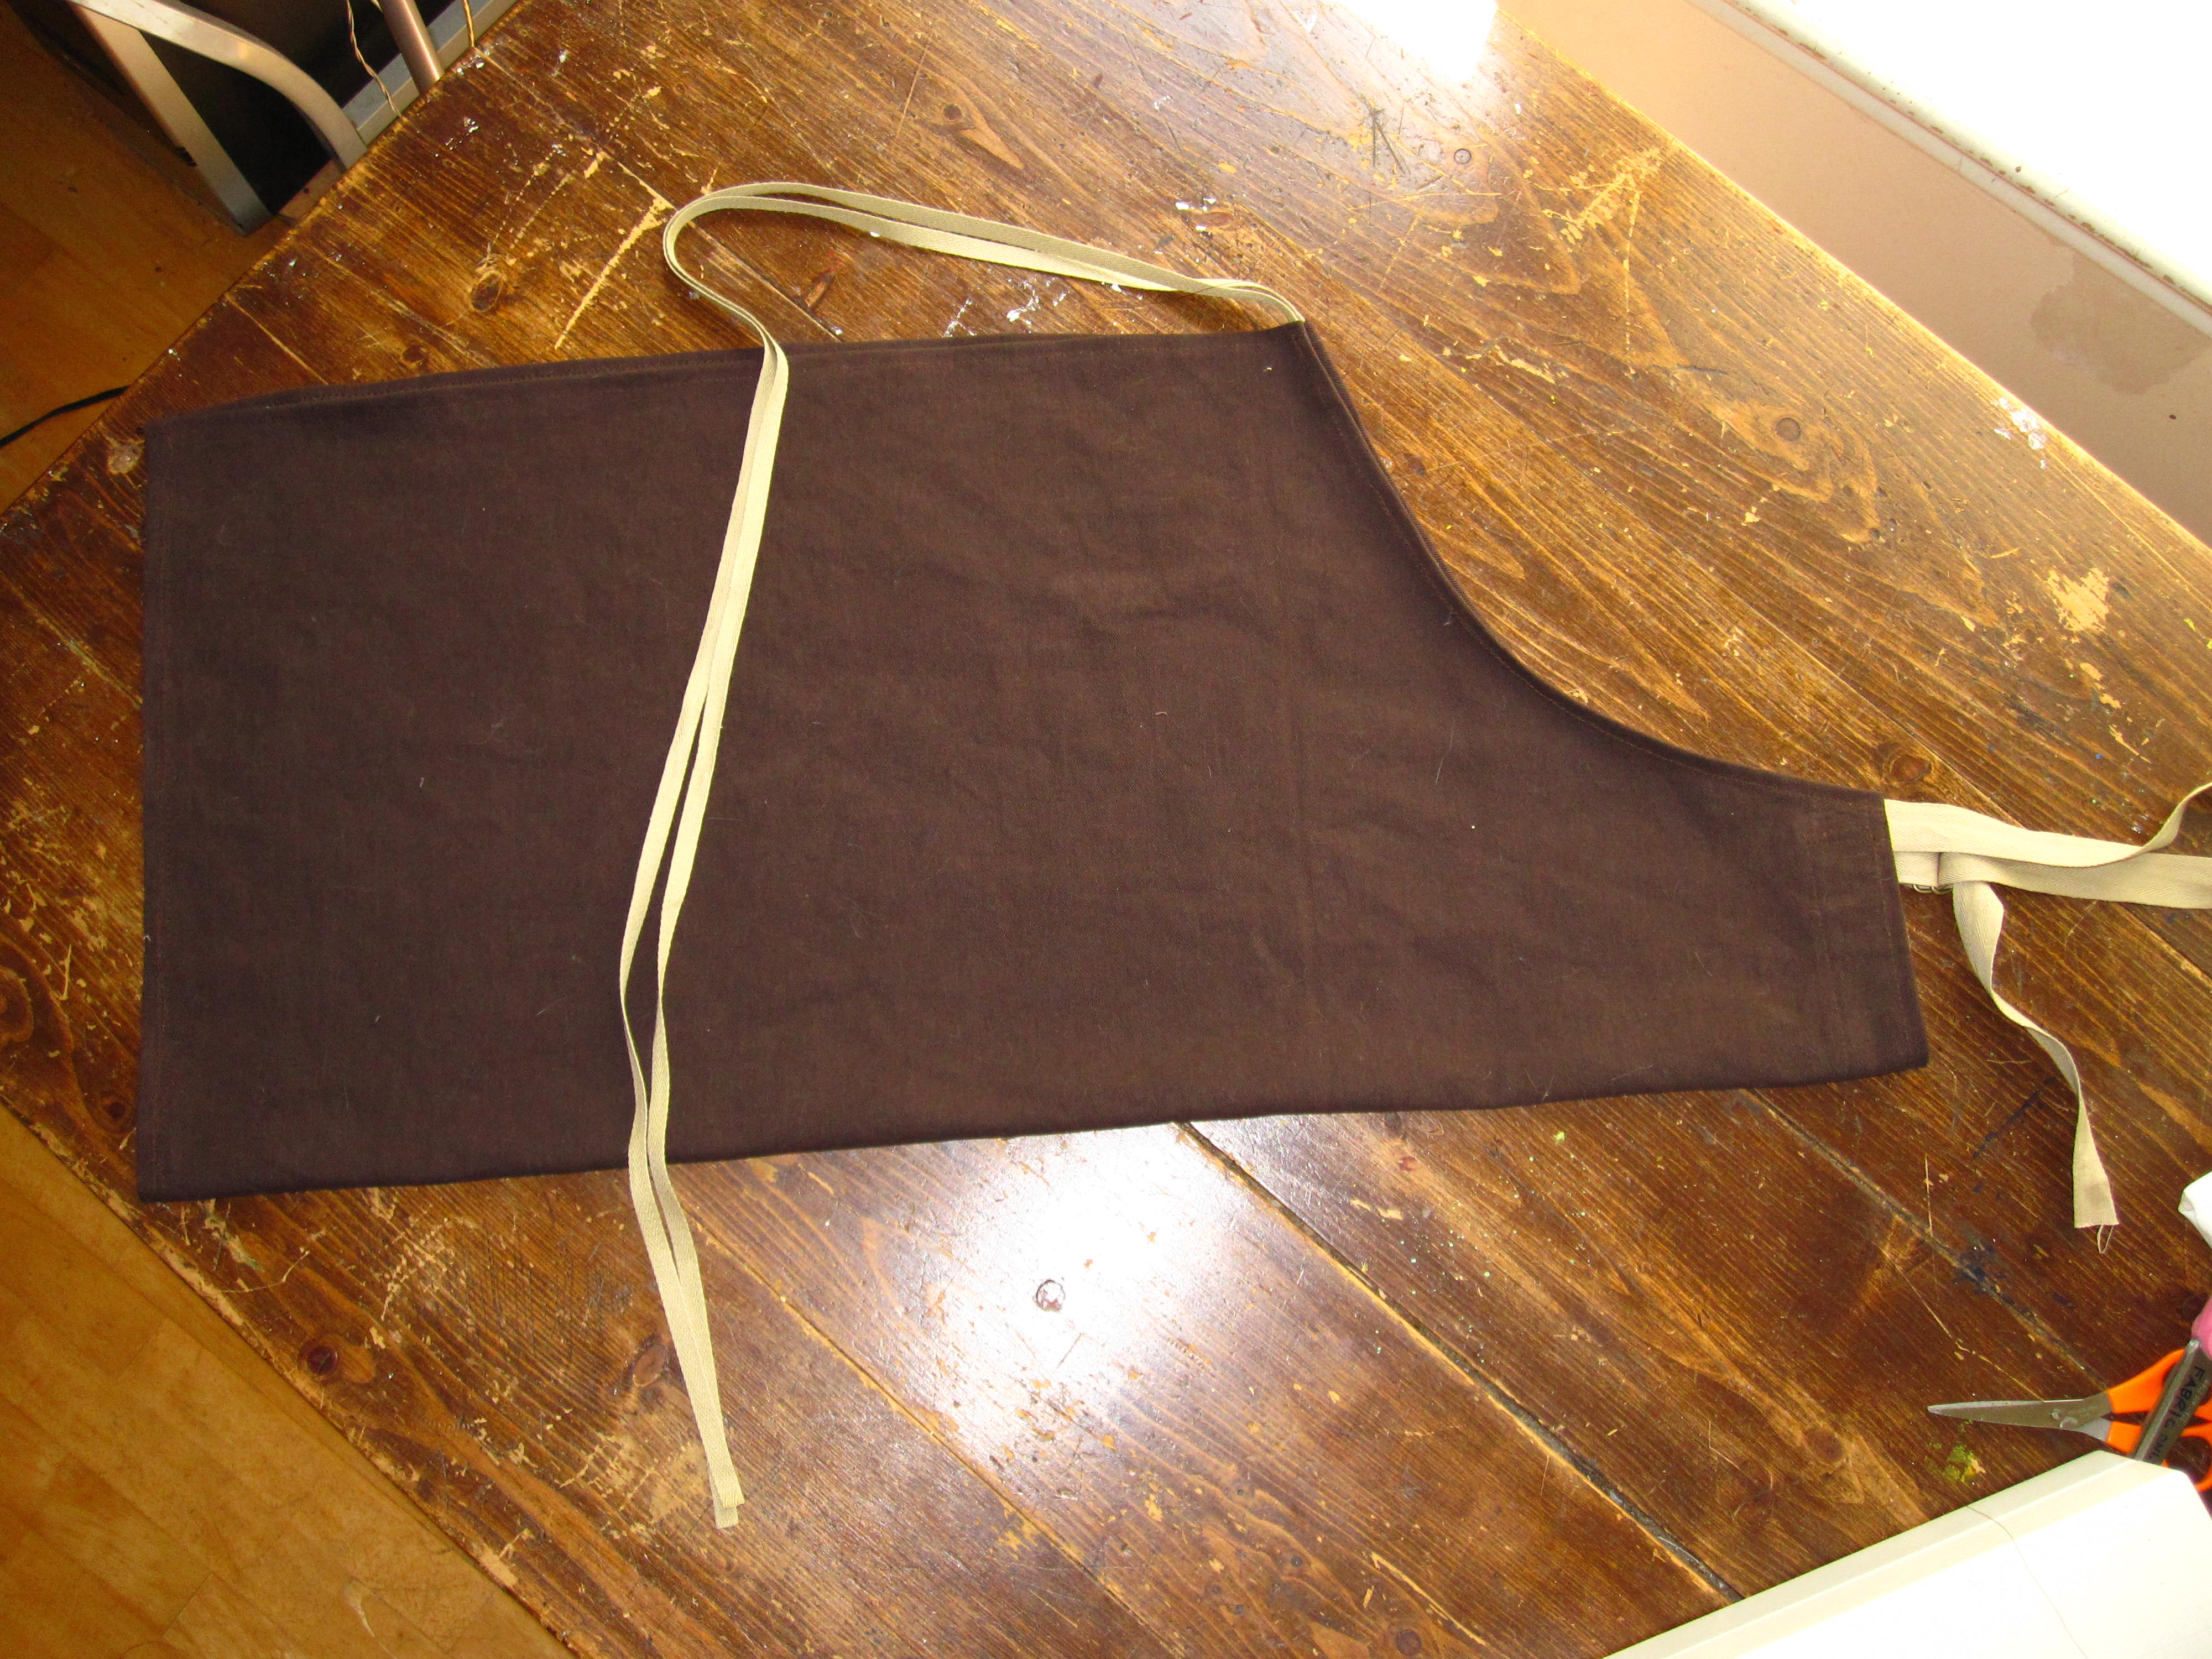
I thought that it would be a good idea to make the apron . . . . why not? We have all kinds of material that has been purchased for projects, but never used. So I decided I would pick something appropriate from the pile. I chose a dark brown brushed denim fabric. I think I was going to use it to make myself a pair of pants.
I then looked up shoe maker’s aprons on the internet and checked out the type that the instructor wears from his website and from photos that we had taken of the class last year.
I went to Fabricland to buy some thread and other notions that I would need. It was my lucky day as everything in the store was 50% off the regular price!
I didn’t have a pattern so I borrowed an apron from my daughters, Cassandra and Samantha. They use aprons for their small business making Chakra Bars. These aprons are made of lightweight white cotton. I used it to draw the shape onto my material….or maybe I just cut around it.
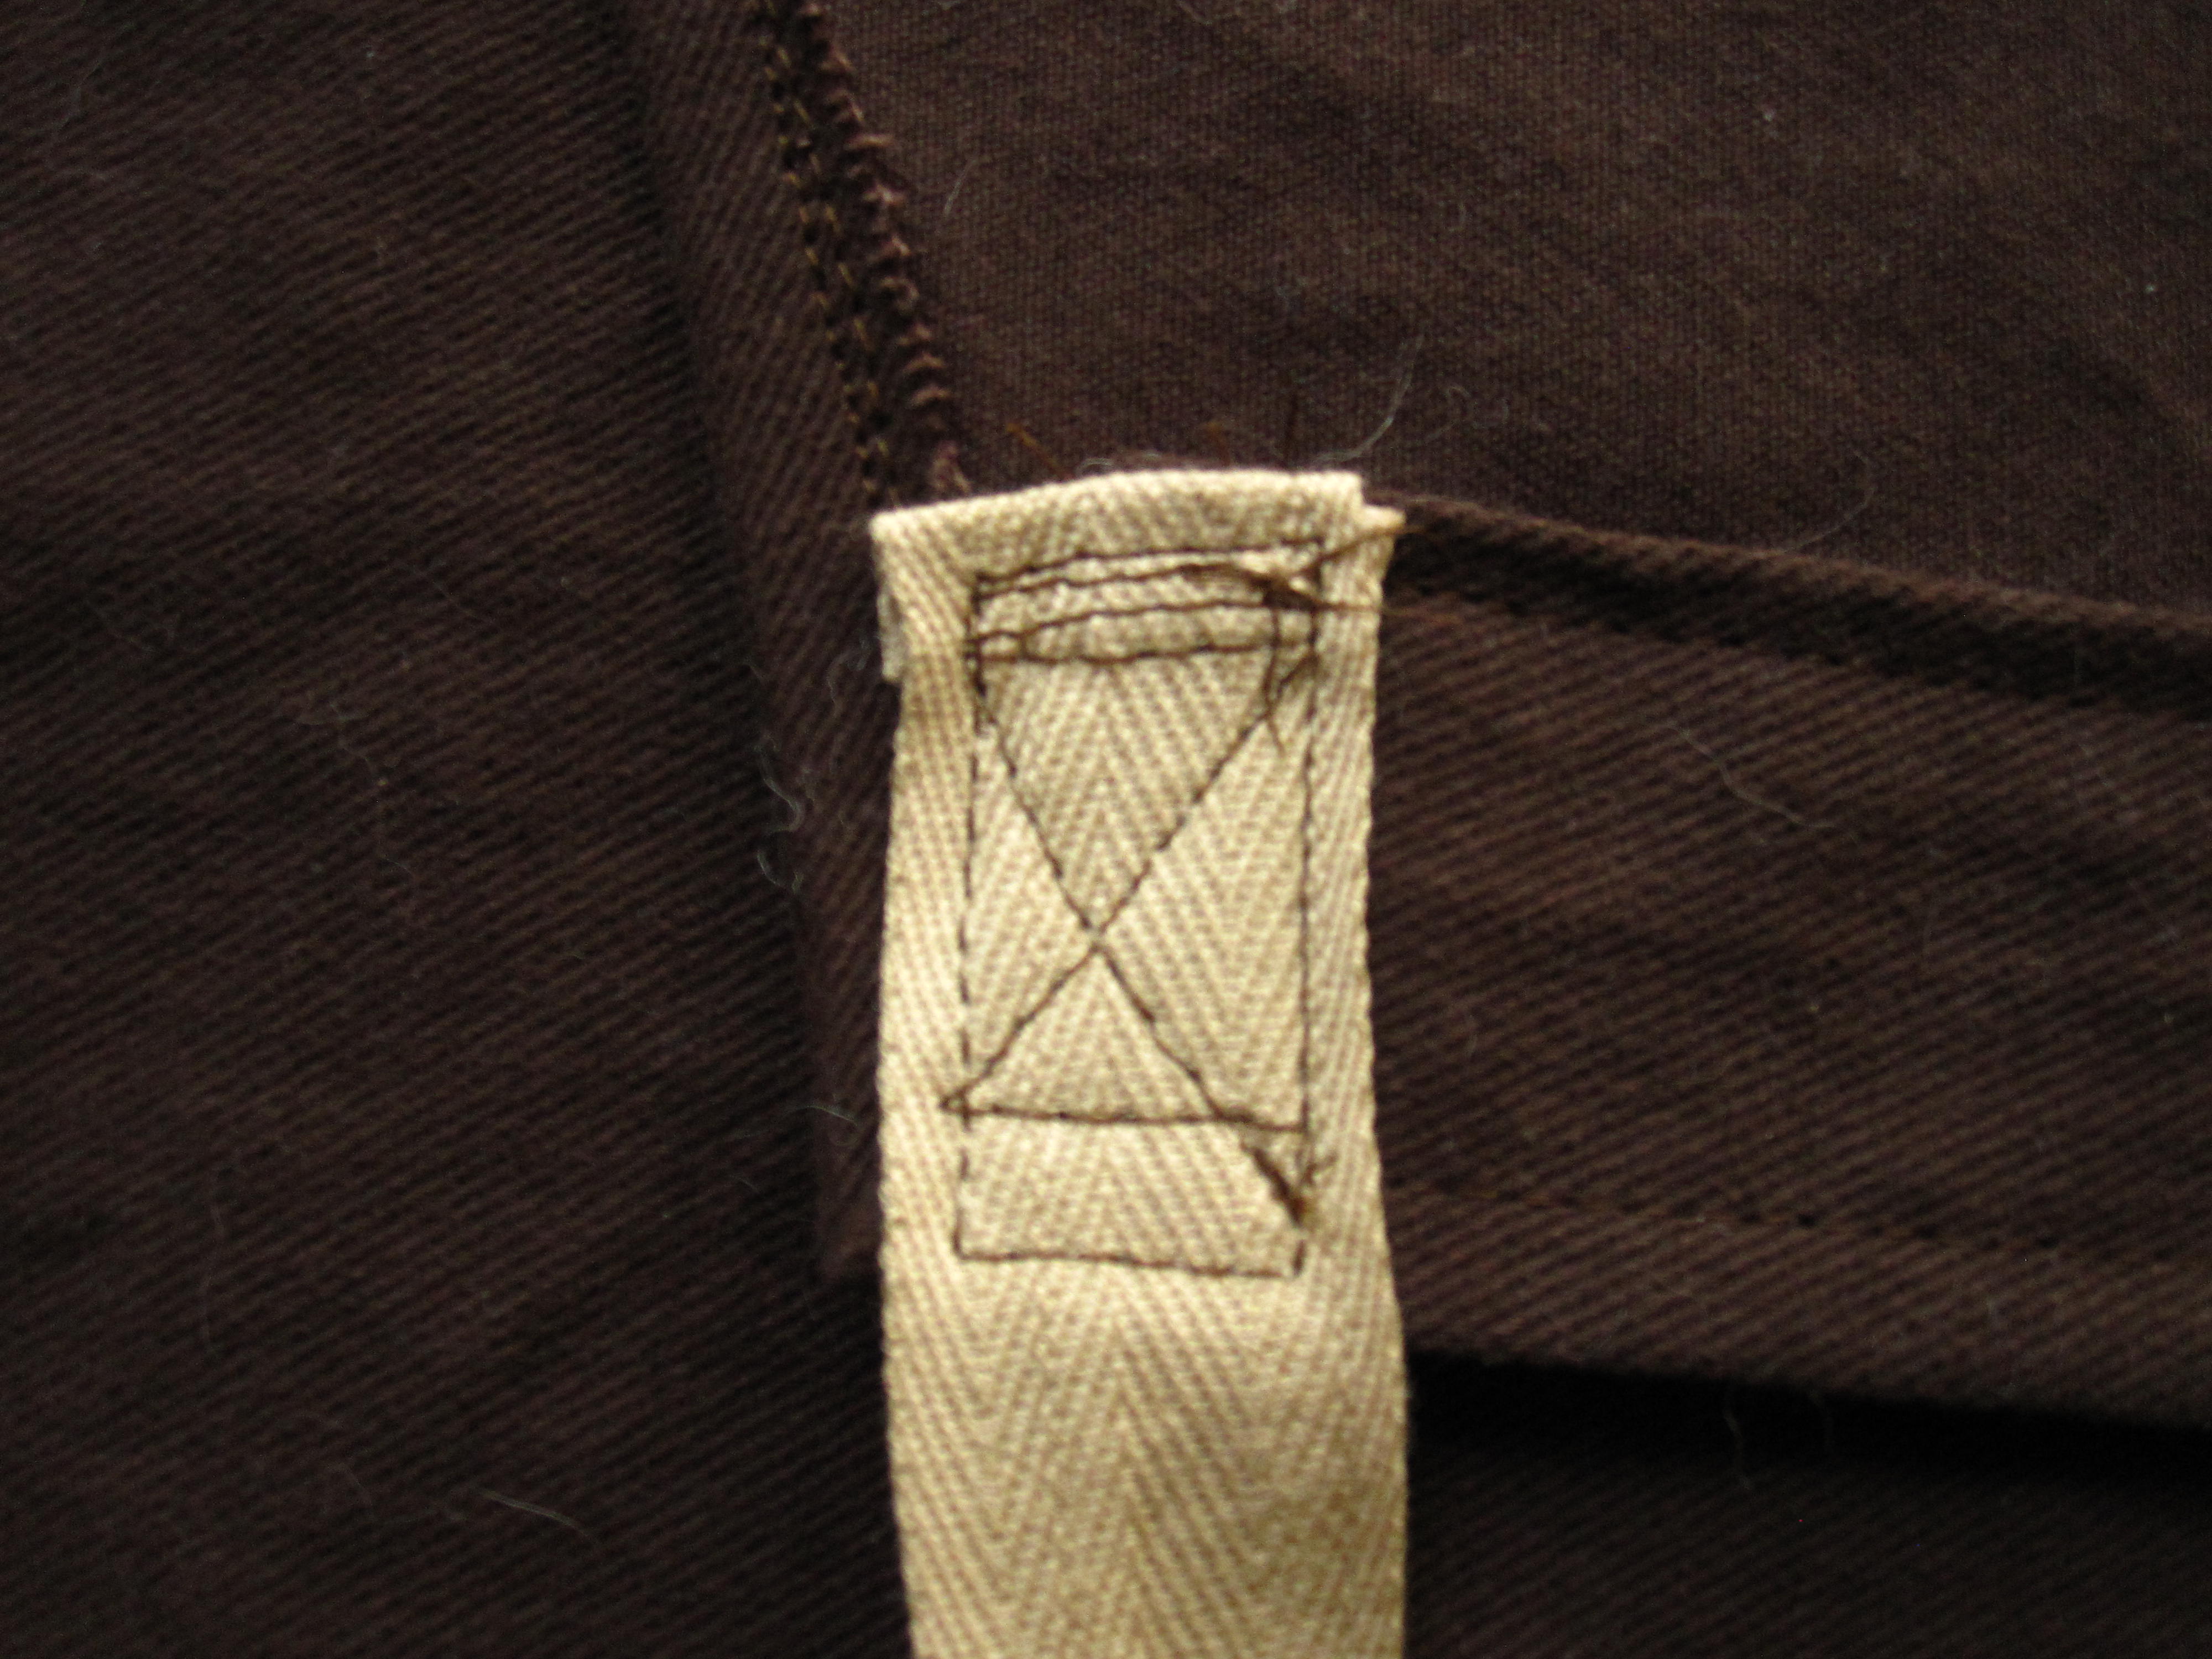
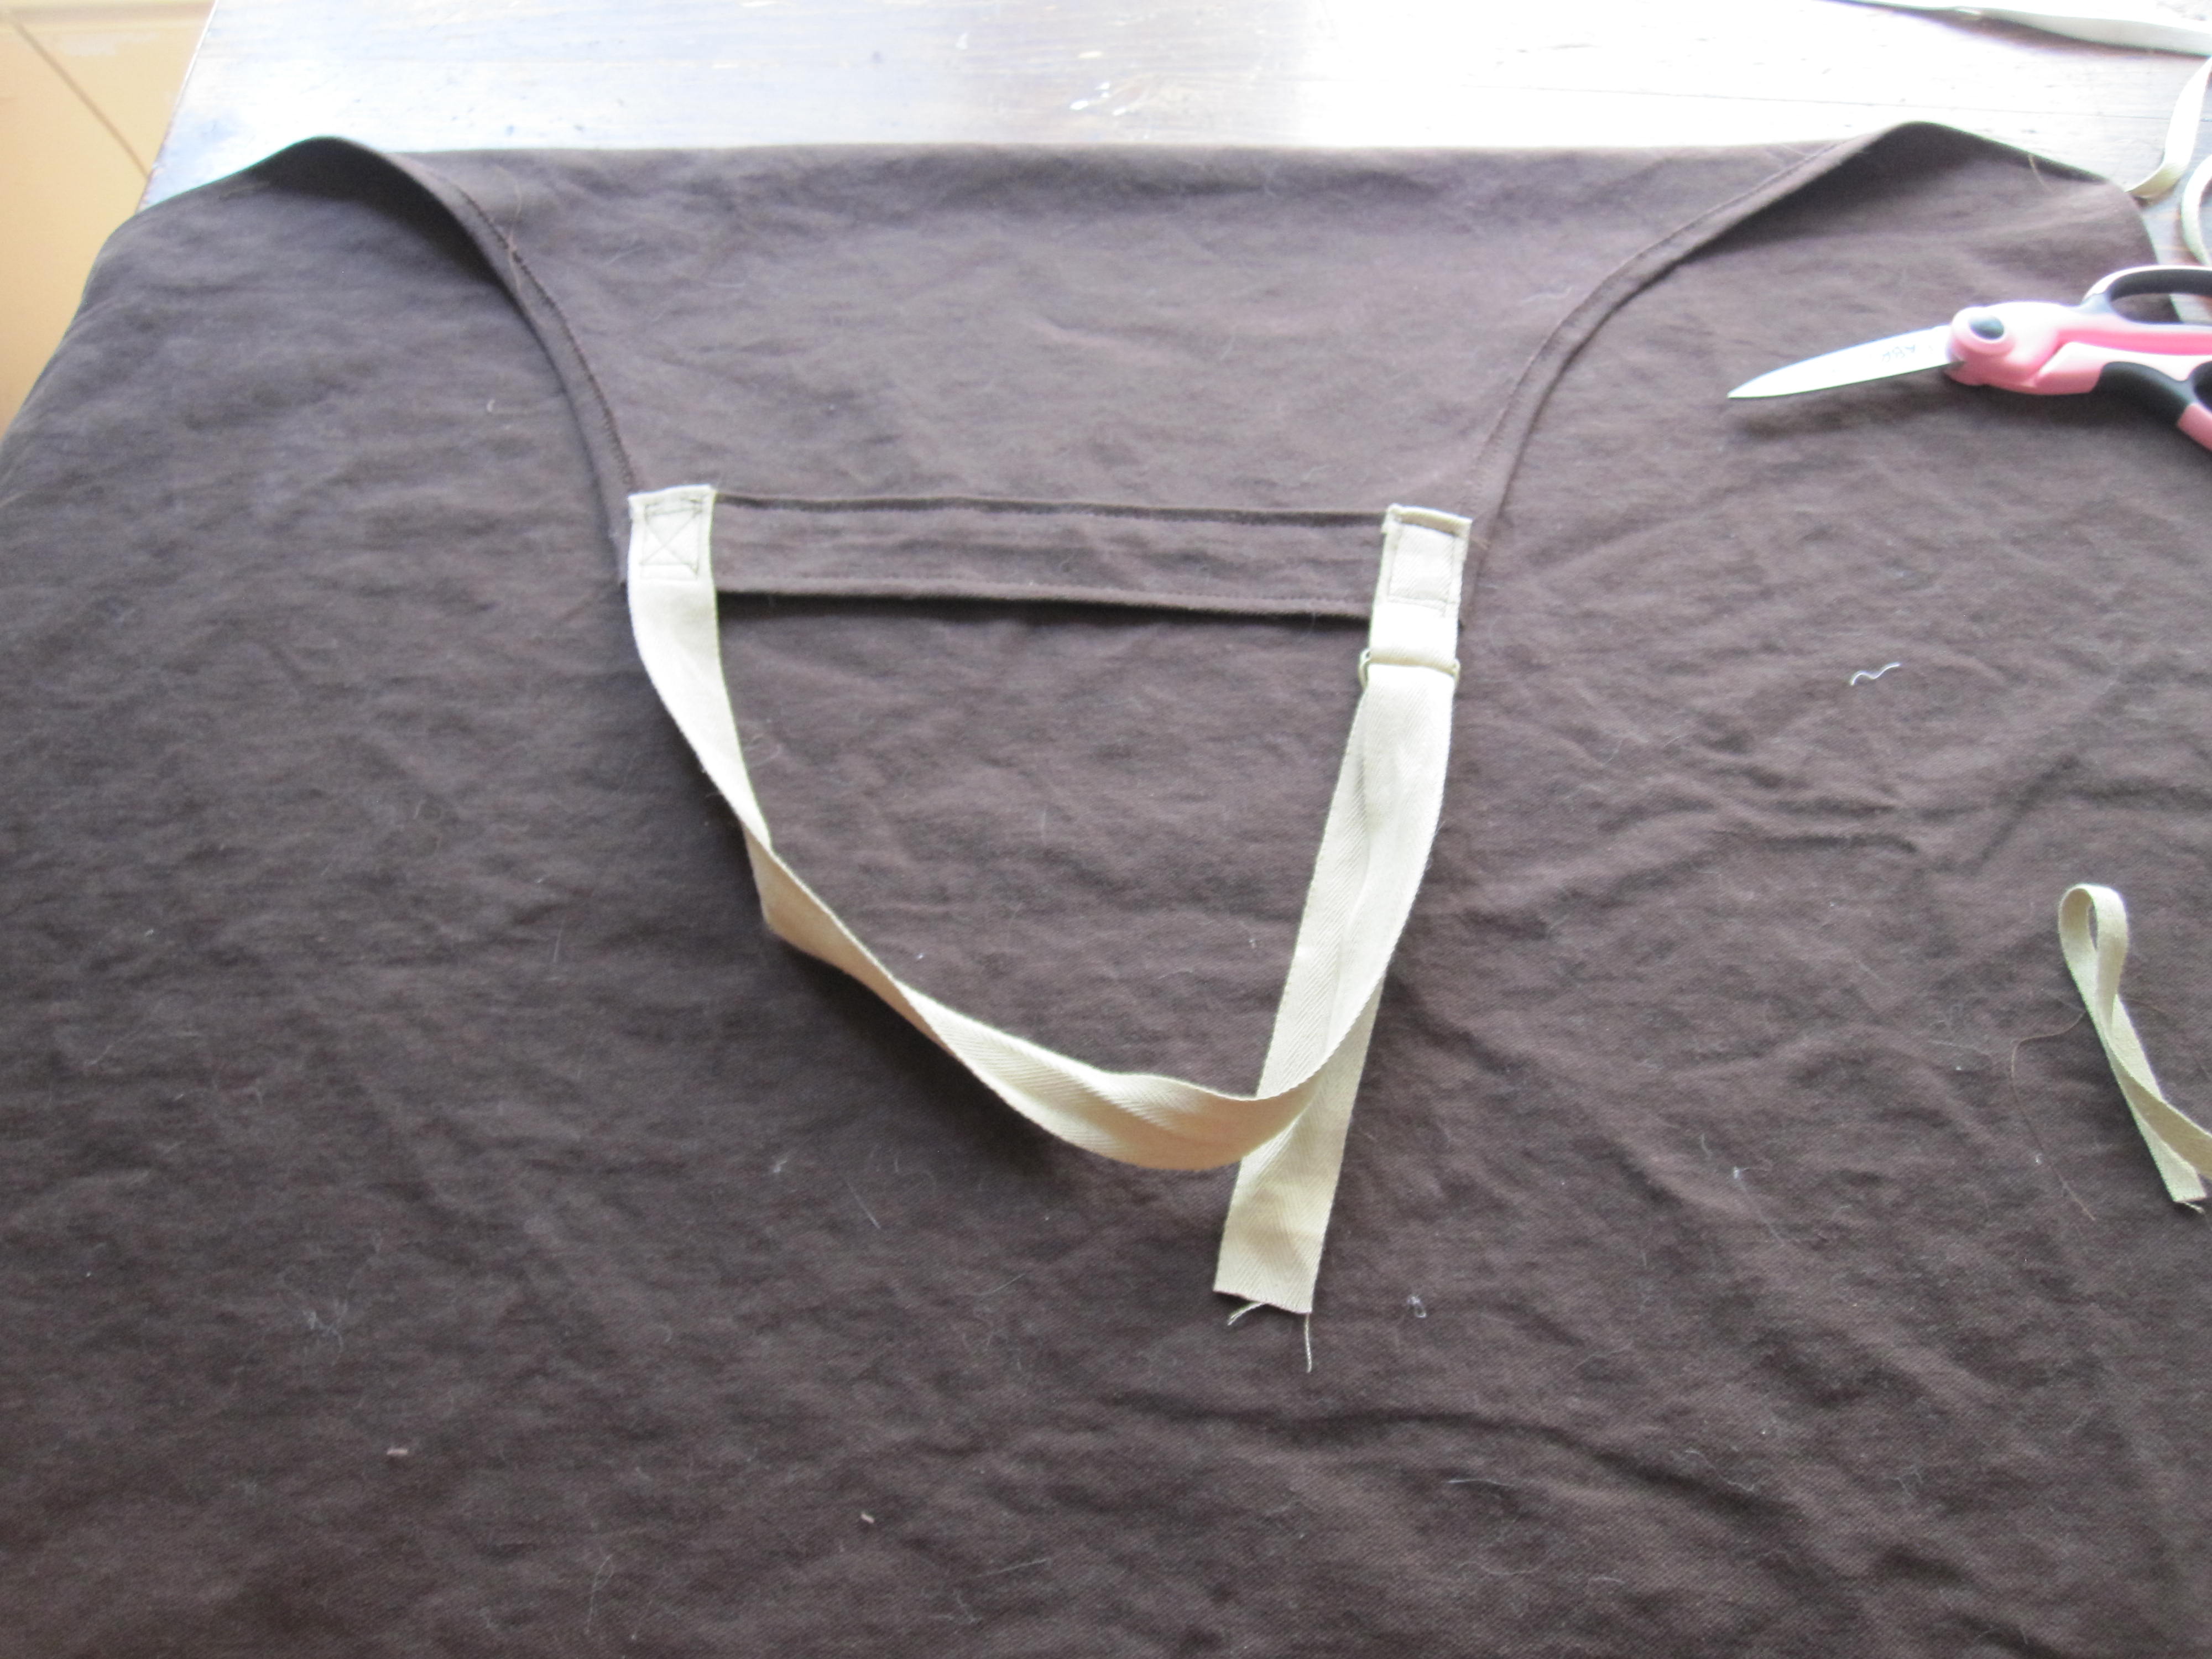
I then folded over the edges and sewed them up . . . . easy. I folded over a larger piece at the top and attached heavy ribbon in a loop to go around the neck with D rings to tighten or loosen it. I put some tie strings on at the sides, long enough to wrap around and tie at the front. I then did a small hem at the bottom. Ta da . . . . . a shoe maker’s apron.
So, this is normally my mom’s territory. This summer my job at Lang Pioneer Village I was given instruction on dying wool using plant-derived dyes. Ladies (why no men? Maybe there were some) from local weaversand spinners groups spun a whole bunch of wool this spring and I was allowed to run free experimenting with these natural dyes. My mom has (Lynn) been into this for a long time and I have been on several excursions with her to collect Black Walnuts, Queen-Ann’s Lace, or whatever else we can identify that has dyeing properties, but this summer I actually got involved in the dyeing process. Also, as I used up lots of the spun wool, I figured that I needed to learn to spin some as well.
I’m not going to go into the processes for this post (plus you can find all of this stuff online), but here are some pictures of all that.
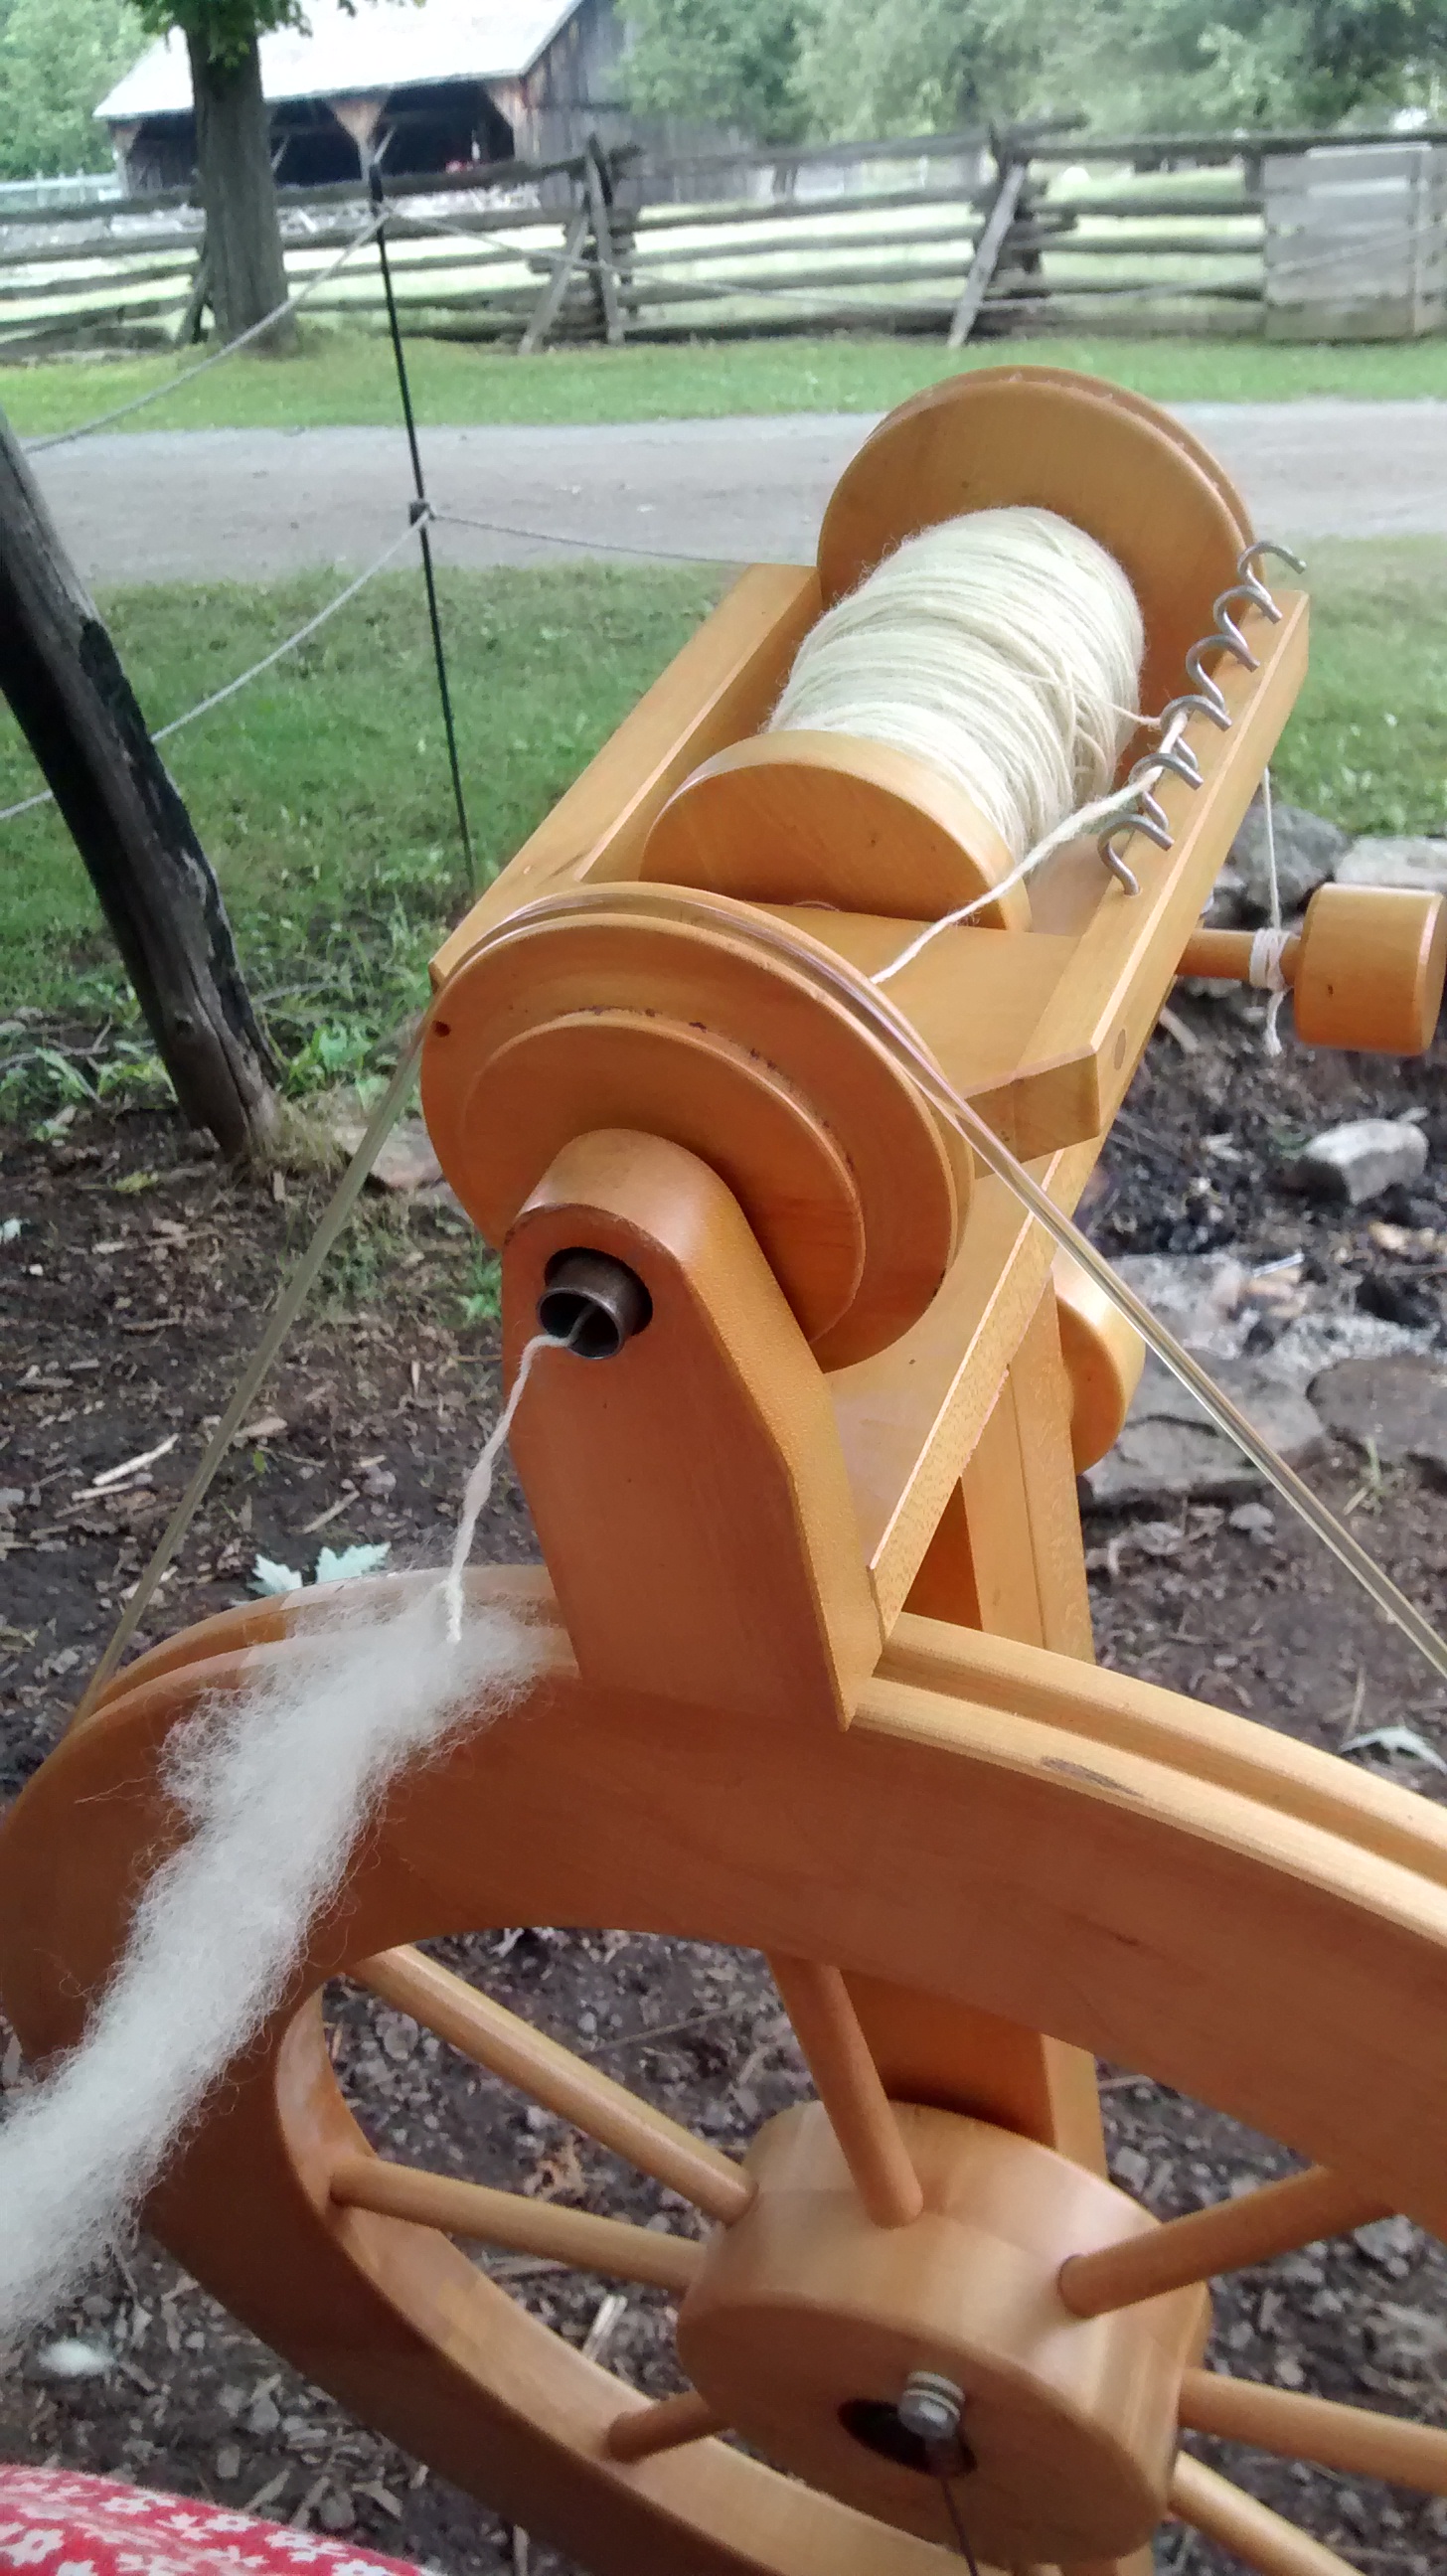
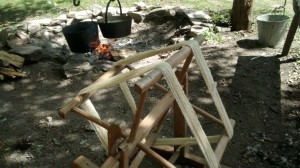
My trusty work spinning wheel
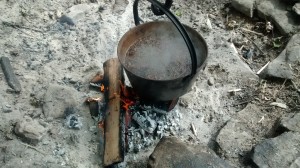
Winding wool that I’d spun. In the background, mordanting over the fire.Preparing a dye bath over the fire. This was full of Staghorn Sumac berries. It produced my greatest dye failure; a smoker’s-hair yellow-grey.
An array of colours produced by plants, some grown for their dyeing properties in the Fitzpatric garden at Lang Pioneer Village, others collected on the grounds.
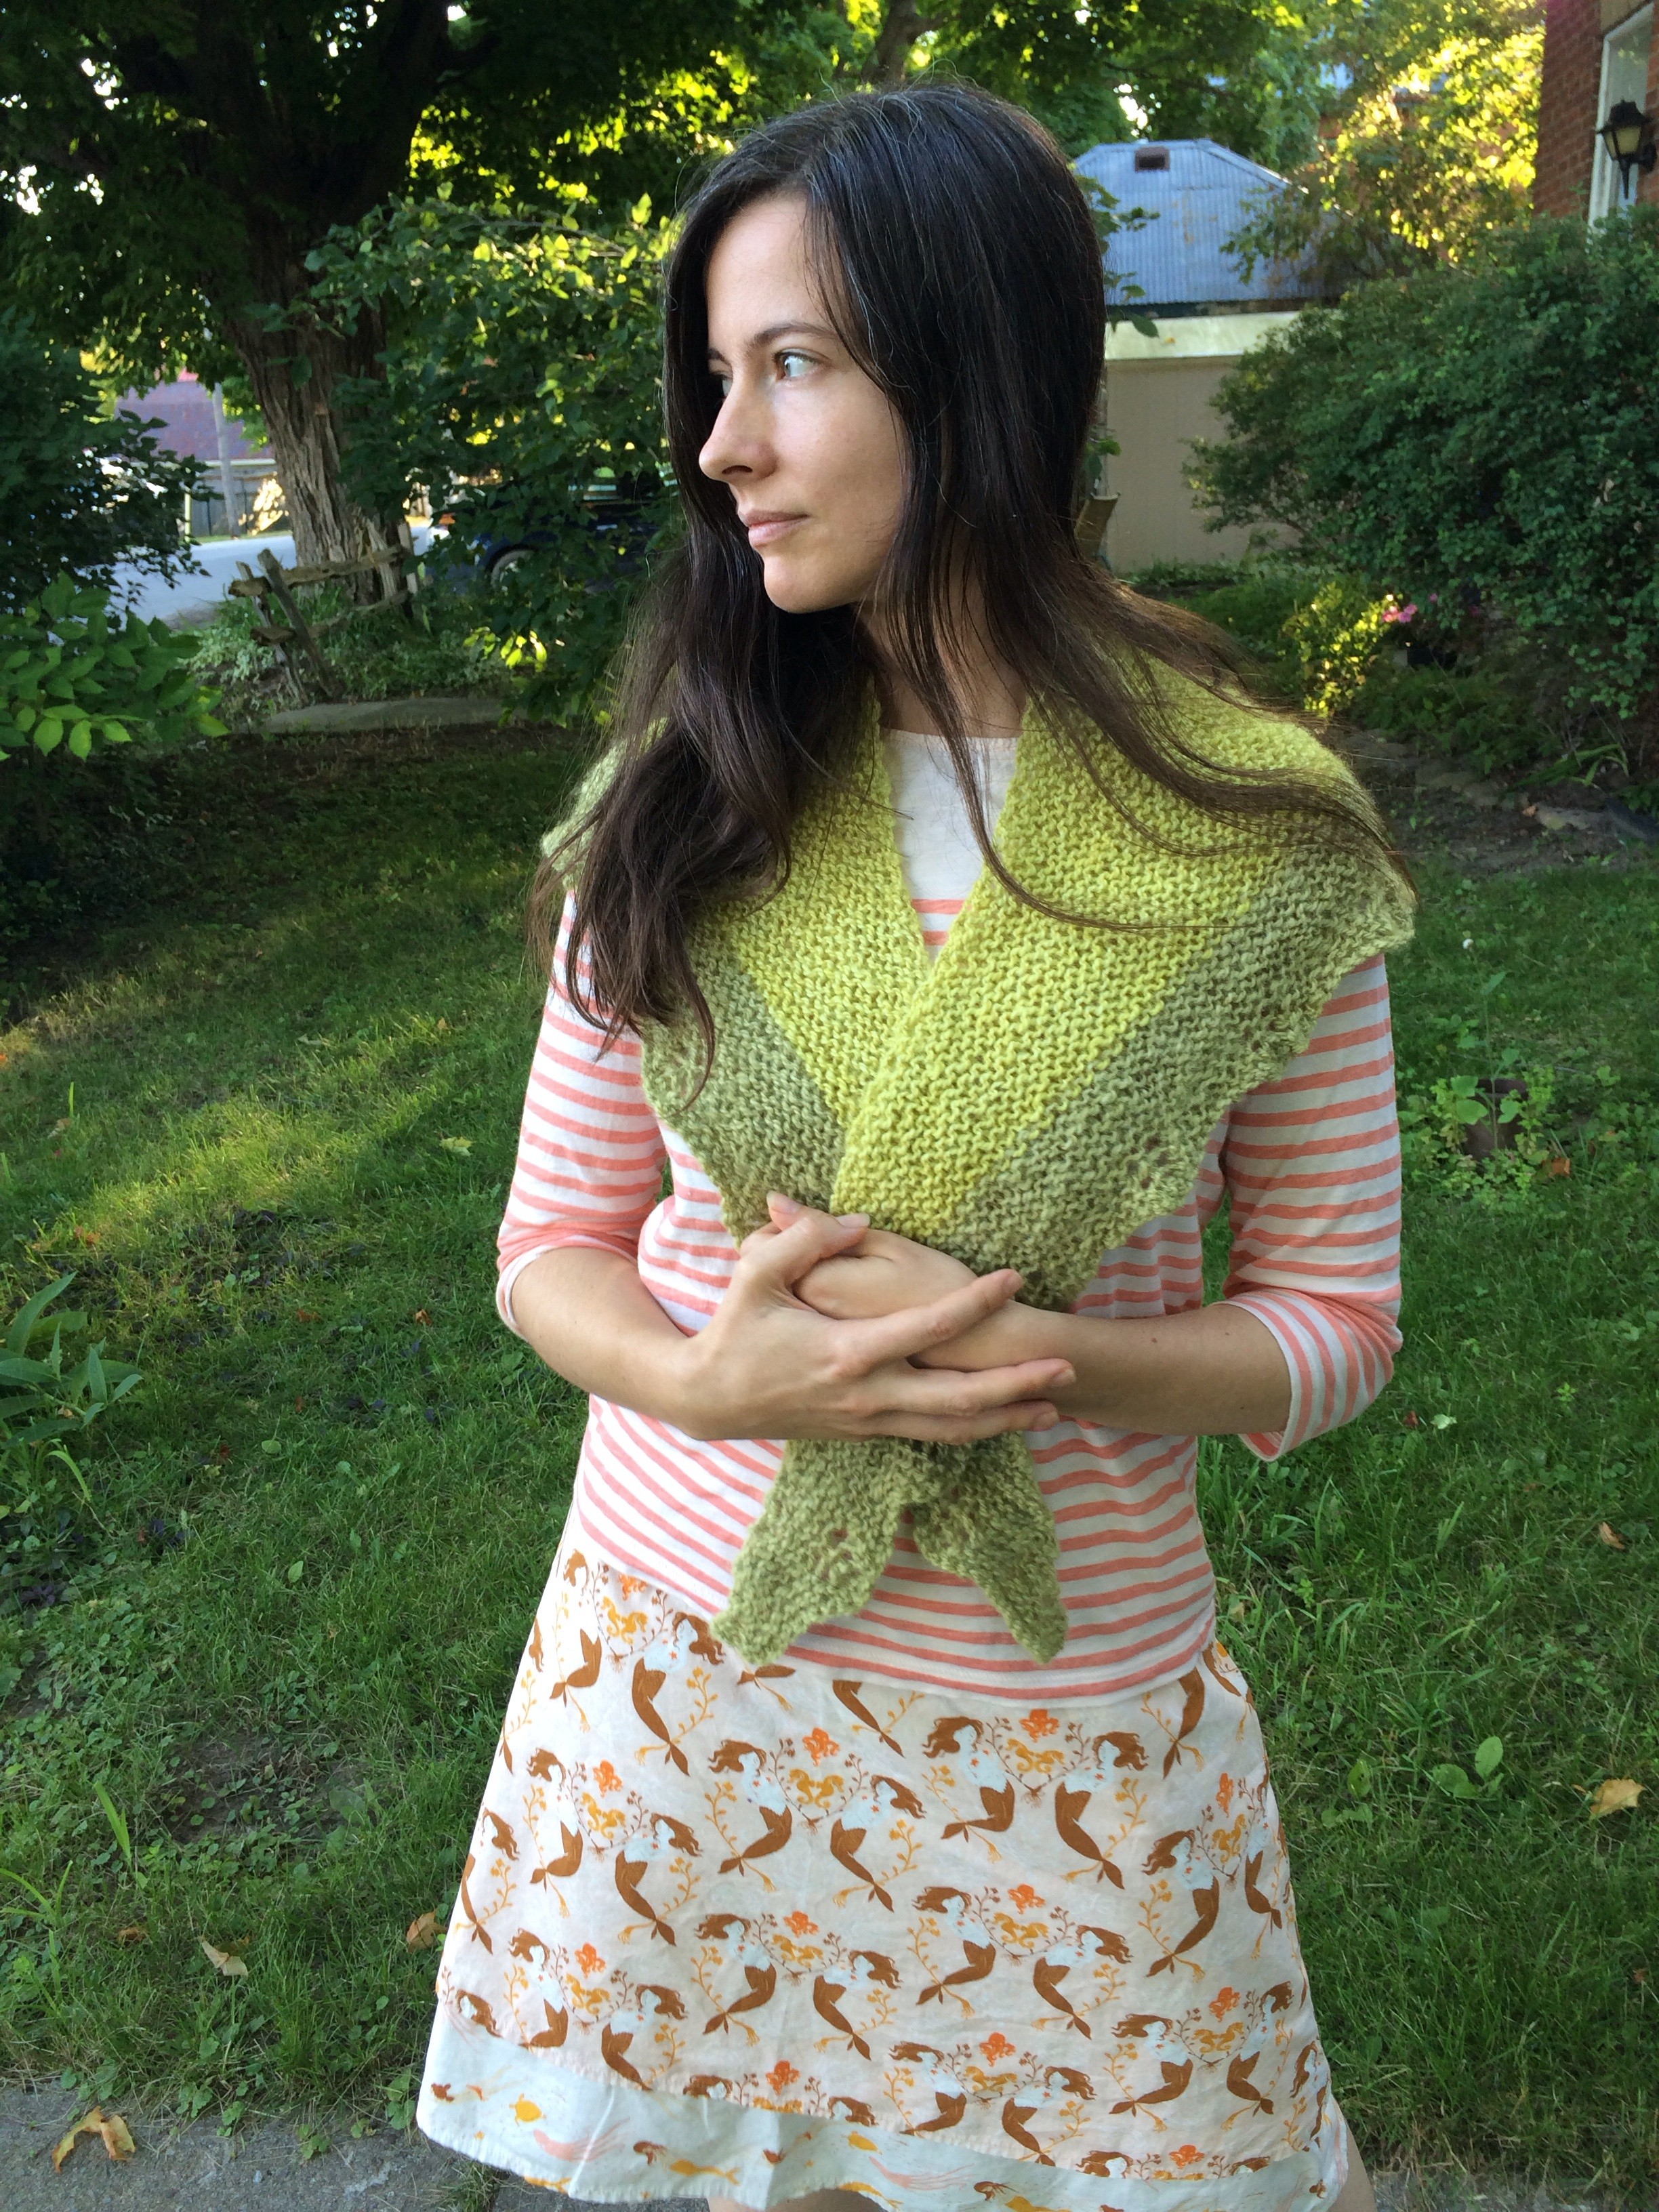
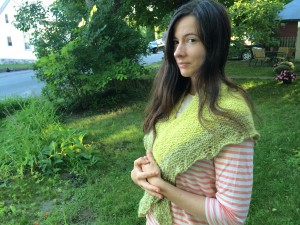
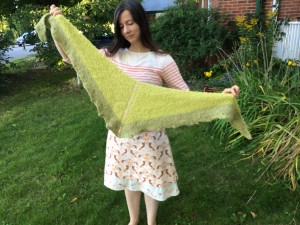
The true intent of this post is my Fern-lace shawl. After getting a sweet electric-yellow out of a bunch of goldenrod (Canada Goldenrod, Solidago altissima ?) I figured that I really needed to knit something from these cool colours we were coming up with. Pauline Gillespie, the volunteer teaching us dyeing, had already instructed dying with apple bark and Marguerite. One day she came by with knit shawls as gifts for me and my co-worker, Tara, and I told her that I wanted to knit with the dyed wool. She said “Go for it!” and ran off to get the pattern for me.
The pattern seemed to indicate that it was something you worked on only when you had cabin fever, and although I’m pretty sure that knitting is one of the activities that gives you cabin fever (no, I’m not the knitter in the family), I began. I wanted to start with my favorite goldenrod yellow, then I thought I’d finish with a heavily overspun apple bark, so as not to use up all the really nice wool. The pattern starts nice and simple, cast on five, then add at the beginning and end of of each row with some yarn-over action (YOLO!) in the centre. The rows get longer and longer and then you (I) realise that the little ugly apple bark ball will not be enough. I ended up pillaging another skein of really nice apple bark, so you can see a slight change in tone on the trim. I don’t mind.
I wanted the shawl to be a little longer in the back than the pattern called for so I added more rows. Of course when you do this, you have to make sure that the lacy trim at the end makes sense. I tried a few times. The first was totally off, so on the second attempt, which was closer, I made it fit. I’m quite happy with the result. Now I just have to find those times which require a shawl and then remember to wear it. I think it will come in handy for coolish Autumn walks in the natural areas around my home.
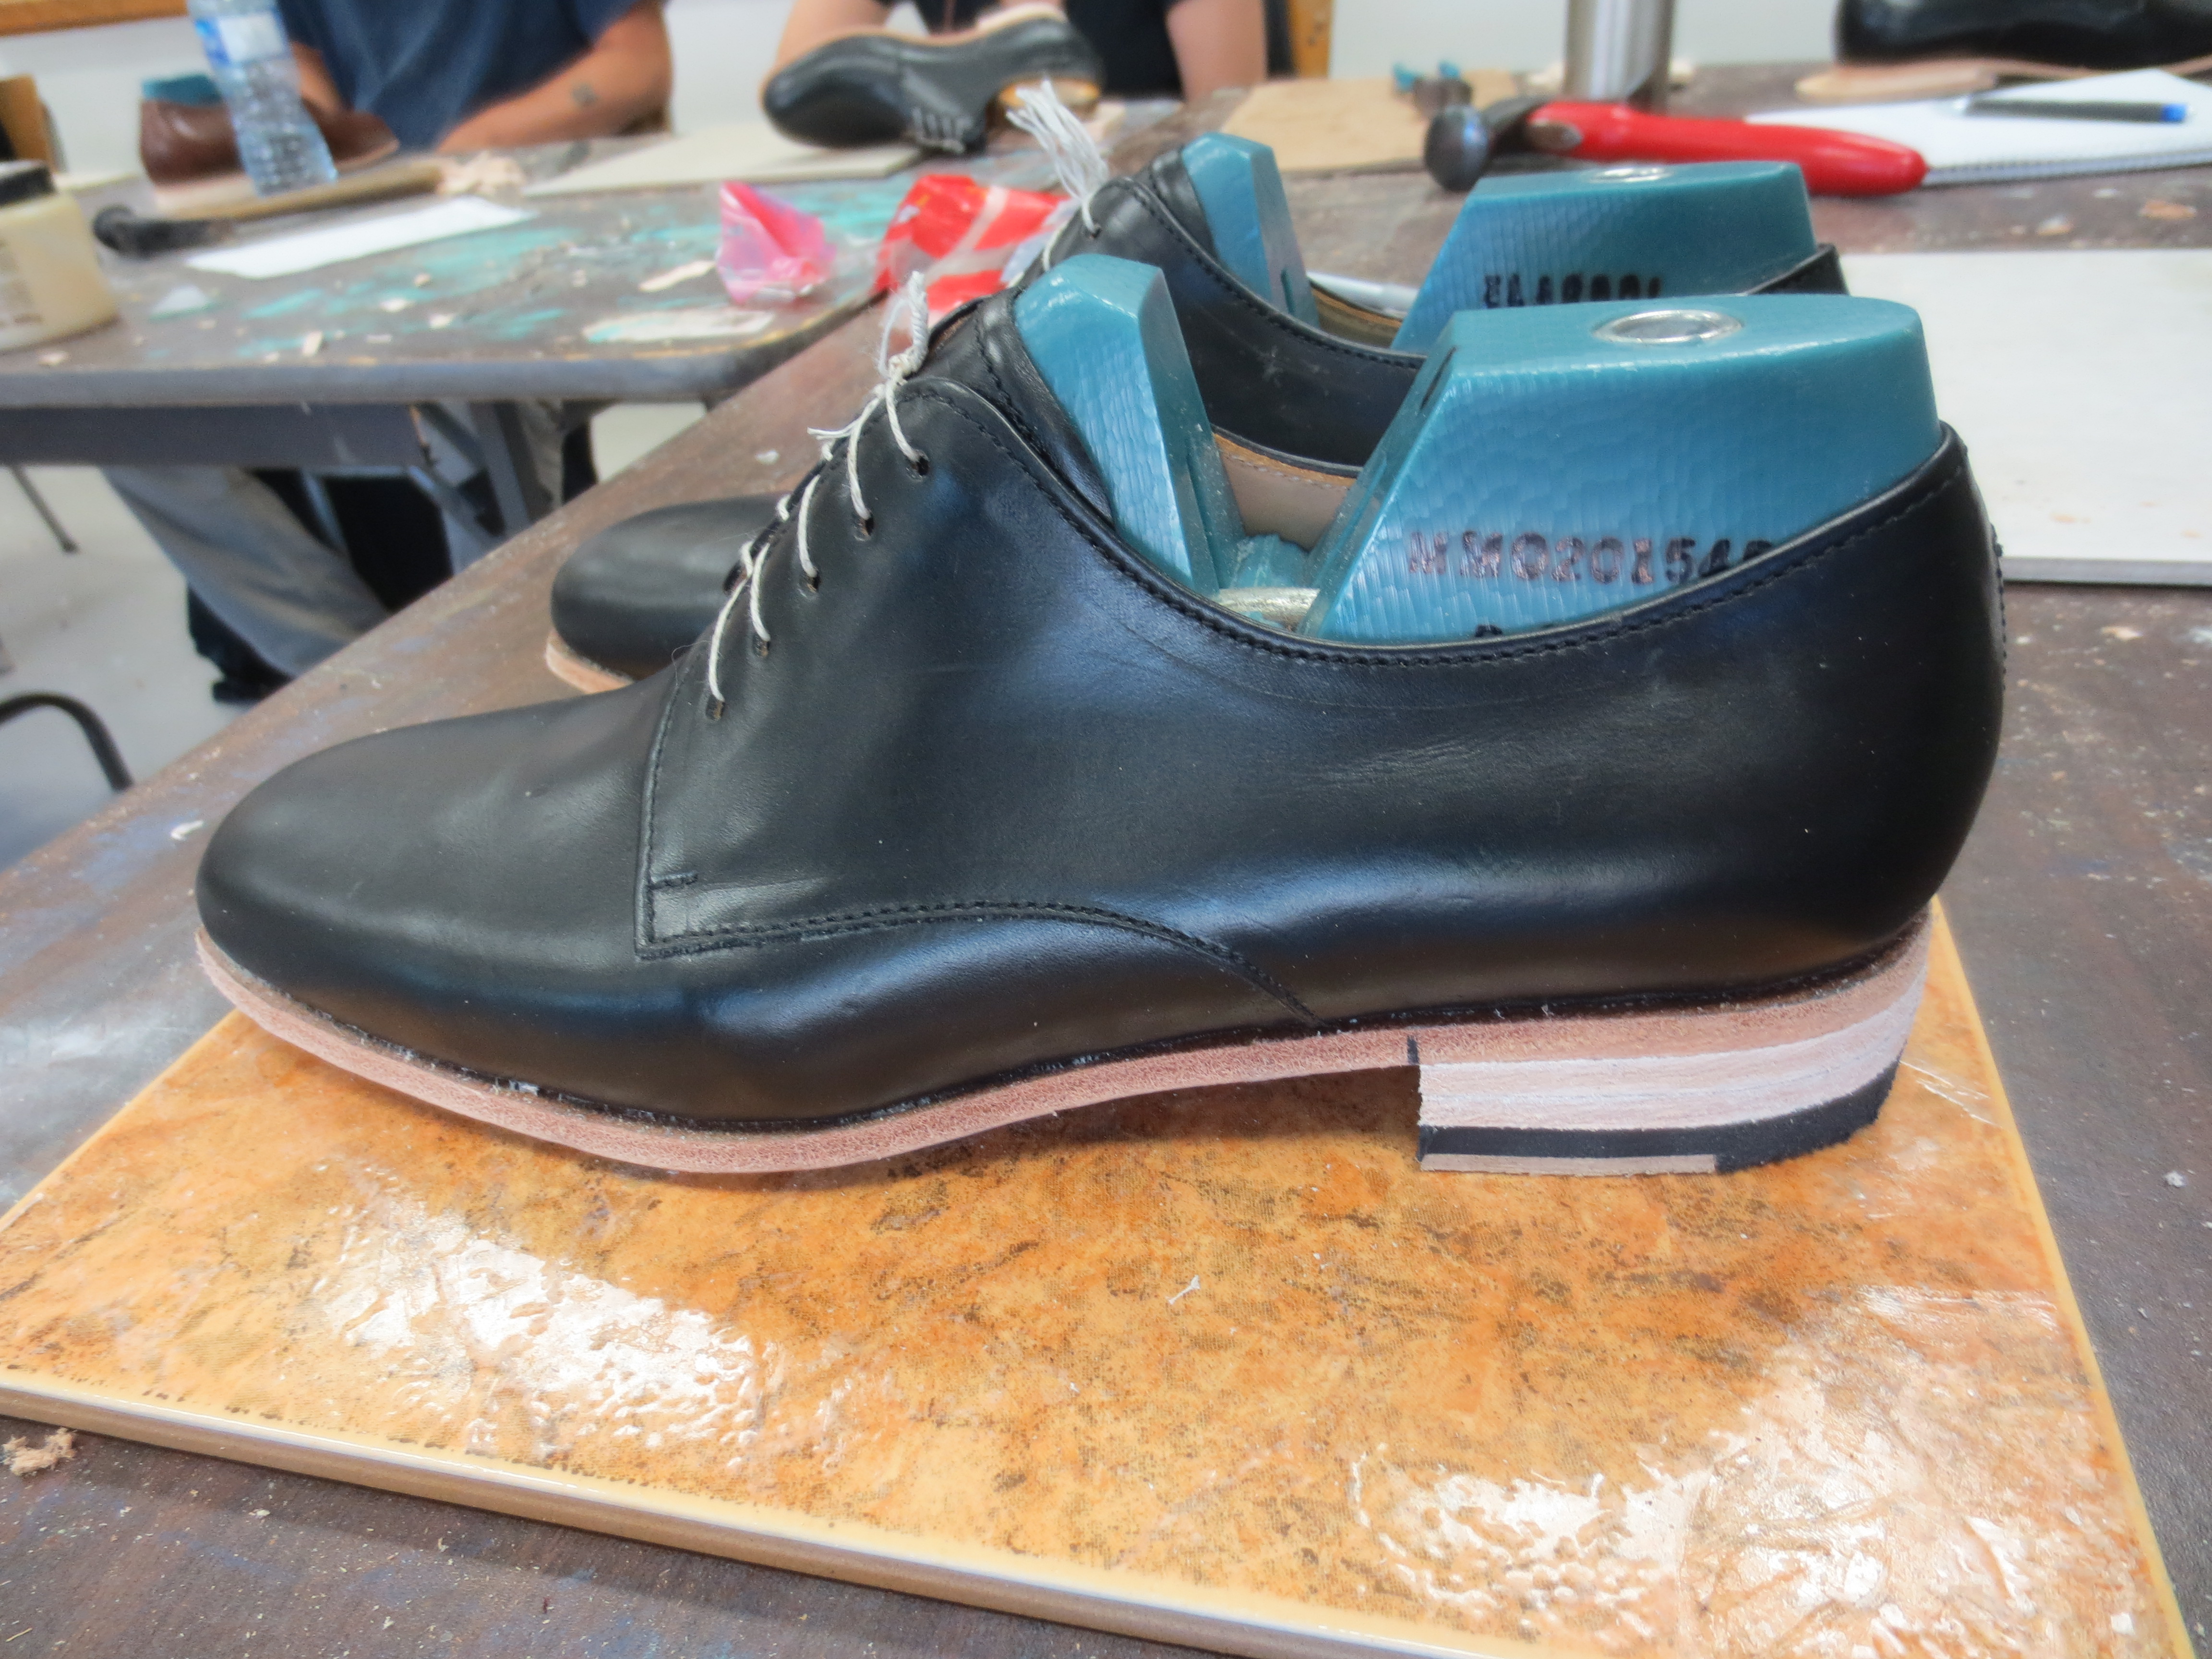
SHOES!! I have had dreams of becoming a shoe cobbler for a few years now. One (at least) of my ancestors was a master boot-maker, Benjamin Joseph Green. When I was about 21 or so years old I saw that a local shoe repair shop needed help, no experience necessary. I went in eagerly to inquire about the position. The woman working there told me I wouldn’t be strong enough because I was a girl. RAWR, eff-you! I was at my strongest physically at the time, too bad I didn’t have as strong of a will and enough conviction to convince them I would be worth the investment…! As a shy and easily discouraged 21 year old I left feeling betrayed and utterly disappointed. I knew I was strong enough! I assumed all other shops in Peterborough would react the same. Fast-forward ten years later and shoe cobbling comes up in my mind and in reality again! My sister talks to a shoe repair woman in Kensington Market and my mom finds a class offered at Haliburton School of Art in shoe-making taught by Jon Gray. I signed up for the course and have been in contact with the cobbler in Kensington Market. The following series of pictures shows just a few of the steps involved in making one pair of shoes over a six-day period of time, eight hours/day…enjoy!
So many nails to hammer in and pull out!
Lots of precision cutting…
Gluing
Shaping
Hard work and dirty hands
Cork!
Soles!
Heels!
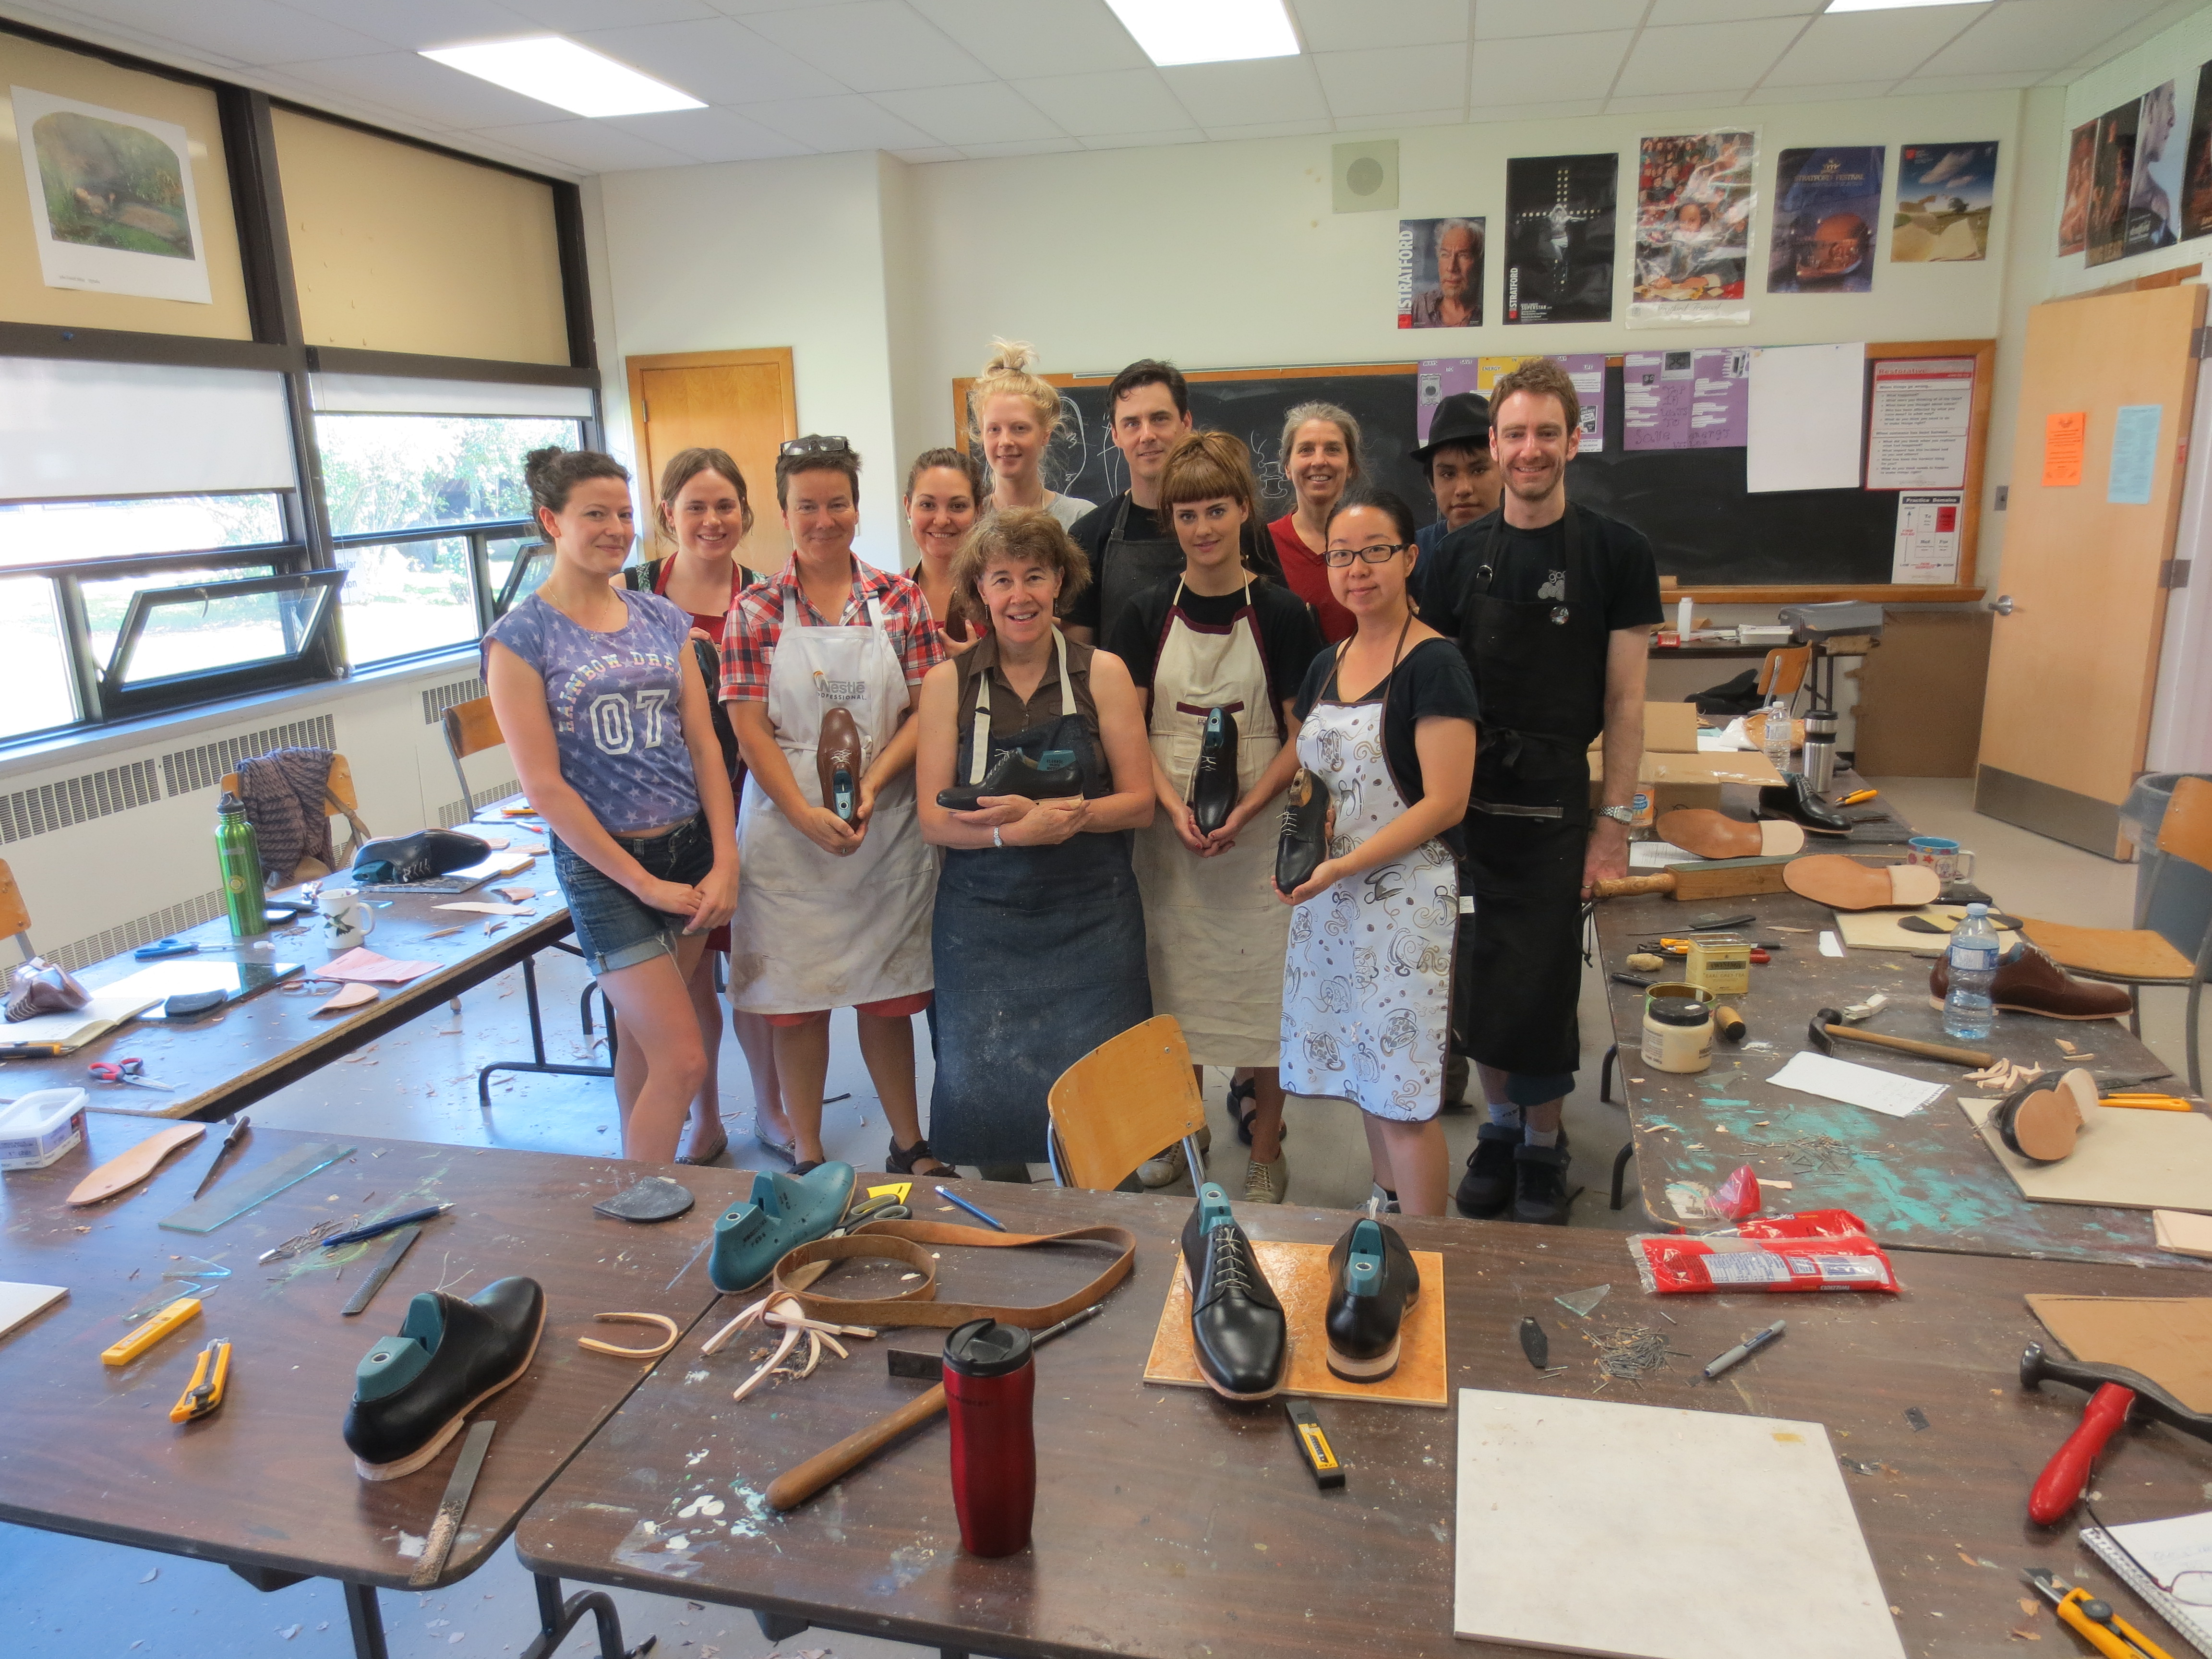
This group of people where very entertaining and mostly fun to be around :) It was the hottest week of the yea last summer and we had no air conditioning. It was kind-of insane-making.
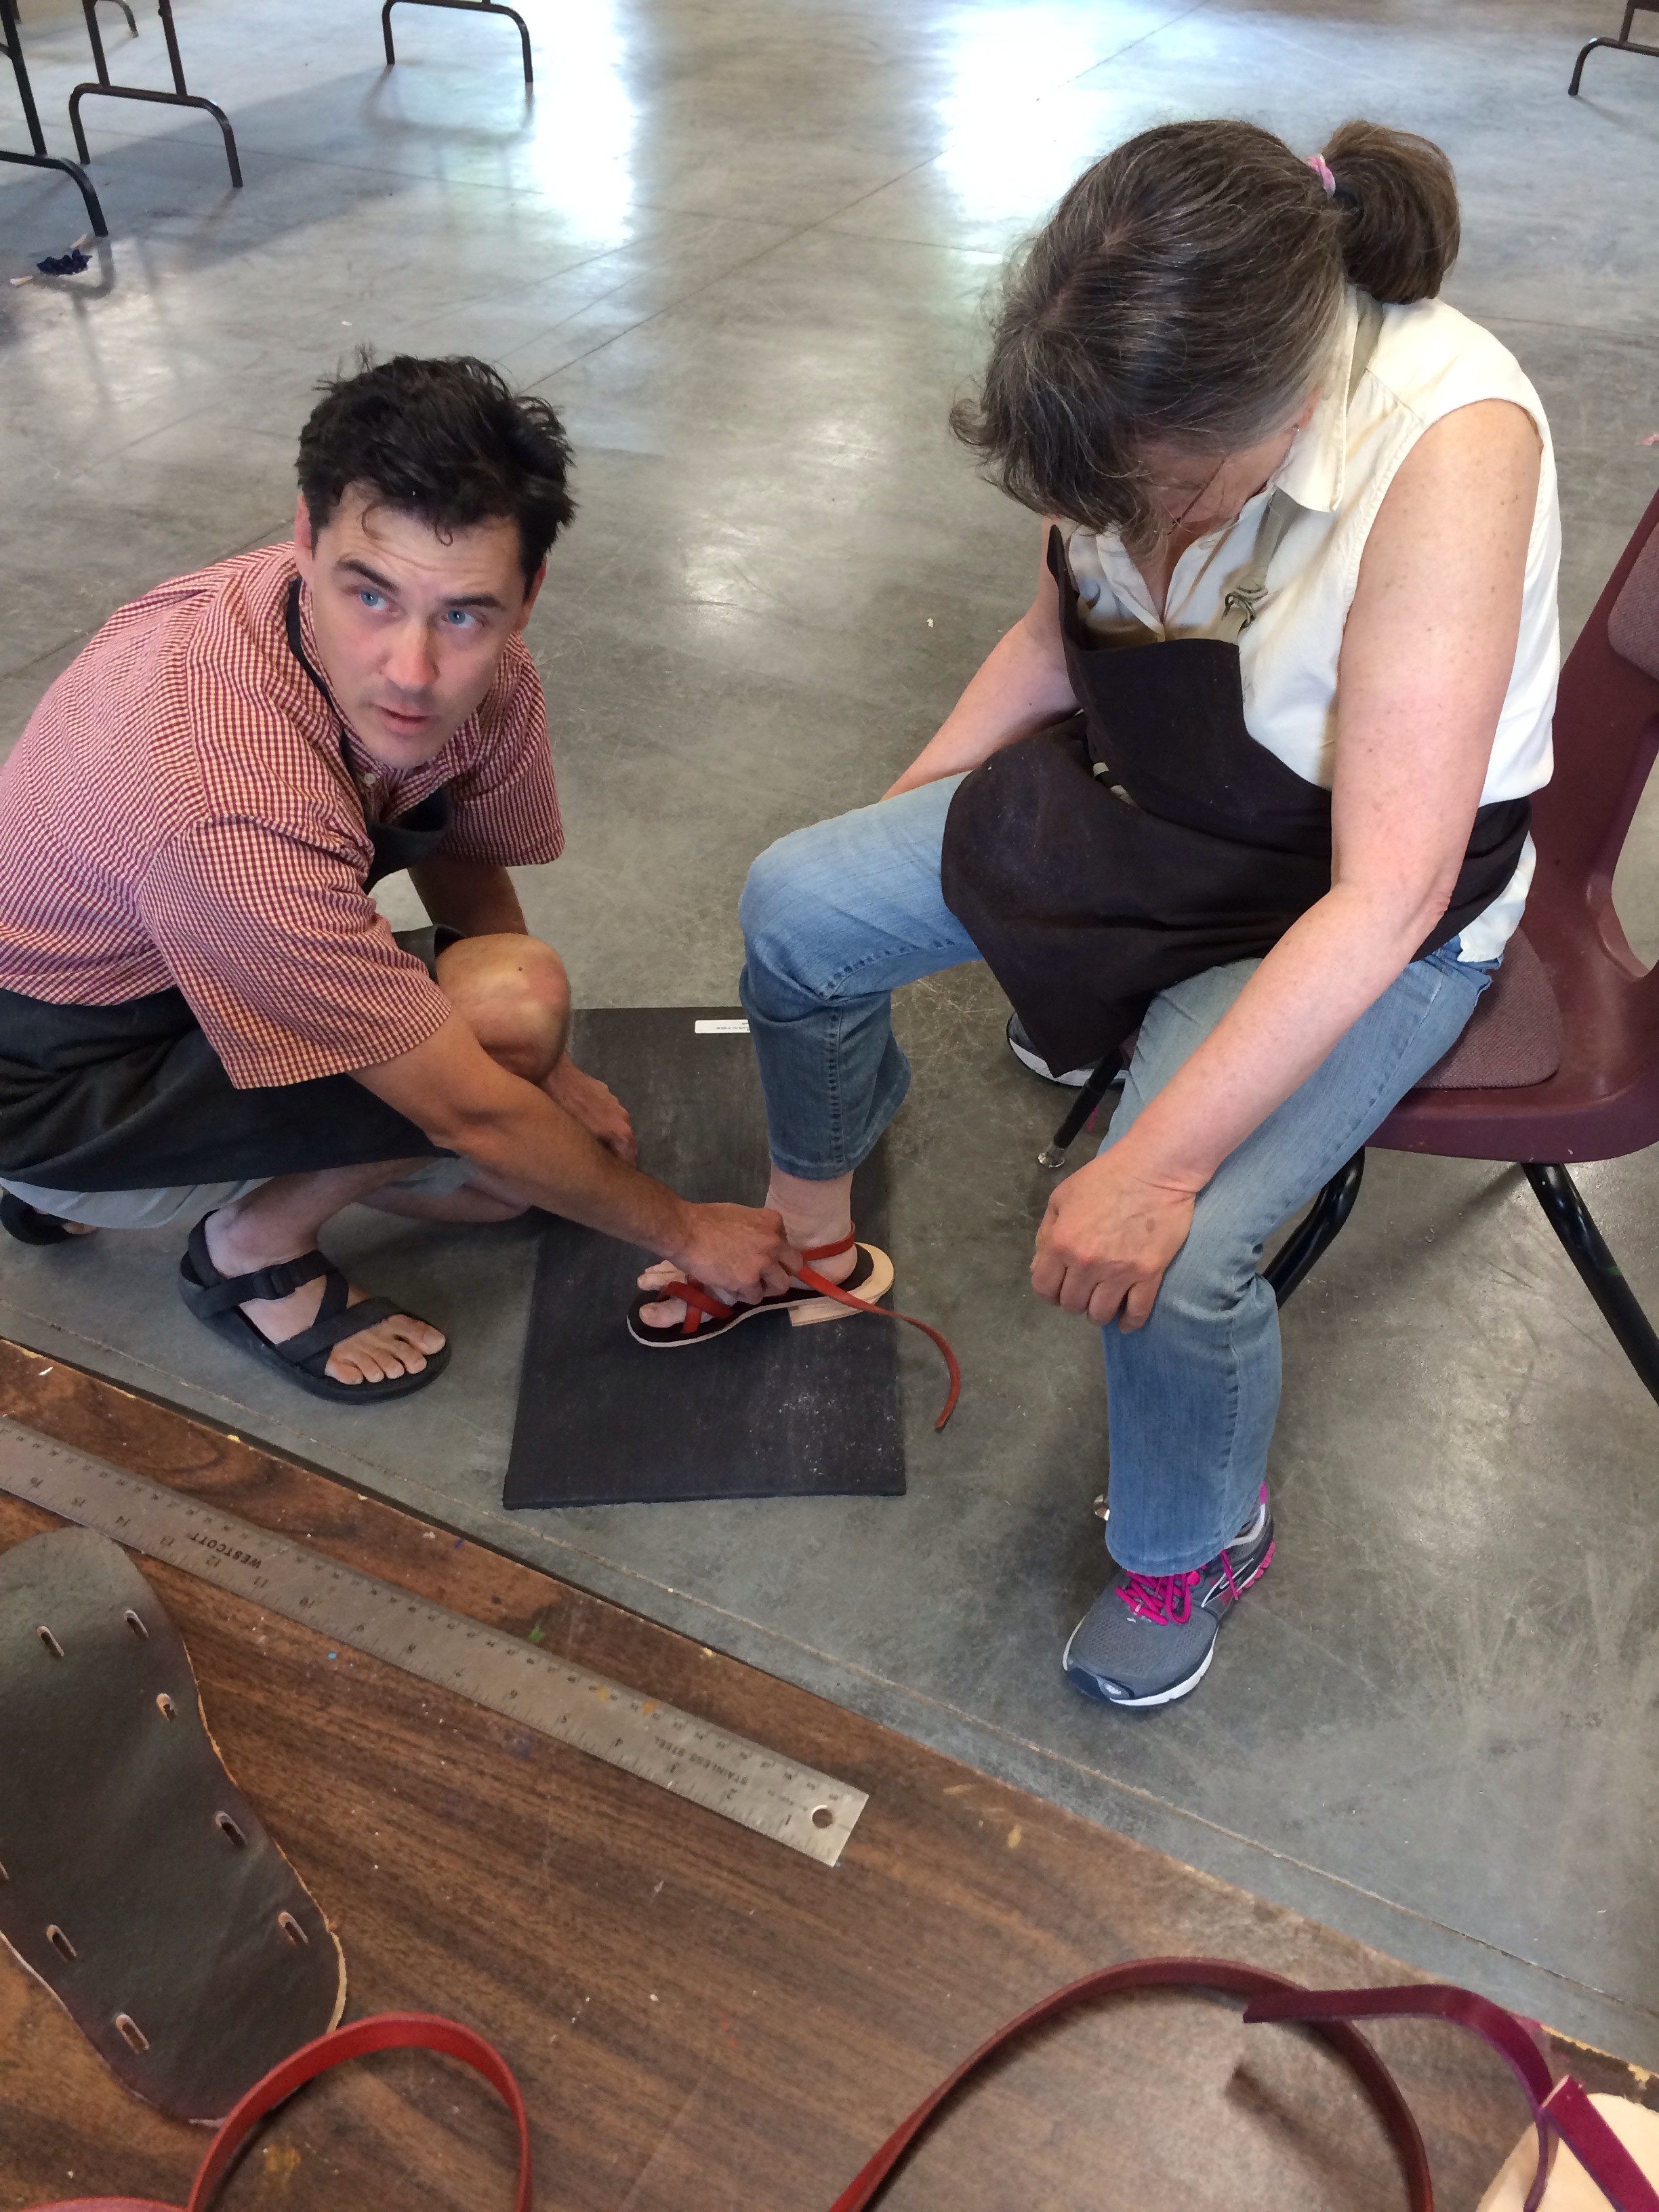
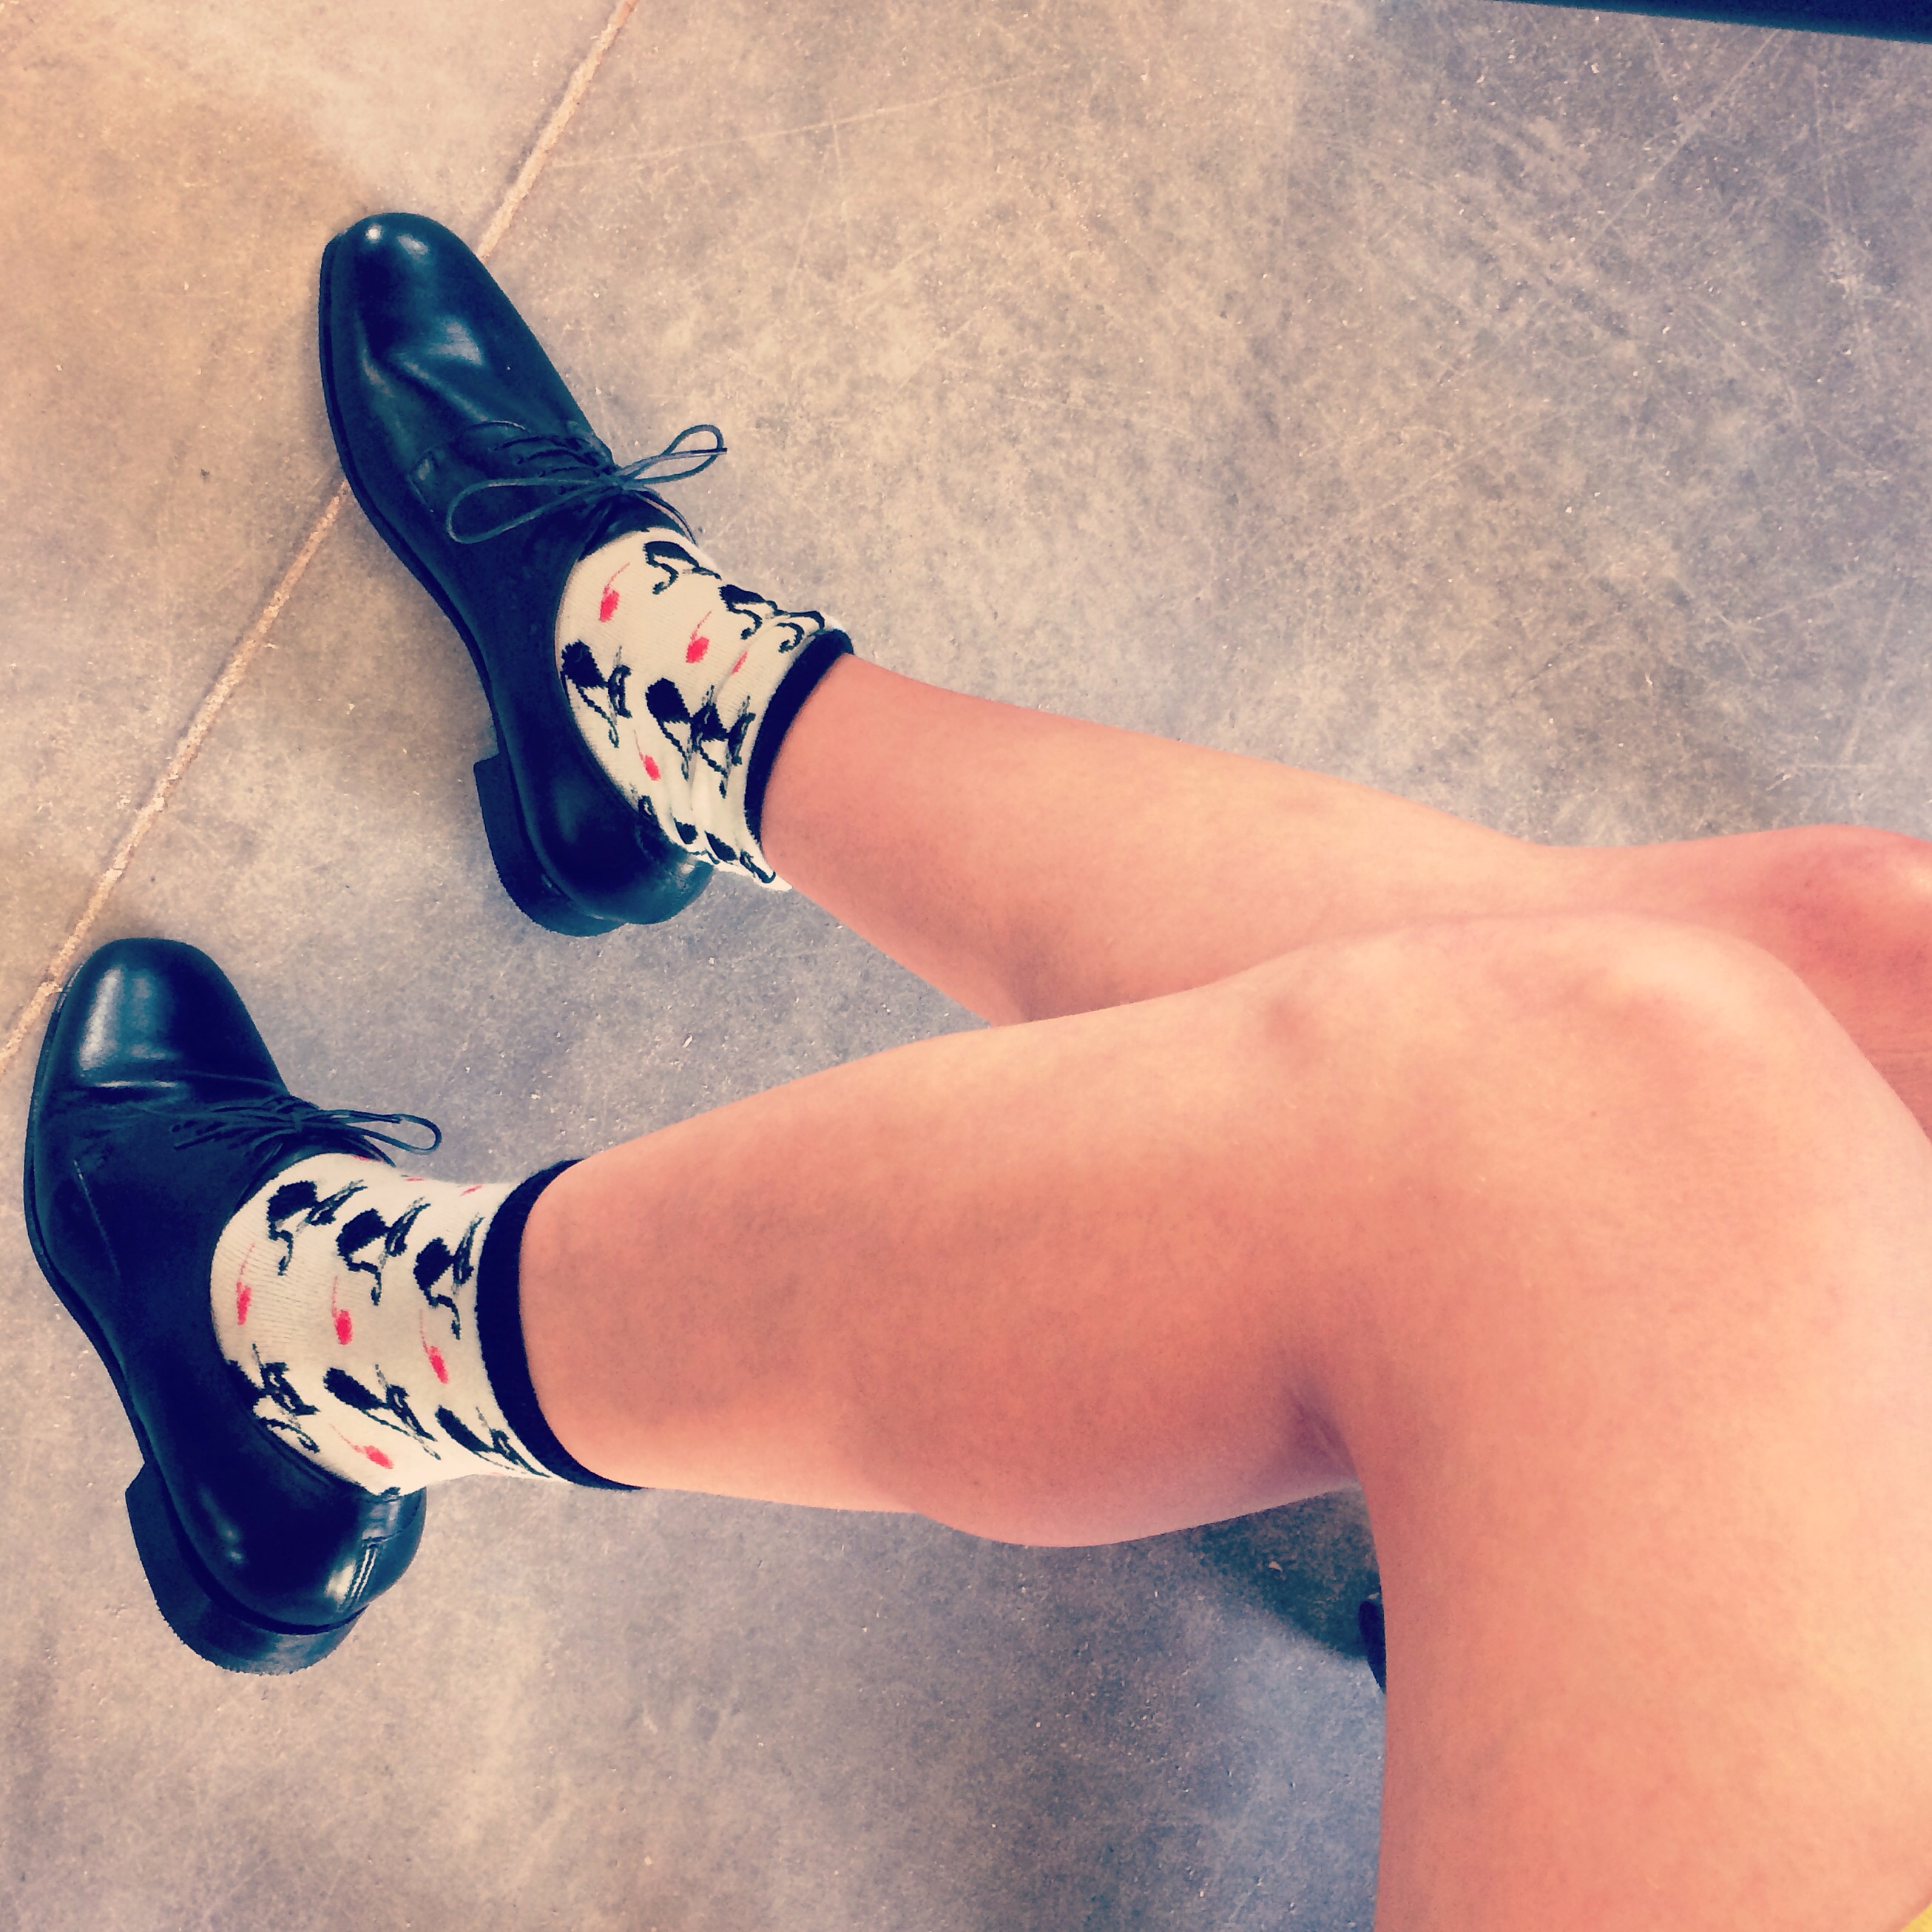
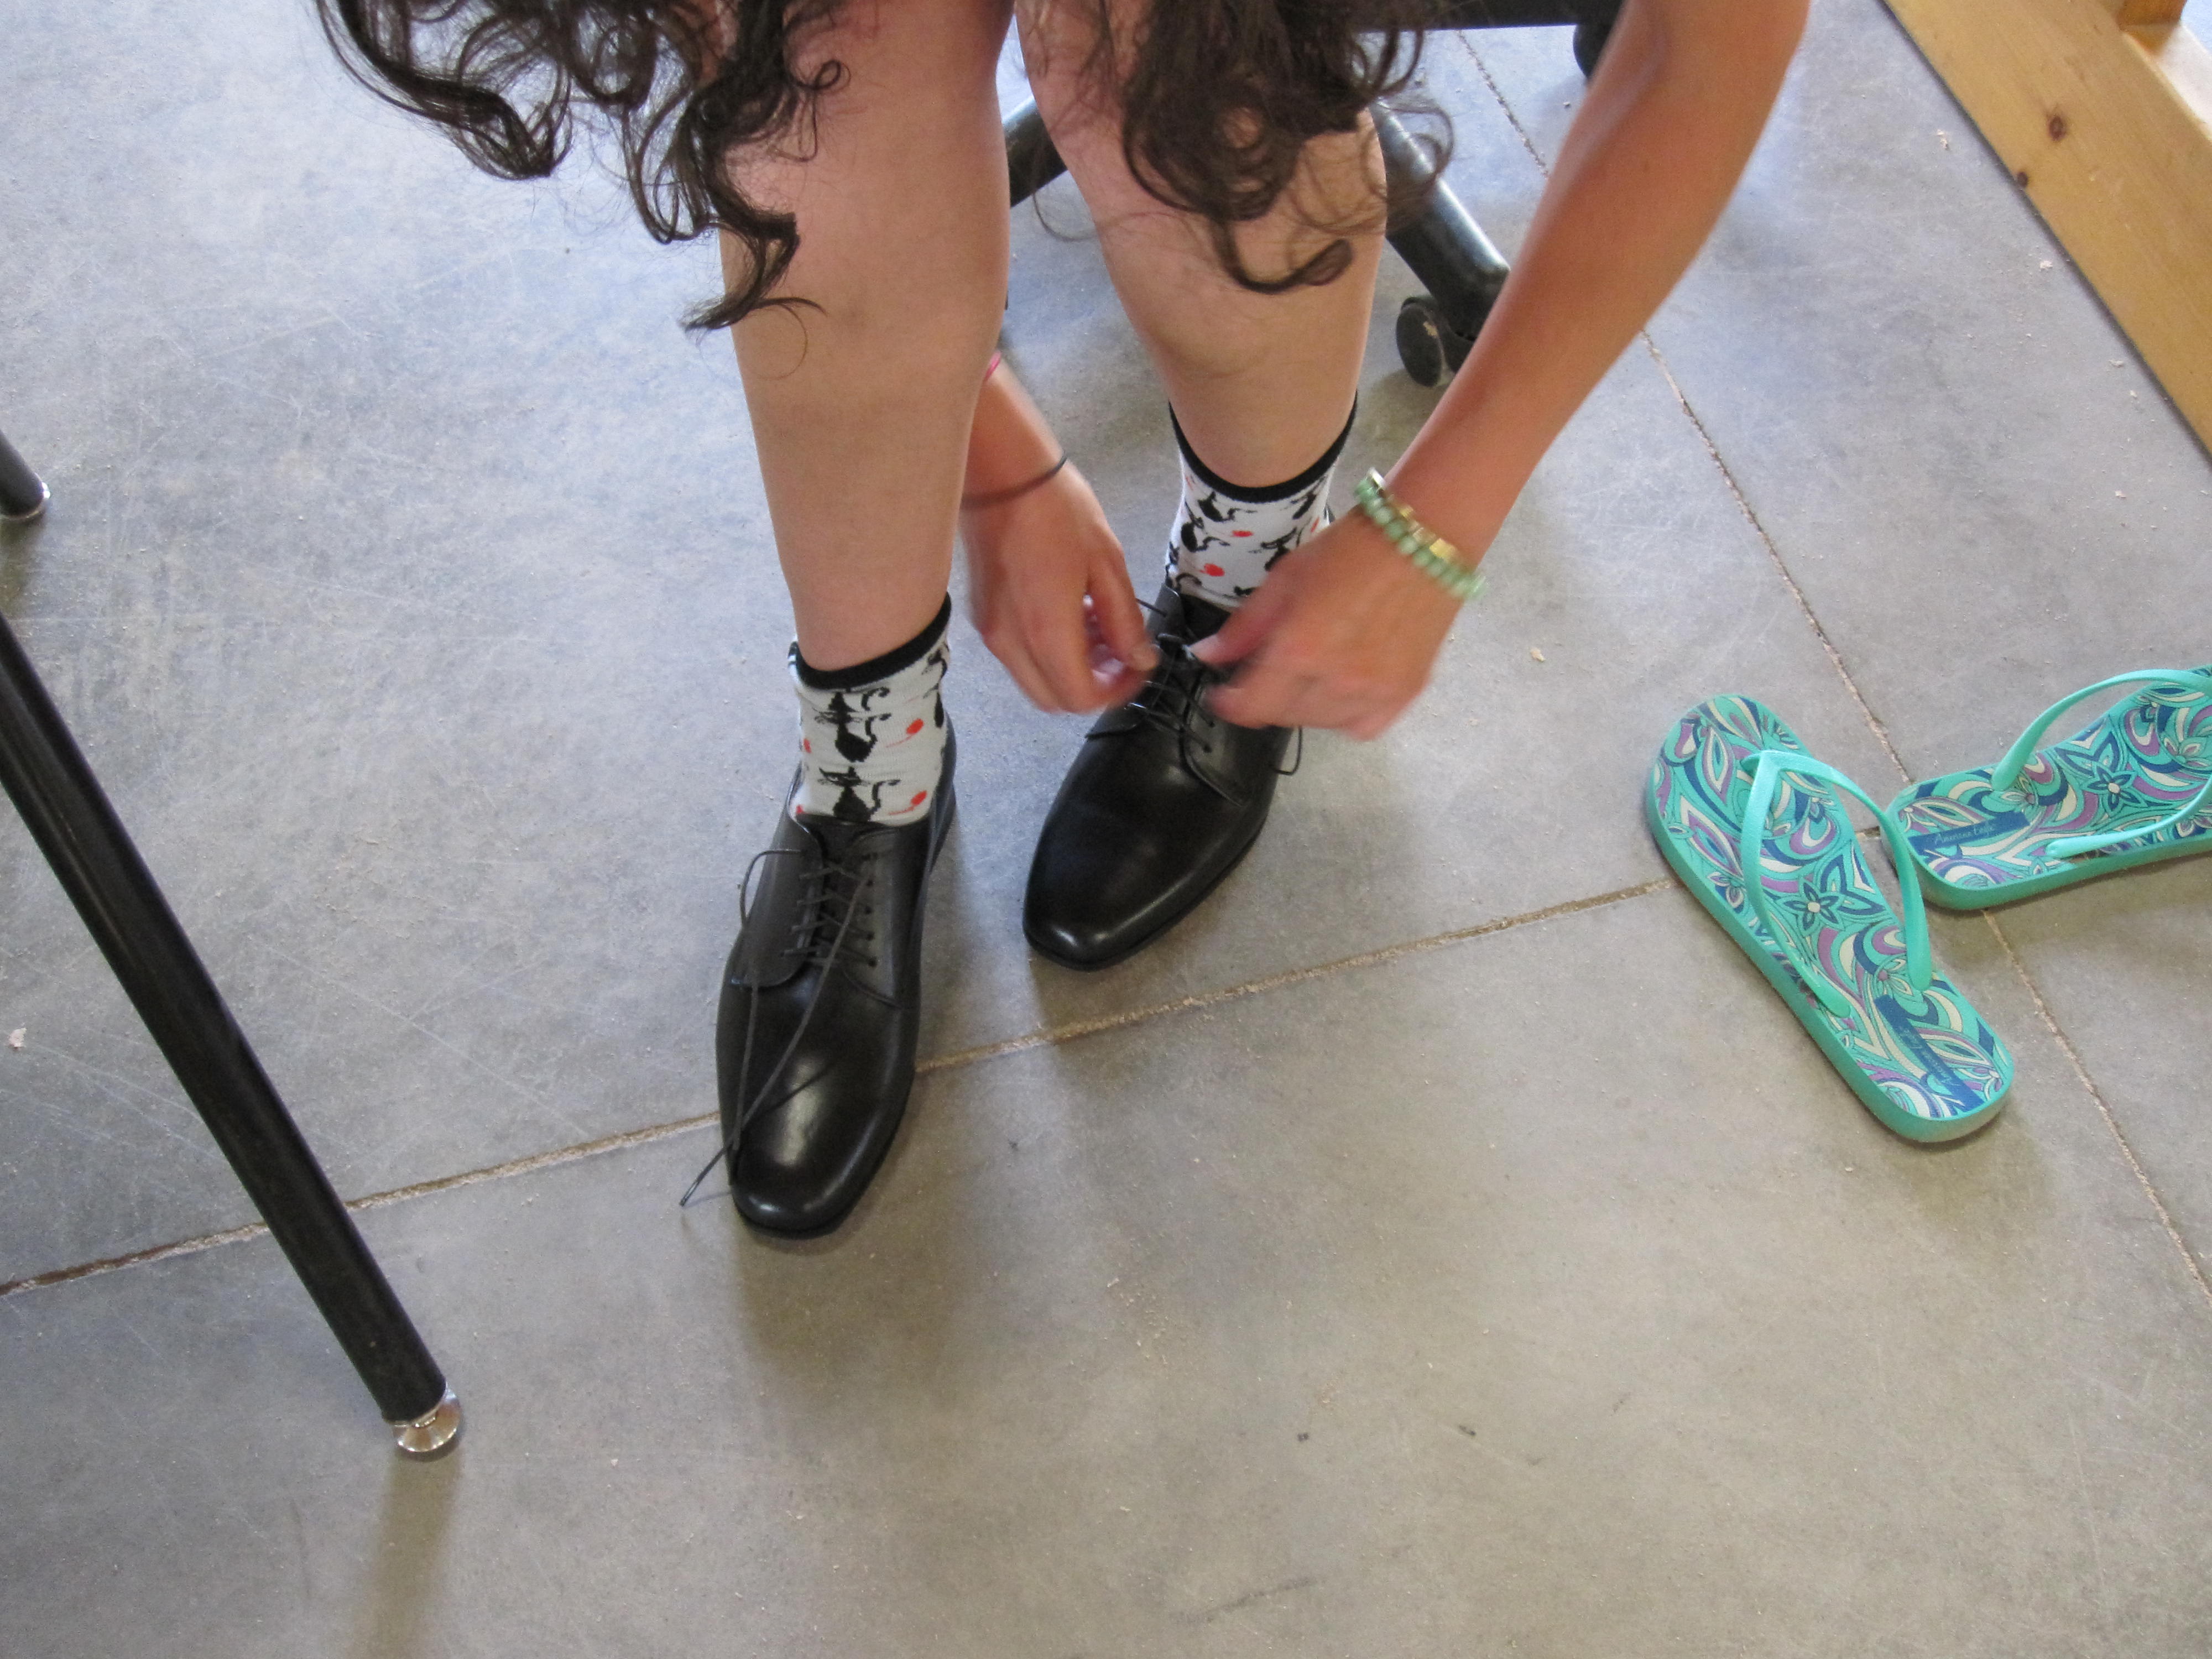
One year later, trying my shoes on for the first time (it’s a long story)!!
Jon Gray, himself, re-training me in the art of shoe lace tying… :)
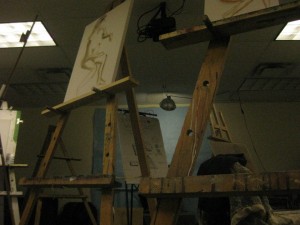
…Well last spring, really. For a long while I had been looking for a life painting class to take. I really enjoy life drawing (although it is somehow really hard to find a class that I can fit in to my life in Peterborough). There is something very special and magical about human skin and the way light is absorbed and reflected in it. There is also something very special about finding all of the colours in skin and finding ways to mix them up. So to my pleasure, I found a Haliburton School of the Arts class which was to be held at Fleming College, not far from my home. The class, which I can’t find now, was taught by Matthew Mancini.Here he is. It was a pretty rad class, although it fell on a bad week (actually a week that got something horrible out of my life, but it was a crap process). Matthew was an excellent teacher, in a style that I would actually like to devote myself to, if nothing else (money, crippling self-doubt…) were in my way.
The first day was spent on a small painting using only black and white paint. We were supposed to block the basic tones and shapes of the figure. I hate black paint, the particular black I have makes unappealing blue greys which are thick like toffee and seem to need to be chewed too much to get any kind of gradient. Needless to say I hate what I ended up with and never want to see it again.
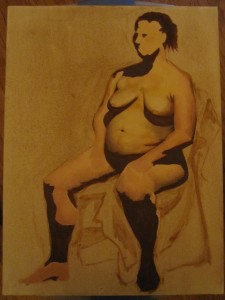
On the second day we did a style called Alla Prima, or what I would have called before that day Painting. This made me much more comfortable. He wanted us to really only work on the light portion of the figure and add little or no detail to the dark portion. Although unfinished (which is pretty generally my painting M.O.) and containing some brushstrokes I regret, I enjoy the result I had for that day. The model was great and I came up with some good skin tones and some nice suggestion (oooh, the mystery…). I’m not quite sure what happened with that tiny foot, but I really was (and am) out of practice with the life-drawing and the proportion.
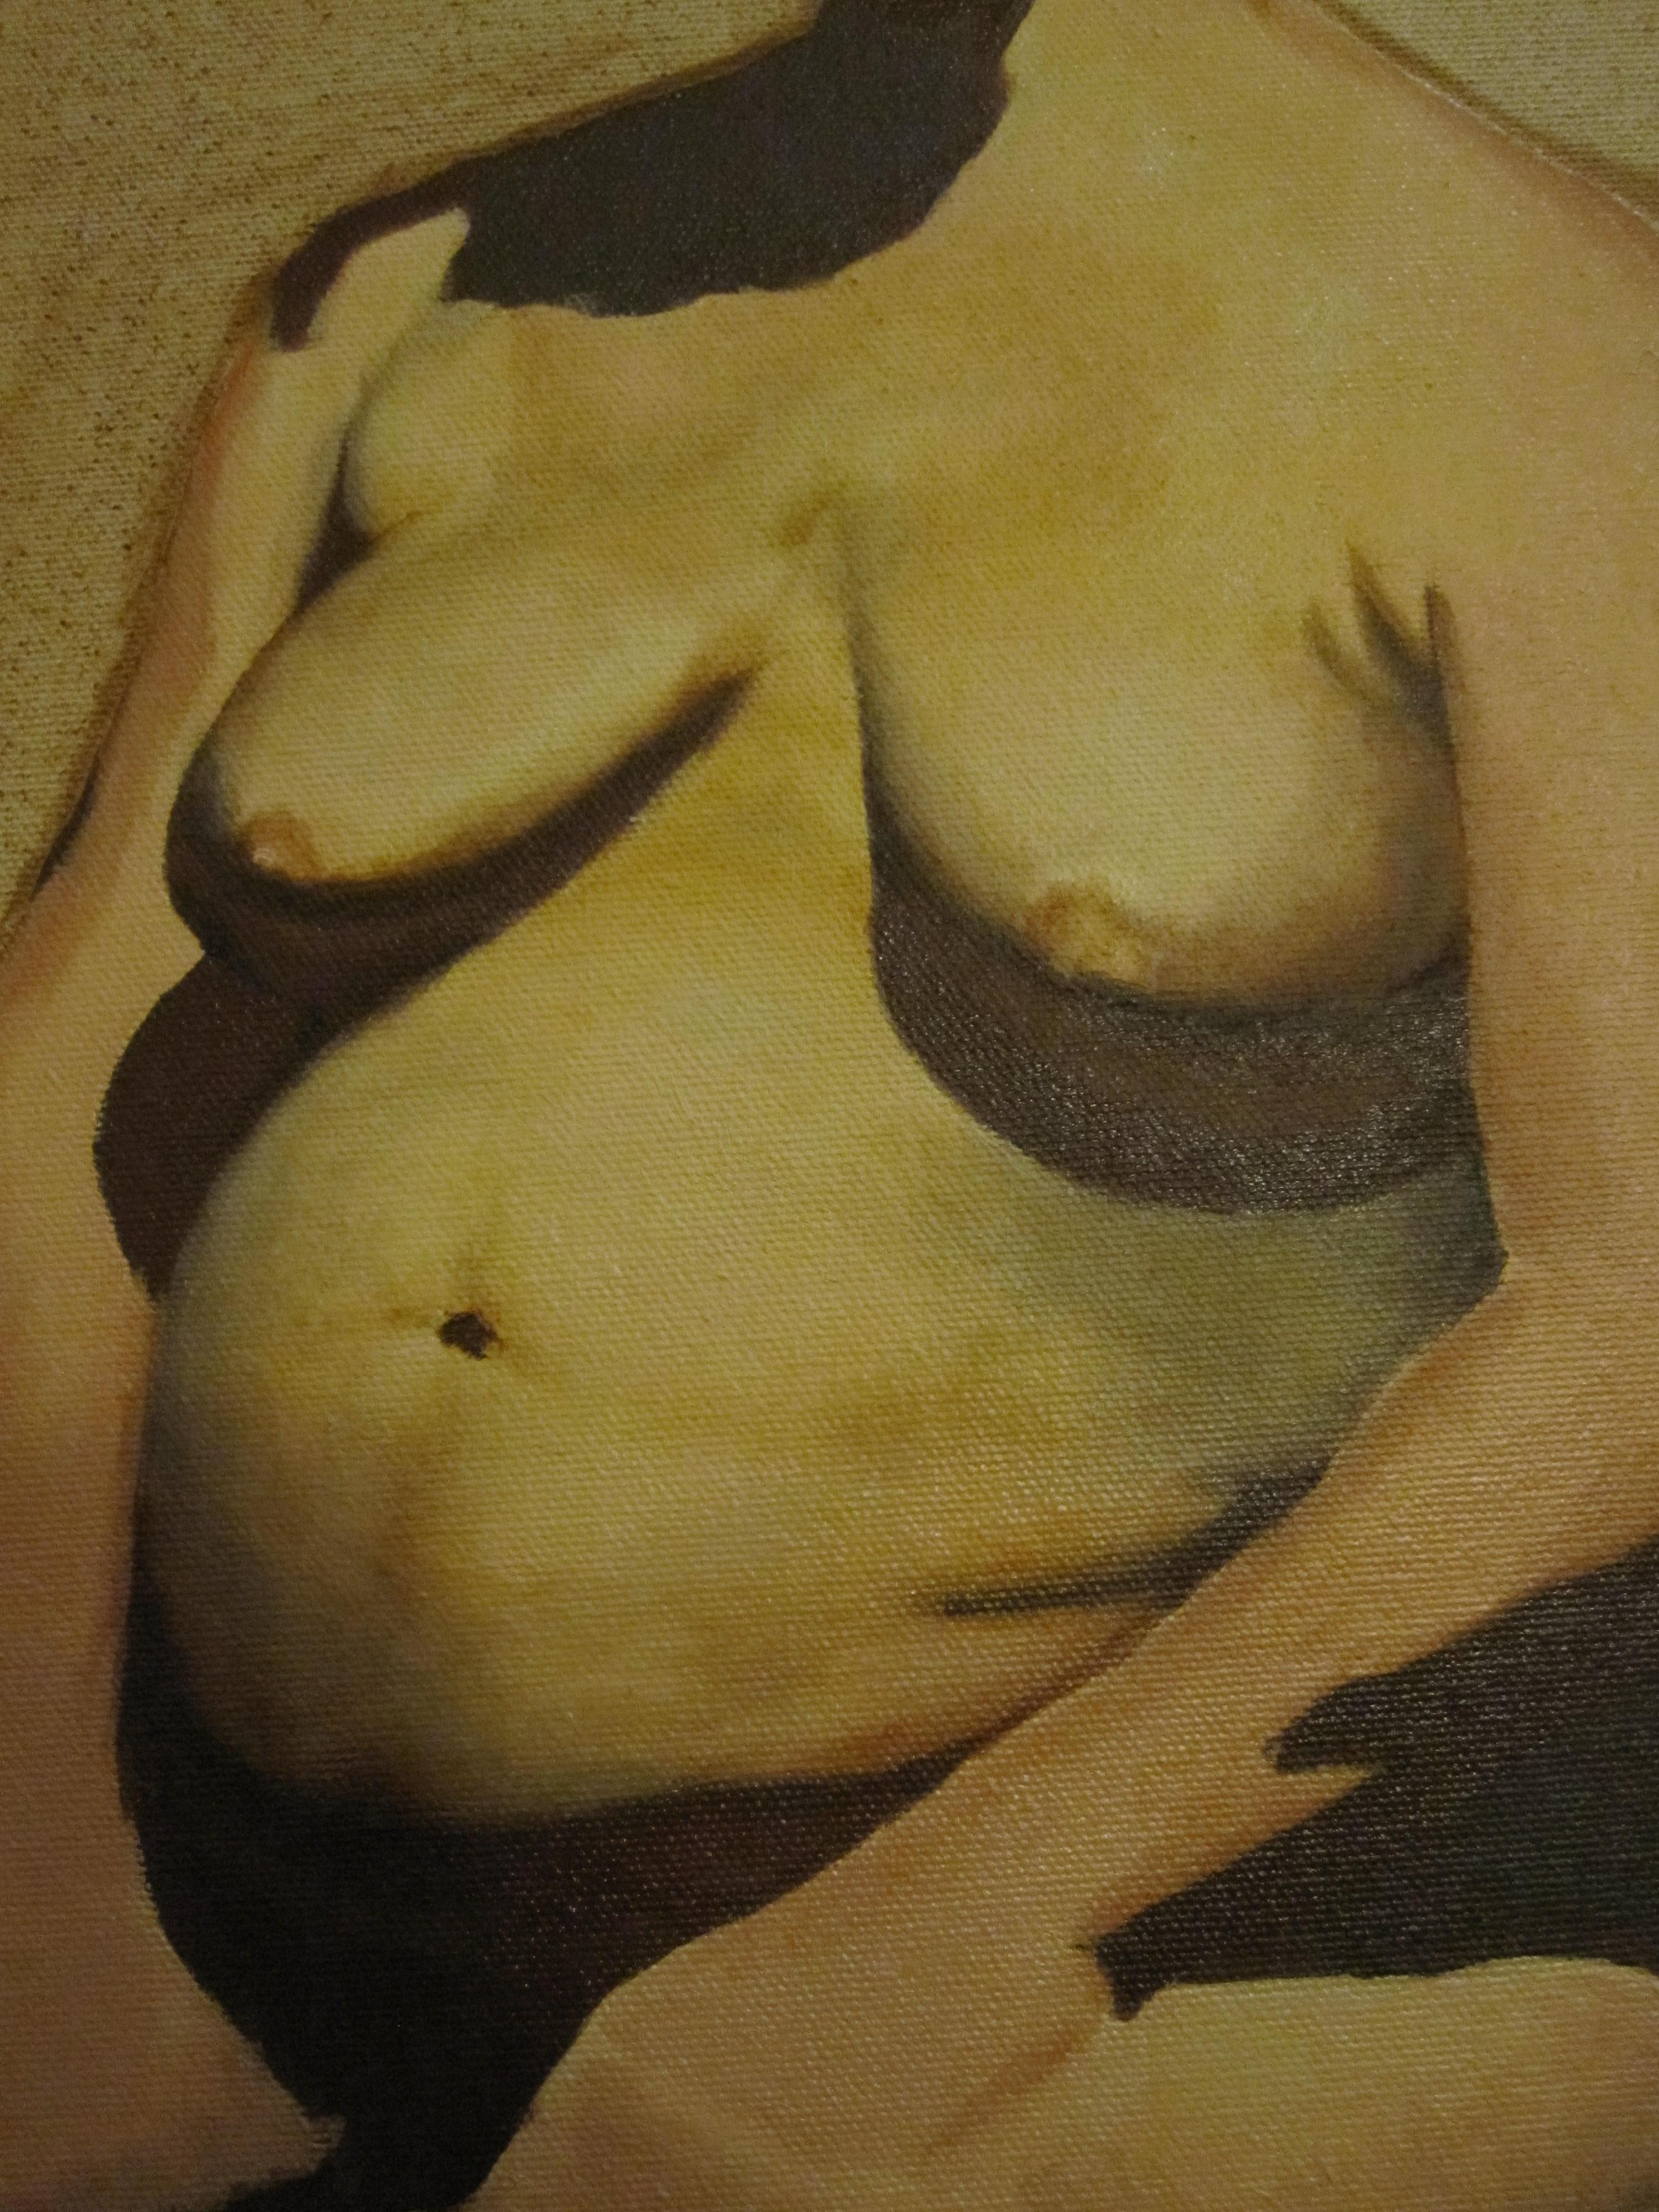
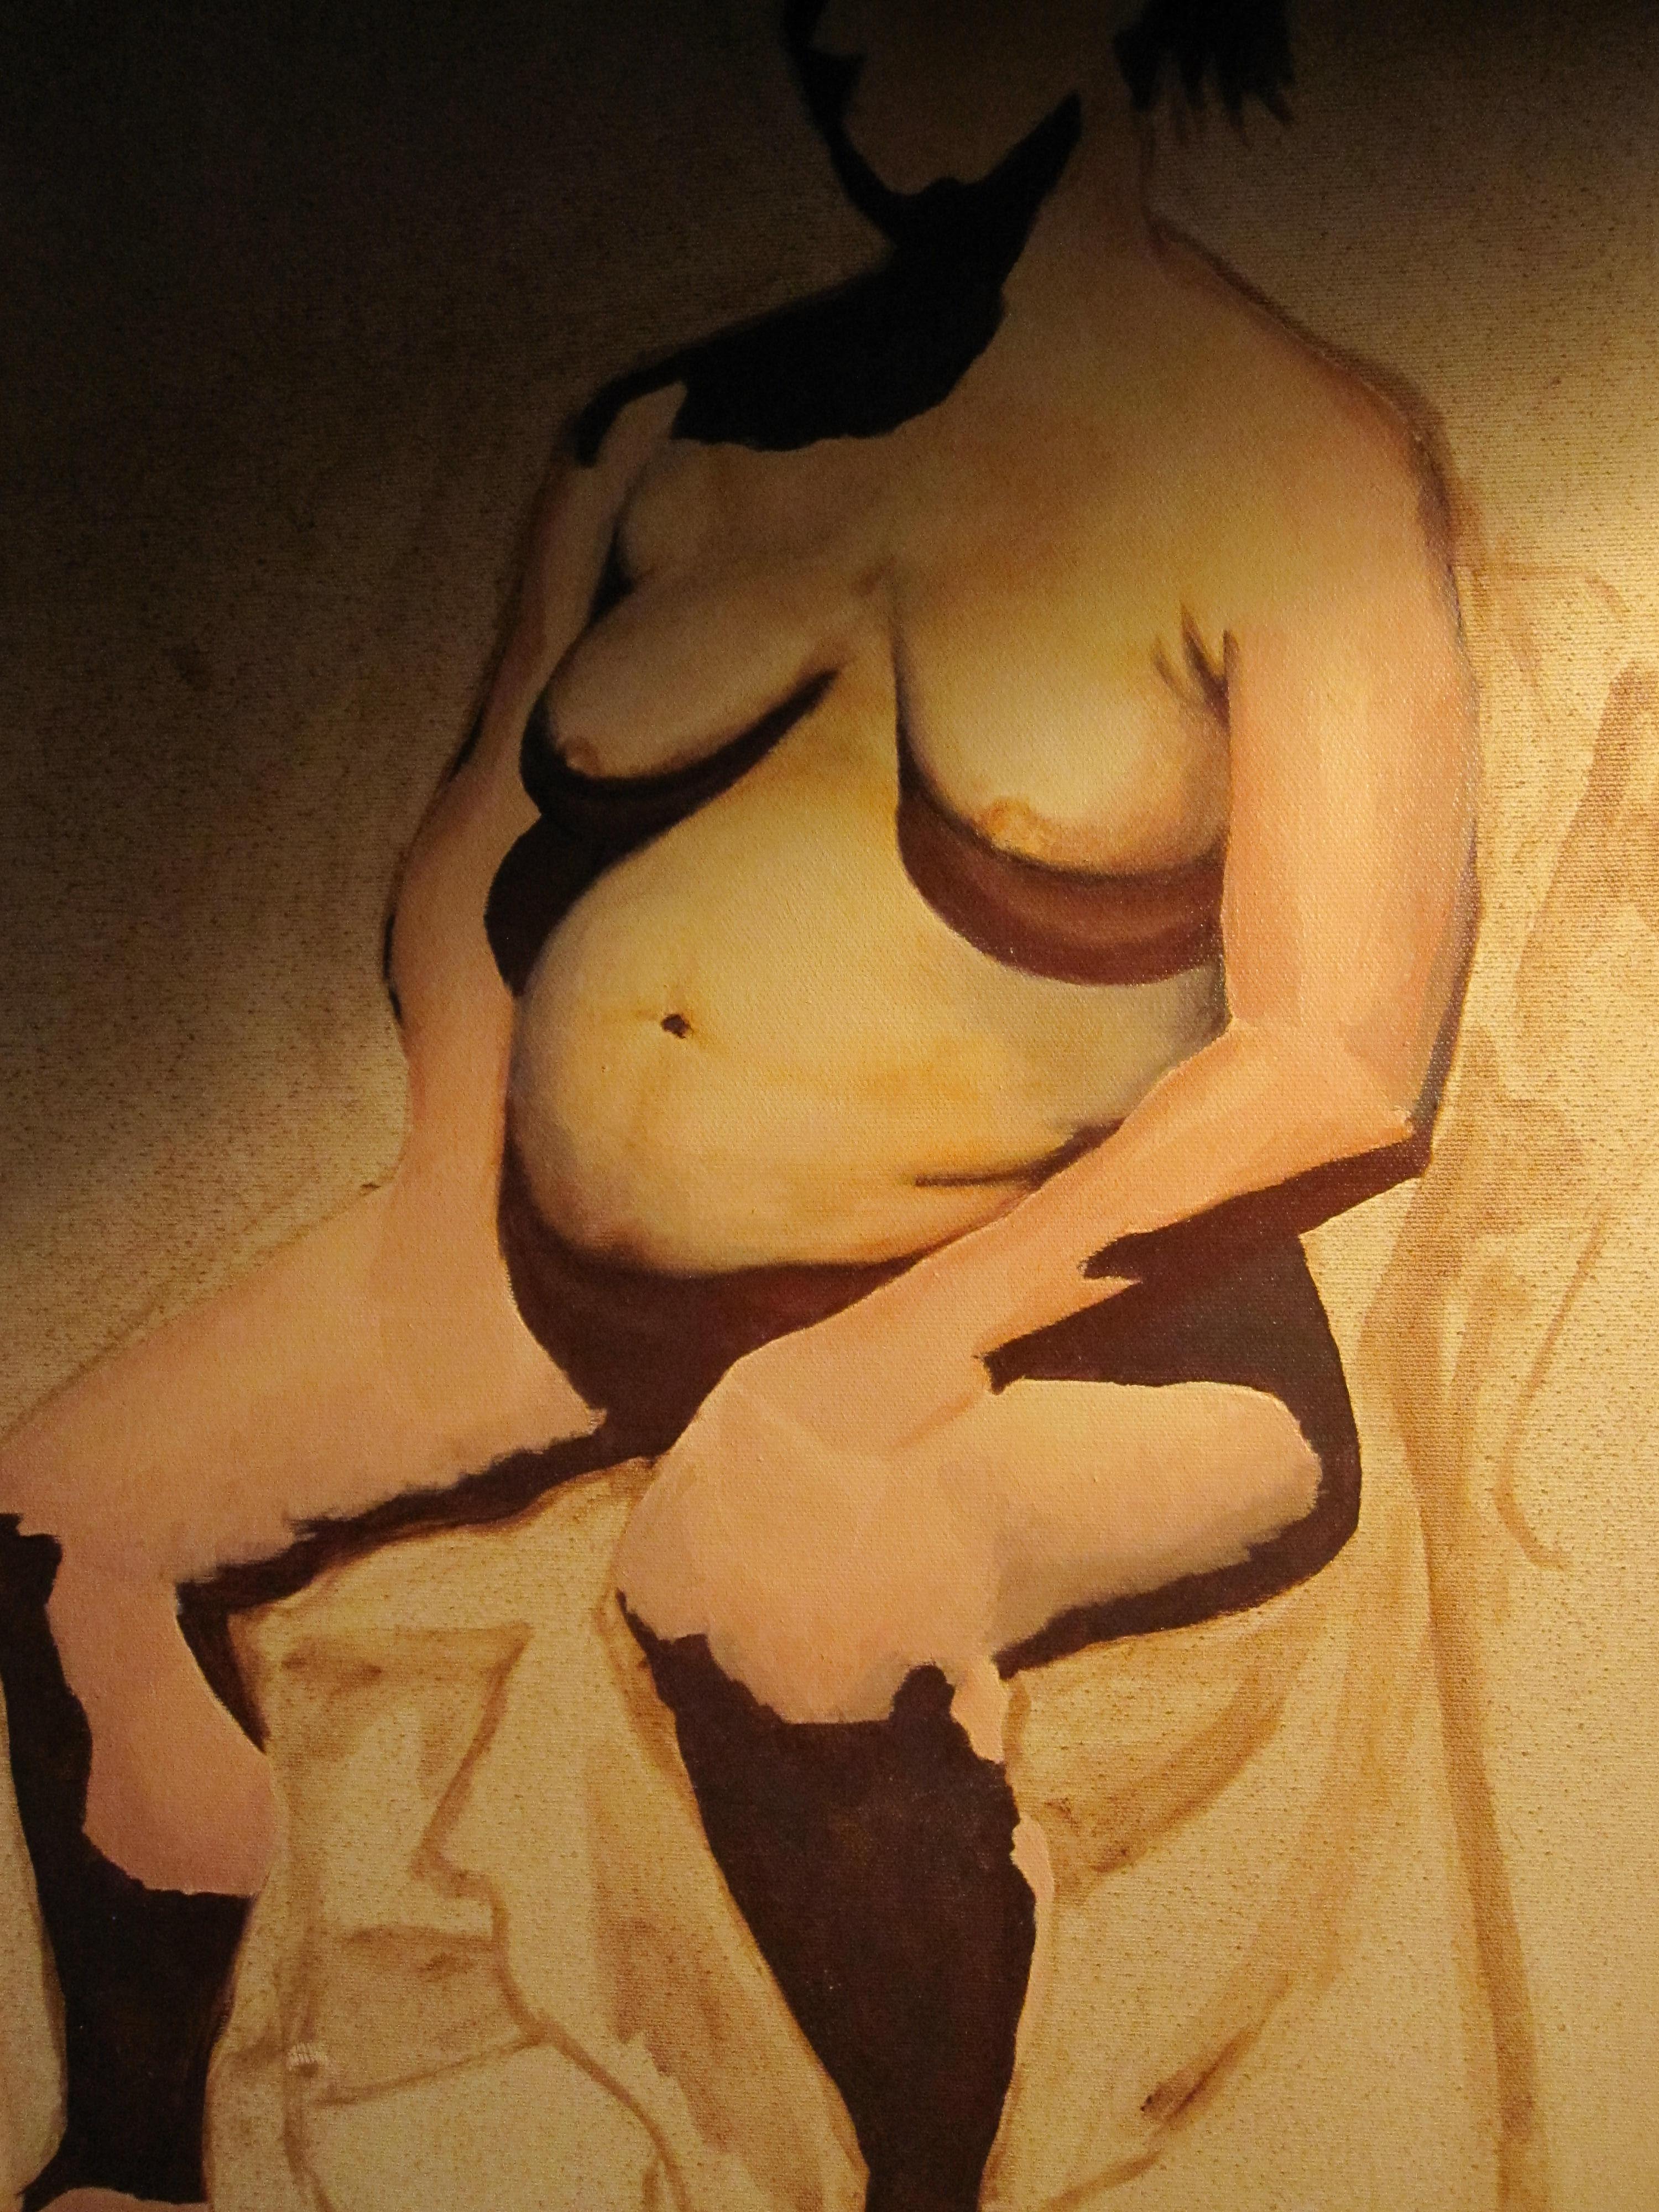
The rest of the week was spent on one large painting done in the abbreviated style of the old masters. This involved getting a good drawing (with spirits-diluted mid tone brown), blocking the lights and darks, rounding the light shapes (which was a step that I could not get my brain around…I think that this slowed my progress quite a bit), and finally getting in detail using walnut oil diluted paint (thick over lean). Because I am generally a slow painter, Matthew suggested choosing an area to work on for the detail work. I generally like to work from the centre out, so I chose the belly. …and what a belly it was. Everyone in the class would take a look at it and say “that’s a belly.” Oh dear. Never be a life model for me. The model was very good and kept her post exactly the same for the three days we worked on it (was it 3?). I wasn’t intending to make such an unflattering belly, but when I start looking deeply I see all types of translucence and reflection… Anyway, it is a really odd painting. I left it in Candace’s old room and whenever she would visit, she would turn it around so she didn’t have to see it. I wish I could have finished the whole painting. I think that if it were complete, the belly wouldn’t matter so much.
I completely recommend the class and the teacher. I forgot that this was actually one of the most stressful and draining weeks of my life. This may have been part of the reason that I created such an unappealing painting. I also recommend never getting involved in litigation…
Side note: This should have been my post somewhere in between Candace’s Chutney and Basket posts. I am painting, you’ll be happy. I’m working on two right now that I’d hoped would have been done before I needed to post, but neither were. Hopefully my next post will be on time and a new painting.
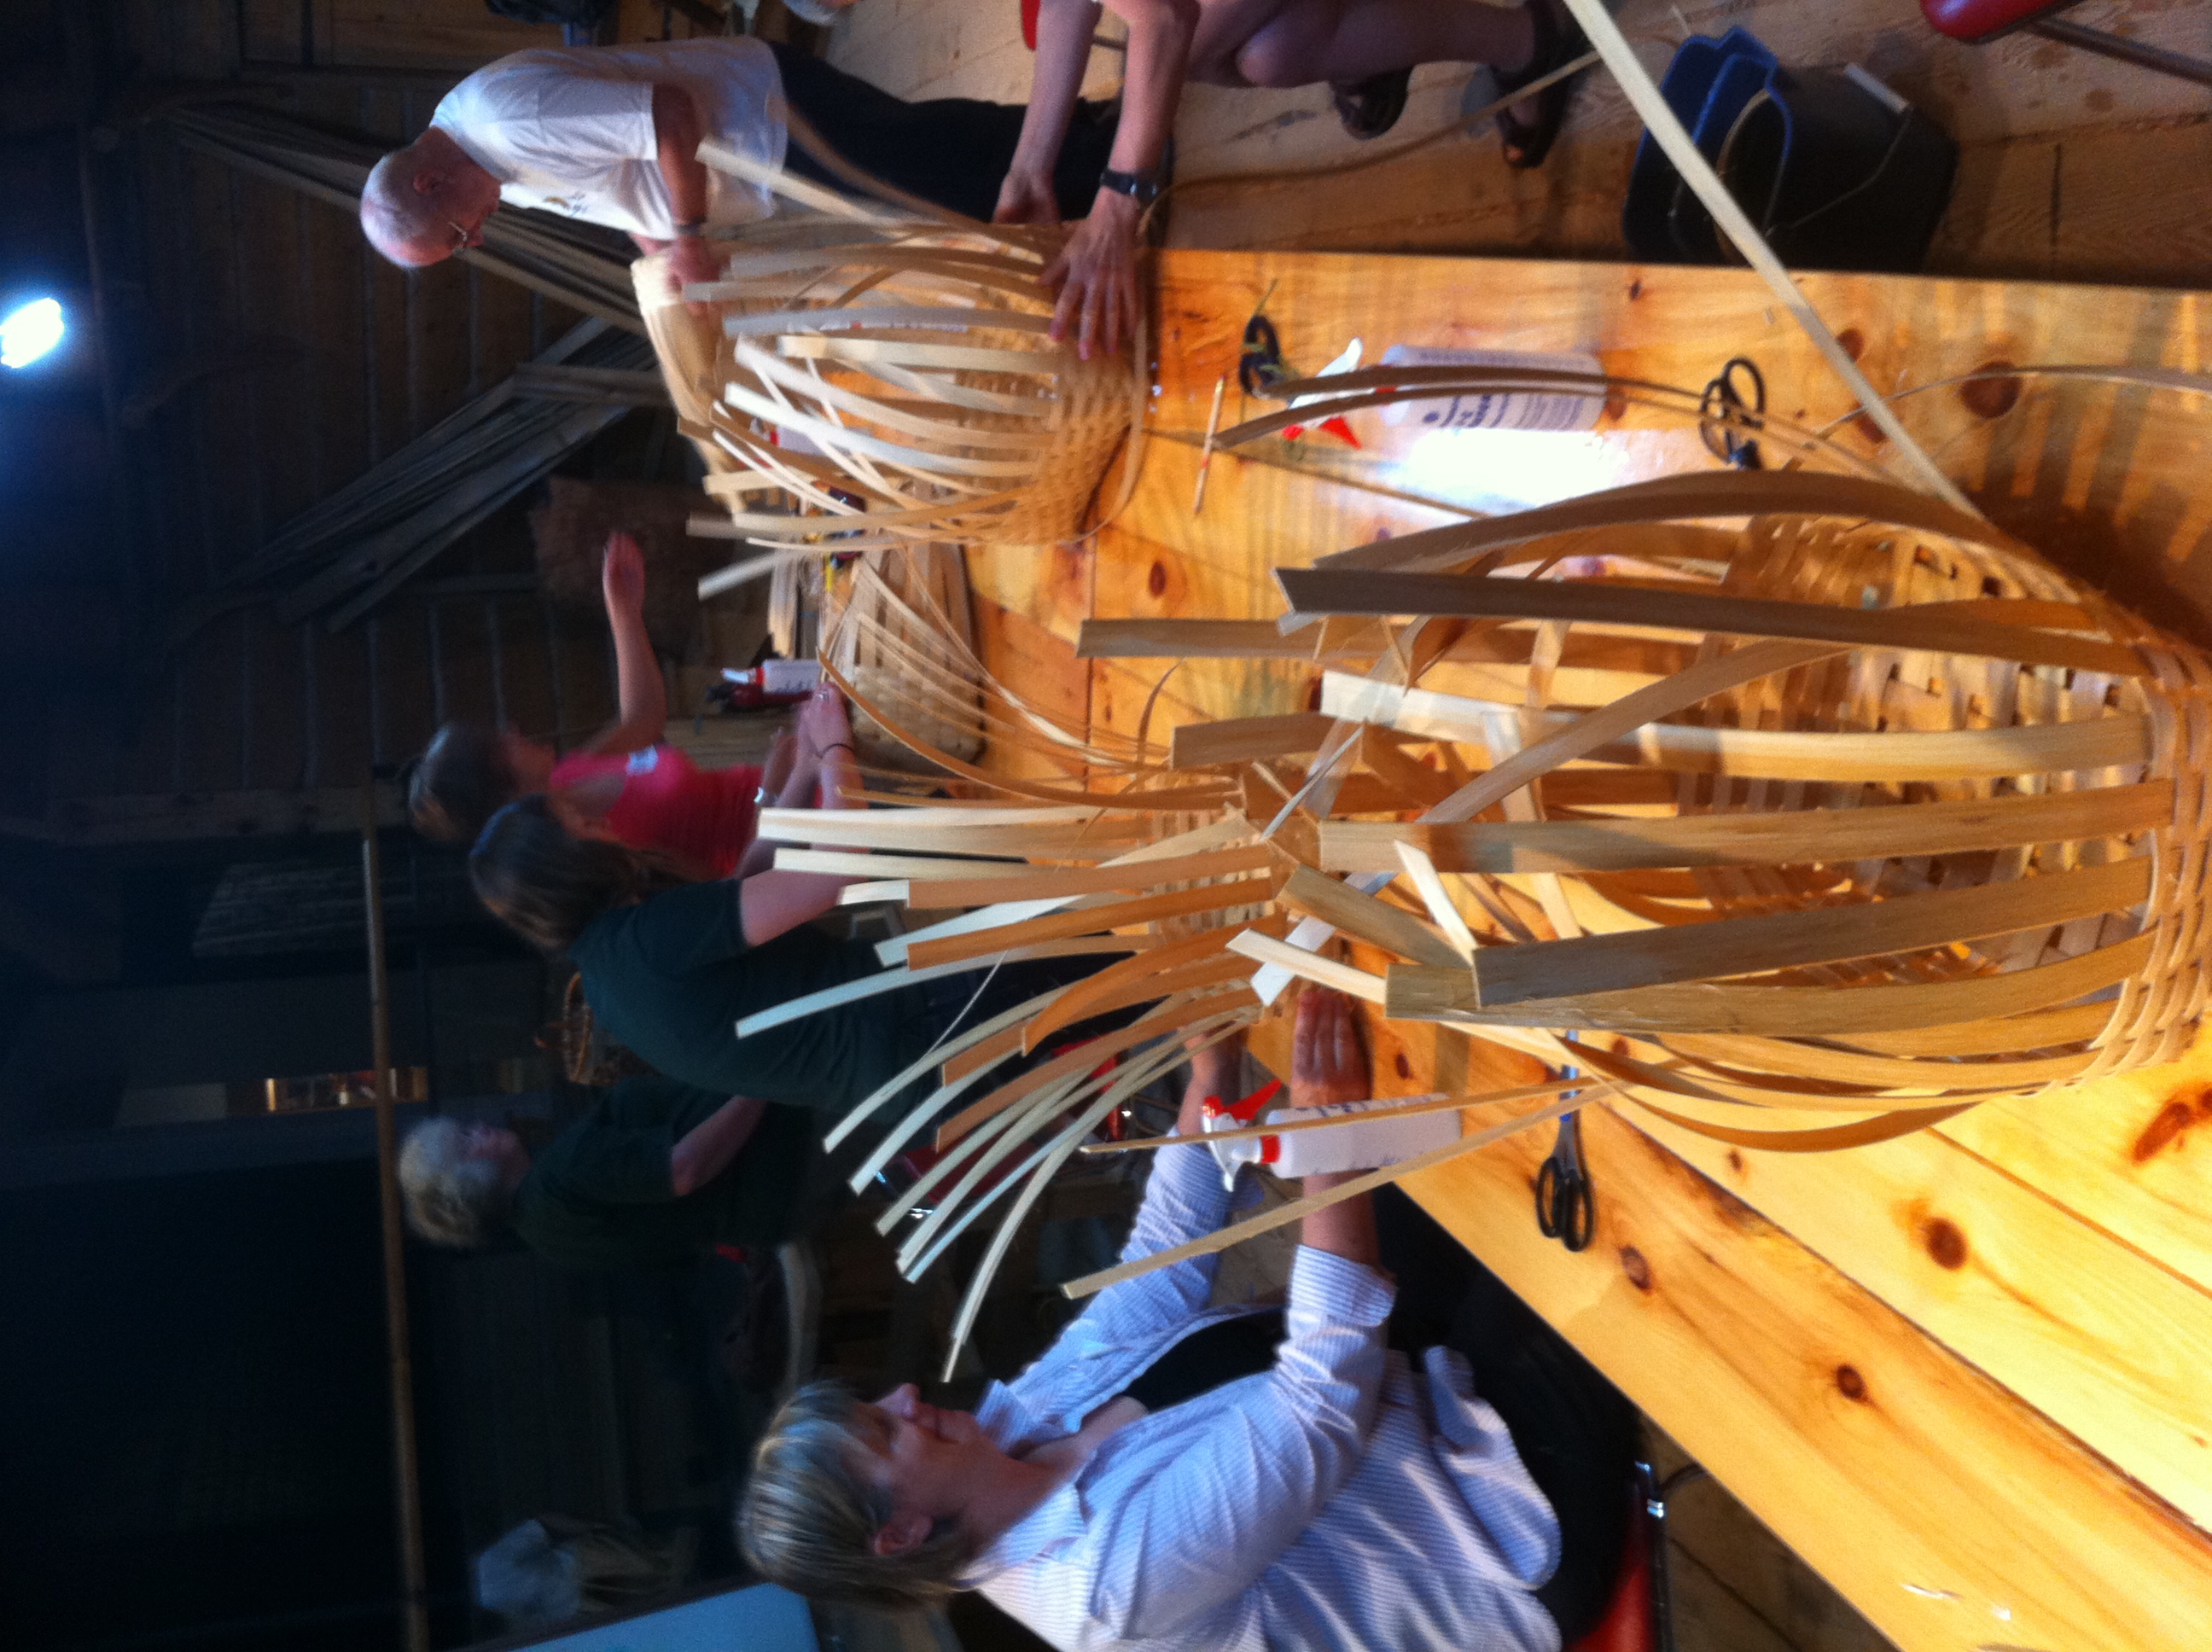
Some years ago, I worked at the Canadian Canoe Museum; it was my best job ever, (Largely because I had amazing coworkers and it was a pretty idyllic setting.) until it fairly abruptly wasn’t (Which had to do with a lot of factors: a changing workplace setting, upheavals in my personal life, and some interpersonal stuff which kind-of created the conditions to make my perfect job awful, quite suddenly). But during the time that it was awesome, it was really awesome, and occasionally I’d have the opportunity to do something really neat. Like weave my very own pack basket.
The Canoe Museum actually has loads of really good courses which I completely recommend – you can check out their full listing here. They’ve been carefully designed so that you can complete the project you’re working on by the end of the allotted time. As someone with more than my fair share of half-completed projects from ill-designed workshops stuffed away to be finished ‘someday,’ I have a keen appreciation for getting to finish a project with an experienced teacher and the appropriate tools.
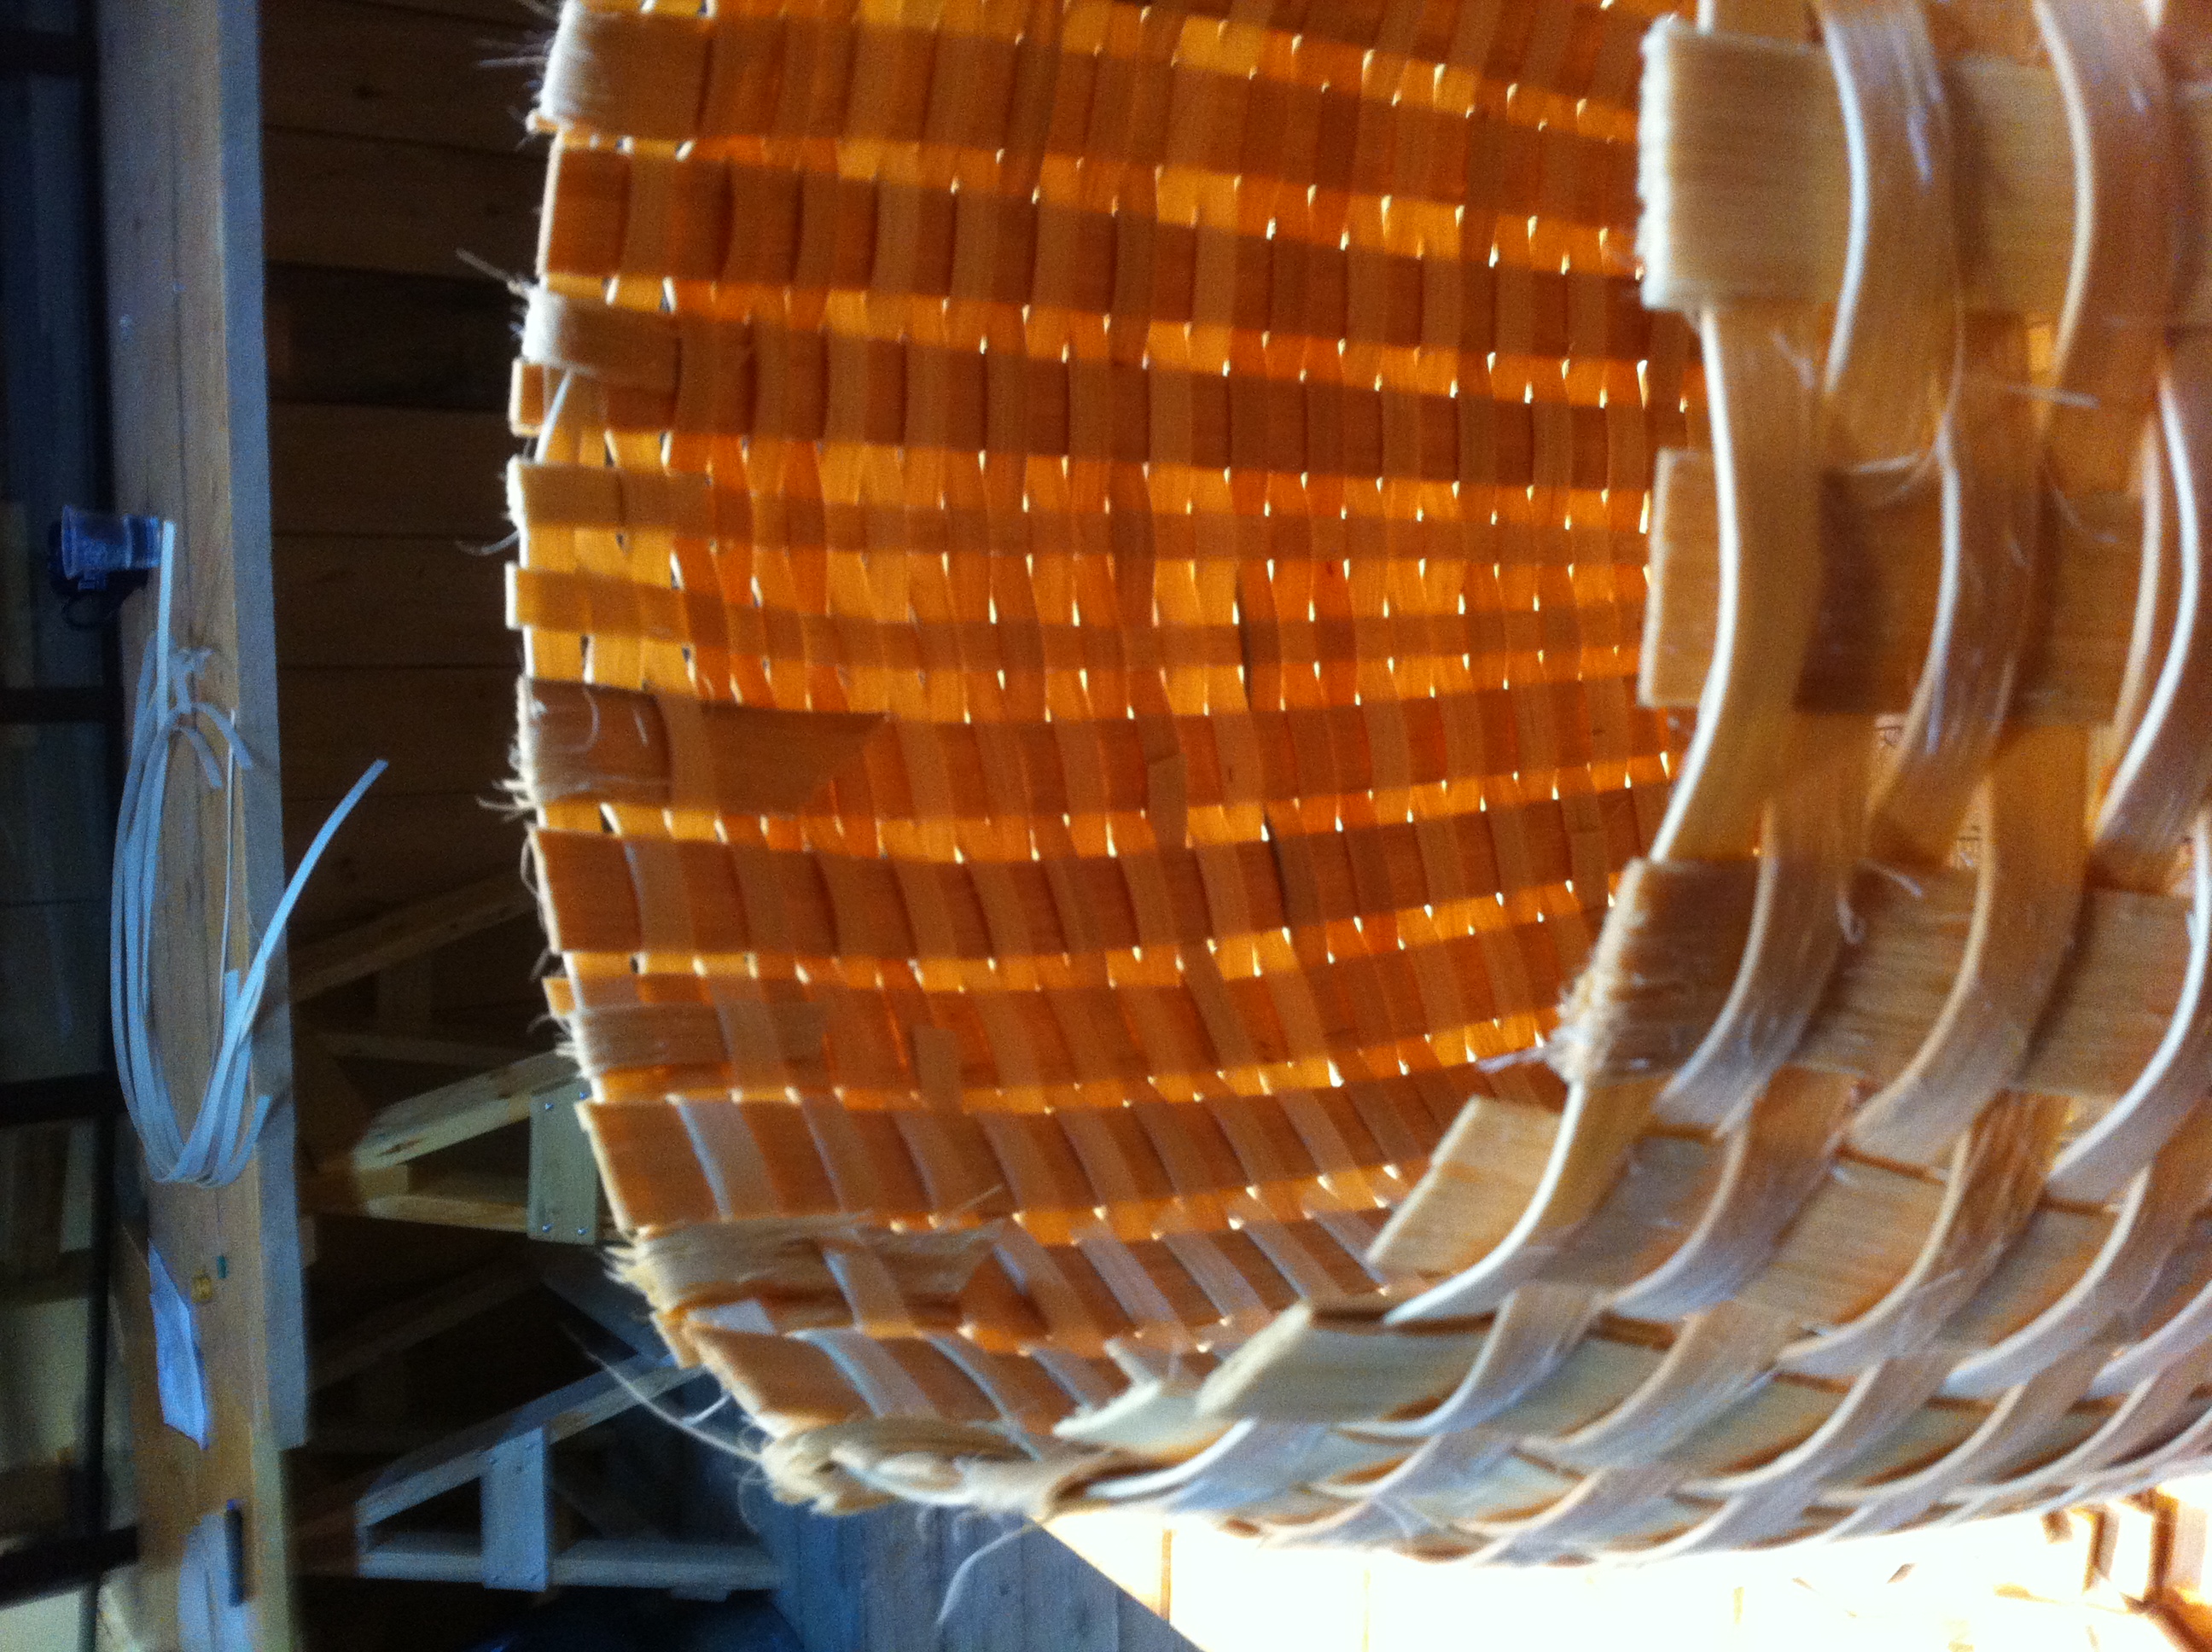
Pack Basket – completing the base
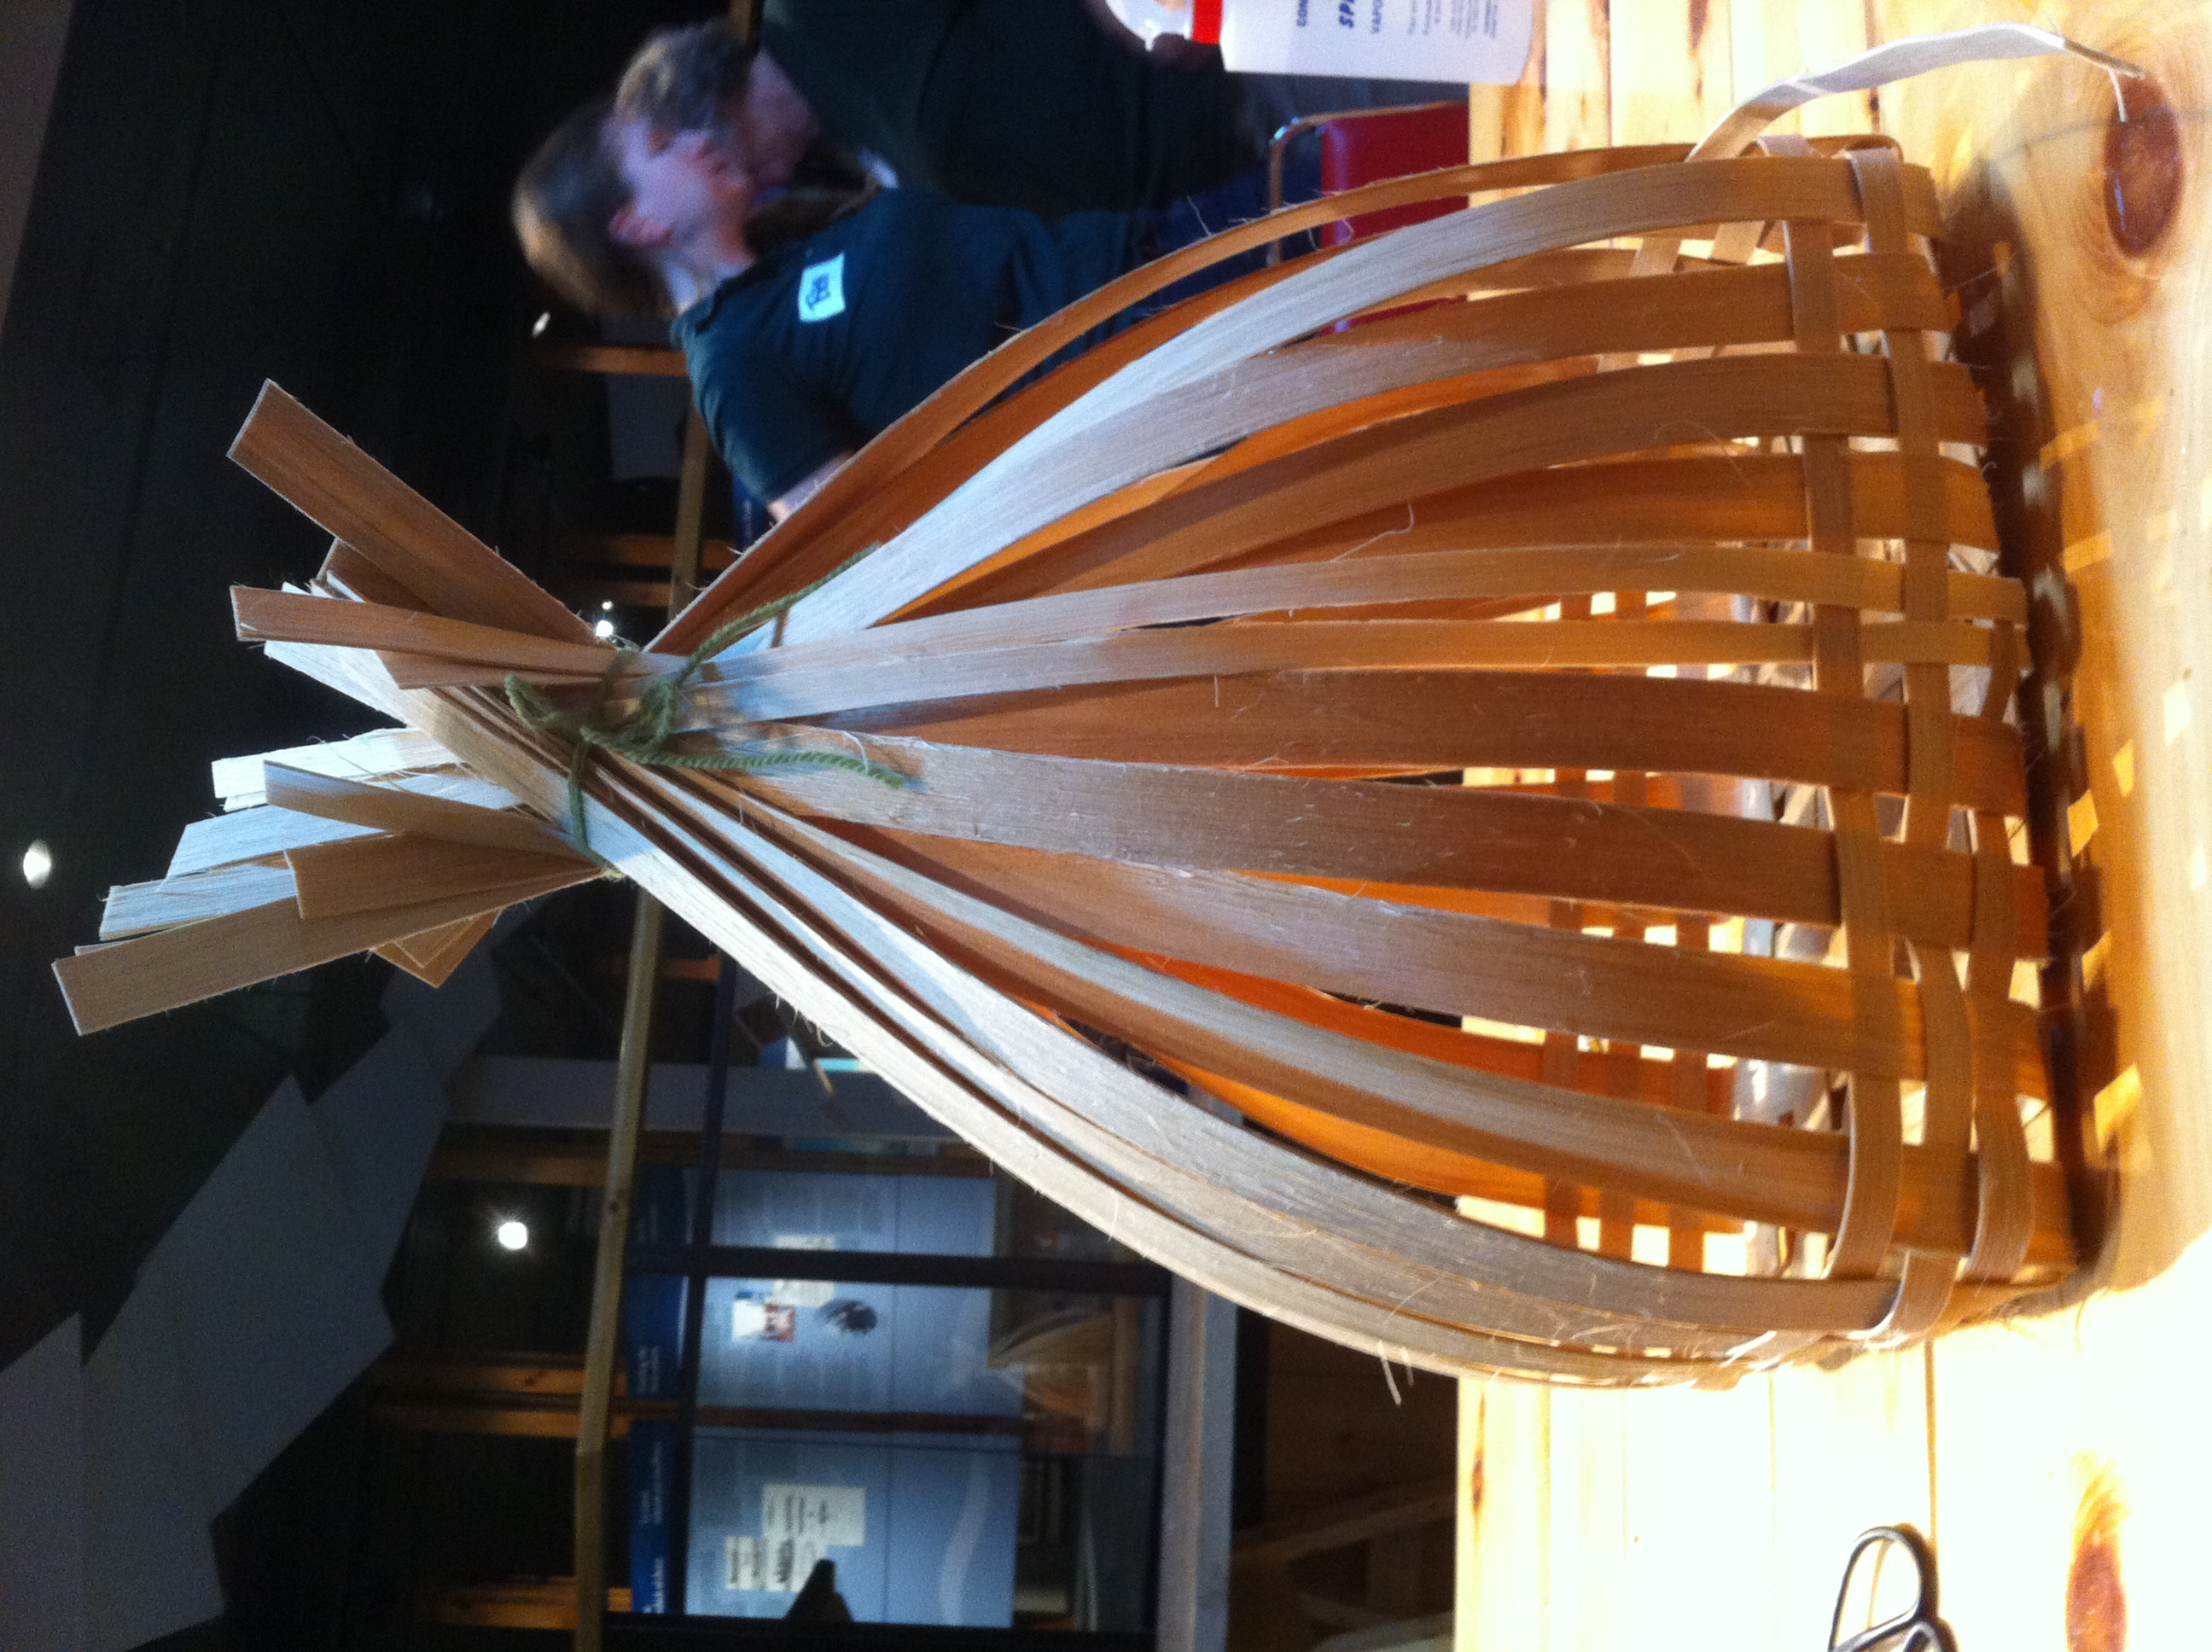
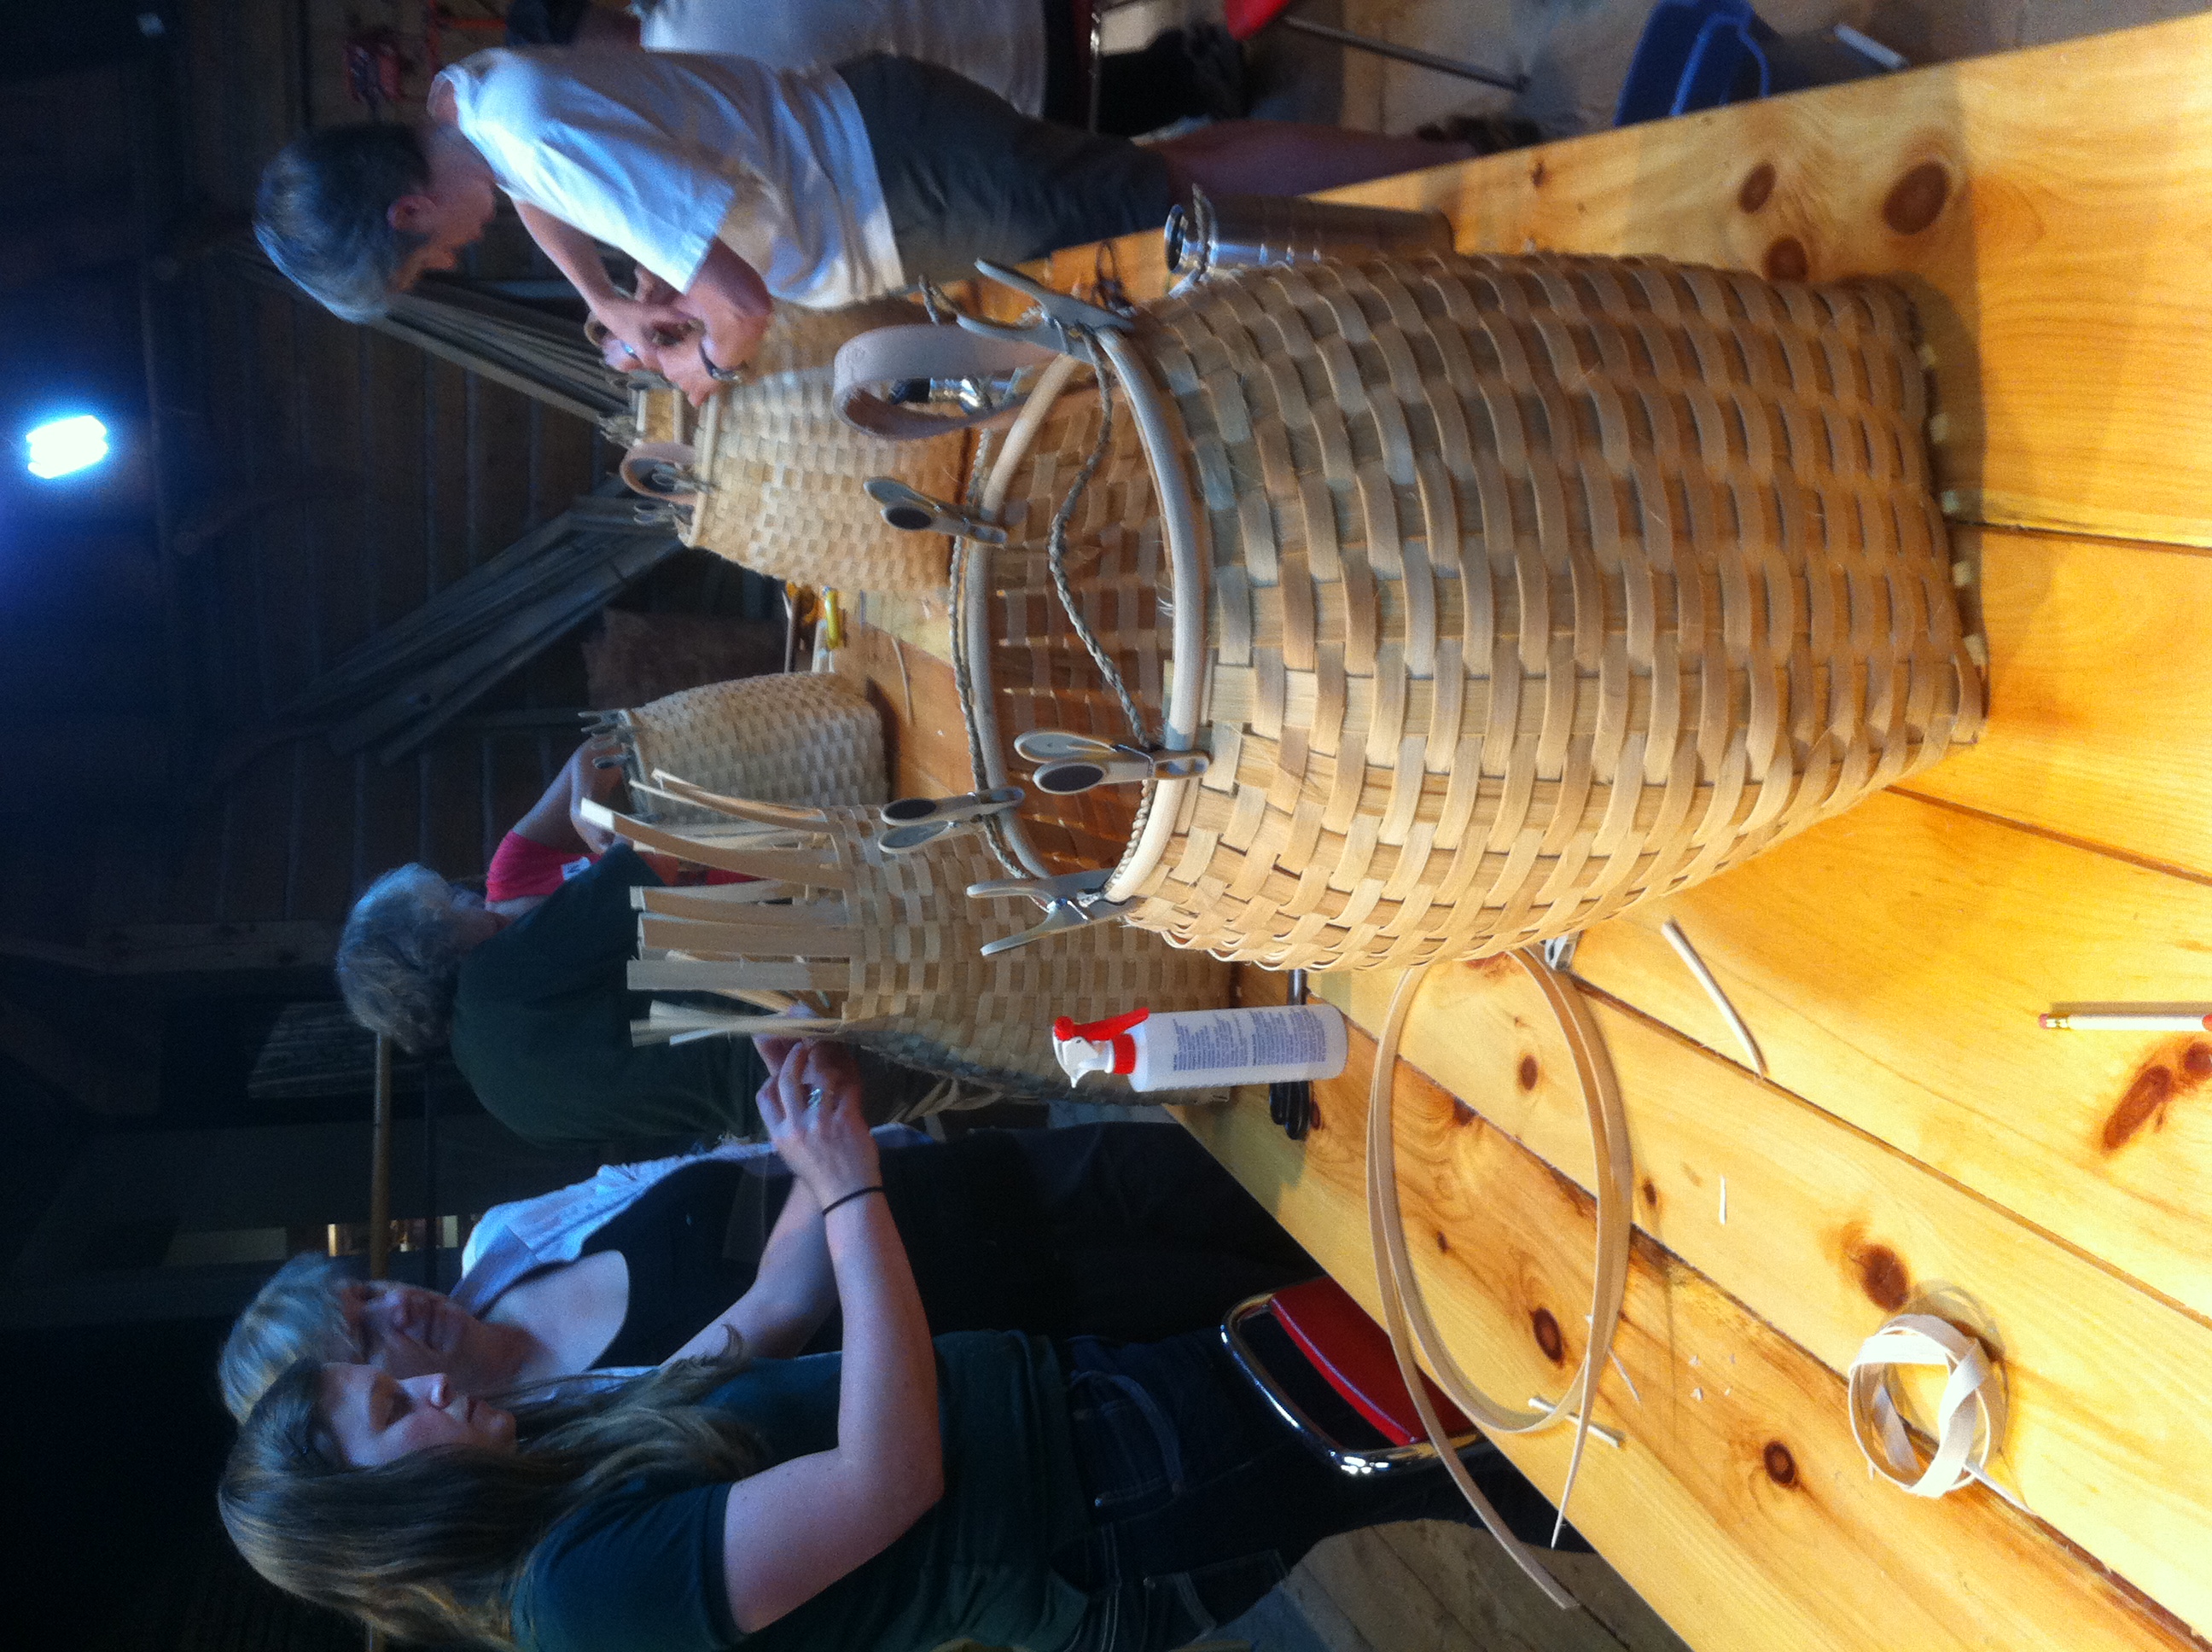
I’d always wanted to try my hand at basketry; though it’s one of the more derided skills, it’s kind-of fascinating. It’s relatively easy, especially when someone has pre-cut everything for you, but meditative, especially if you’re trying to work fast. You get into a place mentally where you just focus on weaving, and on the shape that you’re creating, and you don’t think about much else except whether or not your bamboo is wet enough.
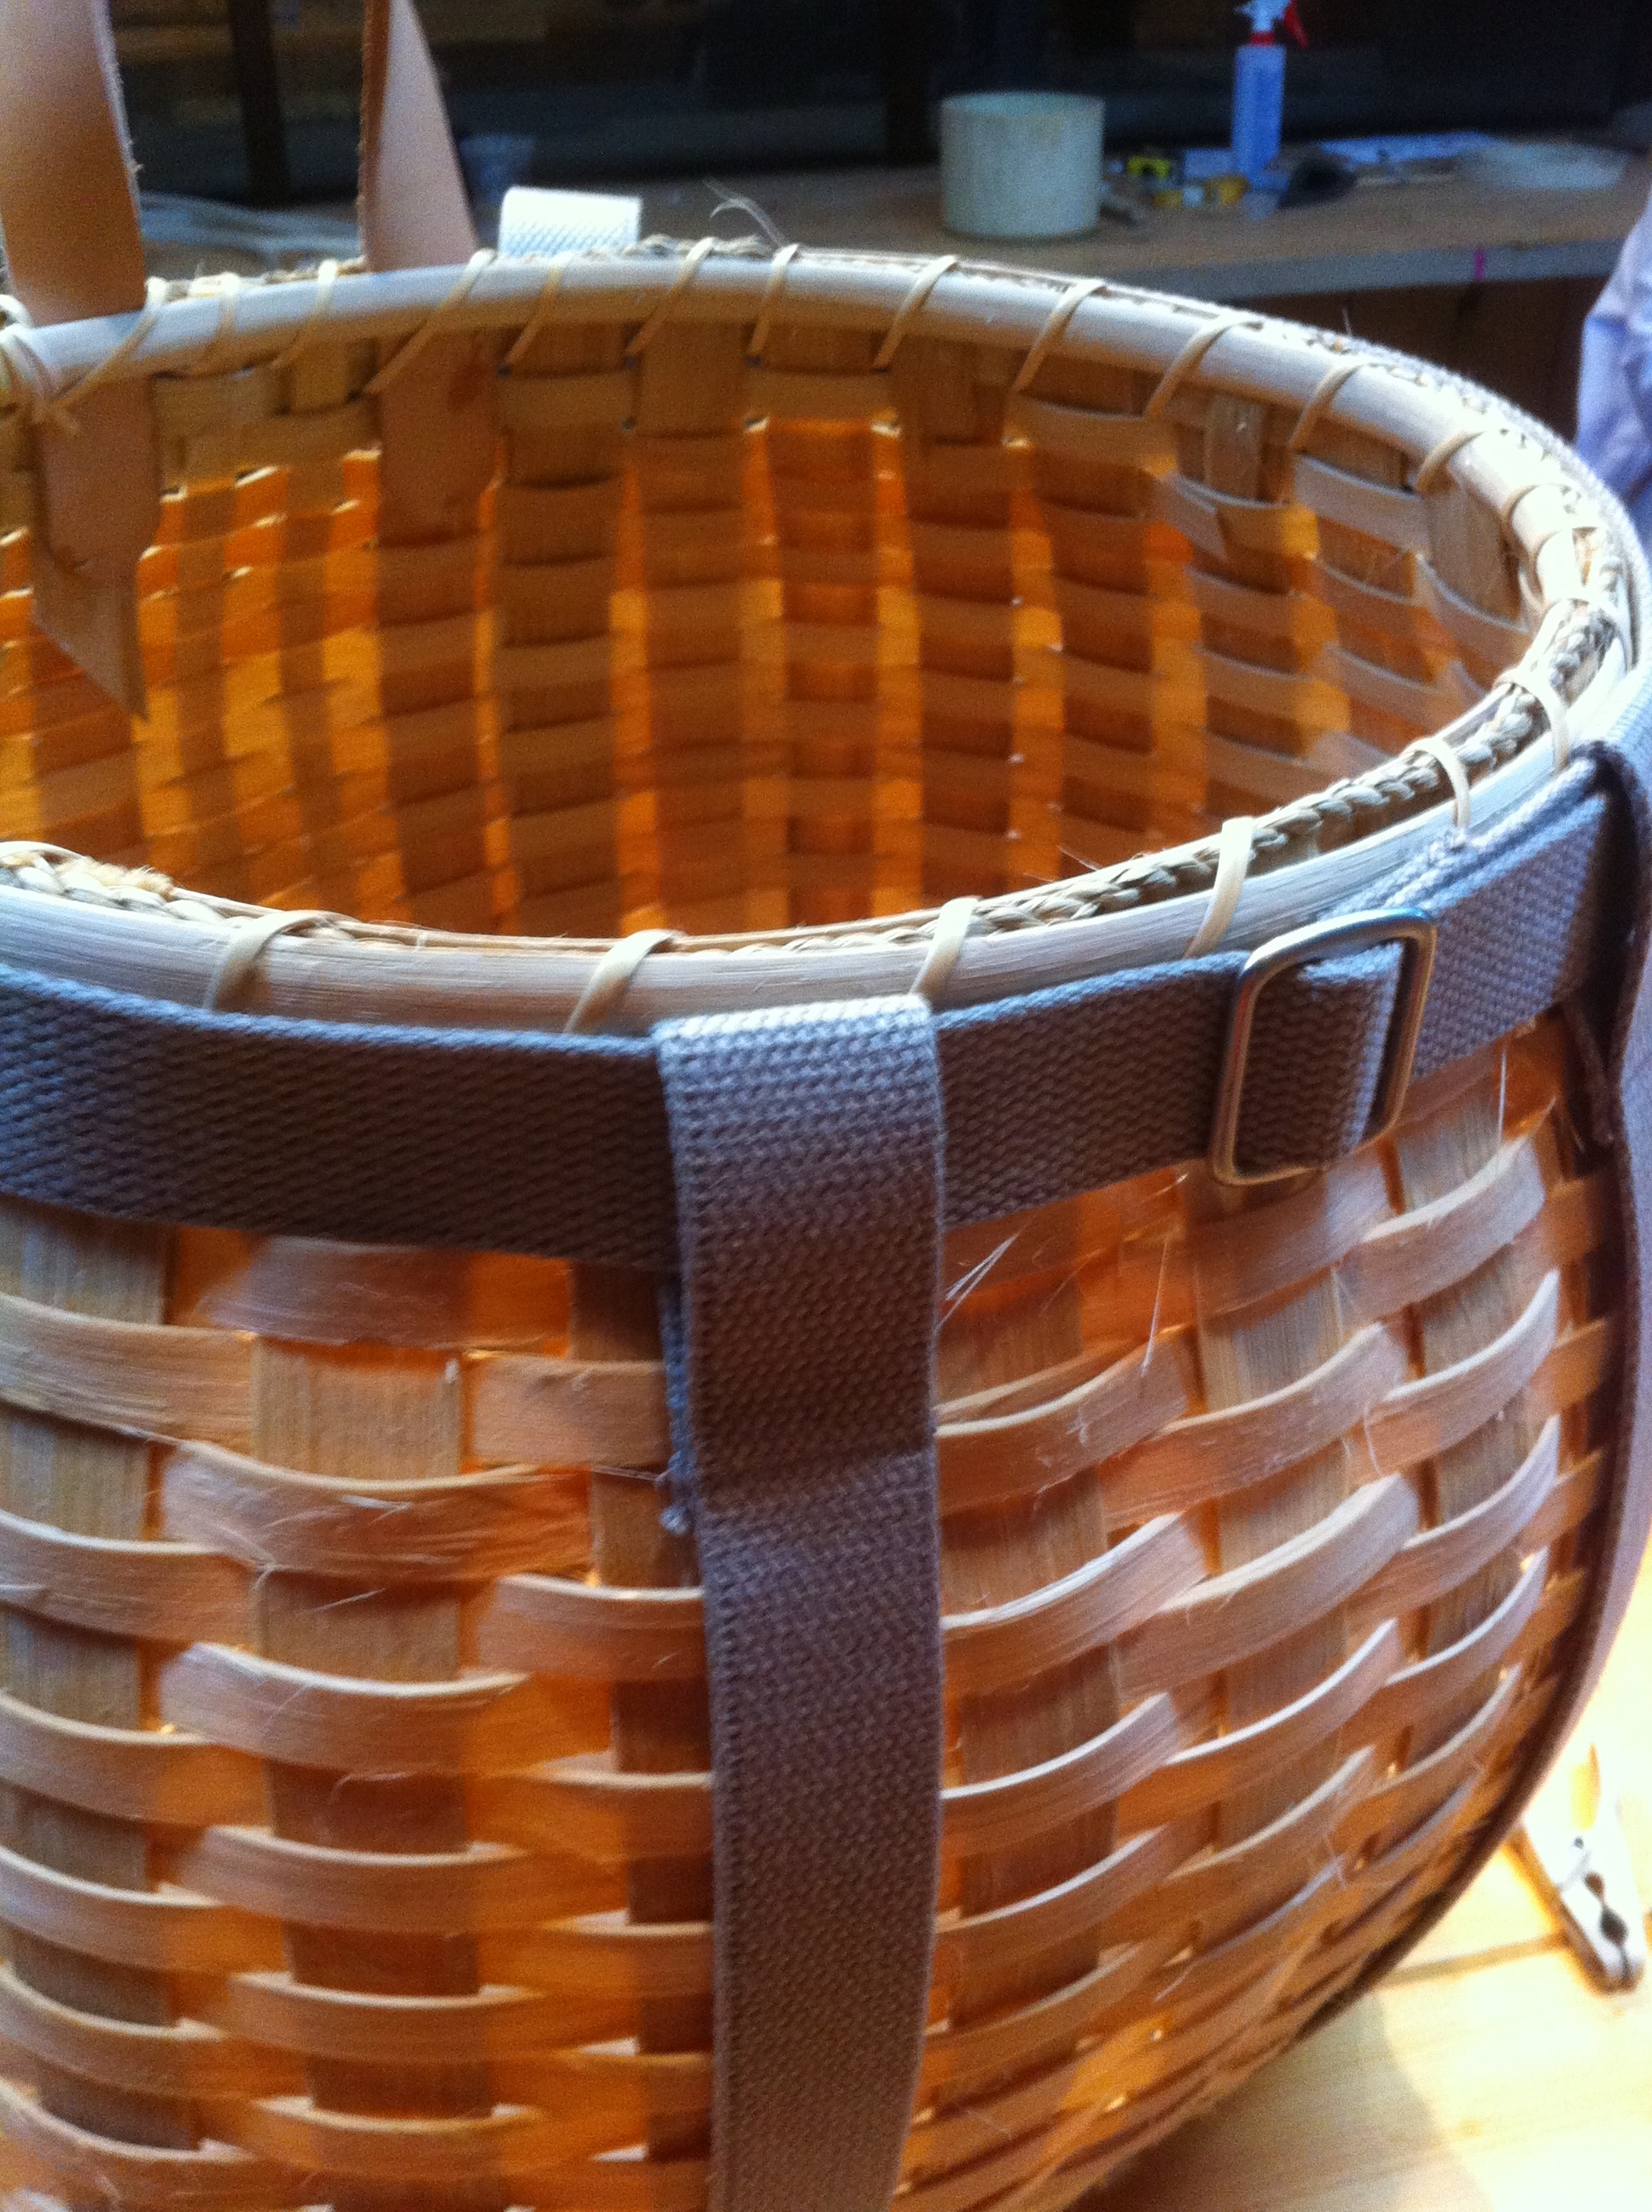
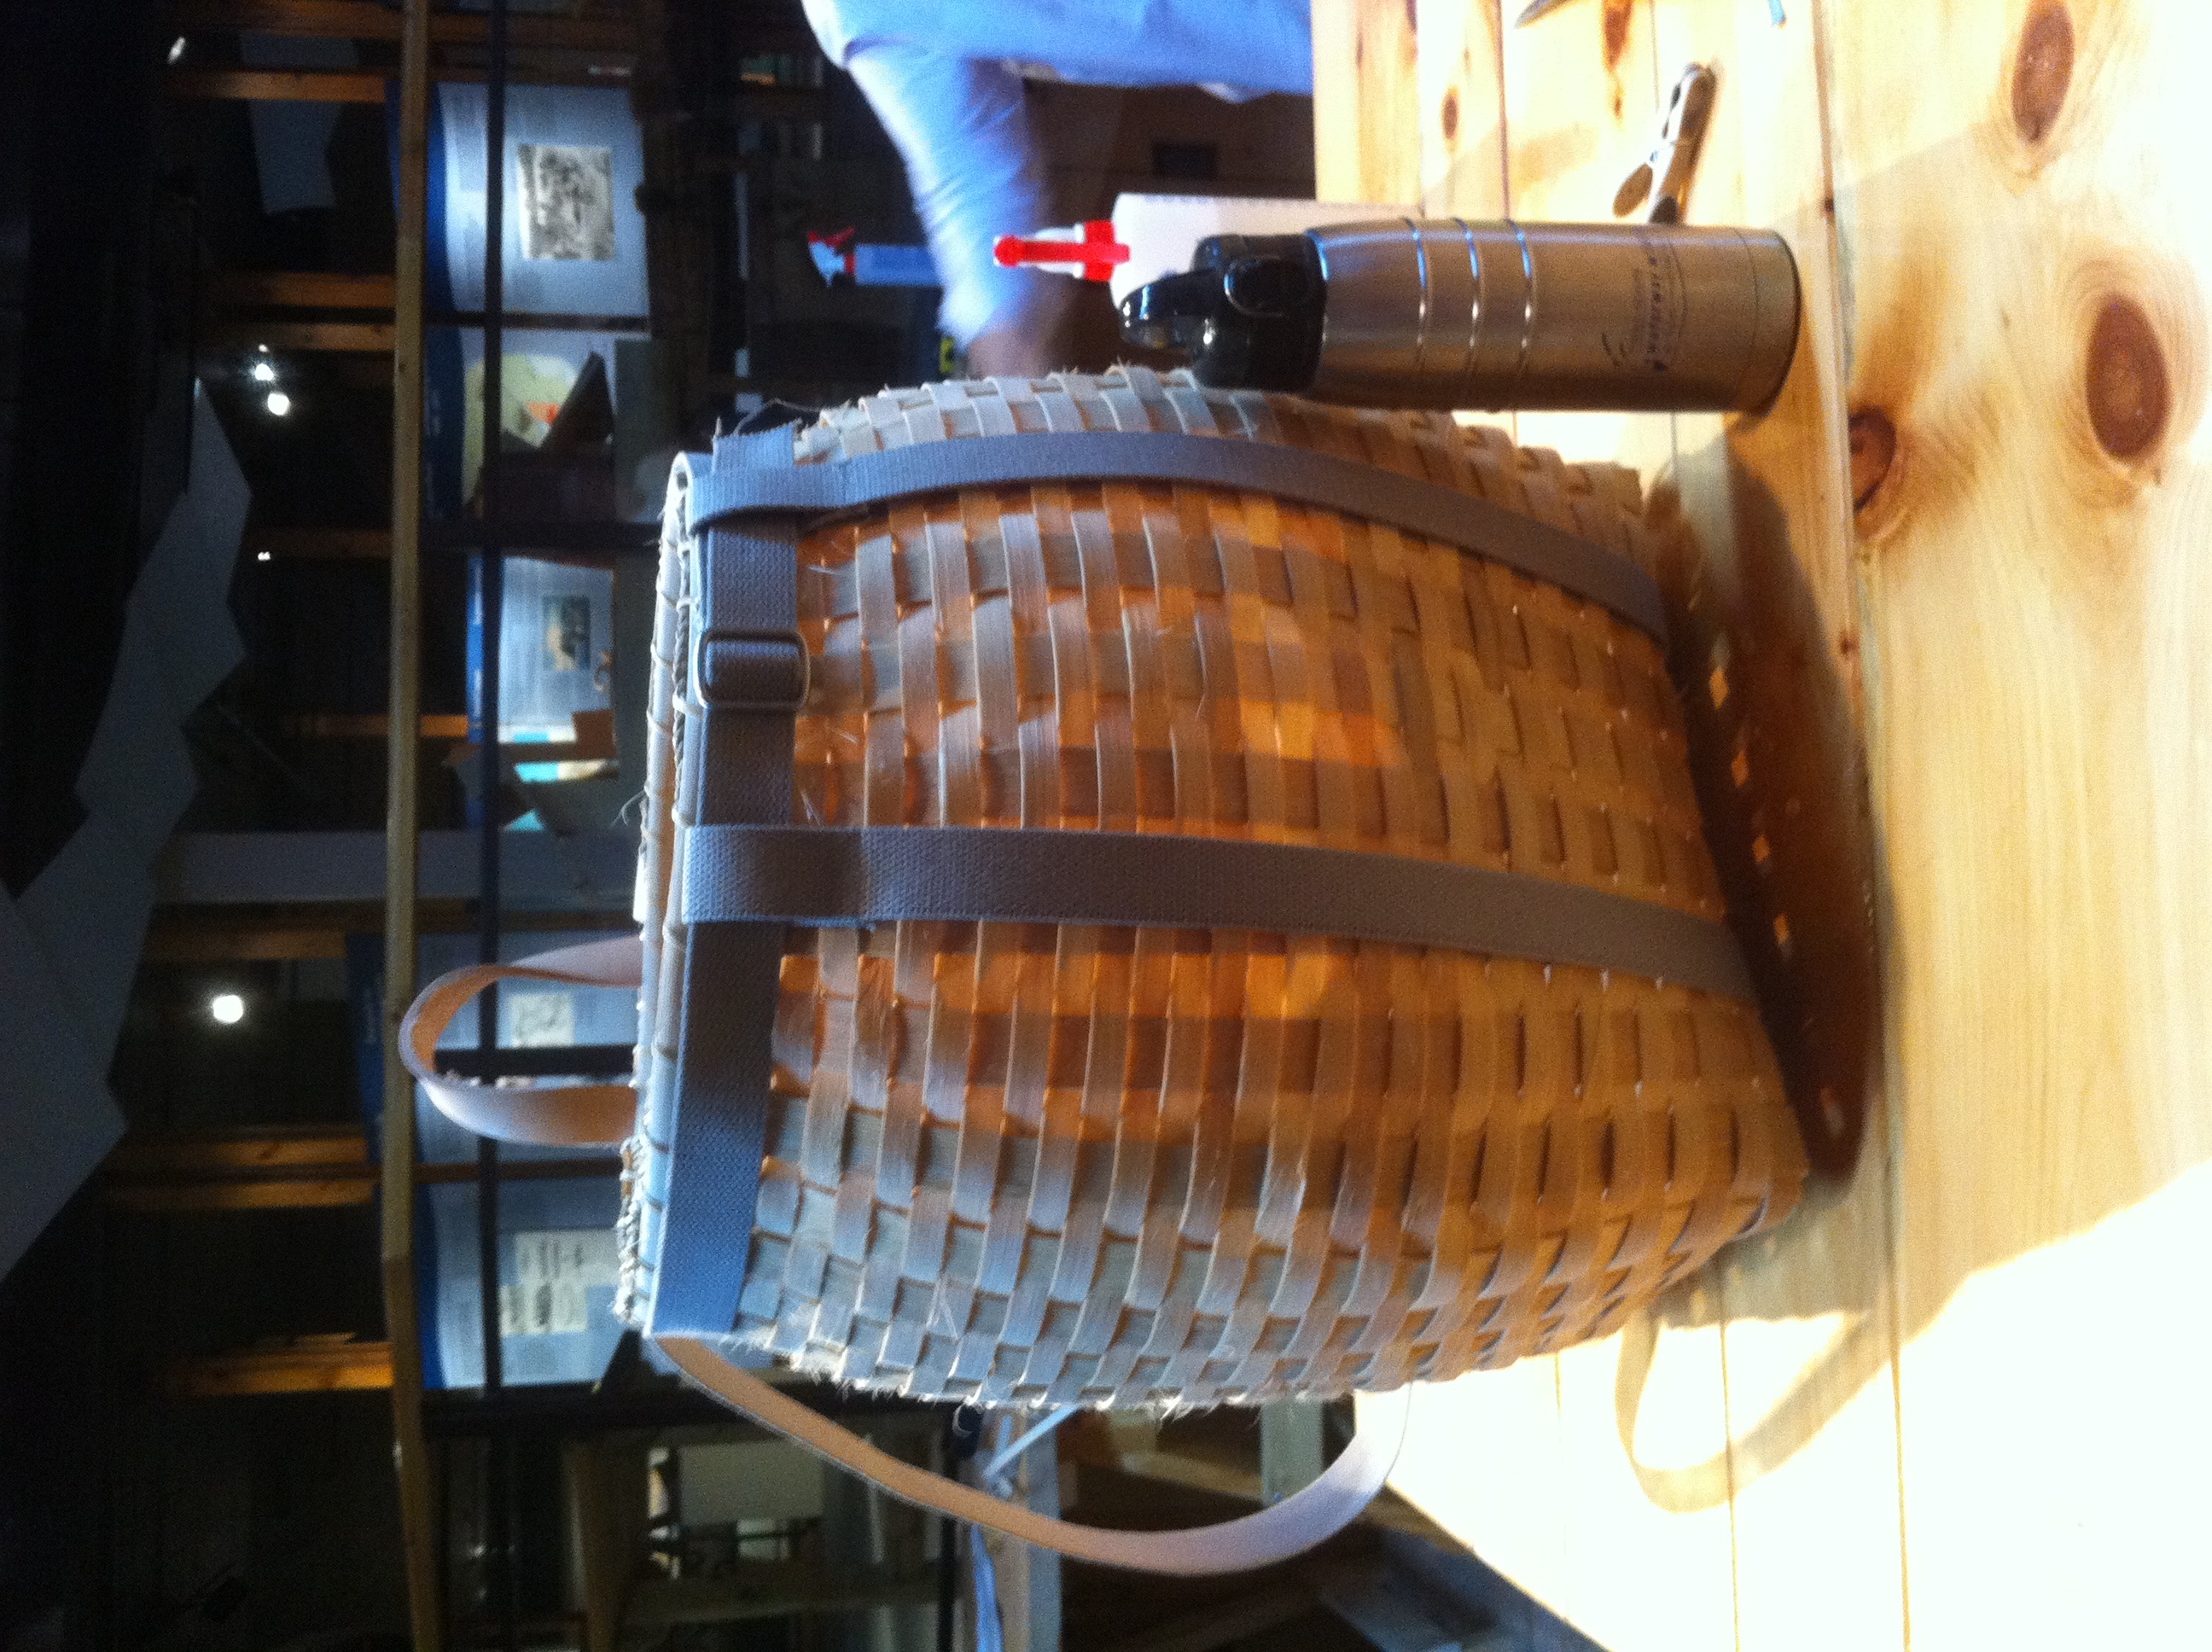
When it was finished, I wore it home on my back, still slightly damp, and so the part of the basket that rests against my back is fairly well-moulded into a shape that is comfortable for me to wear.
I know a lot of people might make this and never use it, or just have it as a decorative object around the house, but I’ve often worn it when biking down to the farmer’s market with my sisters, or to music festivals when I’ve needed to carry unwieldy things. I’ve worn it when wildcrafting – it’s a great container for wild apples, grapes, or dye plants, as it doesn’t crush its contents.
I prefer it to a knapsack – because it holds its shape, it’s easier to find things in it; the small holes in the sides let light in, so you can see what’s in the basket. Additionally, it breathes really well – fabric knapsacks tend to press agains the small of my back, which is where I generate a lot of heat. I find that super-annoying.
However, when you do wear it, you get a lot of attention – sometimes people stop you to compliment you or ask where you got it, and others just give you that look that people give other people who are doing something noticeably different. Most days, that’s not something that stops me, but as beautiful and useful a thing as a pack basket is, lots of people are going to give you the squint-eye if you go around using yours for its intended purpose.
Pack Basket – starting to form the shape.Pack Basket – starting to form the shape.Pack Basket – a few participants weavingPack Basket – weaving finishedPack Basket – clamping on the rimPack Basket – the rim and straps all fitted and finished!Pack Basket – ready to be worn on the bike ride home!
I’ve been having a busy and stressful couple of weeks, so I’m not sure if this counts as art, but I feel like it does, so it’s going to have to do.
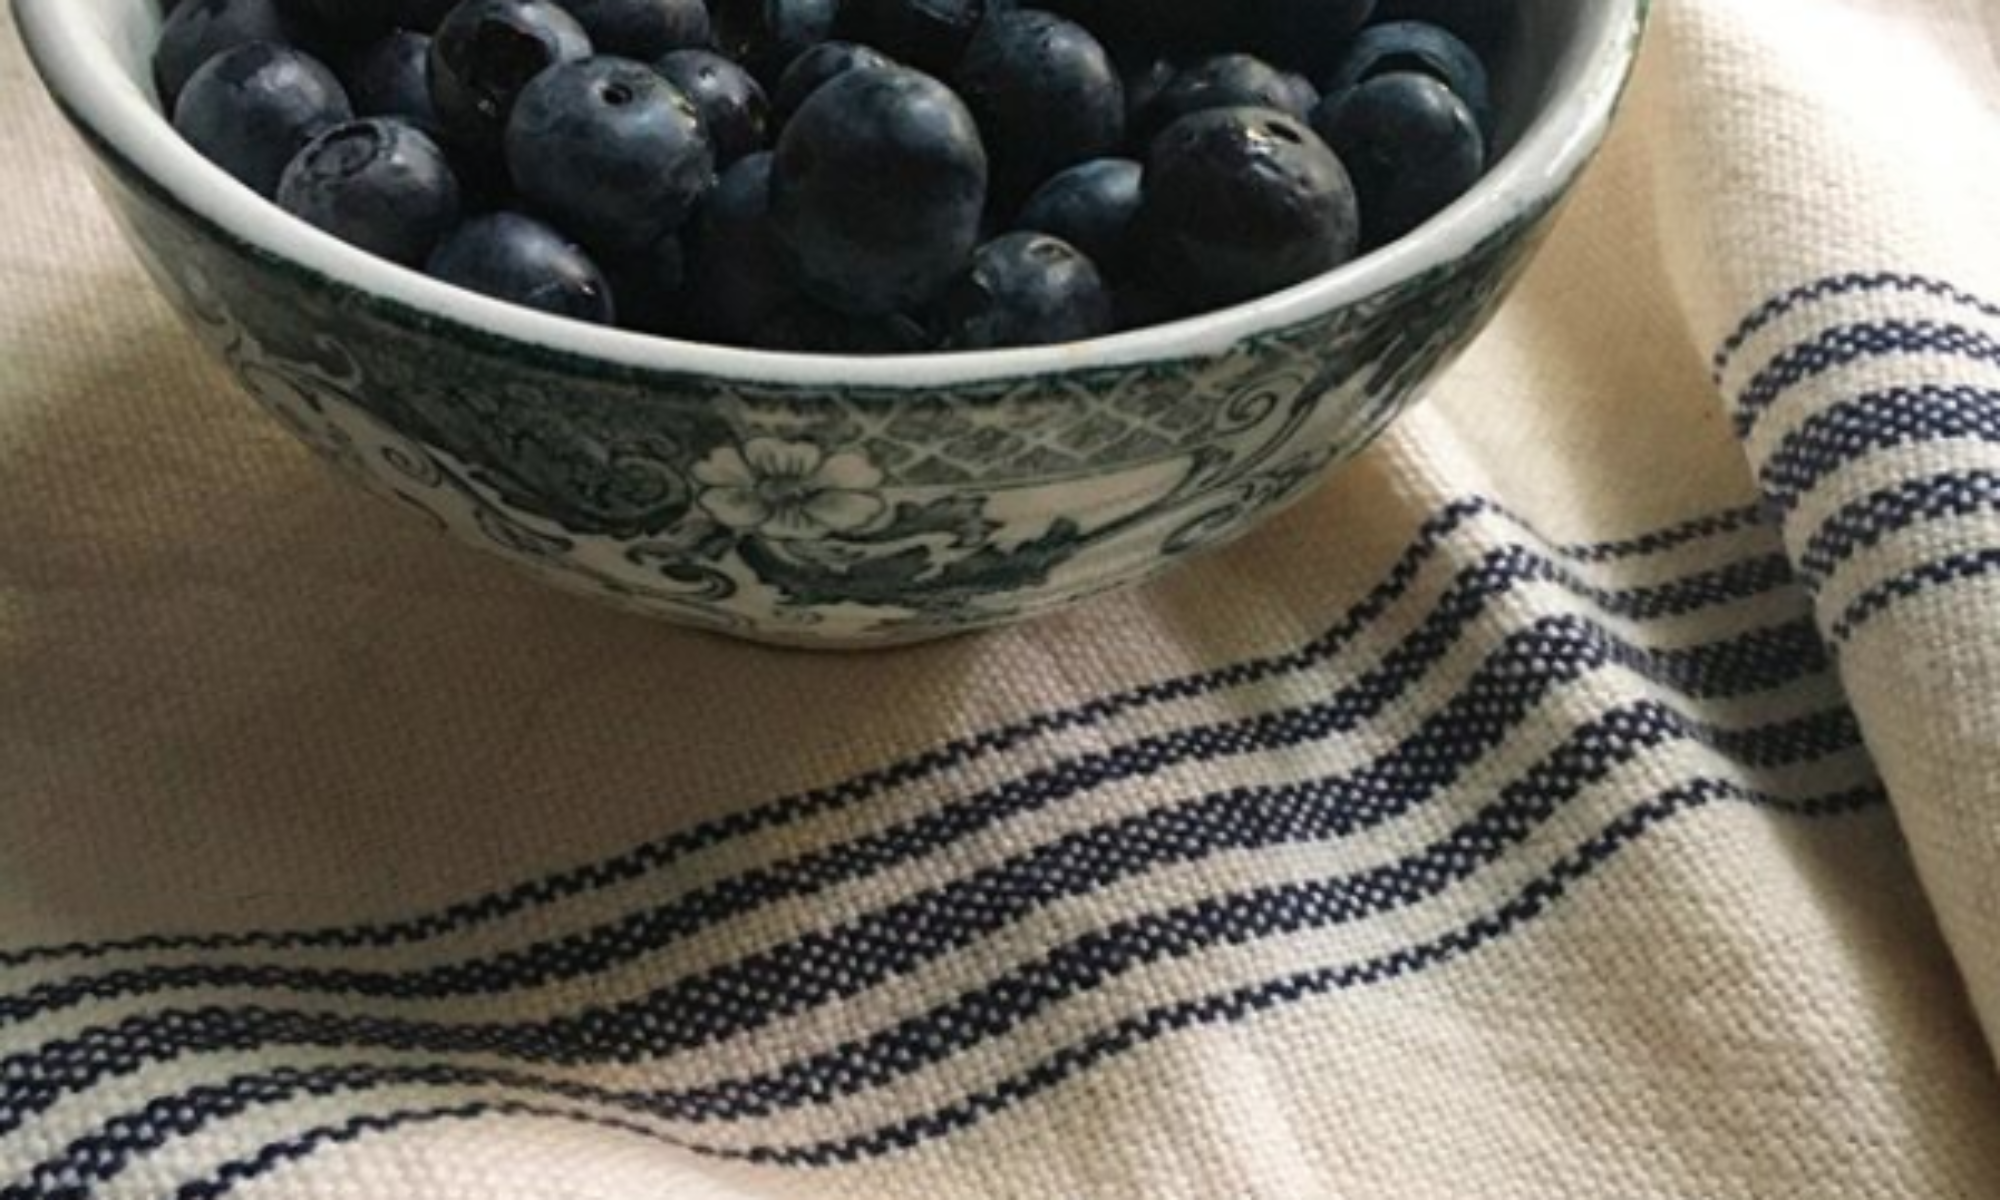
I’m not an expert at preserving, but it’s something we’ve been doing since I was a kid, when we would spend hot mornings at the U Pick farms, and long afternoons putting up jars of strawberry and raspberry jam.
When I moved to Toronto, I left most of my canning tools at my Mom’s house ((along with my favourite baking dishes!)), because I moved in a hurry and wasn’t sure how long I’d be staying. So last year I didn’t do any canning at all, and very little baking.
My summers are generally very busy, since I run Summer festivals and events for a living, but I almost always find time to do some preserving when the produce is cheap and plentiful. The trick is really to have all of the things you need ready to go, so that when you see a bushel of red peppers going super-cheap, you can take is home and be canning Roasted Red Pepper-Tomato Ketchup that evening.
After stewing the ingredients together, you fill mason jars with the hot fruit mixture.
So last weekend I noticed that flats of mangoes were pretty cheap, and I finally got around to buying one of those Bernardin home canning starter kits, which includes the giant pot, funnel, and jar tongs (as well as some other random stuff, like a DVD on canning.). You don’t need to buy one of these, but it is a handy way to get everything you need in one shot. It even comes with four one-cup mason jars, though that won’t get you very far.
Like a lot of older skills, people think it’s super-complicated to make preserves (or bake), but the main activities are washing – the ingredients, the tools, your hands – and peeling/cutting up the ingredients. Then you stew them up in a pot, add a few preservative ingredients like sugar and vinegar, et voila! You have jam, or ketchup, or chutney!
Yes, after that you move on to the canning process, which is usually another half an hour, and is super-anti-climactic if you think canning is complicated, but generally it means pouring your preserves into sterile jars, covering them with sterile lids, and then submerging them in boiling water for 20 minutes or so. ((This is a rough description, by no means a recipe – always check a canning site like Bernardin for proper directions! They’ve also got tonnes of really good recipes for all kinds of preserves.))
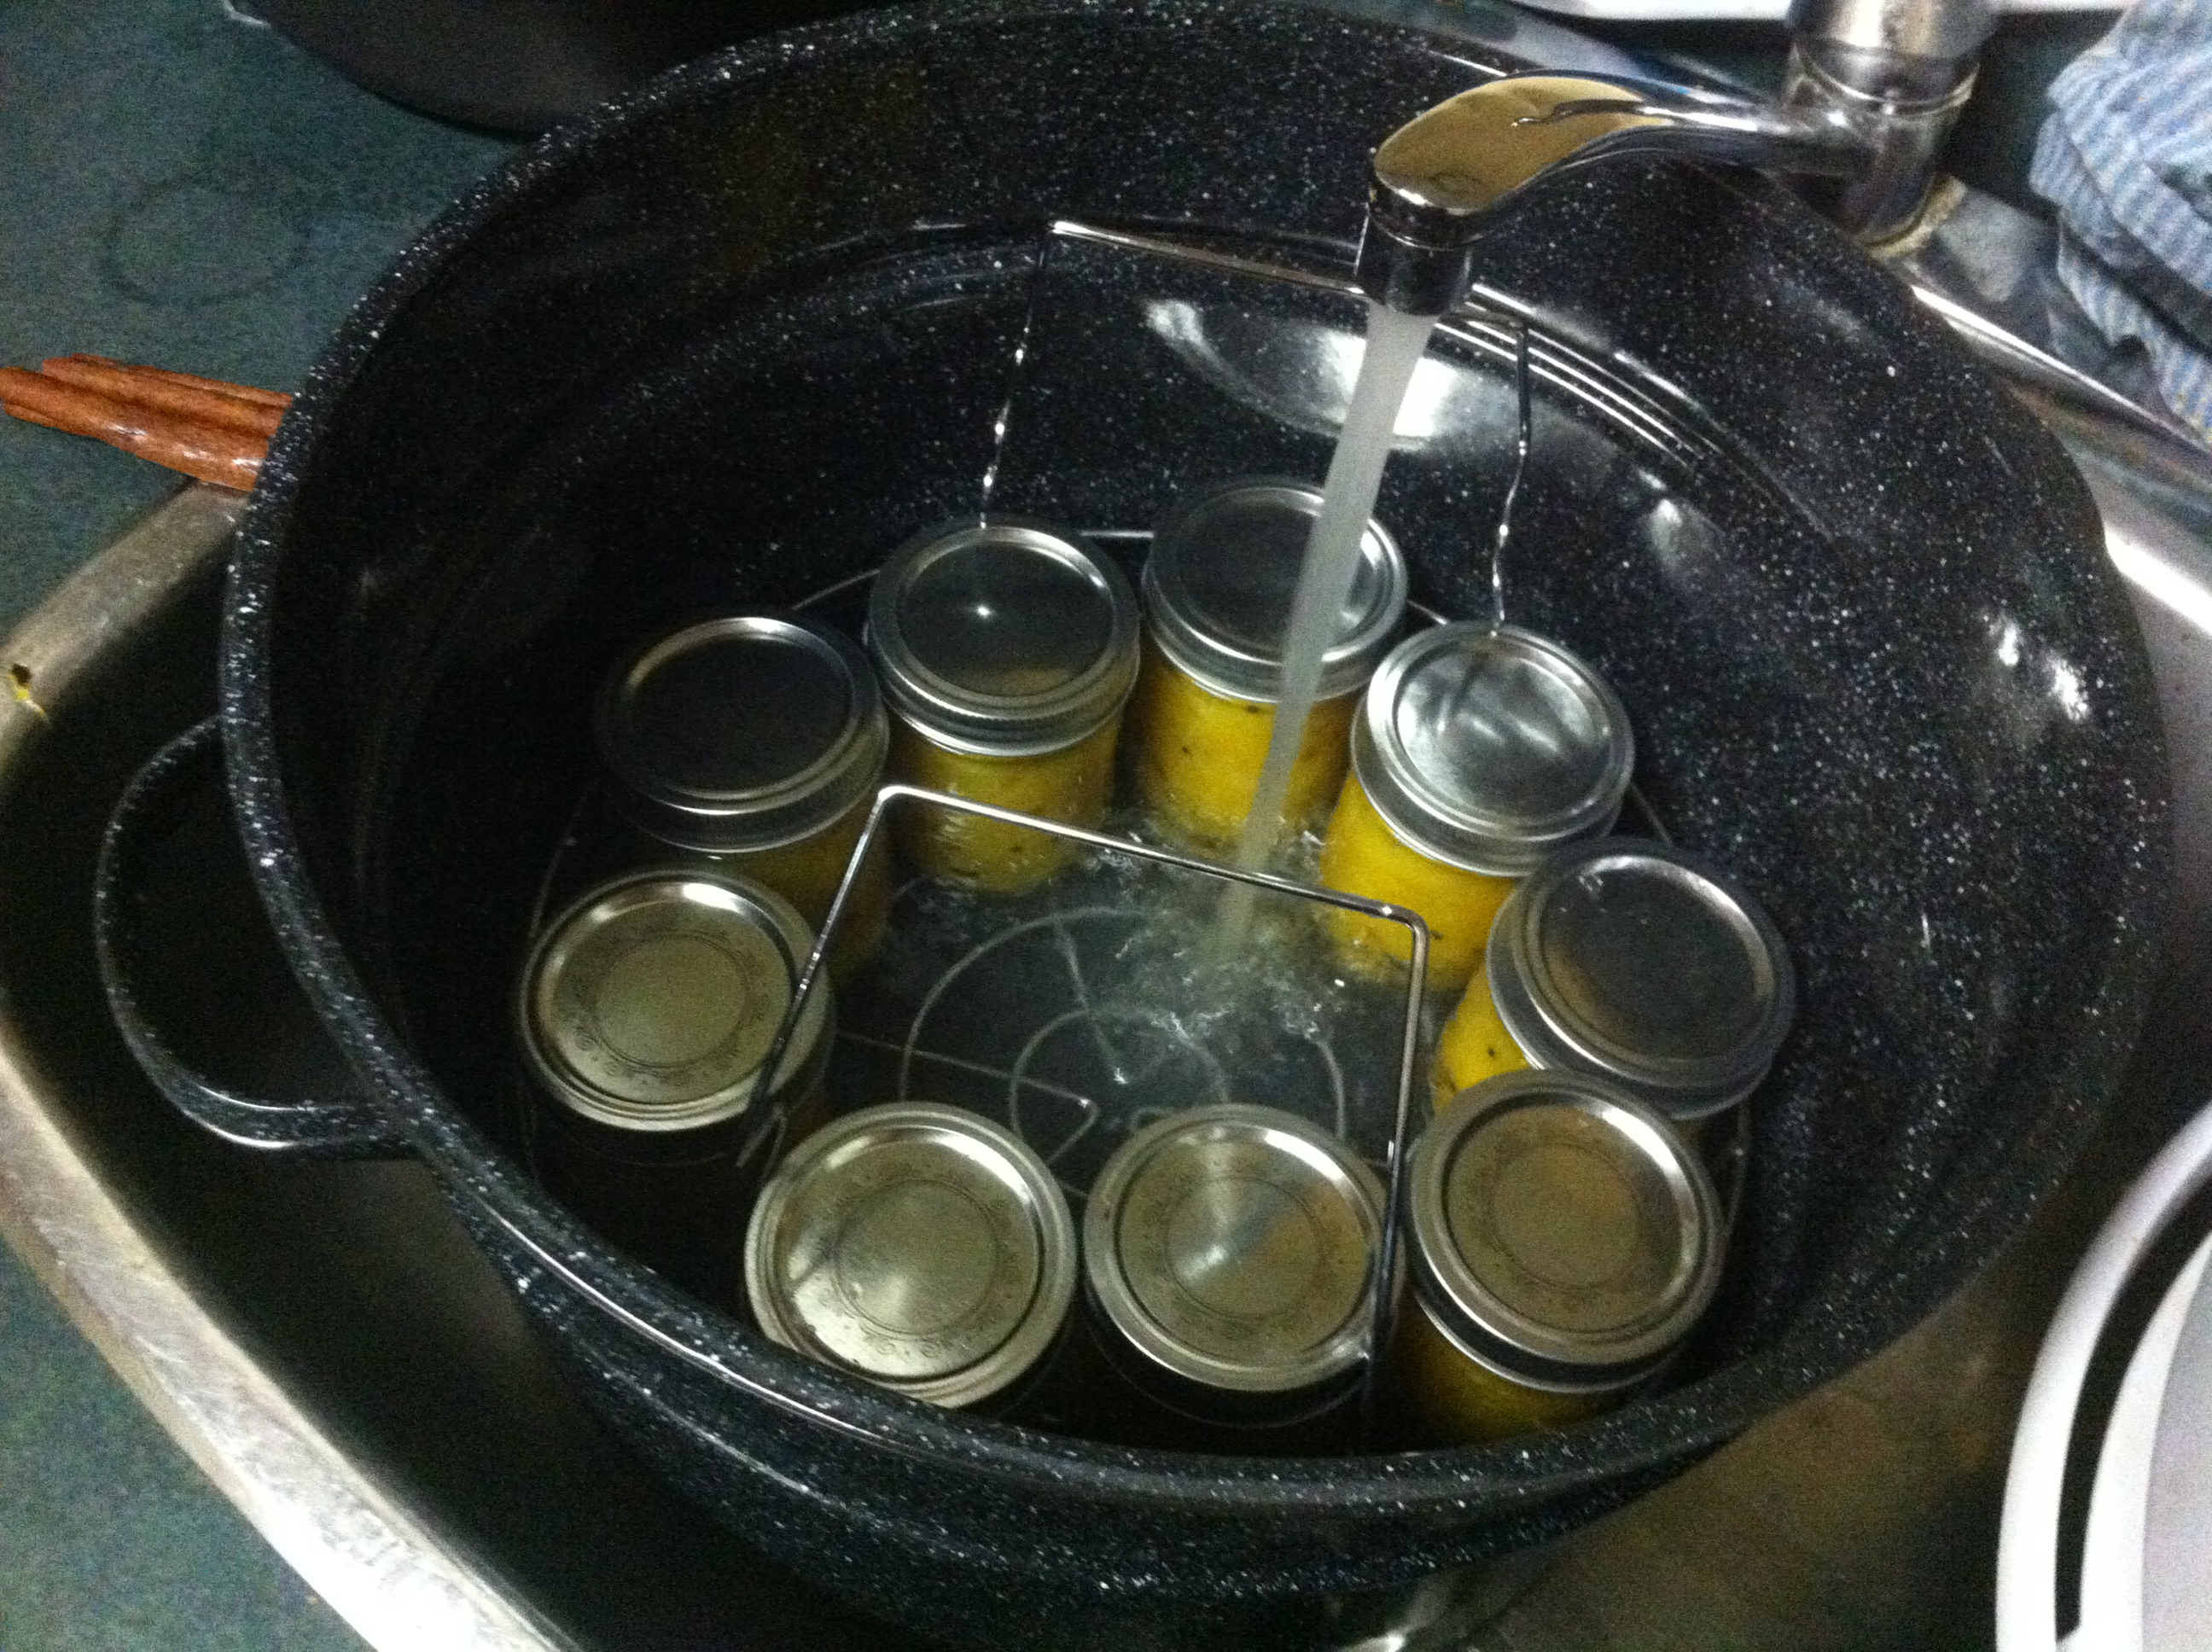
Placing the jars in the hot water bath to sterilize and seal them.
I’ve made this mango chutney a few times; it’s a recipe I cobbled together a few years ago when I made an impulse buy of a carton of over-ripe mangoes for $3. You can find it over on my personal website; don’t mess with the spices, unless you’re adding a little extra coriander, which is my favourite bit. Everytime I get a bite of chutney with a coriander seed, it’s like heaven.
The best part of the whole process is really that bit at the end, when you’re pulling the jars out of the boiling-water bath, and setting them somewhere to settle for the night. Not only do you get the pleasure of seeing those lovely jars all lined up with delicious food that you made, but there’s that pleasing “Thwok!” as the lids suction down, sealing the jars.
I really like this recipe; it tastes amazing on fried foods like latkes, samosas, or a grilled cheese sandwich (seriously, try it!). And it feels good to finally have the tools to preserve things in my own house again!
This batch made 9 one-cup jars of delicious mango chutney!
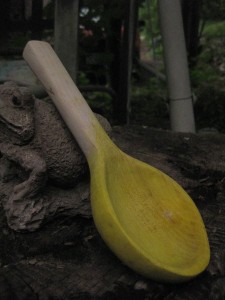
Working last summer at Lang Pioneer Village, I was looking for a vaguely time-period appropriate activity to do with my hands when the day slows. I had had my fill of knitting small washcloths to sell in the gift shop, knit my own pair of socks and wasn’t ready to find an other knitting project. I had also spent the summer telling people how the first settlers would have had to make everything that they needed and felt that I probably would need something more than a pair of socks and a few washcloths if I were in that situation. It occurred to me that I could probably make something useful out of wood. So I talked to the carpenter and he got me started carving a spoon out of wood.
We cut down a big block of wood using a saw and the shave horse and then when my wood was a shape closer to a spoon, I began carving with a knife and later a chisel. The spoon I created was not exactly useful, having pretty useless proportions, but I felt that I was on my way to making something.
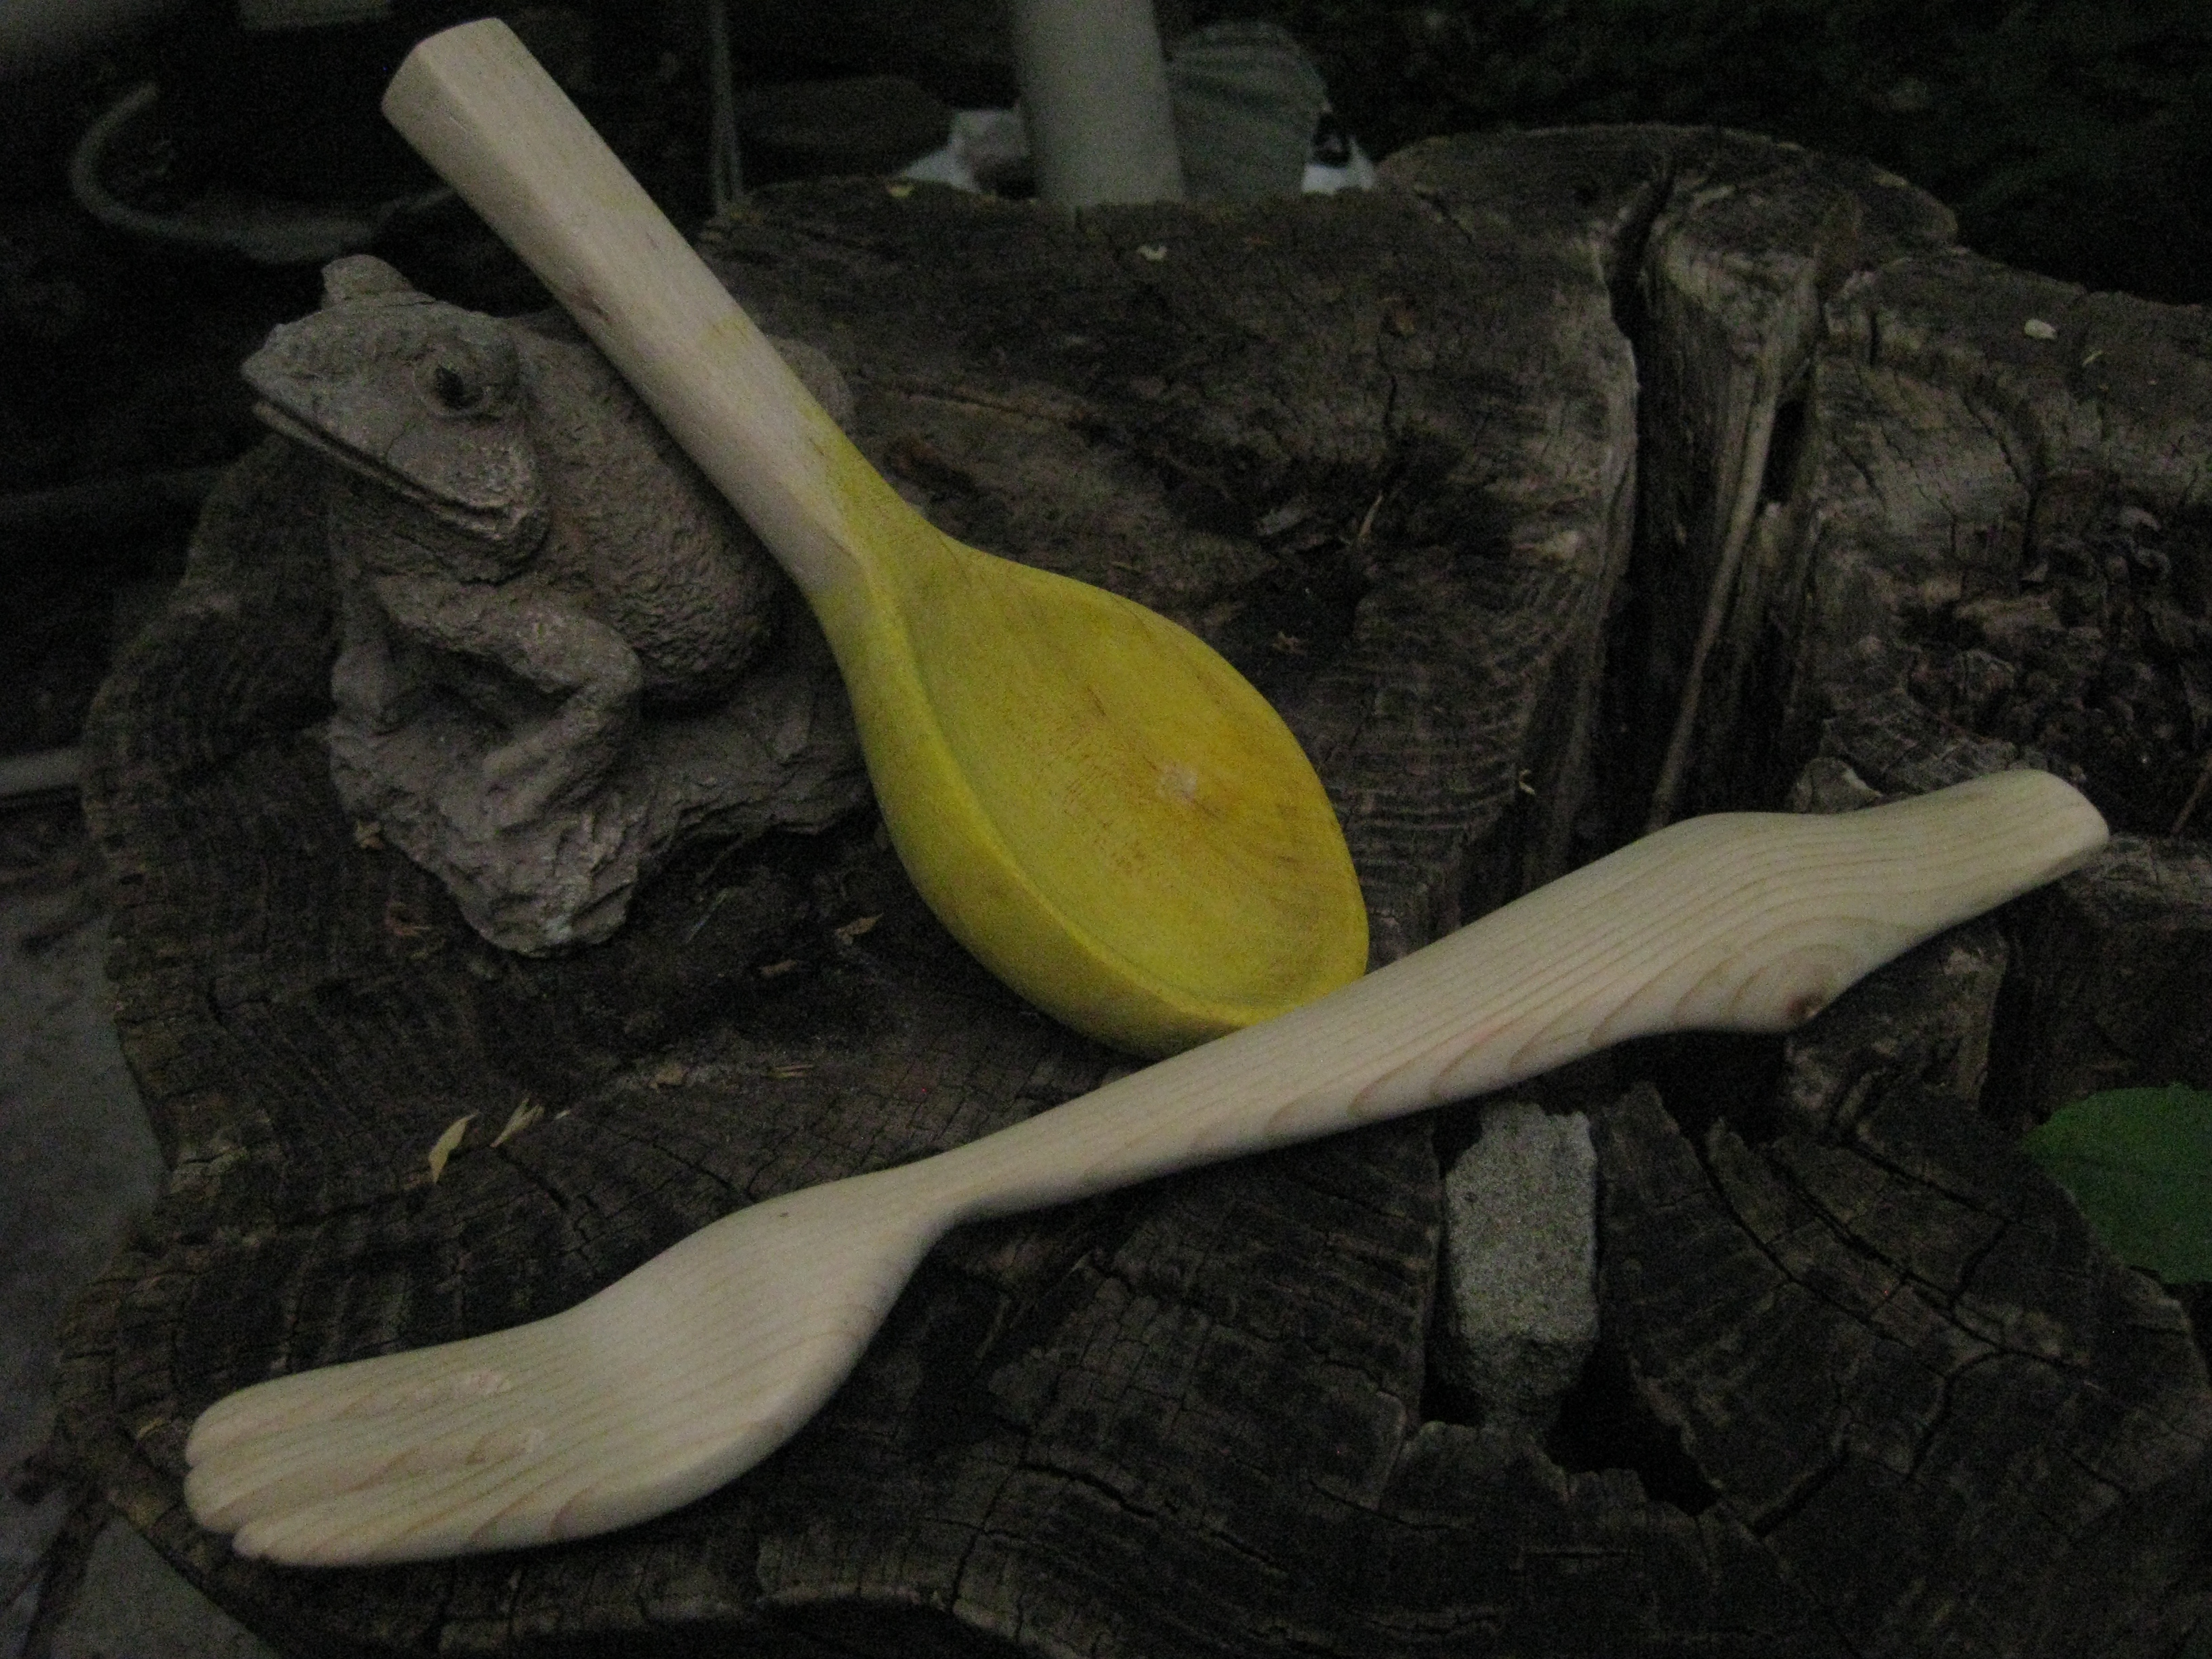
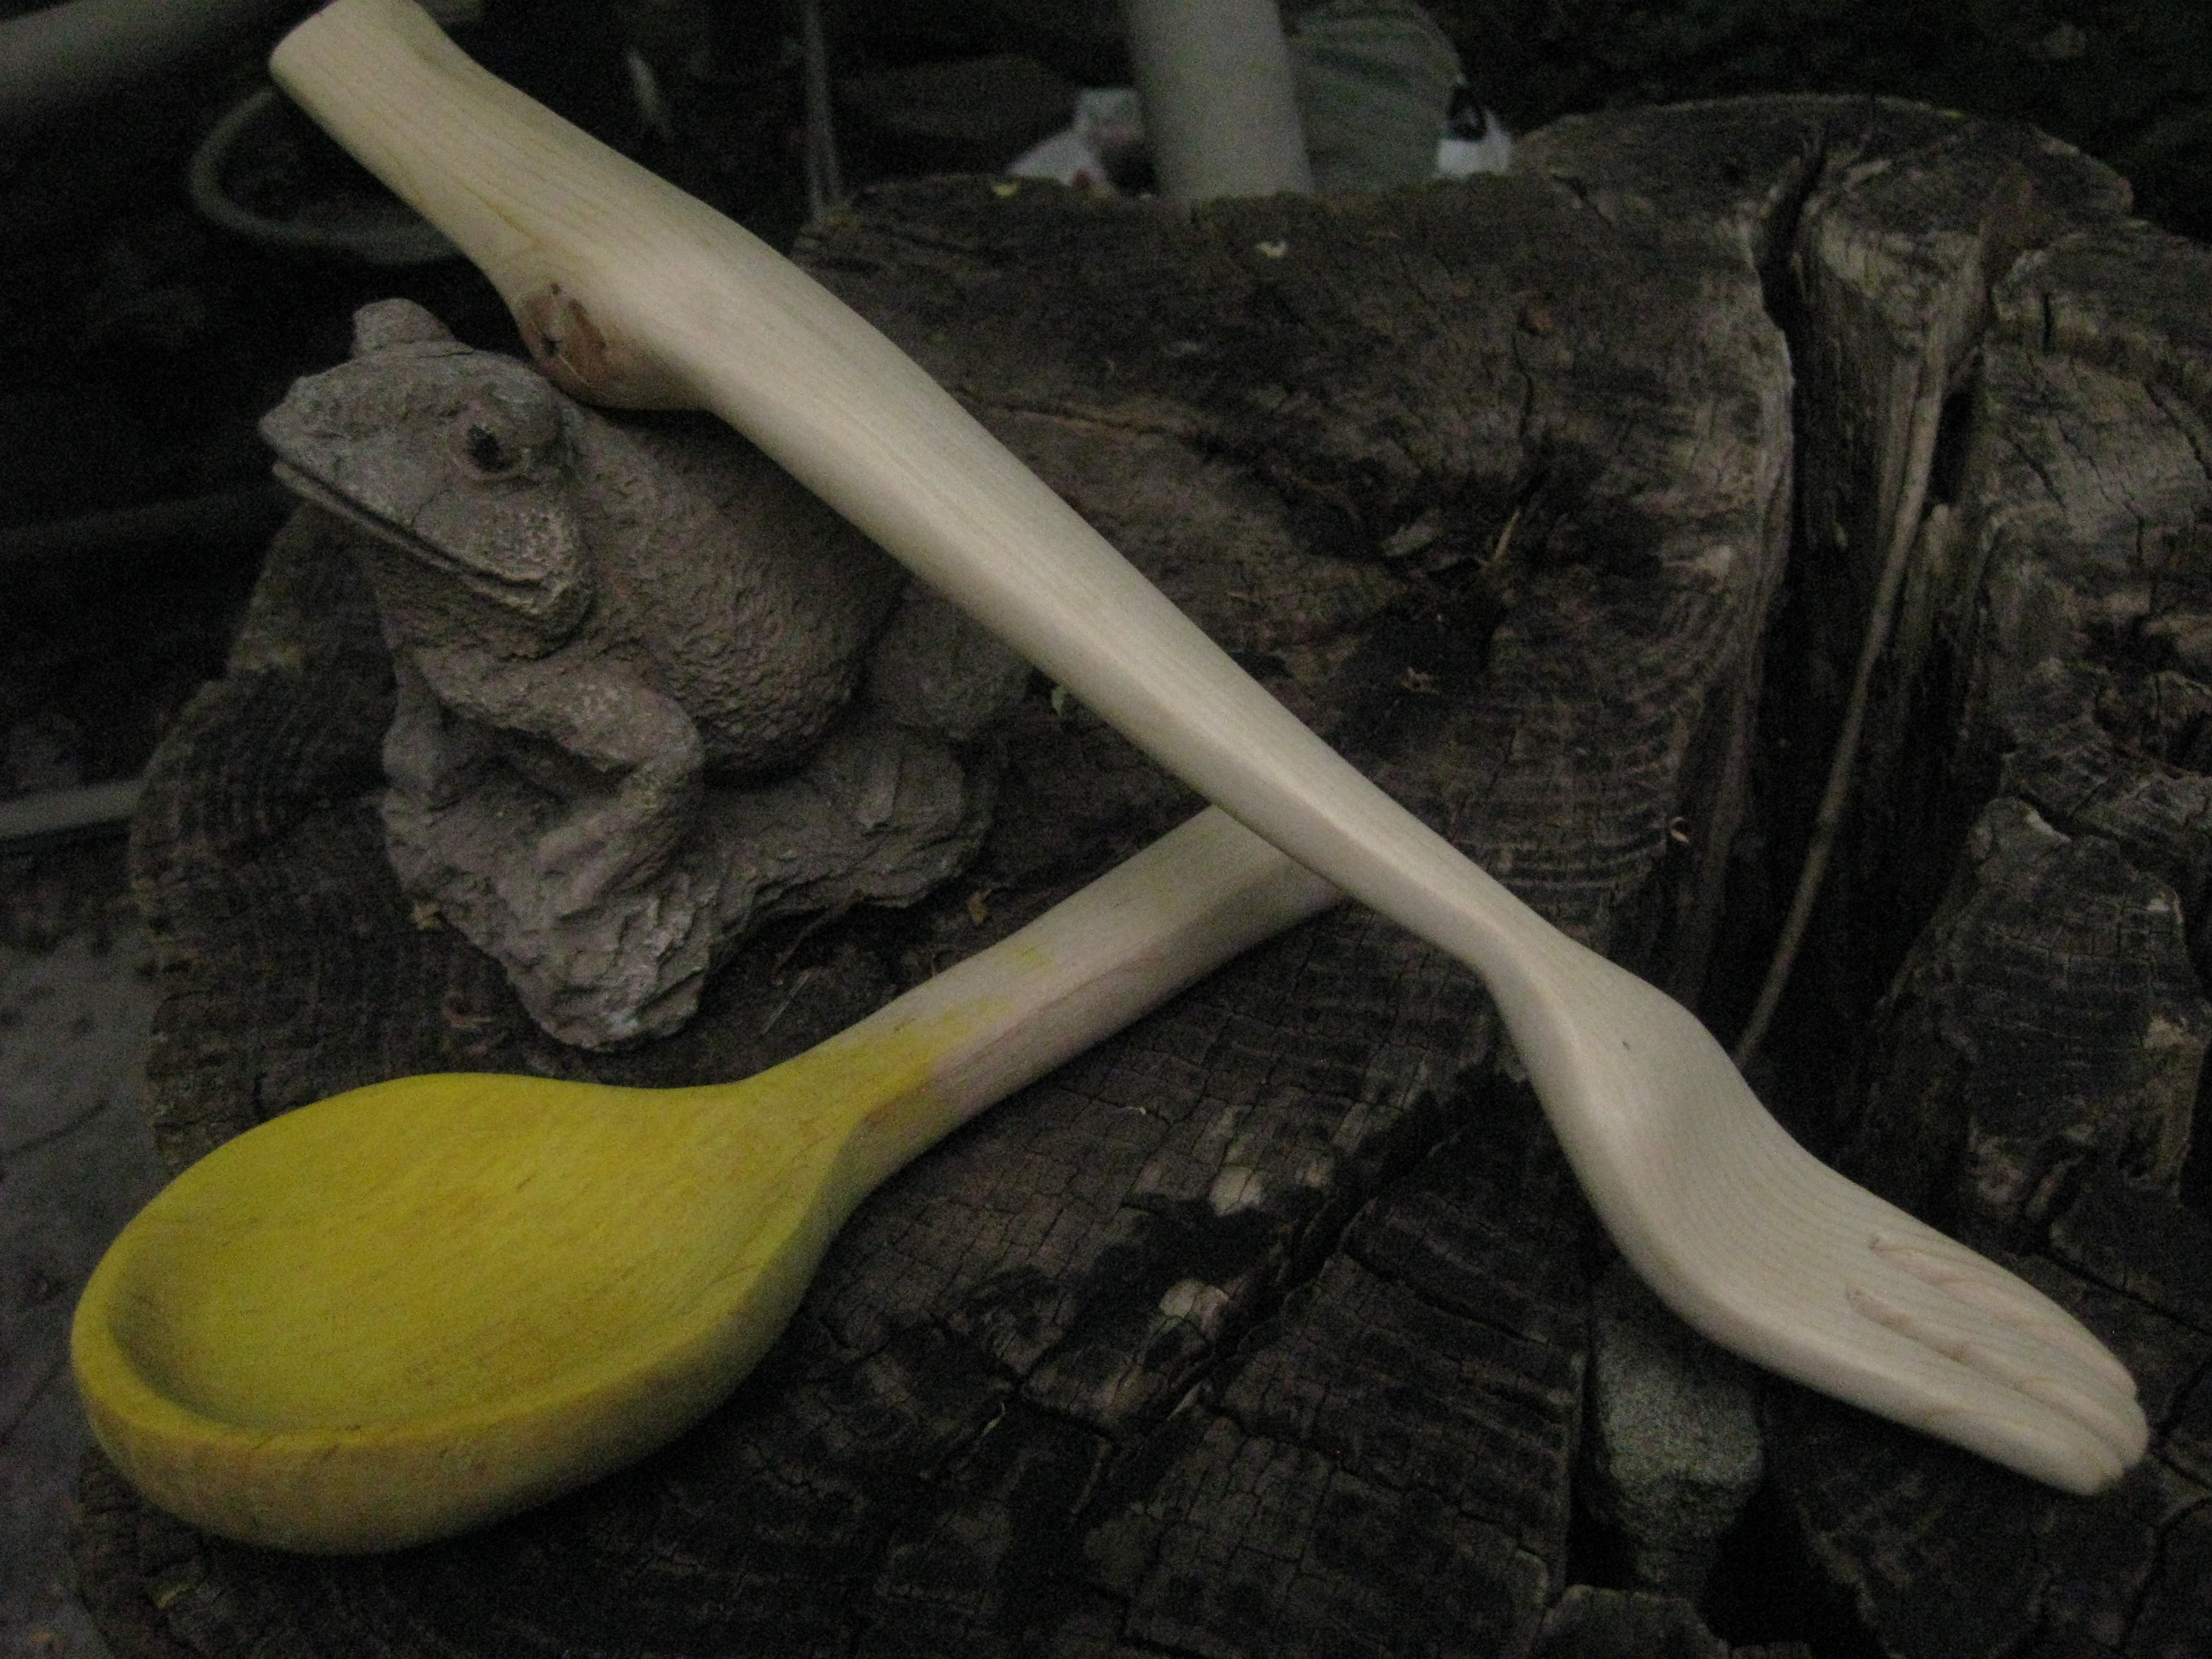
Spoon and salad tong fork
As I started this year I again got the whittling bug. Dave, the carpenter has a pretty sweet knife this year and carving seems to be easier. I started by making a giant useless fork. It was supposed to be a soup cookin’ spoon, but looked fork-like as I was carving it… Later I realized that it looked more like a creepy doll arm. …and so my new project, something equally useless to someone settling ‘new land’ has begun. I’m working on a creepy doll. So far I have whittled some simple arms and I’m working on making legs that match. The first leg I tried was too blunt and thick, so I’ve started another. It seems to have a bit more of the same feel as the arms I have. When i have finished my doll, I’ll post it fer ye.
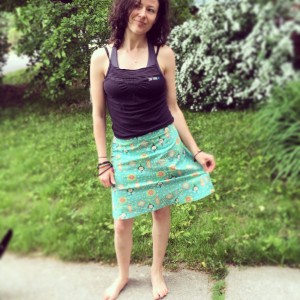
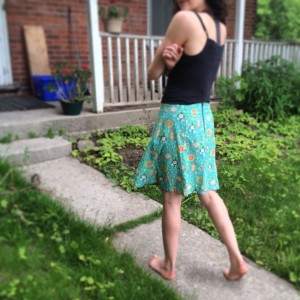
I made this skirt (pattern too!) from a book with templates to make your own pattern. I was trying to sew this skirt in time to wear it to my Nana’s last NYE. Unfortunately I didn’t get it finished until a couple days later, but it’s now a part of my wardrobe. I wish sewing was easier for me, but I figure I just have to do more of it to make myself better, faster and to have an easier time of it. If I had a better handle on things, I’m sure it wouldn’t be hard to make a couple of these in a day (once the pattern is made).


 After finalizing a theme half-way through knitting the toque, I started wondering whether it would be better as a balaclava or tube-scarf neck-warmer. It is super-warm worn around the neck and I fully considered it. I will likely do something like that for my next project…


 …Well last spring, really. For a long while I had been looking for a life painting class to take. I really enjoy life drawing (although it is somehow really hard to find a class that I can fit in to my life in Peterborough). There is something very special and magical about human skin and the way light is absorbed and reflected in it. There is also something very special about finding all of the colours in skin and finding ways to mix them up. So to my pleasure, I found a
 block the basic tones and shapes of the figure. I hate black paint, the particular black I have makes unappealing blue greys which are thick like toffee and seem to need to be chewed too much to get any kind of gradient. Needless to say I hate what I ended up with and never want to see it again.