Bicycle refurbish at B!ke

Since living in Keene, I’ve had the dilemma of only having one bike, but often being in Peterborough while my bike is in Keene or vice versa. There’s so much enjoyment in cycling in and around the Peterborough area, but I also have the need to jump on my bike and burn some energy when at home. I also wanted to spend more time on my bicycle with my avid cyclist boyfriend, Hodge. We decided to undertake a full bicycle rebuild and found a couple sad-looking bikes online. We found this cute one and bought it for $35.00.

Beginning the deconstruction...
Beginning the deconstruction…

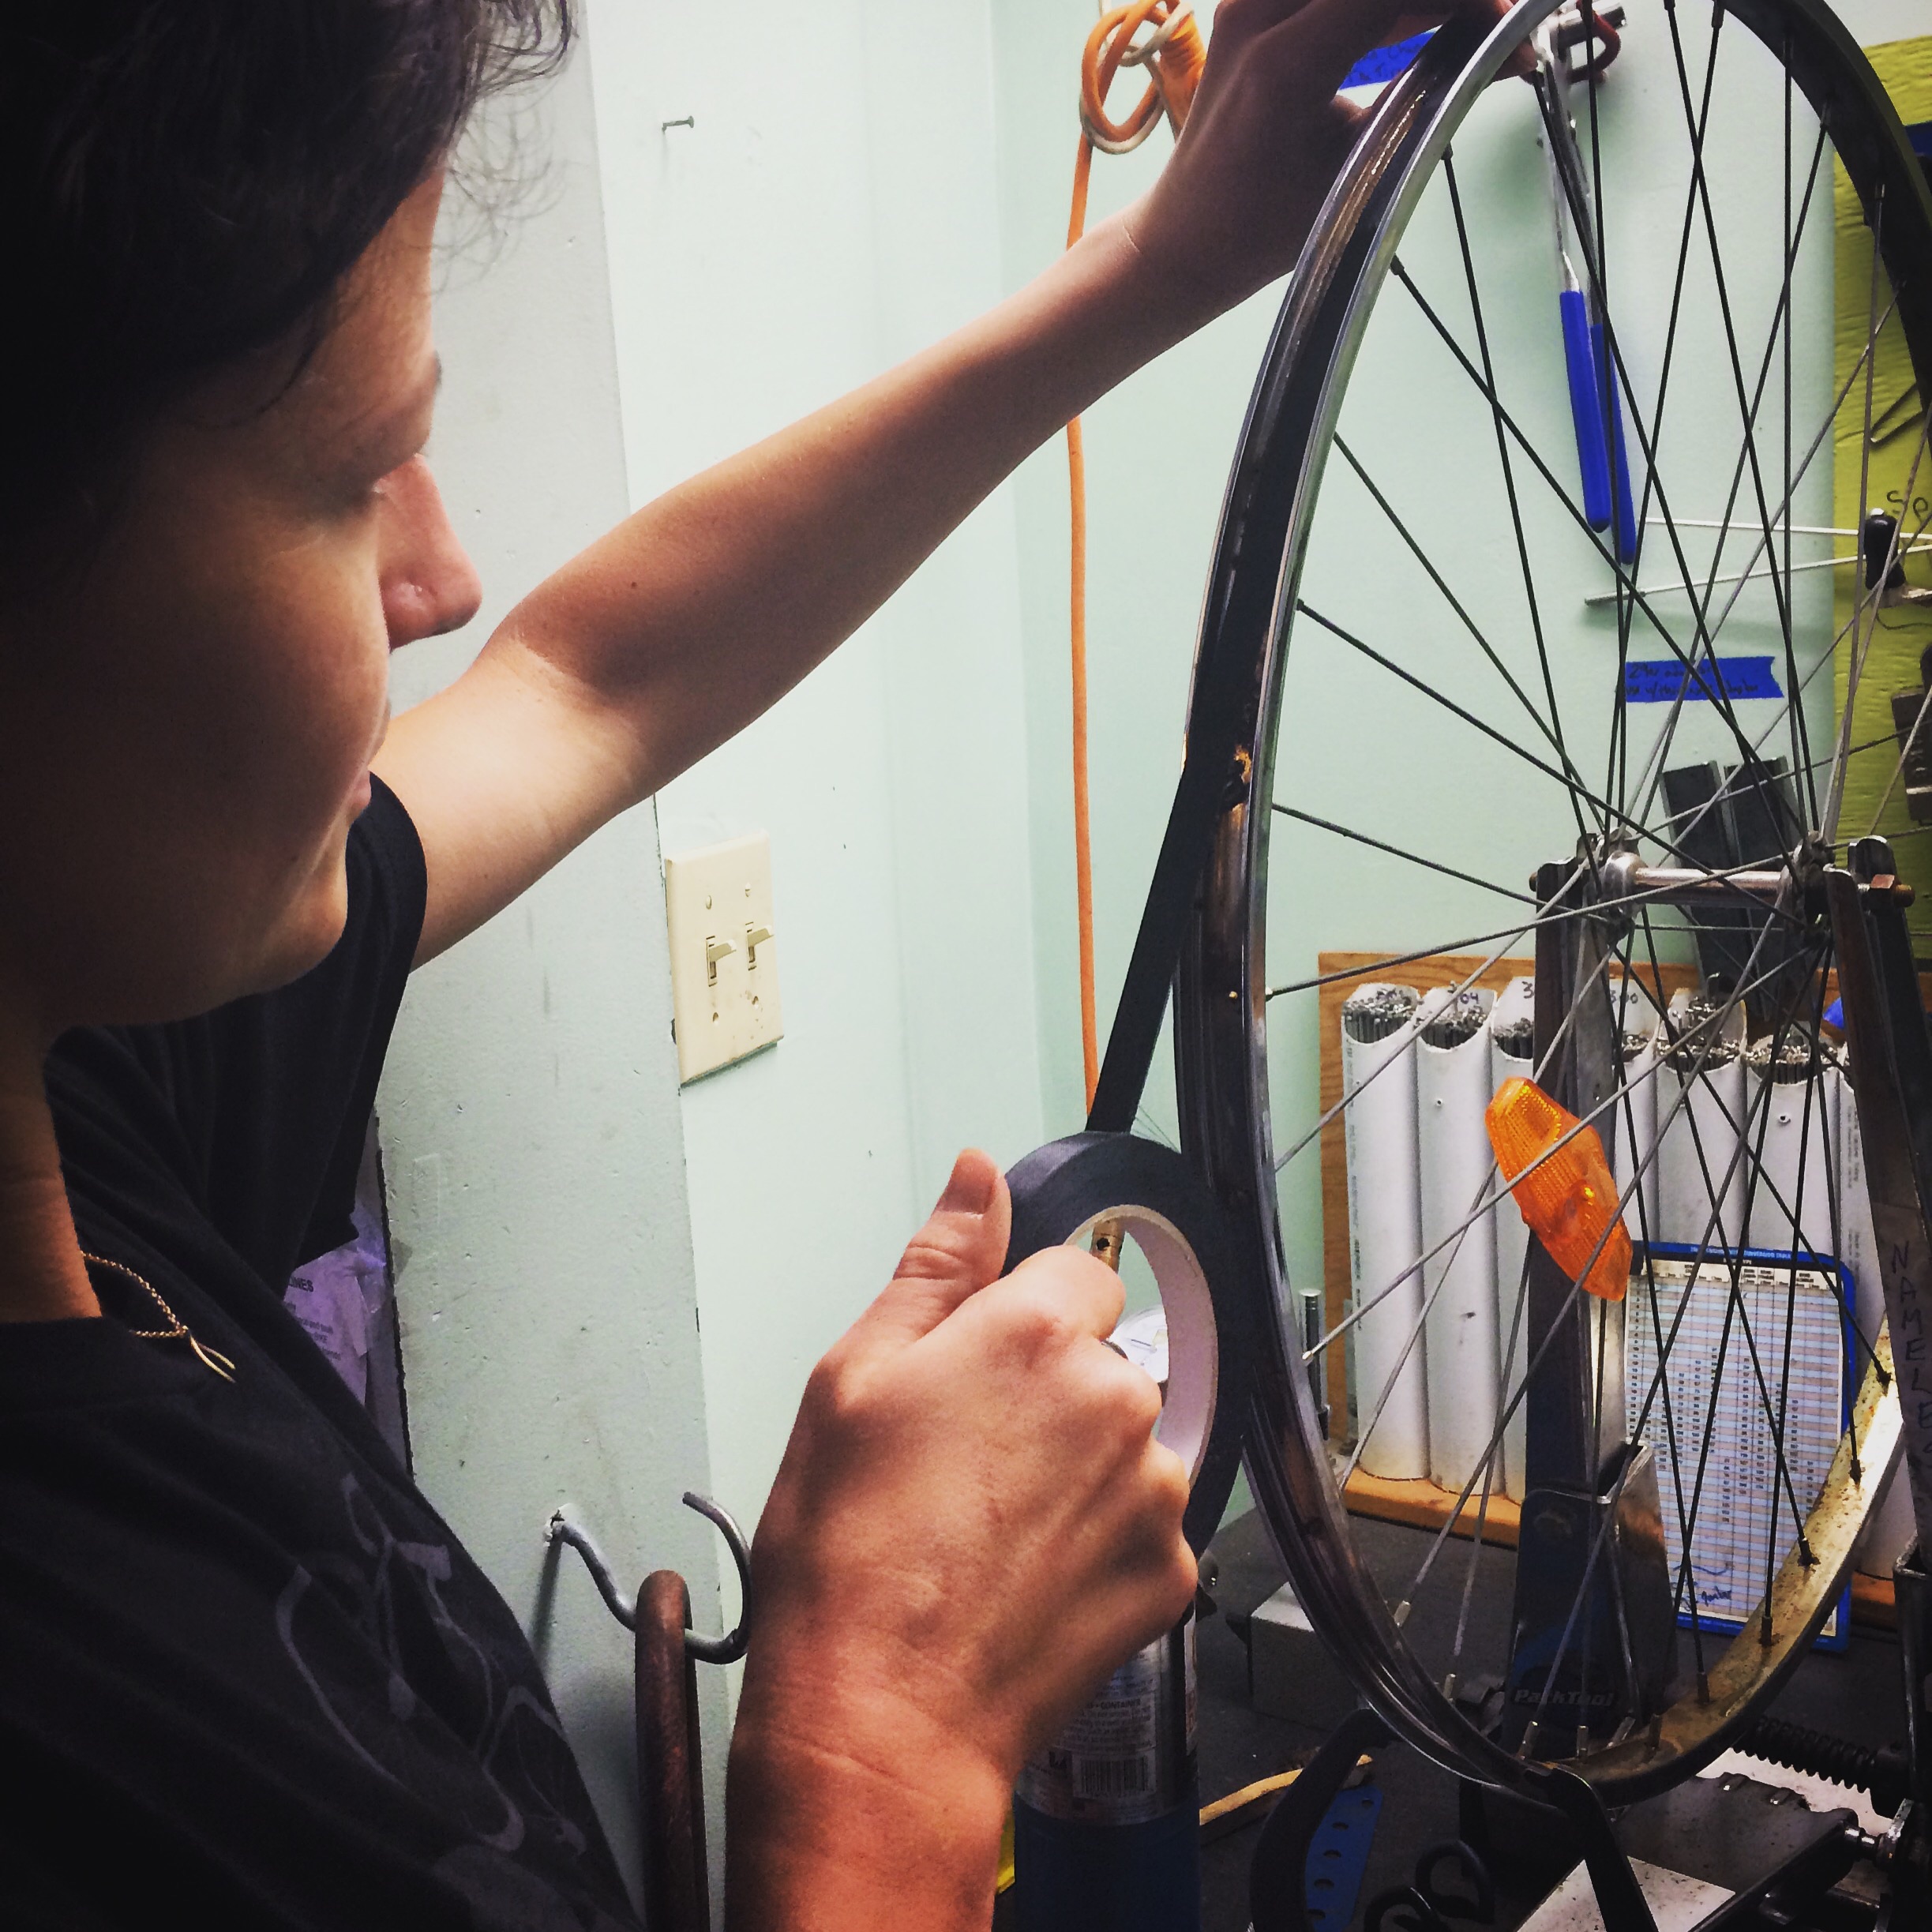
The first step was to take check the condition of the bike overall with the help of the awesome bike mechanics at B!ke. We made sure the seat post was moveable and not permanently bonded to the bike frame. Next was checking the quality of the tires. They needed to be replaced as they were original to the 1987 Supercycle. Then we moved on to truing the wheels by adjusting the spokes two at a time. This was likely the most time consuming part of the repair.

Lindseed oil for the spokes!

image


image
Wrapping the wheel to cover the spokes


image
Sealing the tape with a hot poker to make room for the air valve


From there we cleaned the bearings in each of the hubs of the wheels, cleaned the bearings in the bottom bracket and replaced one broken bearing. imageimage


Then we replaced the cables and housing for the brakes and shifters.

image


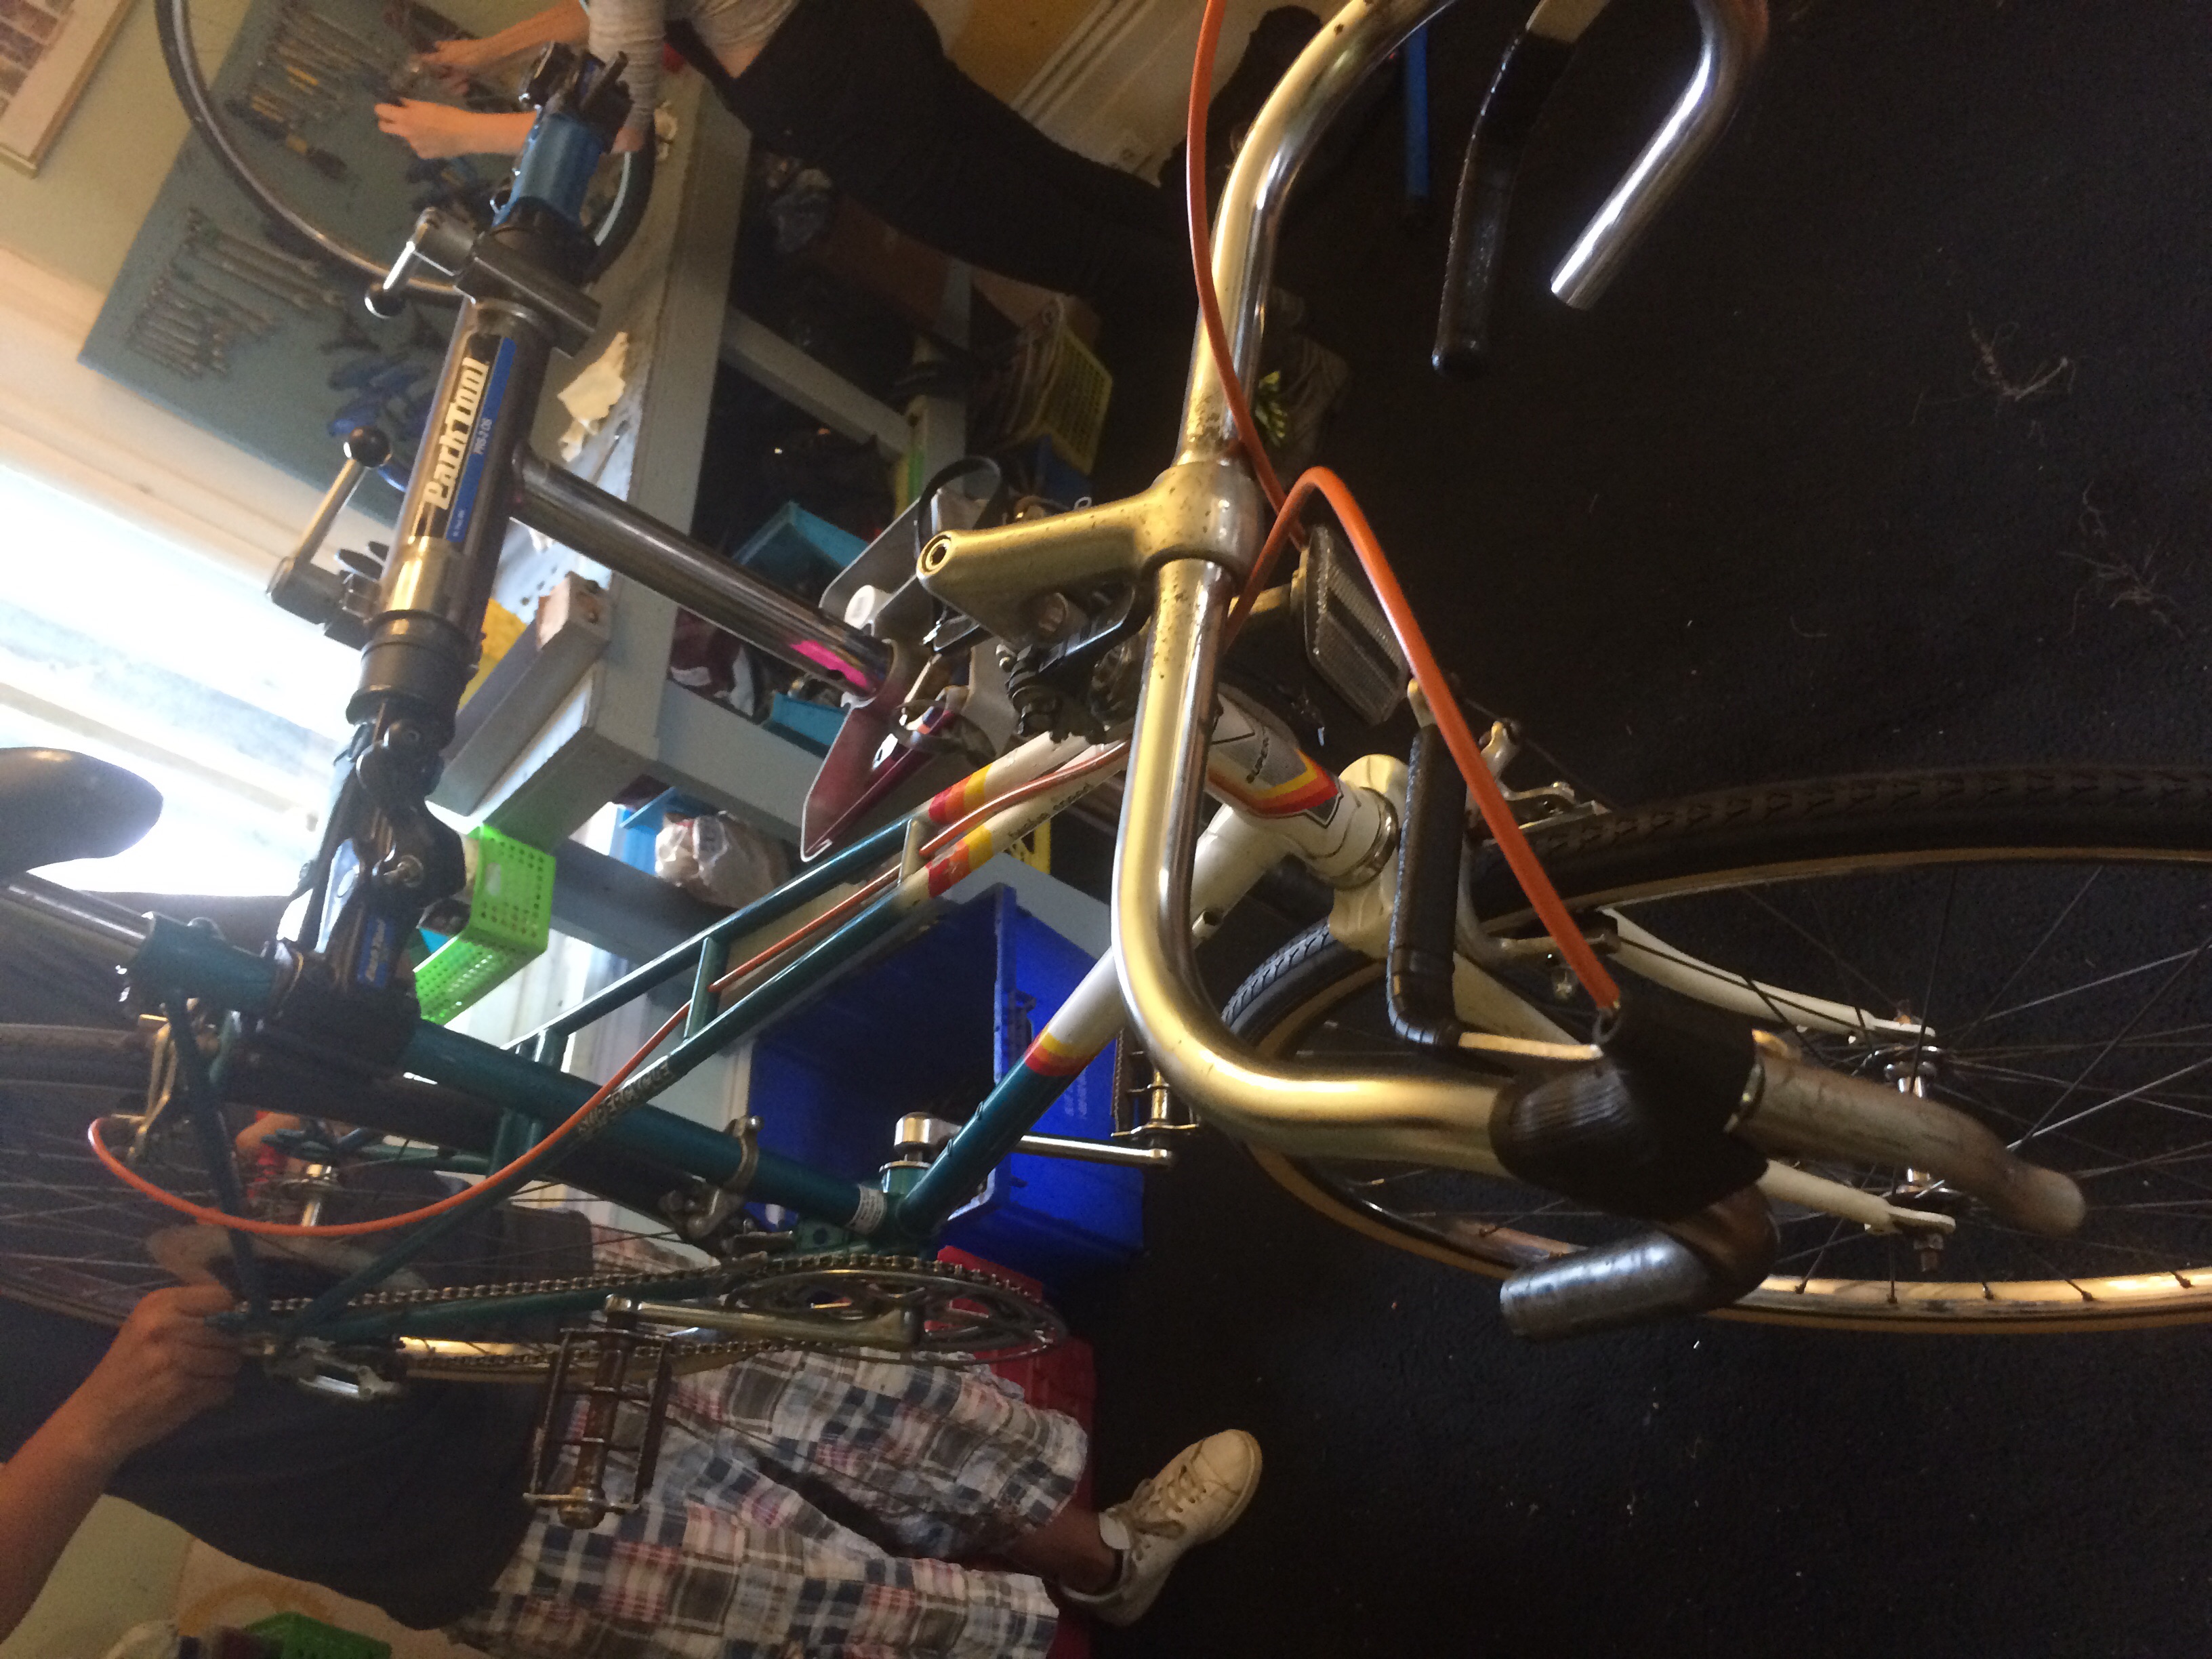
We replaced the brake pads and the chain.imageimageimageimage 
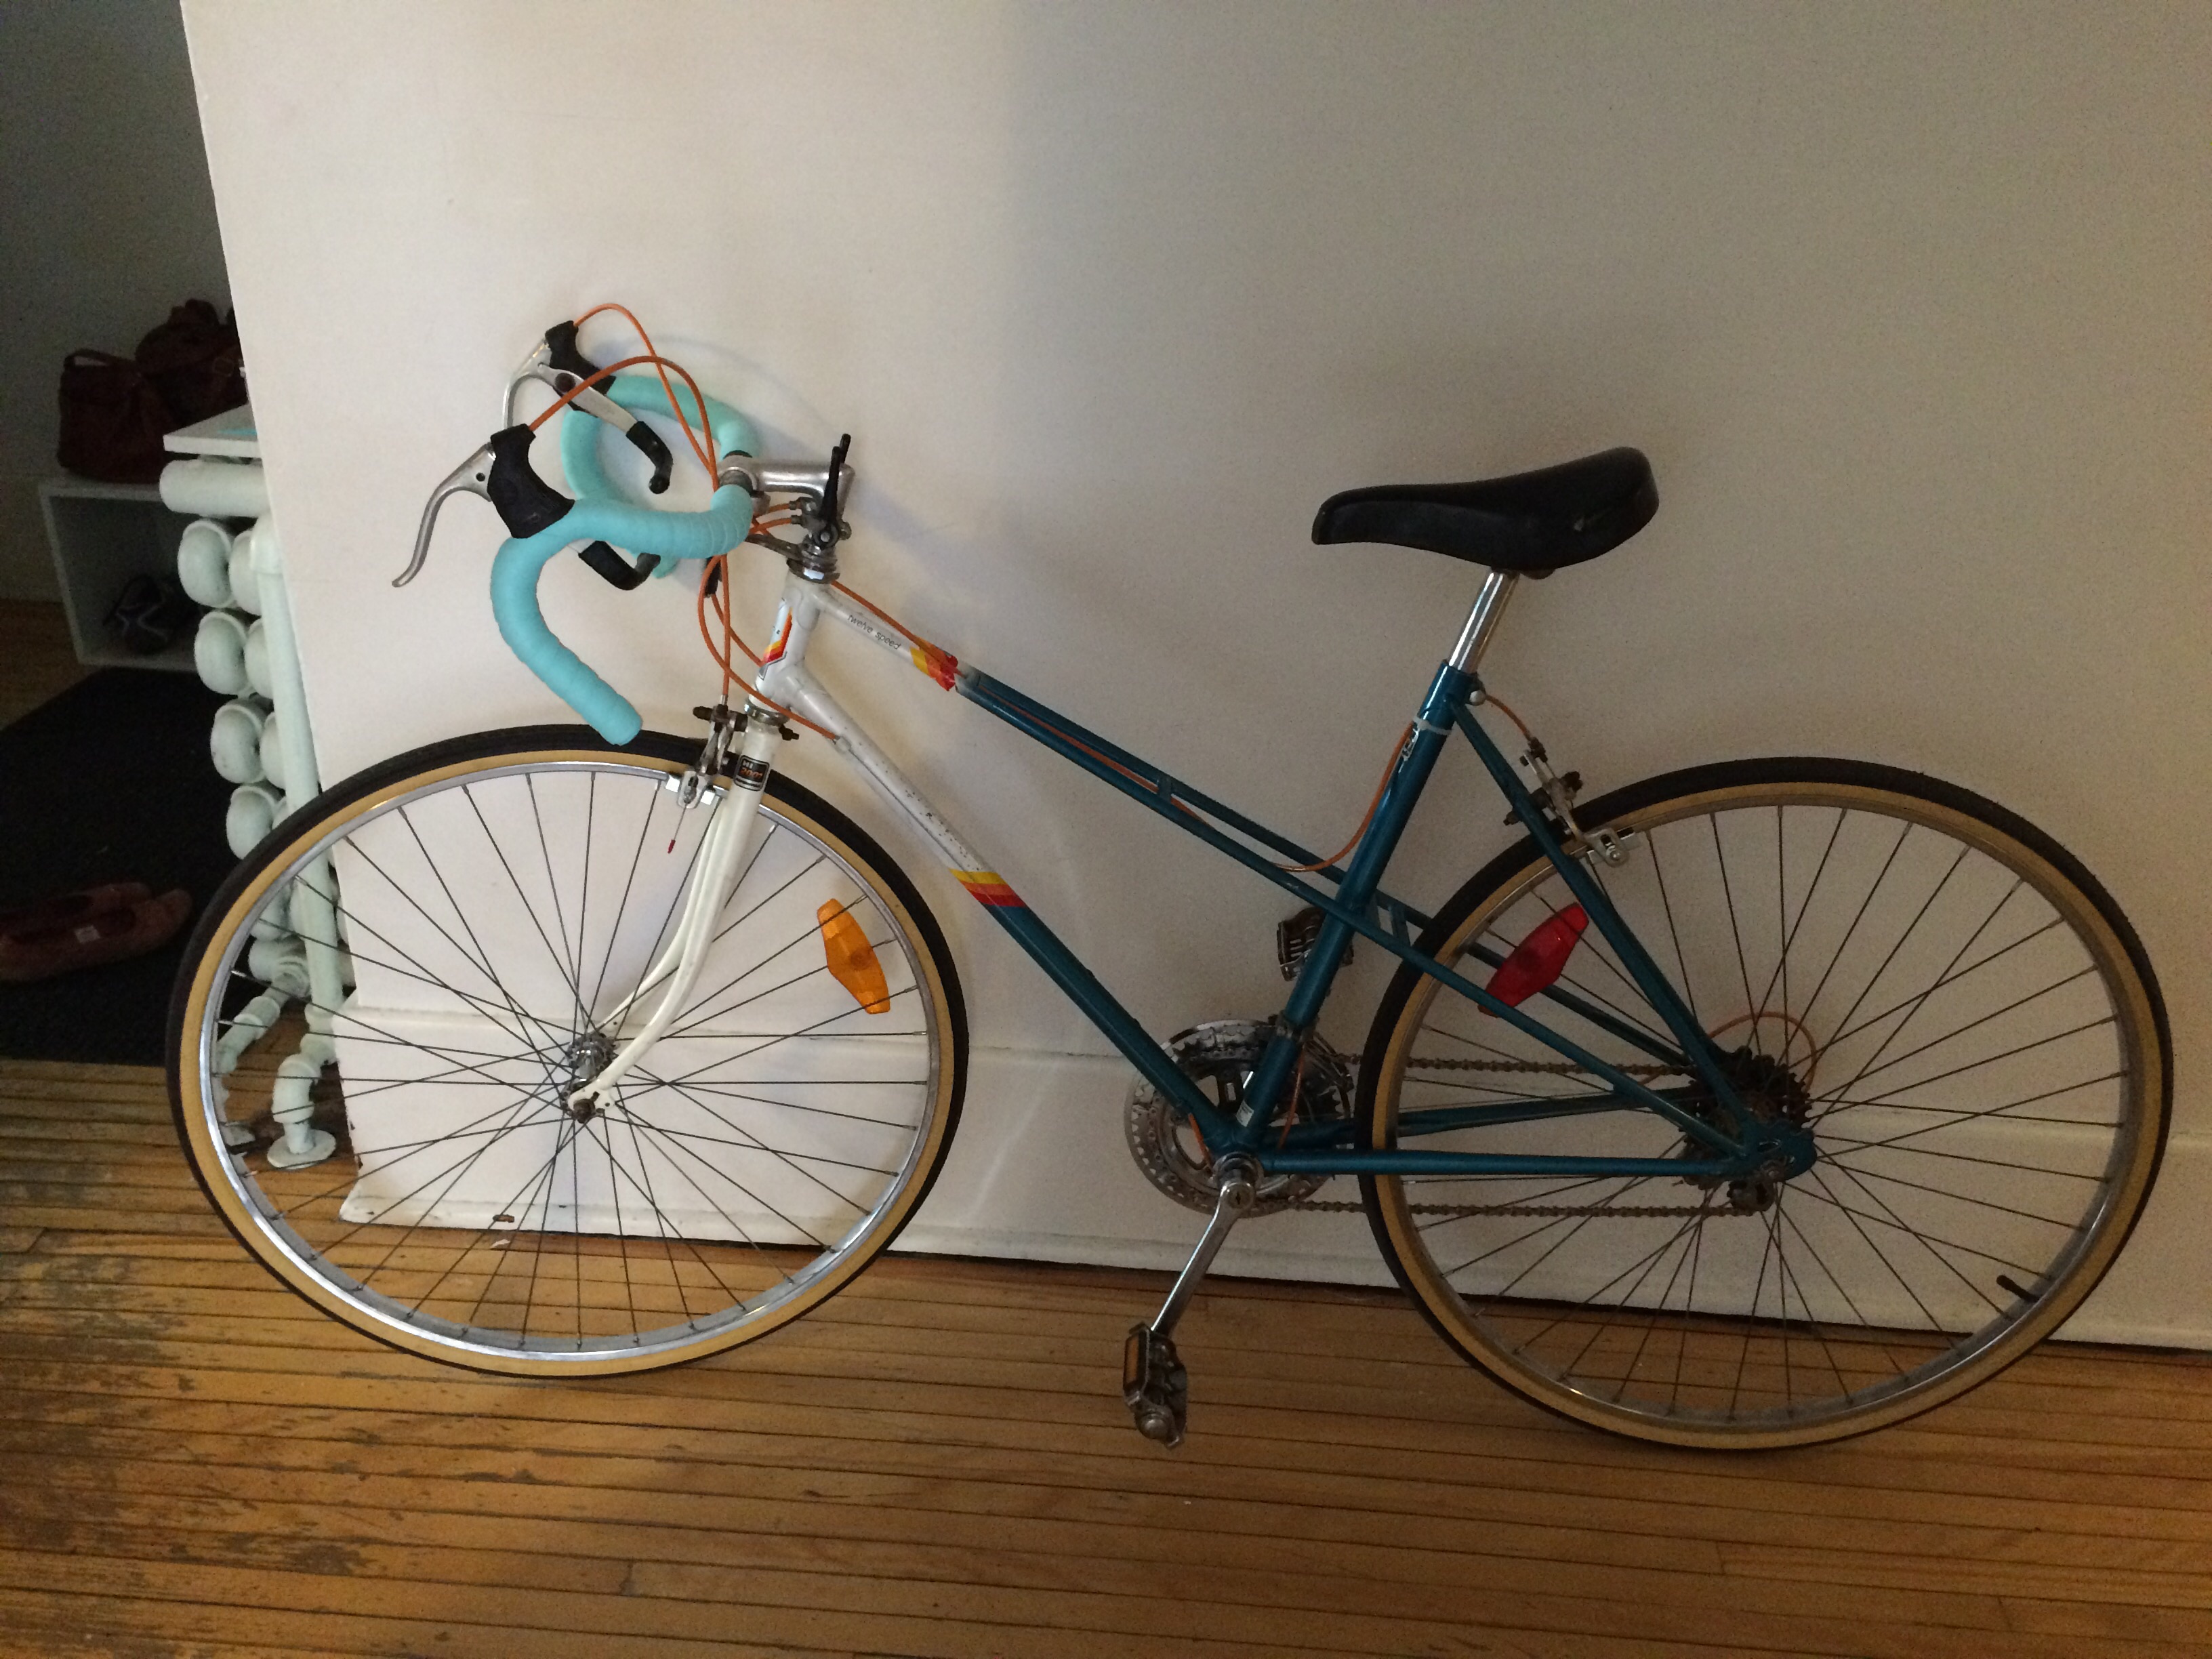
We fine tuned the shifting and the brakes, and, finally re-wrapped the handlebars.  And voila! a new-to-me 1987 sweet two-toned Supercycle!

Little Foxy Headband for Candace

image

For Christmas I decided to knit my sister Candace a fox-themed ear-warmer/headband.  Luckily right before Christmas she destroyed her old one which my sister Cassie had knit years before.  The design for the cute little cartoon-like fox was taken from someone’s pin on Pinterest…and I just made up the rest.


imageAt first the edge was extremely silly-looking and stuck out like a rim.  I altered it, but the outcome isn’t exactly how I had pictured it.  I think it’s still cute and wearable though.

imageimage

Raptors Tuque for Curtis

image
Curtis’ Raptors Tuque


The initial idea for this knitting project was not a toque, but a neck warmer.  Something not unlike a scarf or a cowl, but also similar to a leg warmer.  Something that keeps your neck warm and just slips easily over your head.  I consulted my sister as to whether Curtis, Cassie’s partner, needed a toque or a scarf-like thing more and she informed me that he already had an official Raptors toque, so a neck warmer might be more useful.

image

image


imageI waimages a little worried as to whether I would be able to get the Raptor claw logo right or not… there are so many angles and rounded shapes that I wasn’t sure if it would translate to knitting well.  It turns out, it translated pretty nicely and I’m happy with the result.  Using graph paper, natural light, a window a good print of the logo, a pencil and a little bit of aesthetic decision-making gave me a comparable logo.imageimageimage


After being a little unhappy with the result of my neck-warmer and after a ‘fitting’ session with Curtis and some discussion about his preferences, I decided to refashion the neck-warmer into a toque.  It needed a pom-pom in order to look finished.  The results seem to be pretty decent.

image
imageimageimage


1950s Inspired Christmas Toque

1950s inspired Christmas Toque1950s inspired Christmas ToqueAnother toque for another season…

I have a bunch of this lovely wool that makes images come out fairly clearly, so my next few posts will likely be me experimenting with different image designs in knitting.  I start with an idea, some graph paper and coloured pencil crayons.  Sometimes the idea changes several times within one project.  Sometimes it’s better to stick to the initial plan rather than change your mind part way through.  For this toque in particular, I wanted to use up some wool and decided on a Christmas theme.  Using up leftover wool narrows the colour choice…so it became a kind of 1950s palette.  My sister Cassie helped me with the design and shaping the stars and trees.  In retrospect I would make the stars smaller, but didn’t realize how big they’d be until I had knit many, many rows…

1950s inspired Christmas Toque
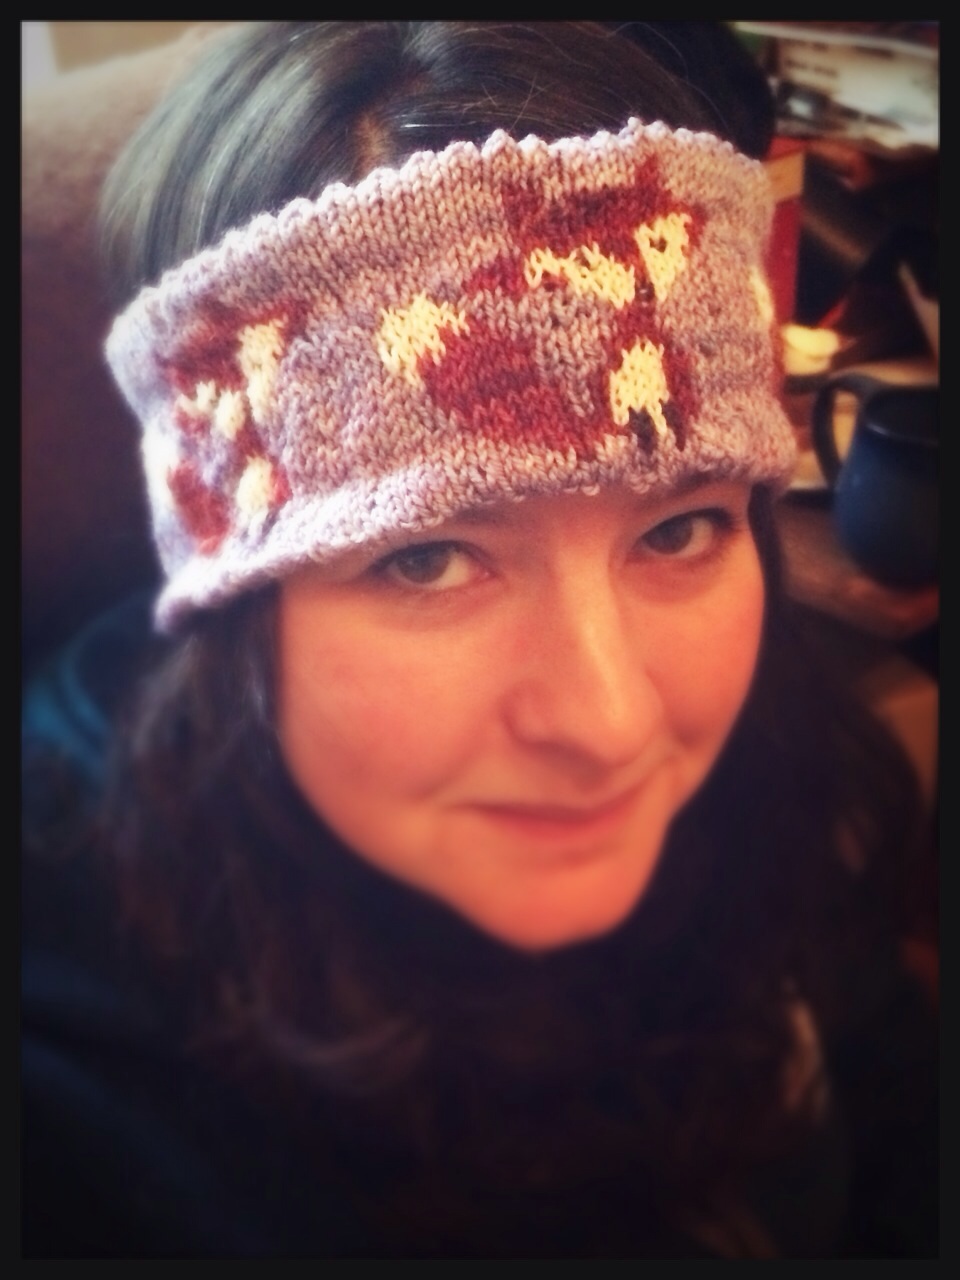
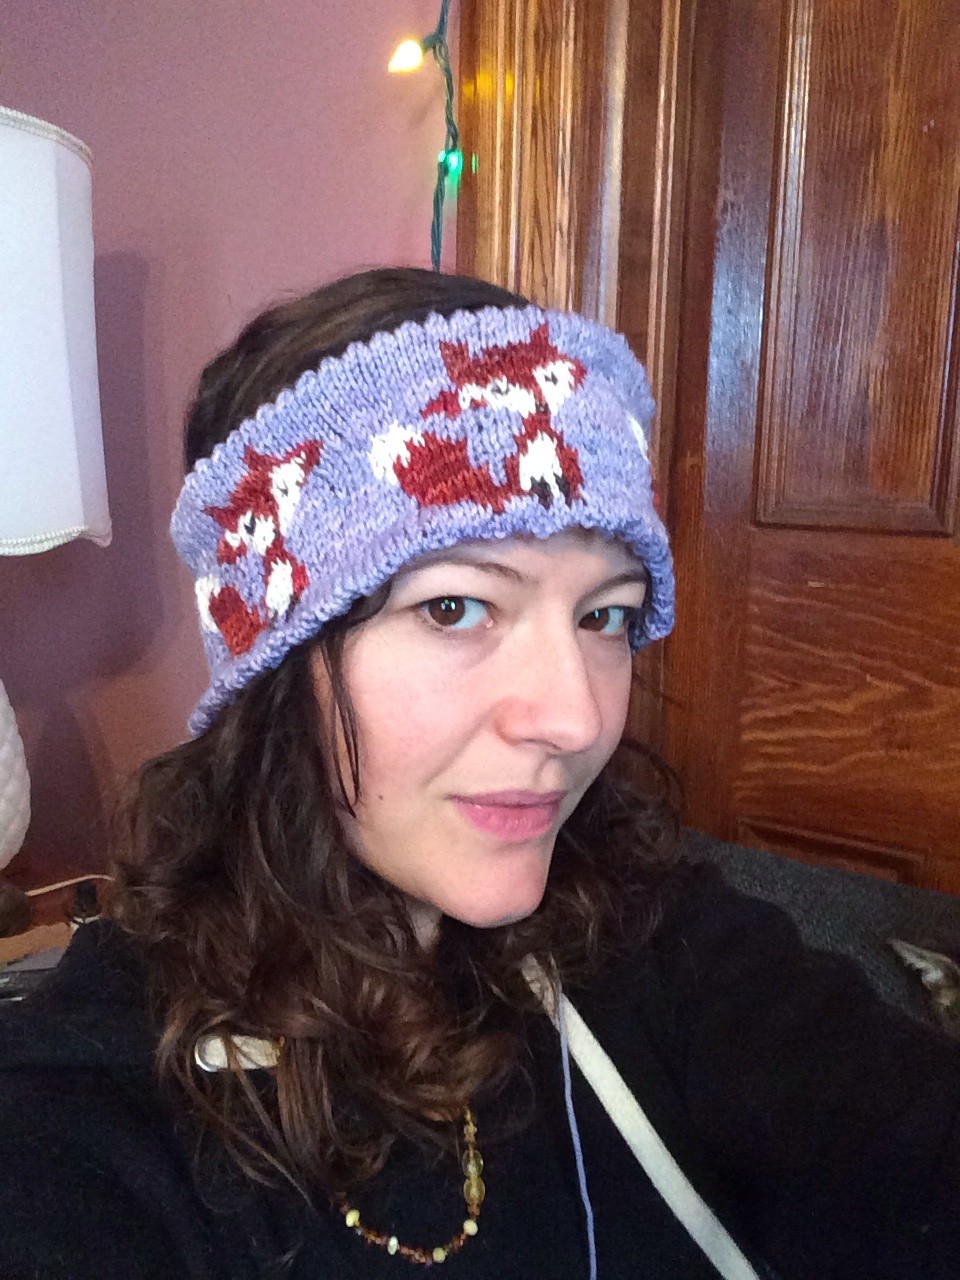
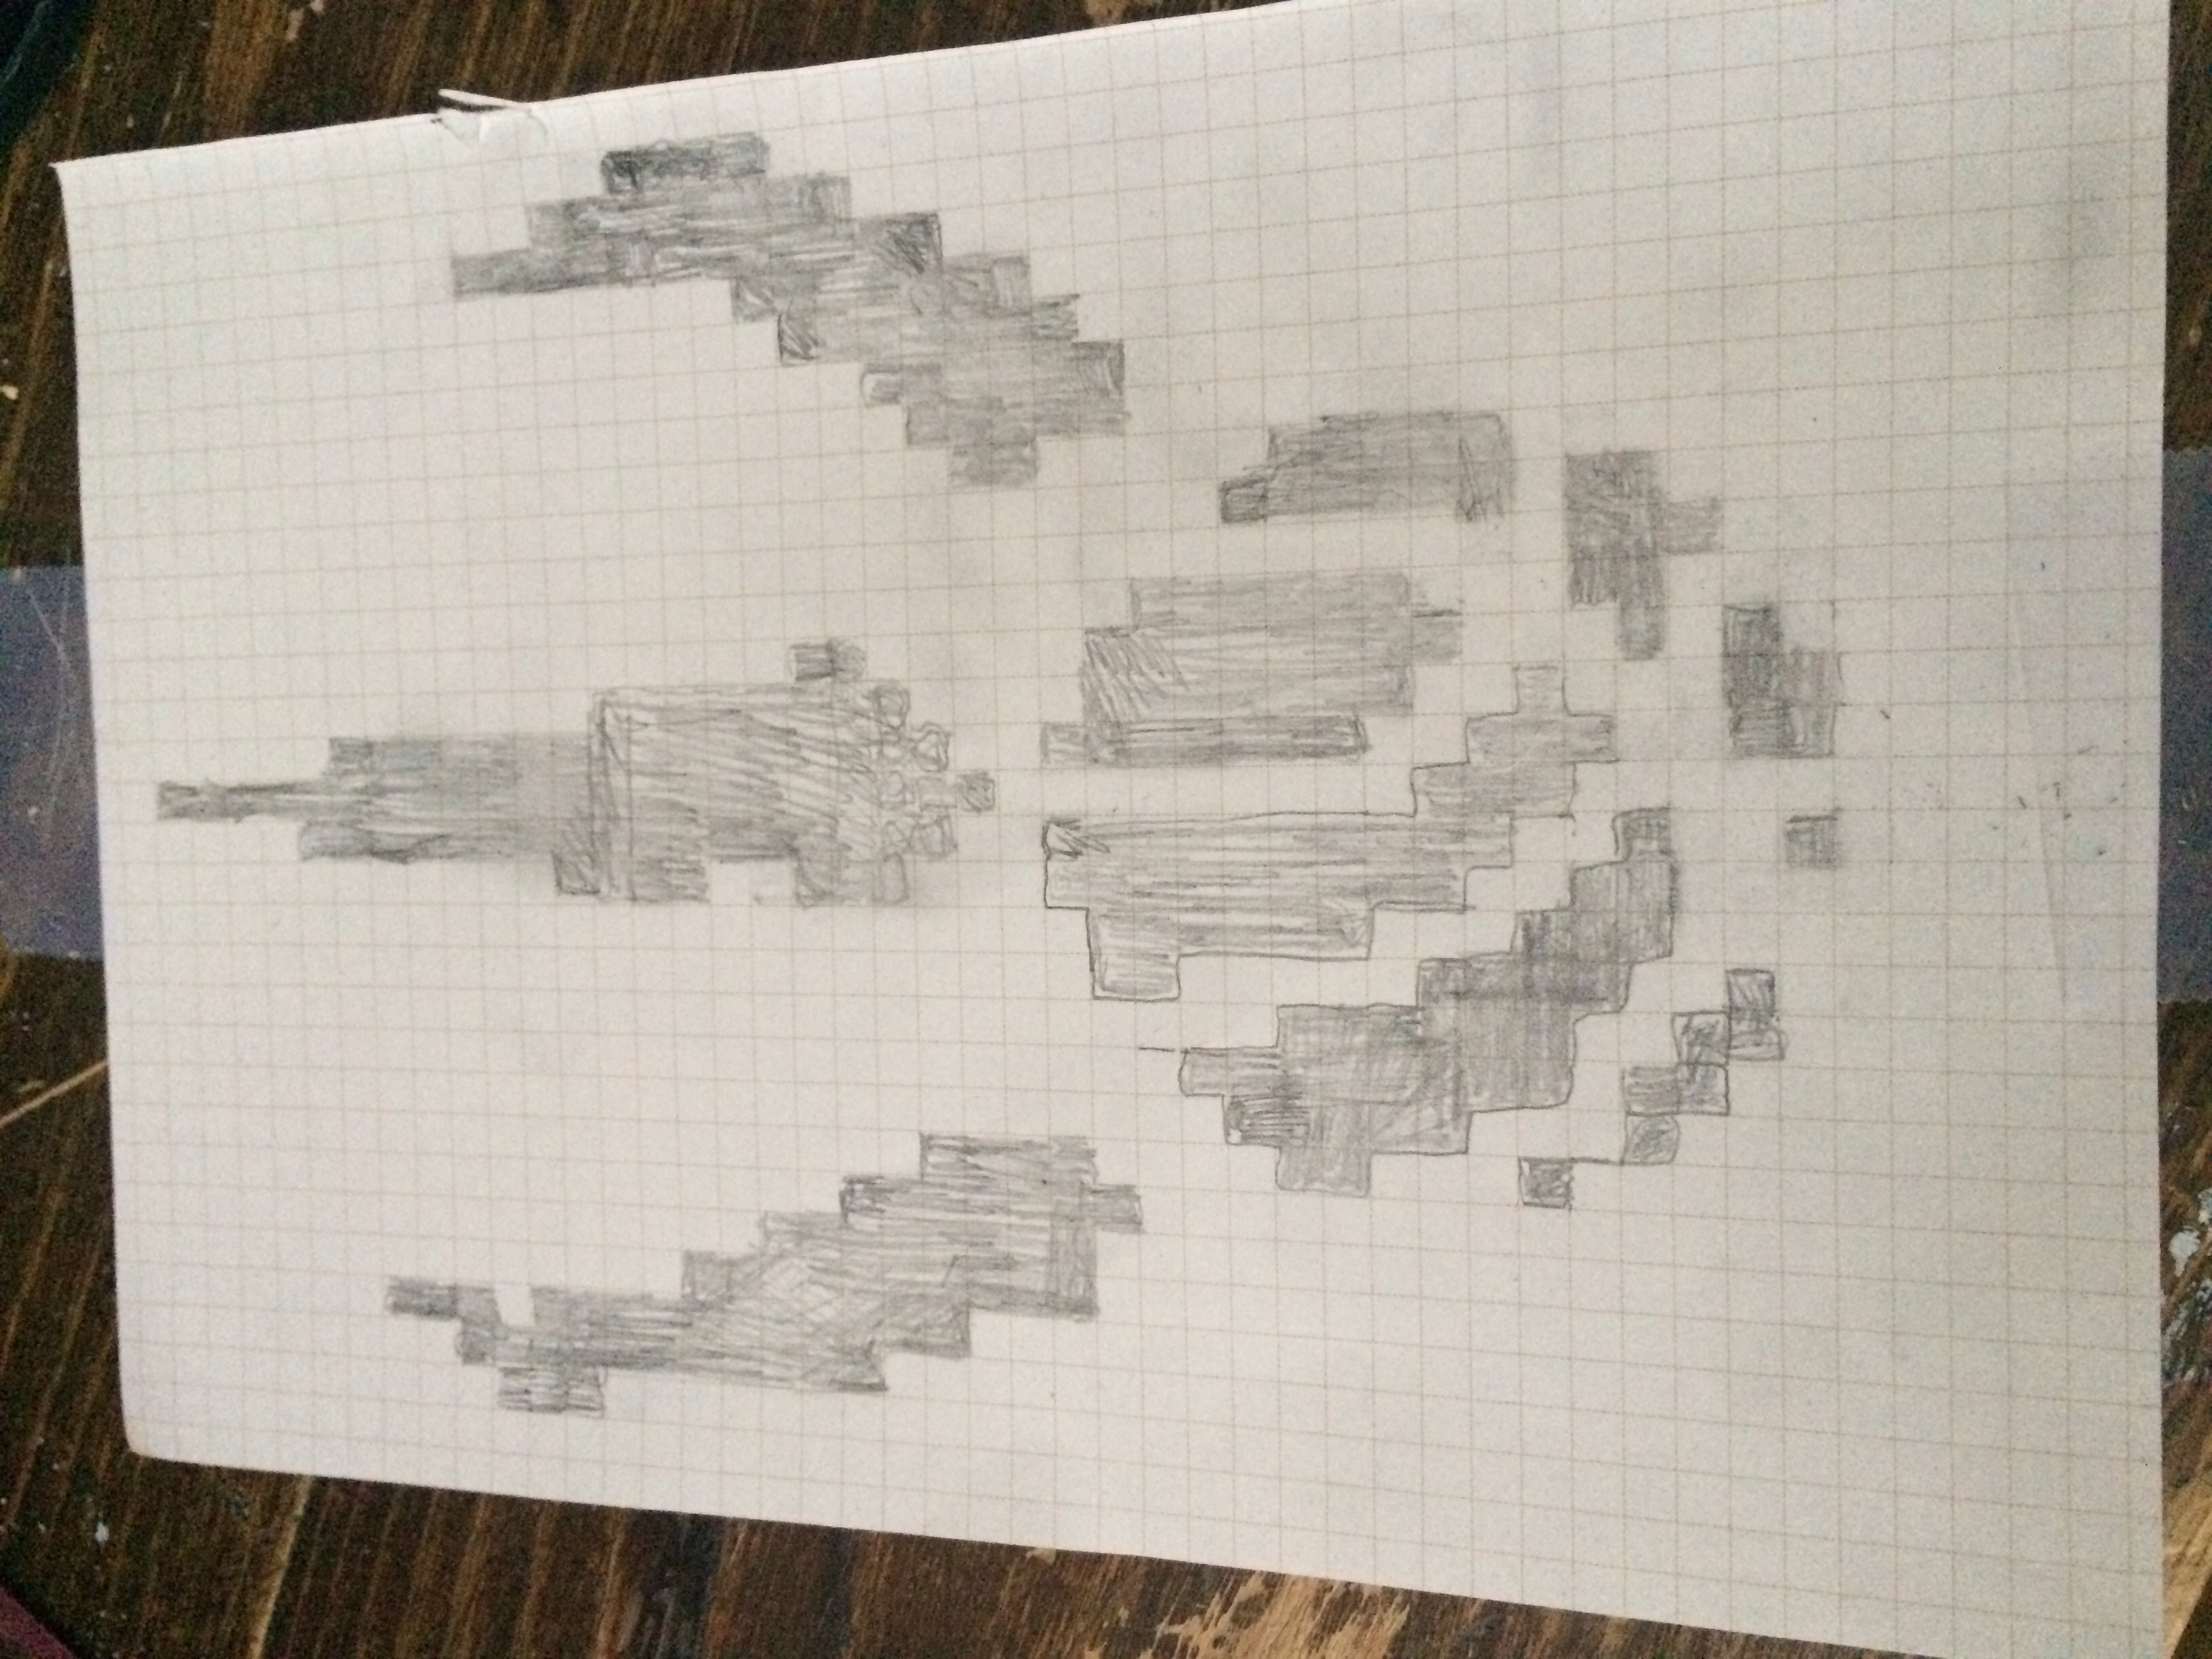
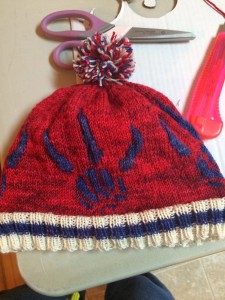
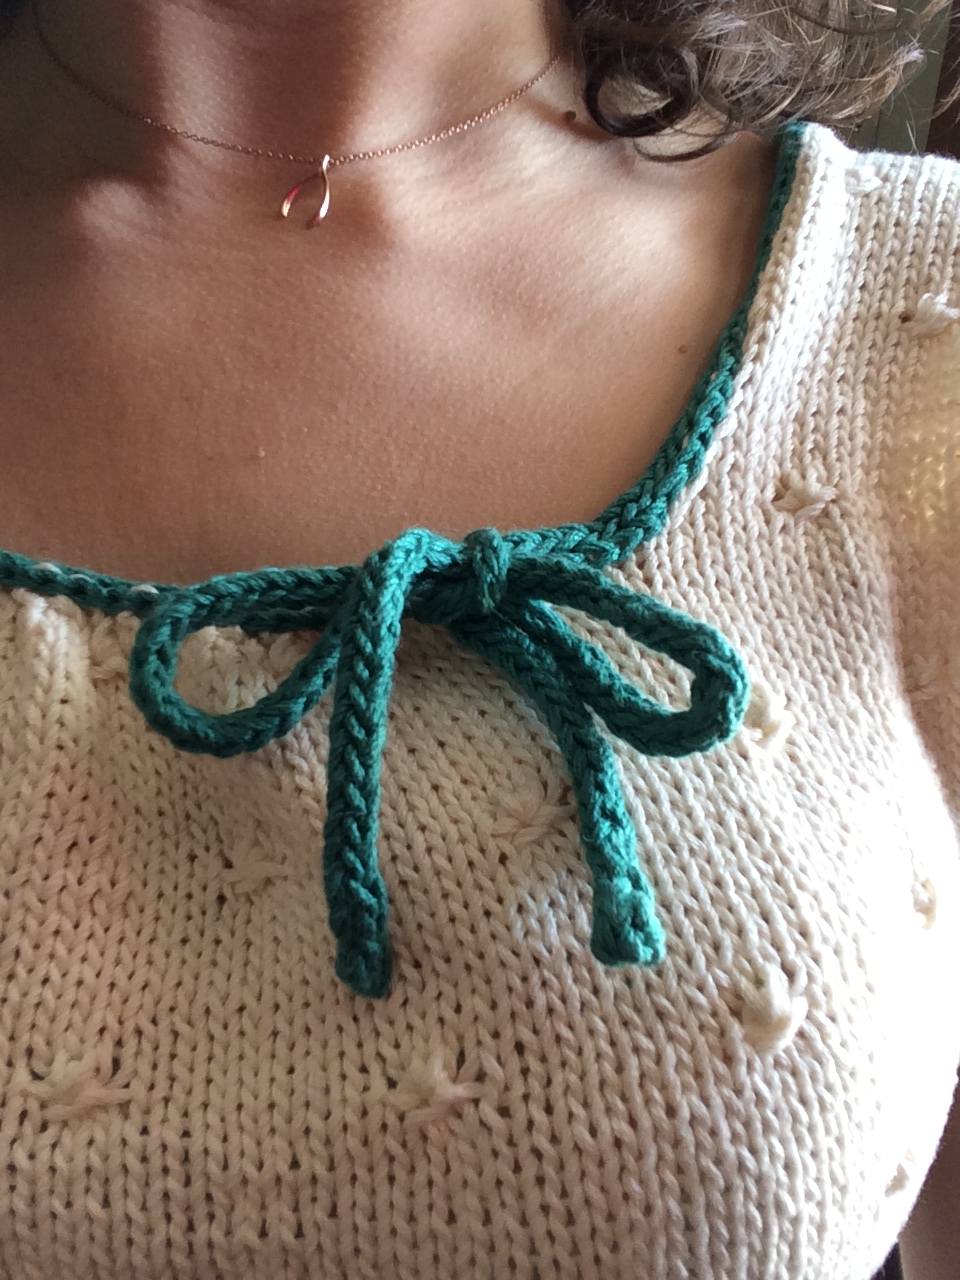
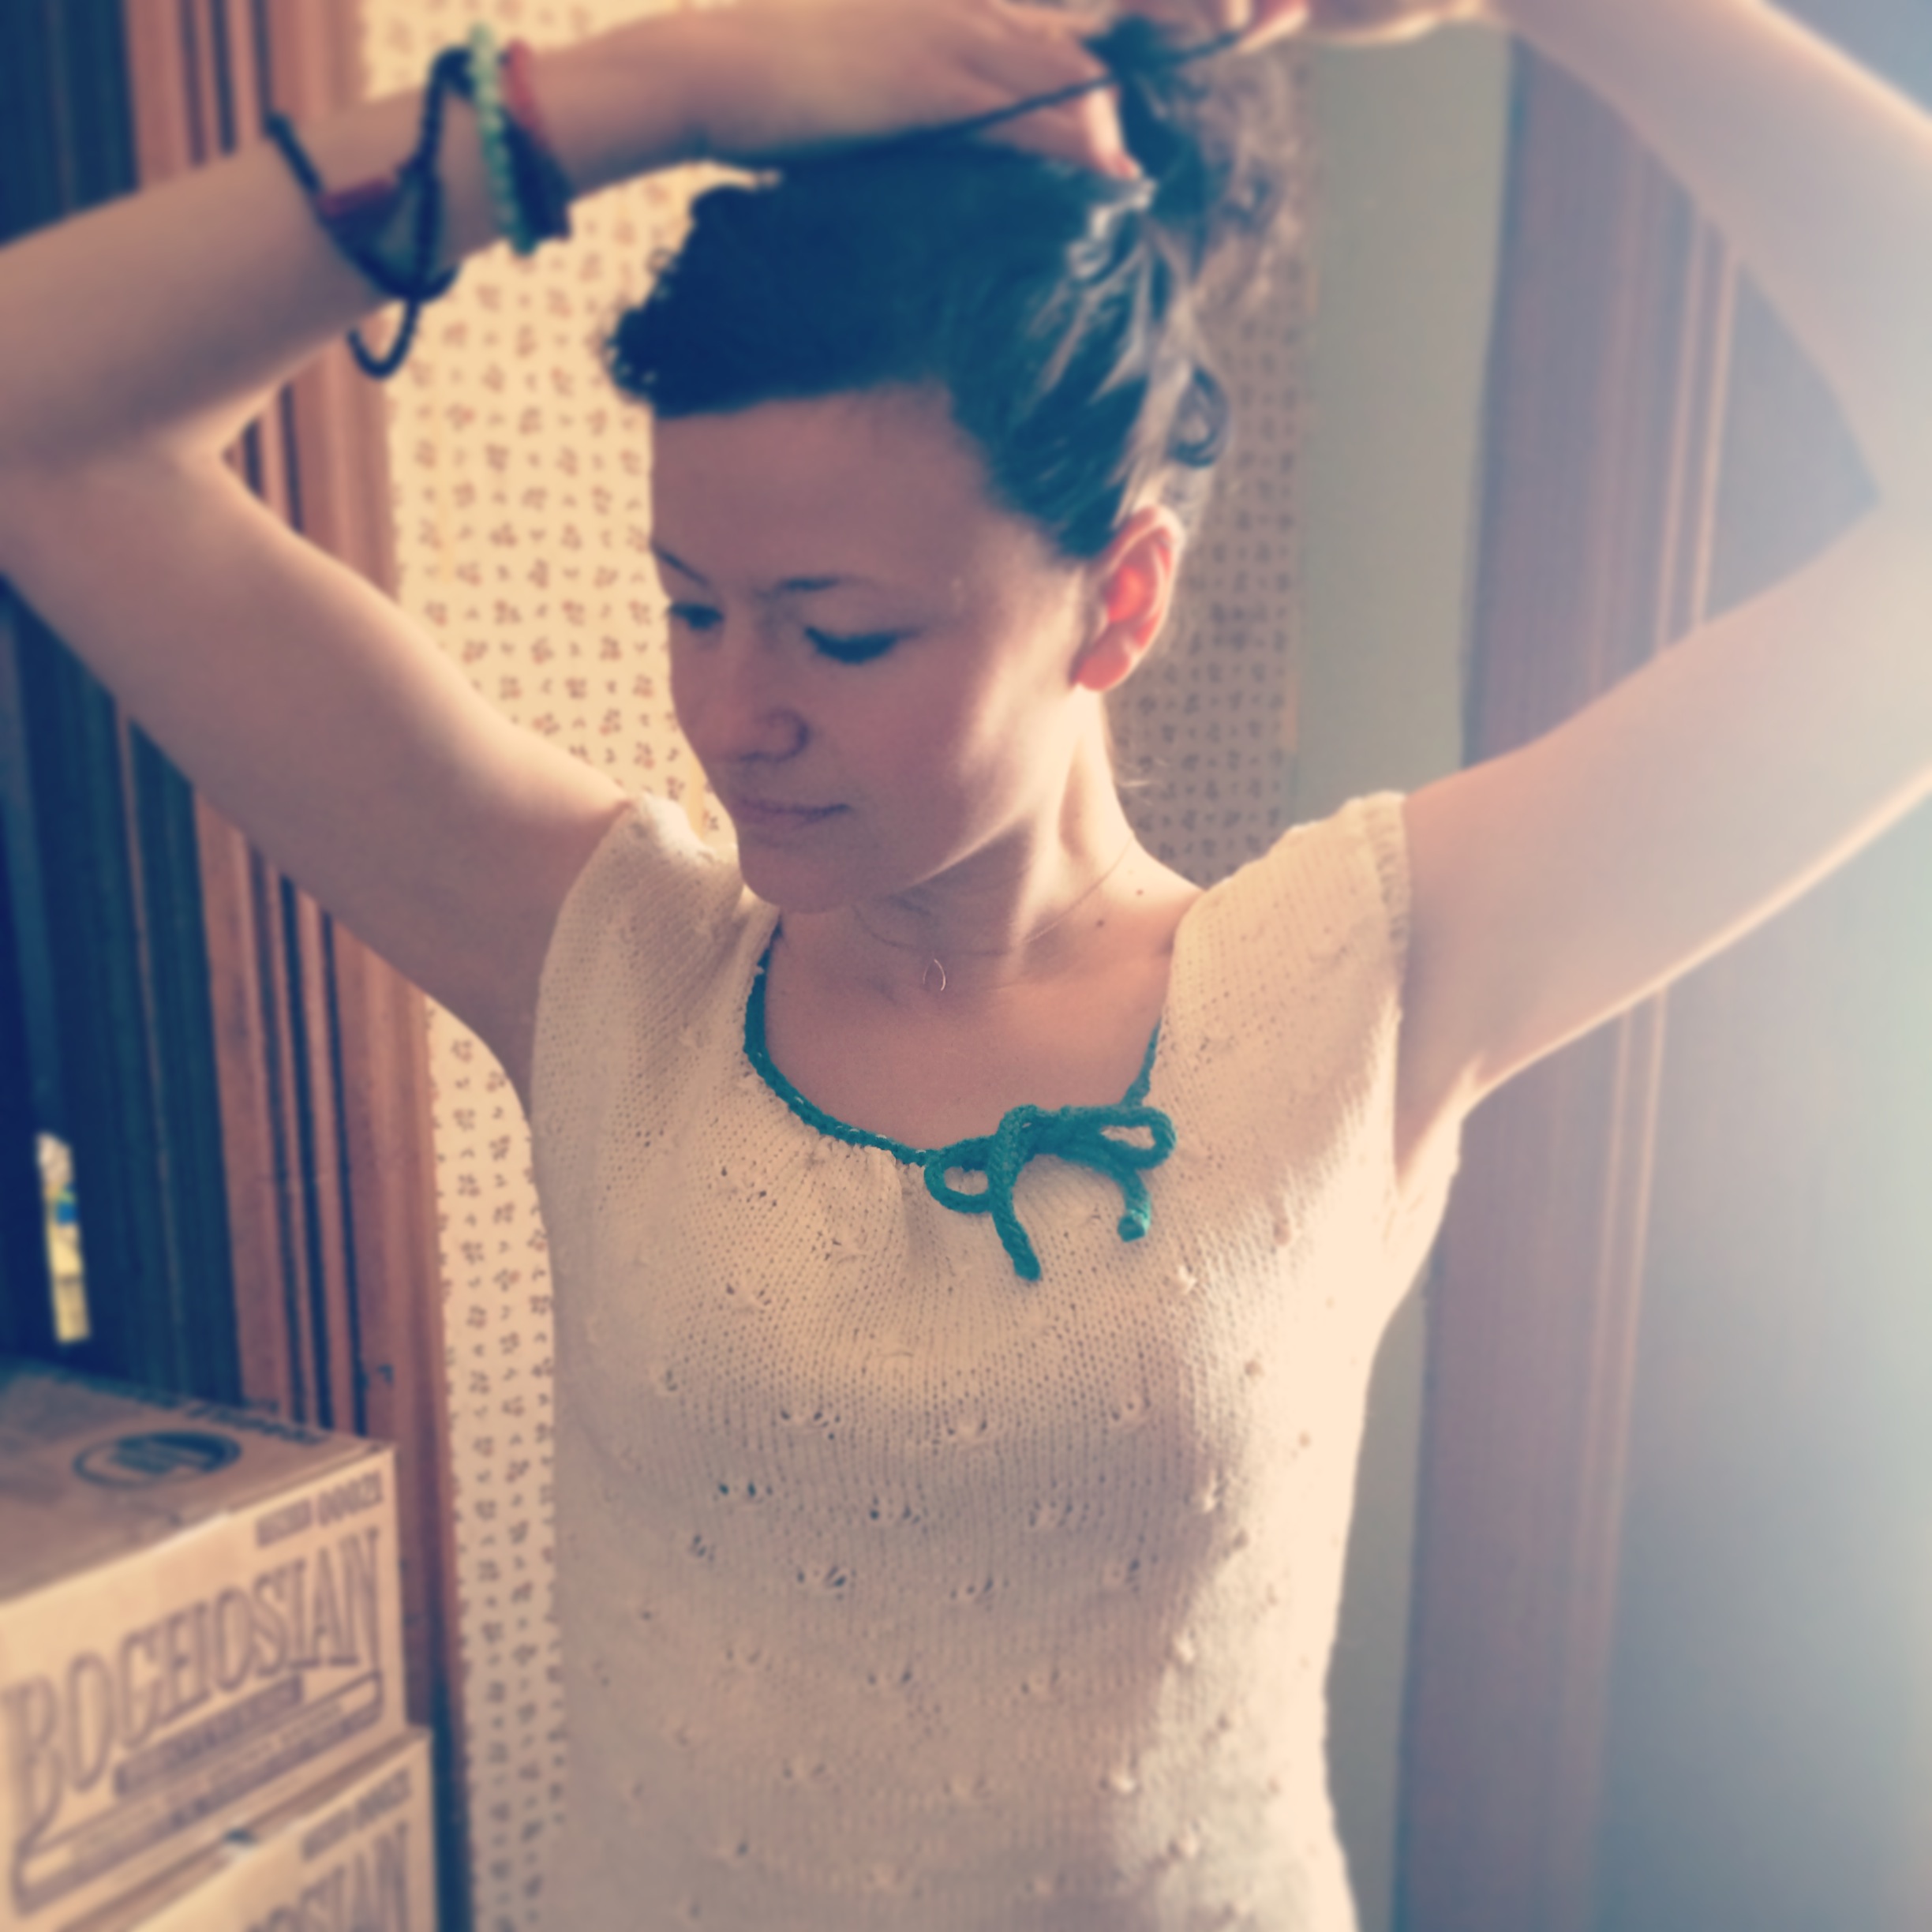
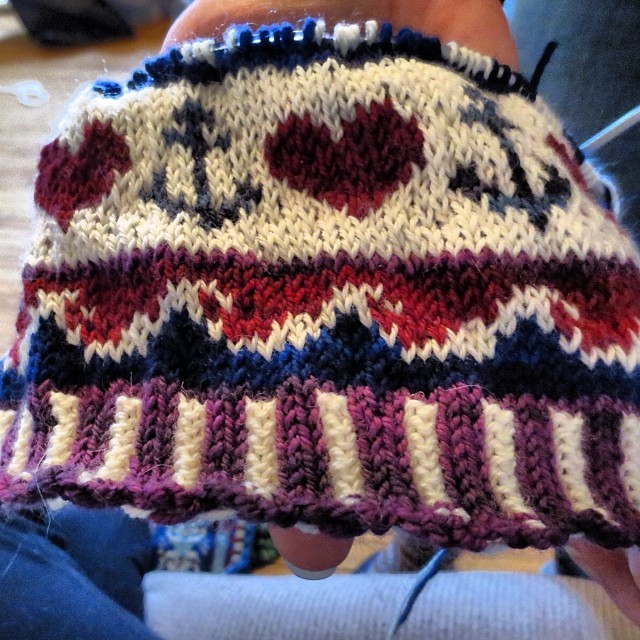
After finalizing a theme half-way through knitting the toque, I started wondering whether it would be better as a balaclava or tube-scarf neck-warmer.  It is super-warm worn around the neck and I fully considered it.  I will likely do something like that for my next project…

This one ended up as a kitschy toque and is cozily keeping my head and ears warm as I write this.  It’s a bit silly, a bit awesome, and mostly experimental.  The best part is taking the image you want and figuring out if it works graphically in knitting.  Weeee!

1950s inspired Christmas Toque1950s inspired Christmas Toque1950s inspired Christmas Toque1950s inspired Christmas Toque

Derby Shoes

SHOES!!  I have had dreams of becoming a shoe cobbler for a few years now.  One (at least) of my ancestors was a master boot-maker, Benjamin Joseph Green.  When I was about 21 or so years old I saw that a local shoe repair shop needed help, no experience necessary.  I went in eagerly to inquire about the position.  The woman working there told me I wouldn’t be strong enough because I was a girl.  RAWR, eff-you!  I was at my strongest physically at the time, too bad I didn’t have as strong of a will and enough conviction to convince them I would be worth the investment…!  As a shy and easily discouraged 21 year old I left feeling betrayed and utterly disappointed.  I knew I was strong enough!  I assumed all other shops in Peterborough would react the same.  Fast-forward ten years later and shoe cobbling comes up in my mind and in reality again!  My sister talks to a shoe repair woman in Kensington Market and my mom finds a class offered at Haliburton School of Art in shoe-making taught by Jon Gray.  I signed up for the course and have been in contact with the cobbler in Kensington Market.  The following series of pictures shows just a few of the steps involved in making one pair of shoes over a six-day period of time, eight hours/day…enjoy!


image07July21SAmmi 187907Jul18Lynn 19307July21SAmmi 189507July21SAmmi 190007July21SAmmi 192207July21SAmmi 191807July21SAmmi 192307July21SAmmi 190607July21SAmmi 191907July21SAmmi 192807July21SAmmi 193507July21SAmmi 193207July21SAmmi 193907July21SAmmi 194707July21SAmmi 195107July21SAmmi 195307July21SAmmi 196007July21SAmmi 196607July21SAmmi 197208Aug2 202


So many nails to hammer in and pull out!


Lots of precision cutting…


Gluing


Shaping


Hard work and dirty hands


Cork!


Soles!


Heels!


This group of people where very entertaining and mostly fun to be around :)  It was the hottest week of the yea last summer and we had no air conditioning.  It was kind-of insane-making.


One year later, trying my shoes on for the first time (it’s a long story)!!


08Aug2 20508Aug2 204


Jon Gray, himself, re-training me in the art of shoe lace tying… :)

Festive Skirt

I made this skirt (pattern too!) from a book with templates to make your own pattern.  I was trying to sew this skirt in time to wear it to my Nana’s last NYE.  Unfortunately I didn’t get it finished until a couple days later, but it’s now a part of my wardrobe.  I wish sewing was easier for me, but I figure I just have to do more of it to make myself better, faster and to have an easier time of it.  If I had a better handle on things, I’m sure it wouldn’t be hard to make a couple of these in a day (once the pattern is made).

imageimageimage

“I Heart Cardigans” Sweater

Hmm…So this has been a good and a bad project.  It is currently not finished and I am dreading having to take out the entire collar to re-do it in order to get the rest of the pattern done (collar, button band, button holes and buttons).  I also have to take out the sleeves and re-sew them in if I want this lumpy cardigan to look a little less lumpy :(

imageimageimage


The one thing that I have enjoyed about this project has been knitting the cables.  It is always good fun to do cables, because they look so nifty!  Other than that I kinda want to throw this pattern out with all the other crap patterns I’ve come across and tried.  For example, I will never try another Vogue Knits pattern, NEVER!  I’ll stick with the classics, as my mom says, “I never liked American-style set-in sleeves, only do Old English/Scottish/Irish/Nordic patternimage
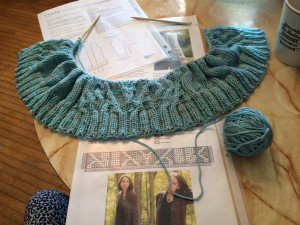
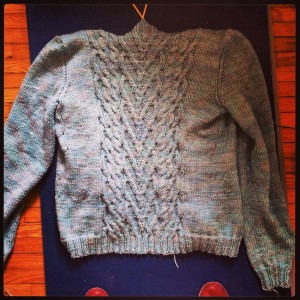
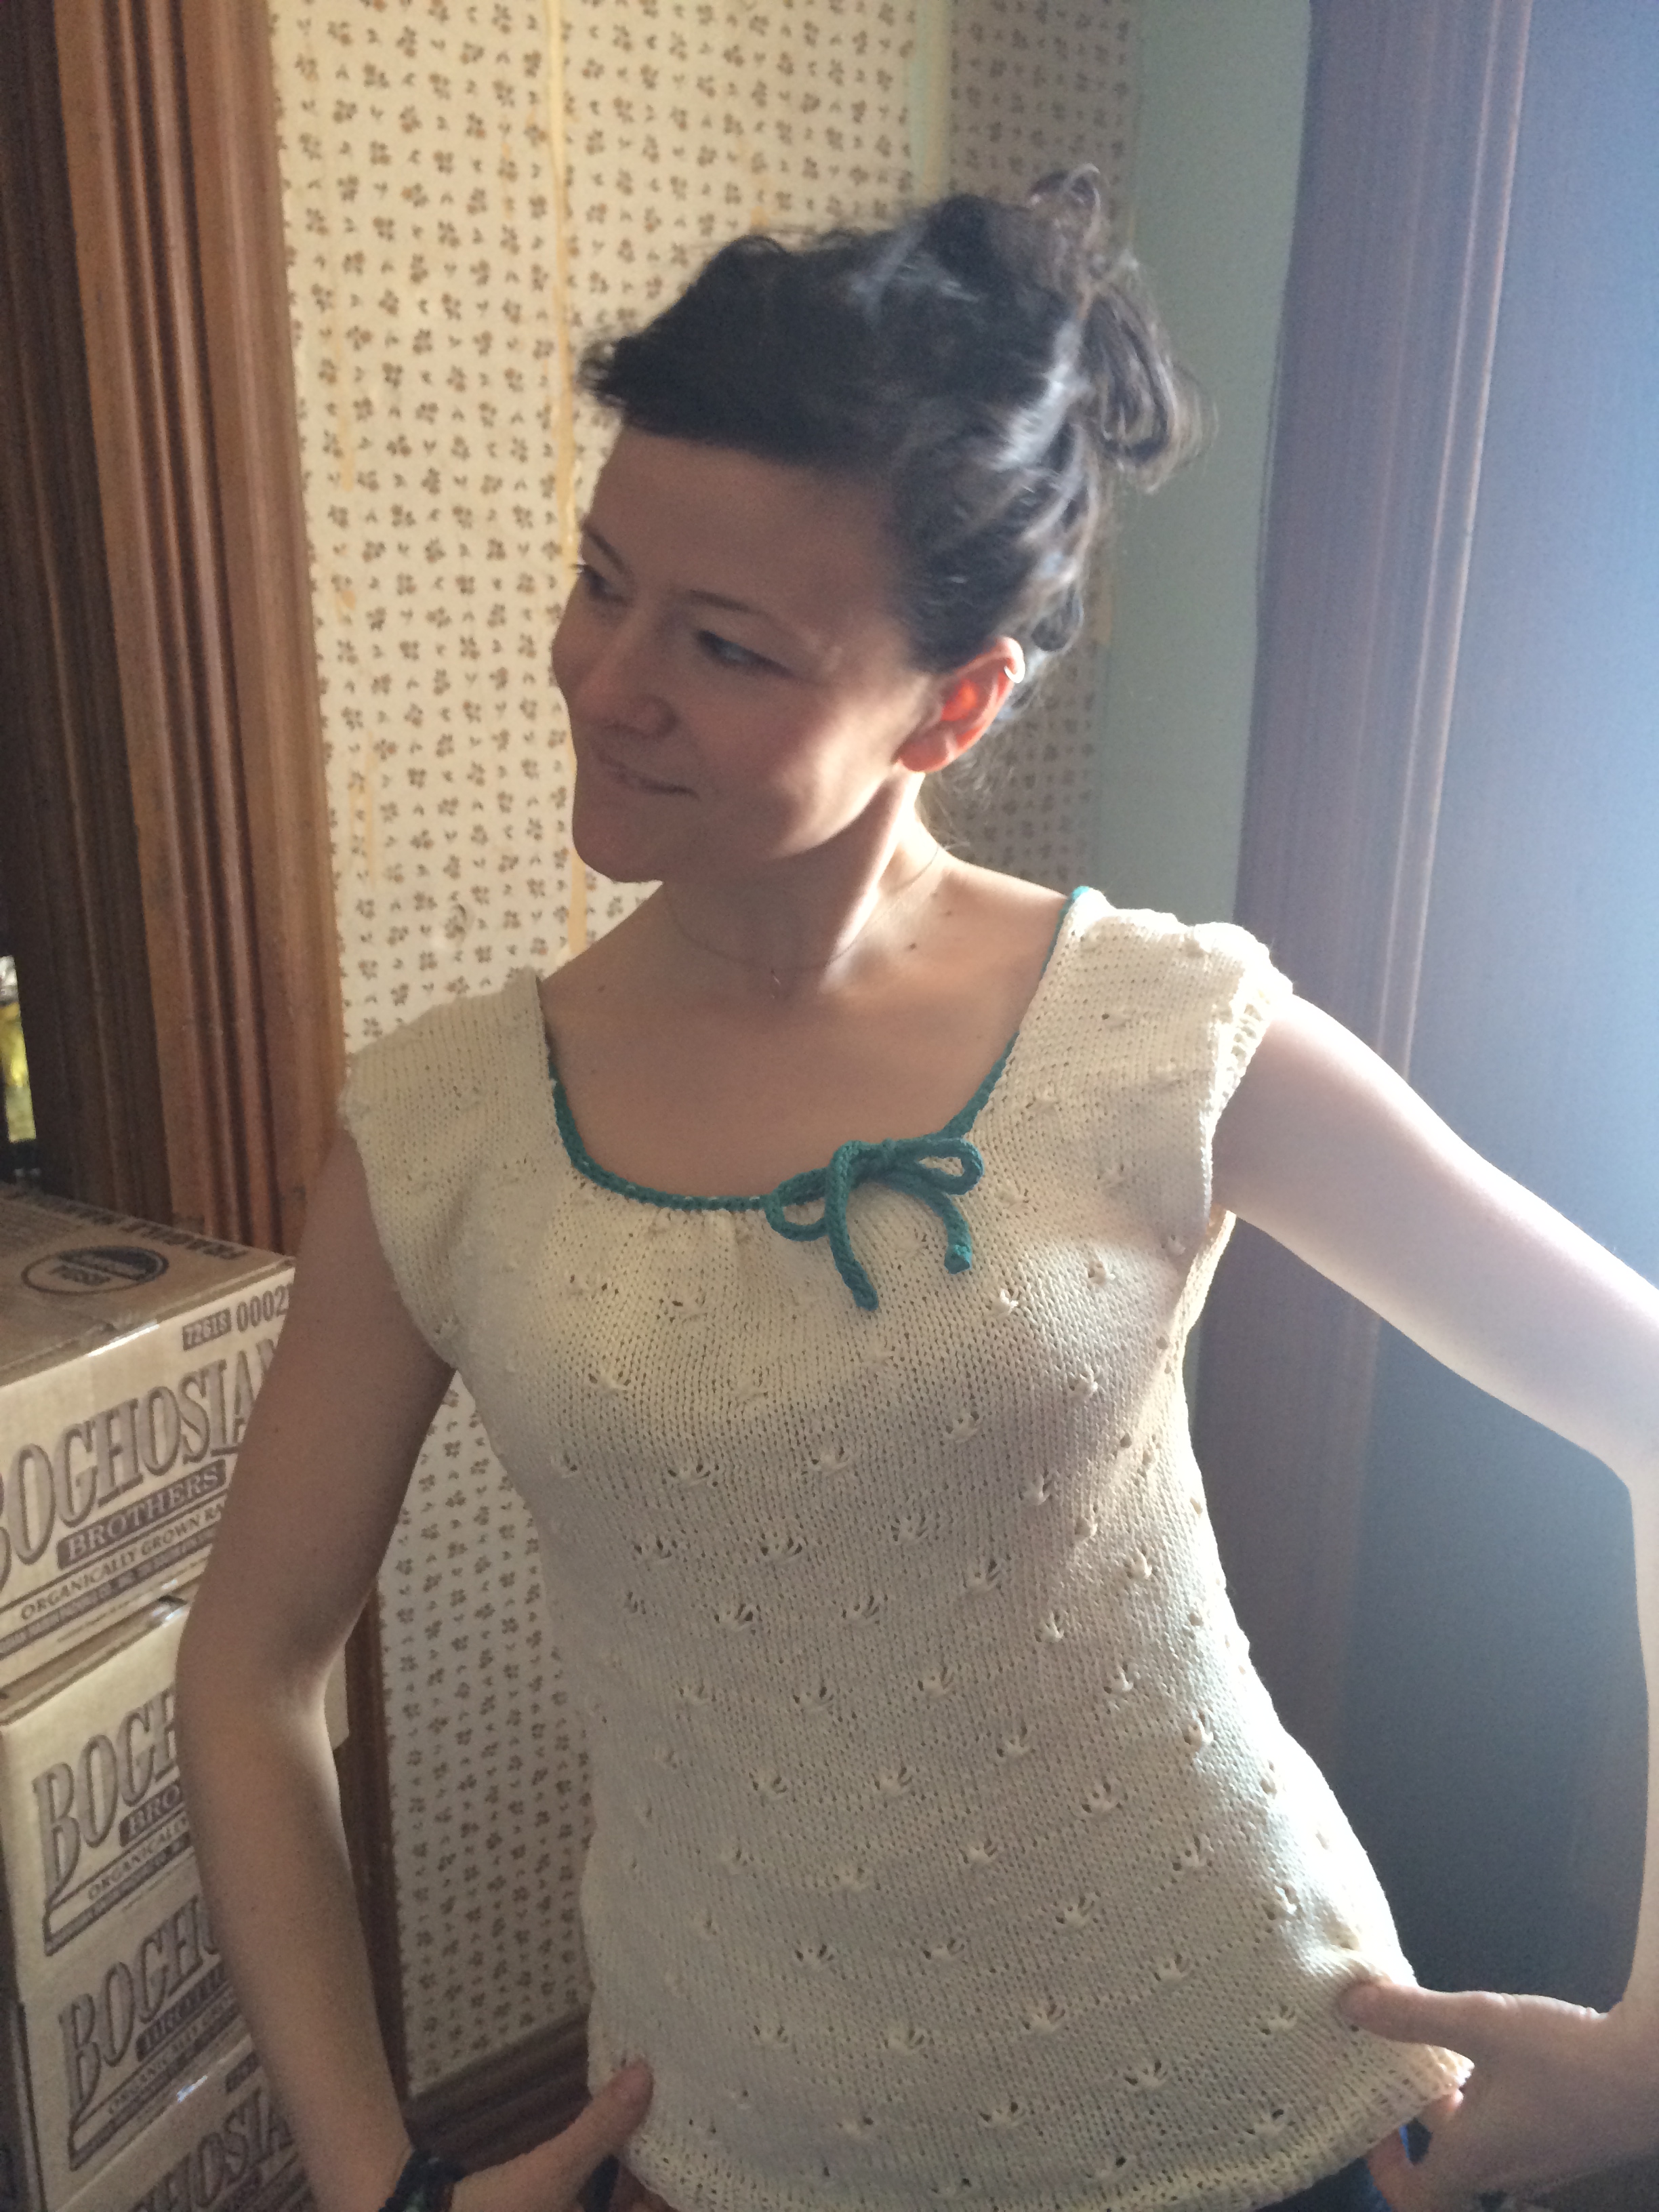
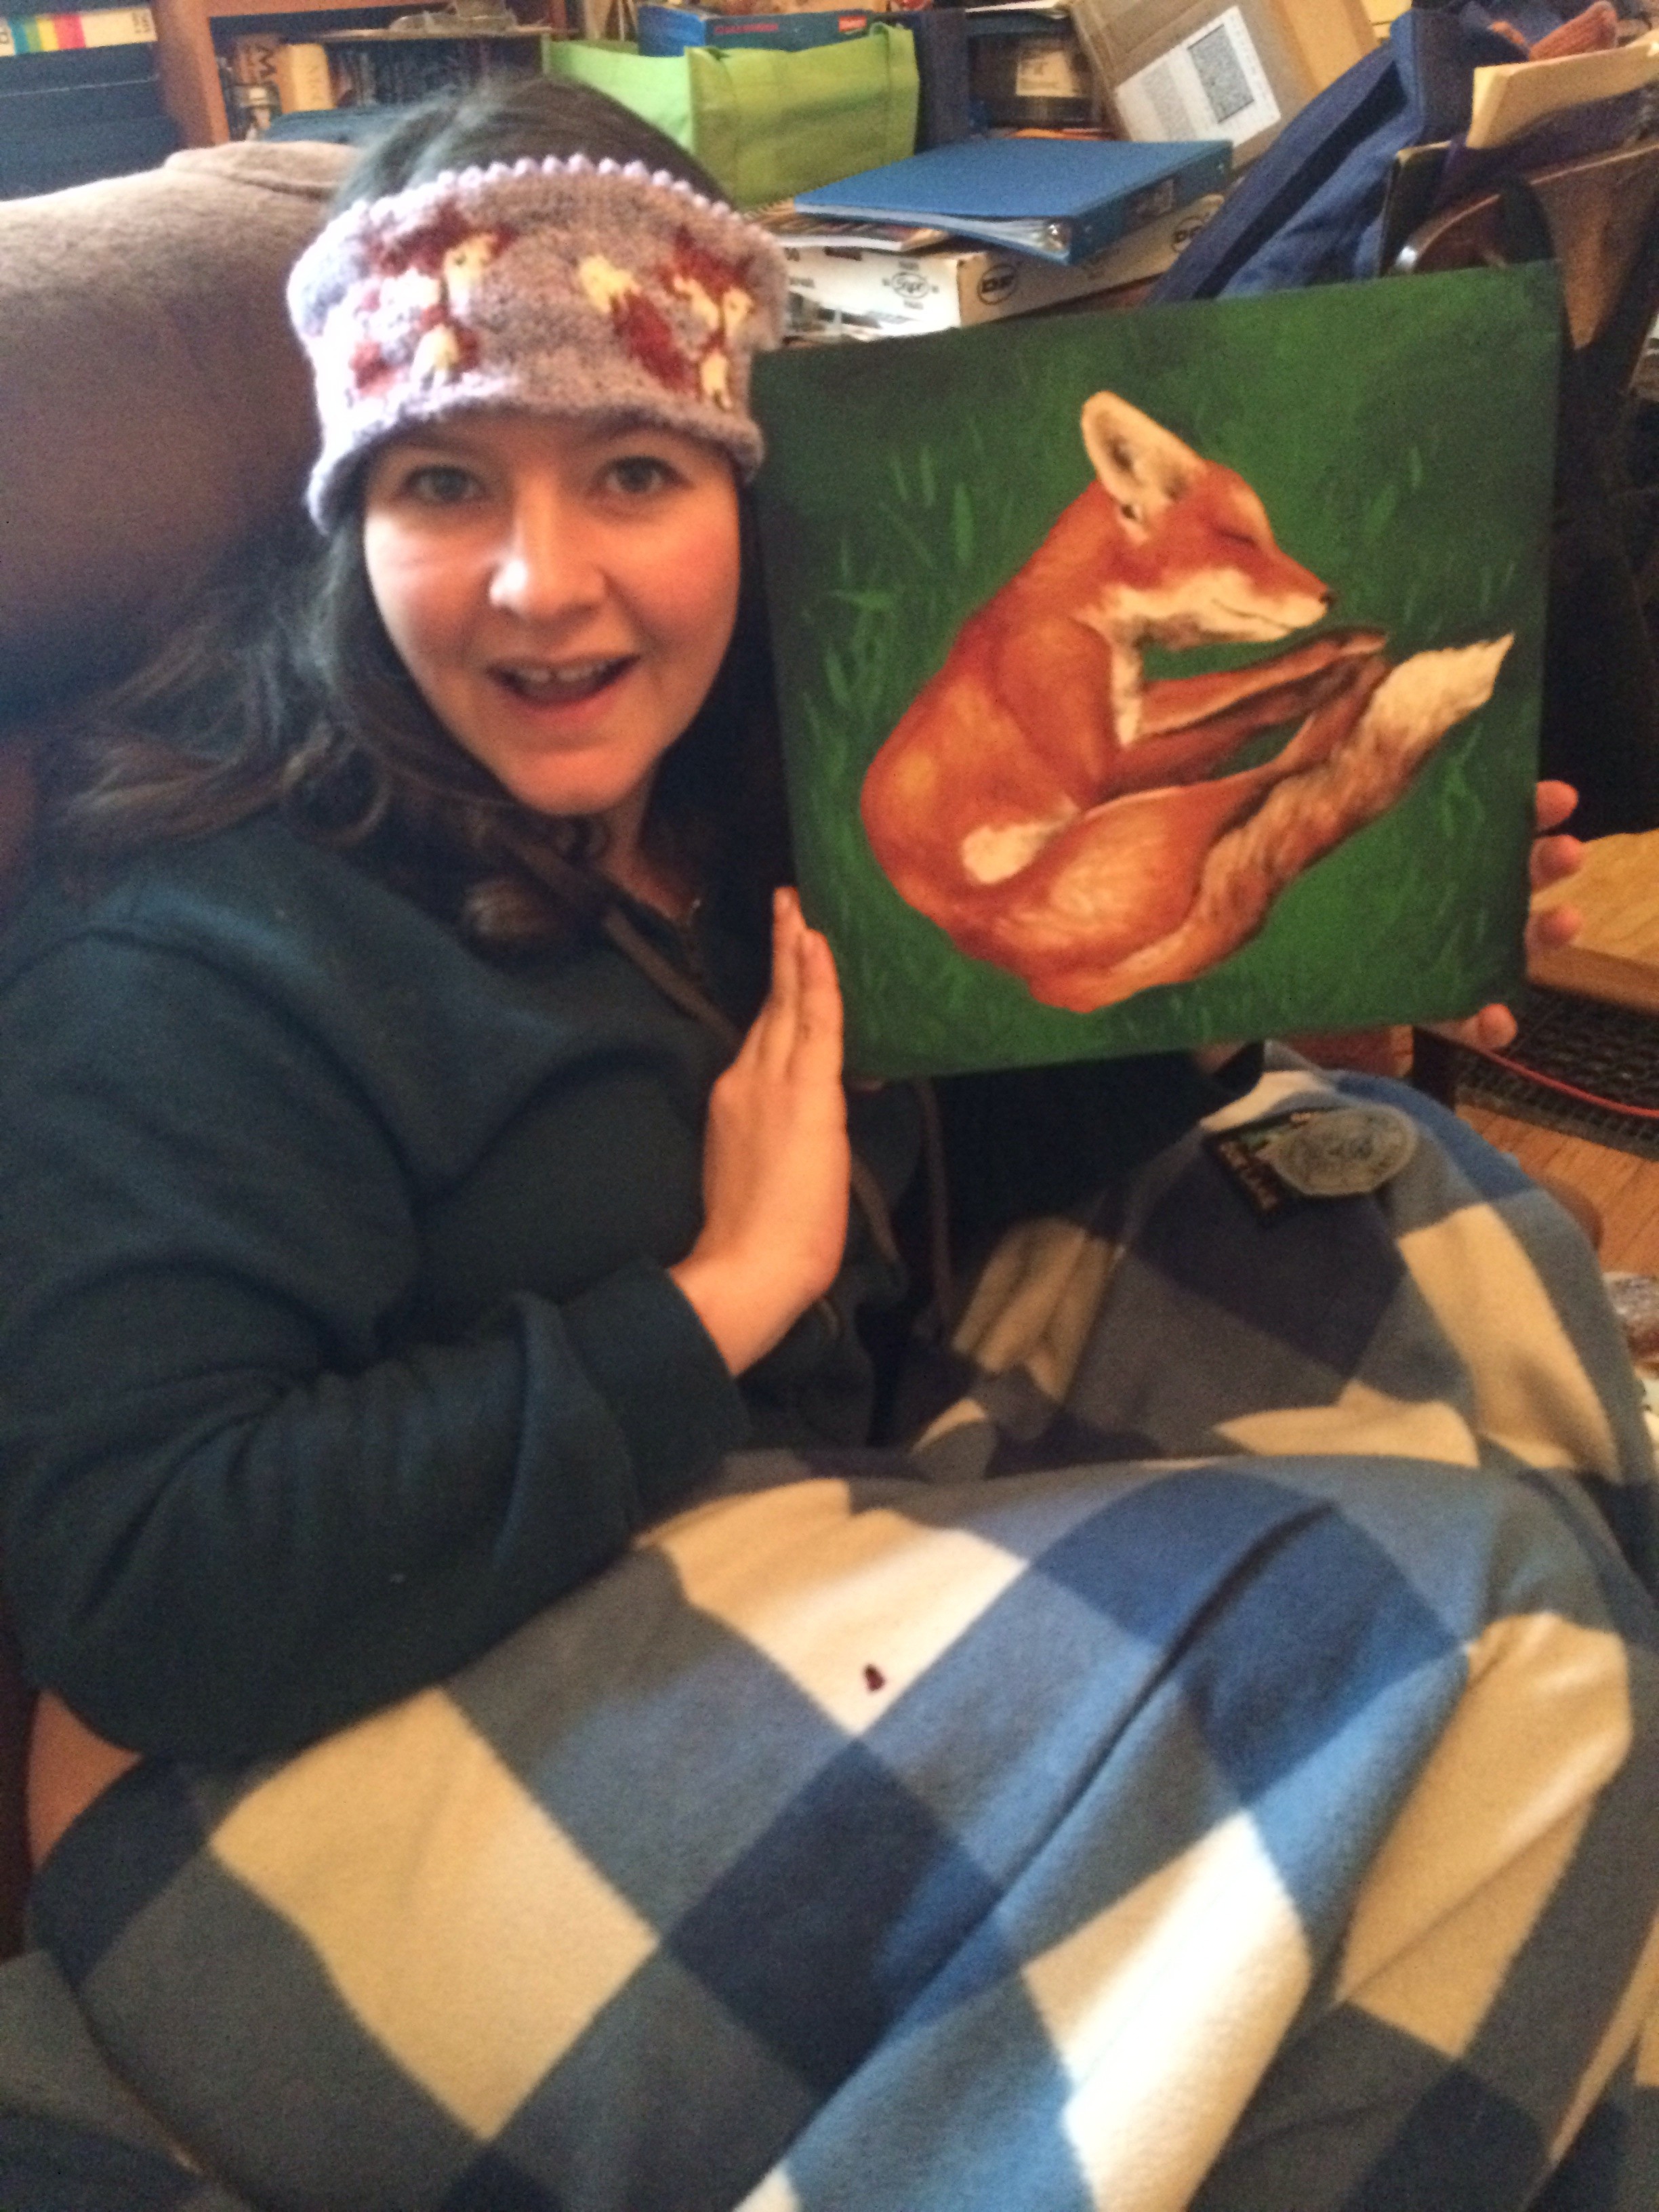
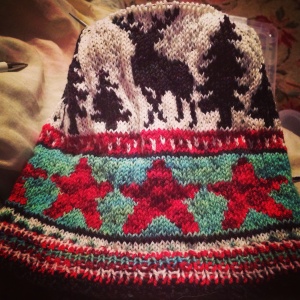
s with raglan sleeves.”  Mom is always right…I should have listened before I bought this sweater pattern and the expensive wool that goes with it!  I will say that the toque patterns from the same company are great patterns and their wool is really nice.image

Aran Sweater Dyed with Black Walnuts

13547754634_75b850891f_b13547466885_7a455297e5_b13547580193_9871993194_b13547810044_8ccb12c1ea_b13547526295_9dfc091ba0_bThis is my first attempt at a cardigan.  I knit it over six years ago and am currently working on my second cardigan.  I remember wanting to do a pattern with cable and chose this from one of my mom’s 1970s knitting pattern books.  It was initially white, but with my mom’s help we dyed the sweater once it was knit.  We collected black walnuts from around Peterborough lawns and parks, made the broth and put the sweater in.  This was the result.

My sister, Cassie currently wears my sweater awesomely.

Tulip Top Spring Sweater

Tulip Top Detail
Tulip Top Detail

I was given a gift card to Needles In the Hay for my birthday, about two years ago, from a friend who knew that I love to knit (a great gift idea)!  I wasn’t quite sure what to get and started imagining what I might like to knit.  I had bought a pattern book for myself around Christmas time that year and had an idea that I might try something for the spring.  The book was Stitch’n Bitch Superstar Knitting: Go beyond the basics by Debbie Stoller.  The pattern is called Tulip Top by Laura Grutzeck.

Sammi's Tulip Top

Back View Scoop Neckline

This spring/summer sweater is made of cotton yarn and didn’t take long to knit.  This was my first attempt at a fitted garment.  I think it turned out nicely!

Vintage Look
Vintage Look
Full View
Full View


Hearts and Anchors Toque

TouquesanchorsandheartstoqueheartsanchorsThis is my Hearts and Anchors Toque.  Designed and knitted by myself with consultations and design help from my sister, Cassandra Shaw.  I wanted to use up several ends of balls of wool from previous toques and wanted to try to design knitted pictures myself.  This was the outcome.  No pictures of the finished product, but here it is with the main part of the design finished.