Miniature Pet Paintings

09SeptScotlandCasscam 1015Every once in a while I get in to painting miniatures, as you may know.  I love the idea of having a small image of someone/thing you love that you can carry around with you.  Well, I painted a mini of my little buddy Mer looking grumpy.  I took it along with me to Scotland and it was an excellent totem and I think it brought us good luck, along with plenty of heather.

Later I decided to paint his friend at the time, Zeebee.  I thought that they would go along well with my pissed-off-settler portraits; Mer would be a grumpy settler and Zeebee would be nobly hopeful.

The Mer and Zeebee were a big hit, which prompted my aunt to request portraits of her furry family members too.


It was actually more of a struggle than I expected to paint at someone else’s request, and with a deadline!  I managed to finish them all and they were met with great pleasure.  The following are some process pictures and the final outcome.

IMG_20151014_163754552 IMG_20151007_160537461_HDR IMG_20151014_144401620_HDR IMG_20151108_155326102_HDR IMG_20151118_134403796 IMG_20151118_142644394

Save

Save

Save

Save

Paris Painting # 2

So I”m moving slowly, but I plan to do a bunch of paintings from various trips in my life. Here is my second from the trip to Paris with Candace. It is from a picture I took of a sad and lonely looking man on the brightly lit nighttime streets of Paris. I feel that it speaks of the loneliness of travel and the regular let-down of visiting places that were once lively with new ideas and human creativity, that are now just tourist traps.

Here it is, at least mostly done. You never know when I’ll change it up a bit… They guy I painted actually looks a little more hopeful than he should.  Maybe I will change it.

image

Mini Settler Portaits

image

This summer and the last two I have spent working at Lang Pioneer Village. Sometimes when working in a historic village, you take a selfie. Sometimes when you are going through the kindling bin you find a piece of wood that makes you think of a project. This year the bin had a bunch of pieces that had been the ends of cedar shingles. As I was collecting kindling, I came across some of these ends which told me that they needed to have mini portraits painted on them. I knew I had a pissed-off pioneer selfie from the year before, and I felt that this was a good place to start. IMG_20150614_175733592

After finishing, I added a frame made from a branch that had fallen from my friend, the silver maple. I split the branch and sawed it up i to appropriate pieces, hot glued them to my mini.image

Later, I decided that it would be a good idea to make a companion portrait. Curtis had been looking like a stern settler lately, so I found a picture of him from my cousin’s wedding and painted a Curtis to matchIMG_20150708_211256211image

I think that the Curtis turned out a little better. The mini me was the first mini portrait I had painted in a long time and that bit of practice made a big difference for the outcome of the Curtis as well as sped up the process. Both are wonky, but I think it gives them a certain charm…

Quick Post–Another Fox Present for Candace

Just a quick post, as Candace informs me that it’s my week.  I01Jan09casscam 033 painted this little guy up for Candace for Christmas.  I knew that I wanted to paint something for her and foxes are a theme we’ve been going with for her.  I searched online for a photo of a fox I might paint from and found a sweet little sleeping fox.  This is how it looked after one night’s painting.  I wanted to leave the background, but of course white paint mysteriously showed up on the edge.


01Jan09 115I added a simple background and a little more detail…


imageLater Candace had it framed.

13 Year Quilt

13 year quilt 
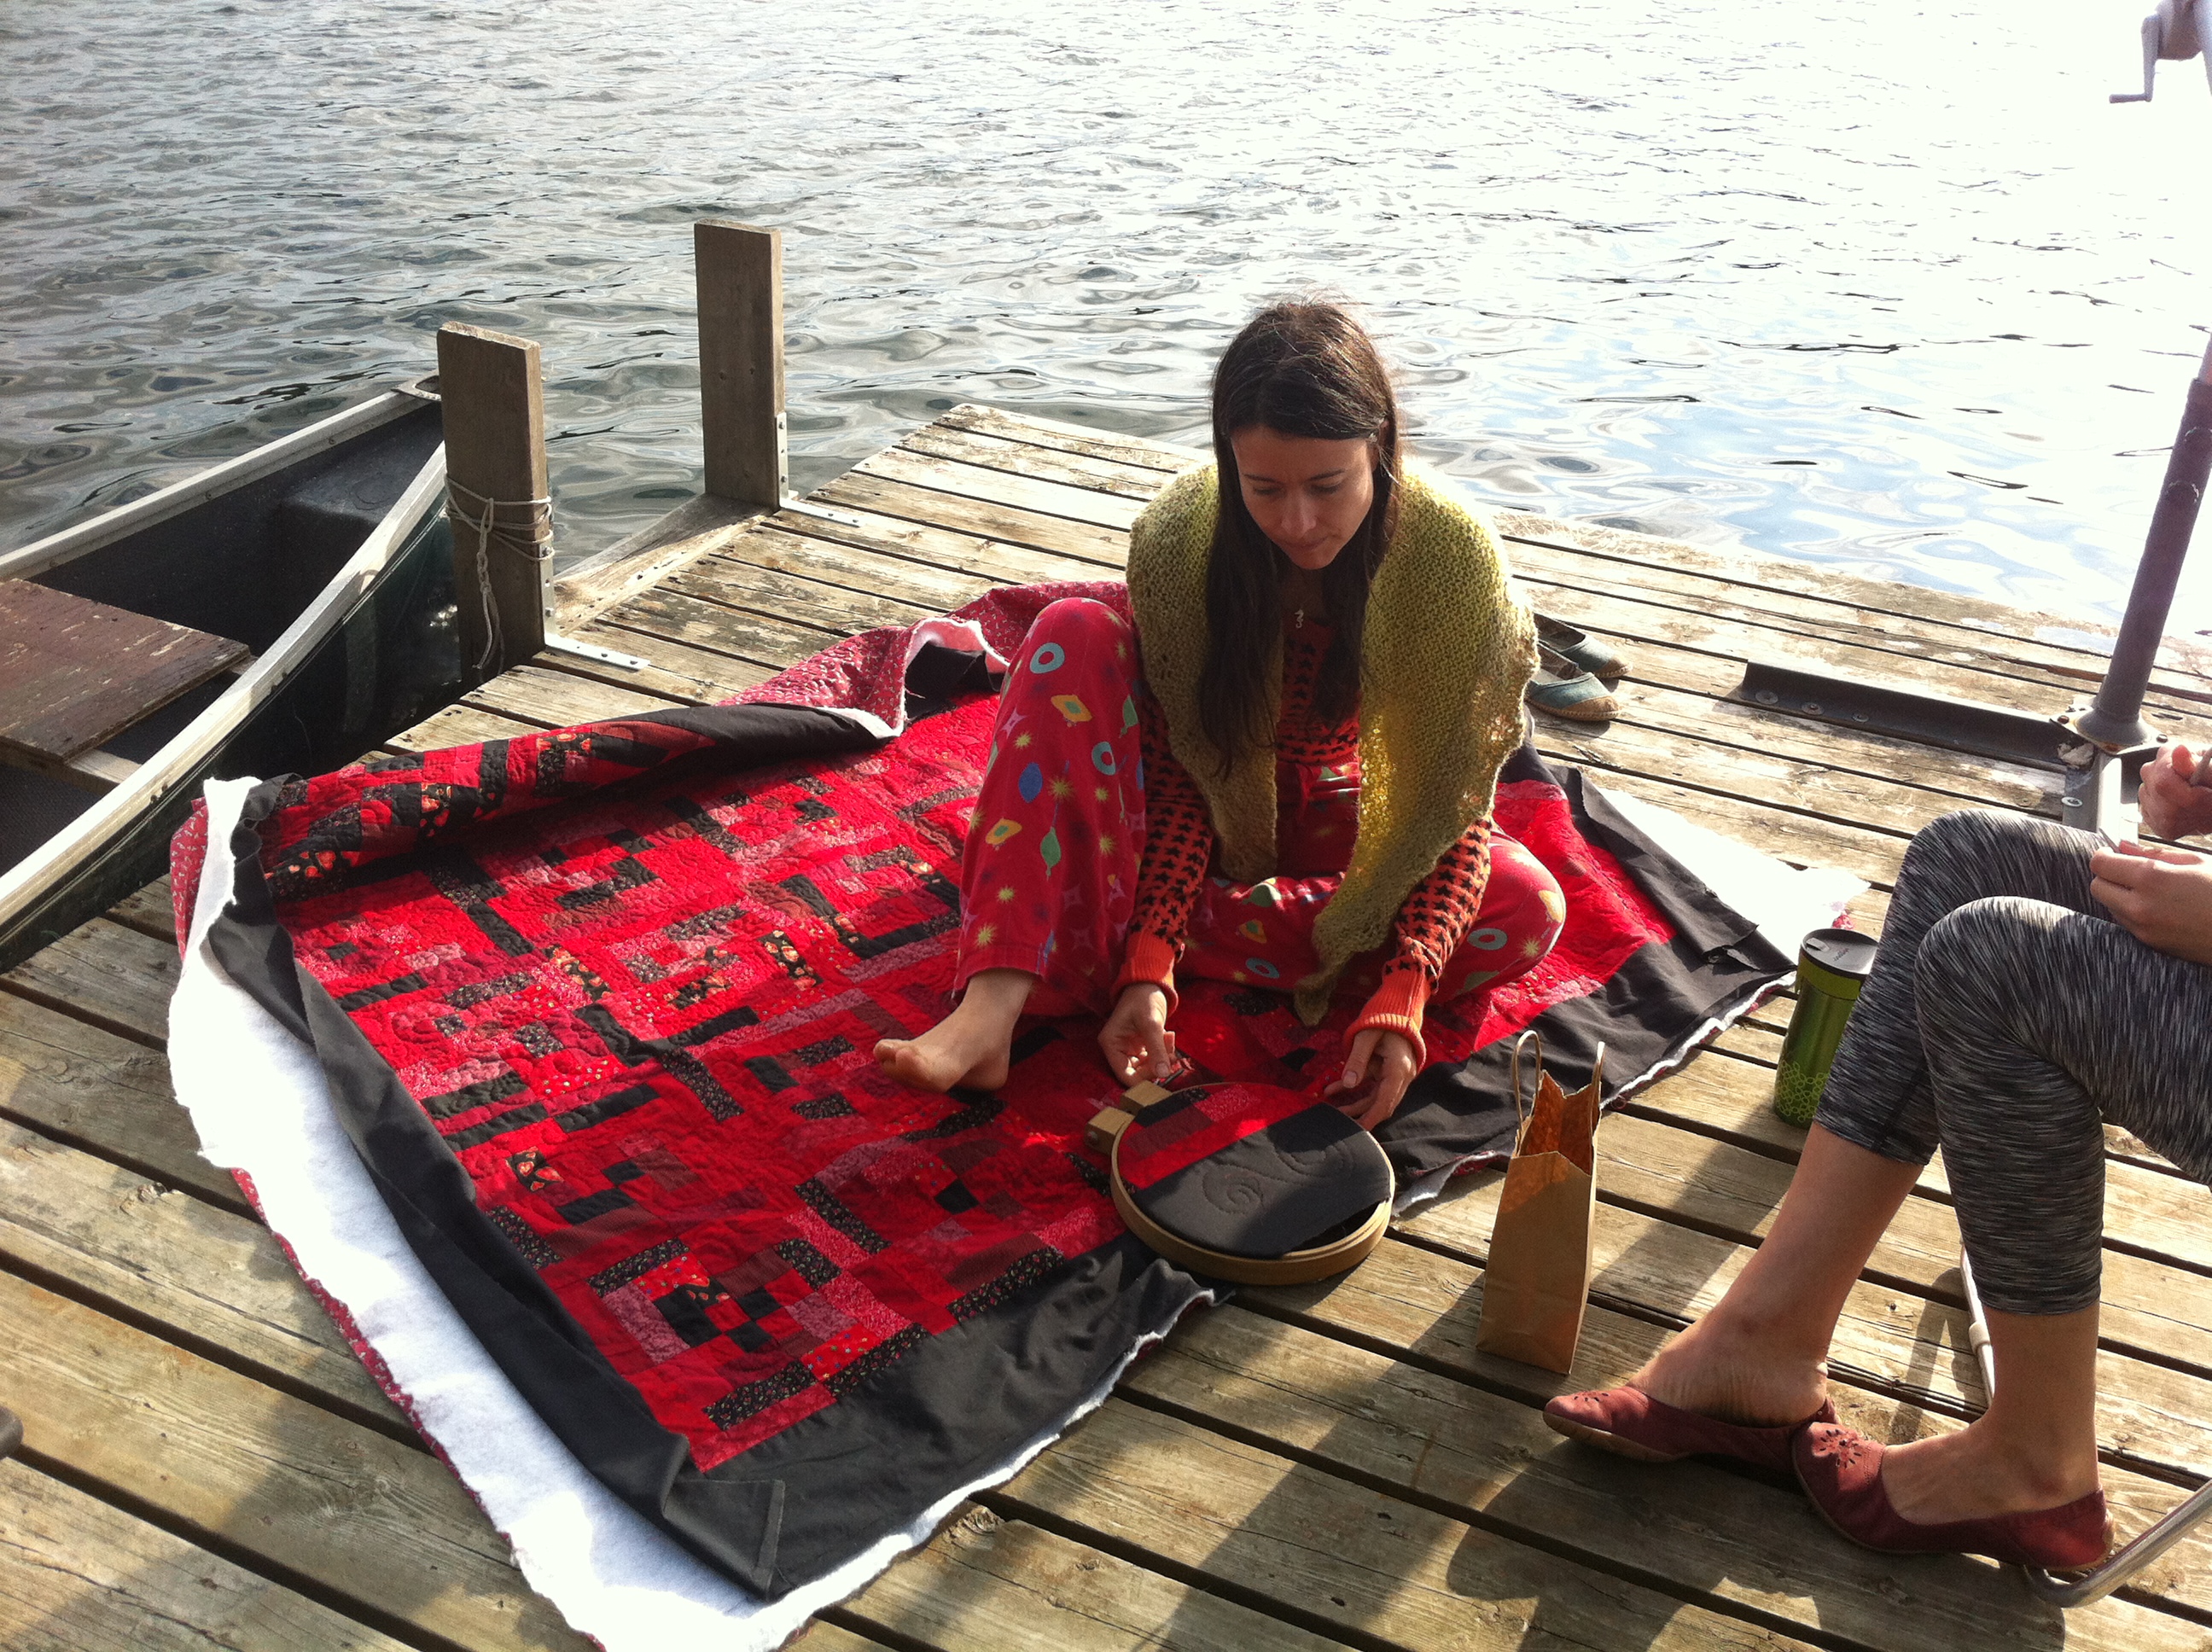
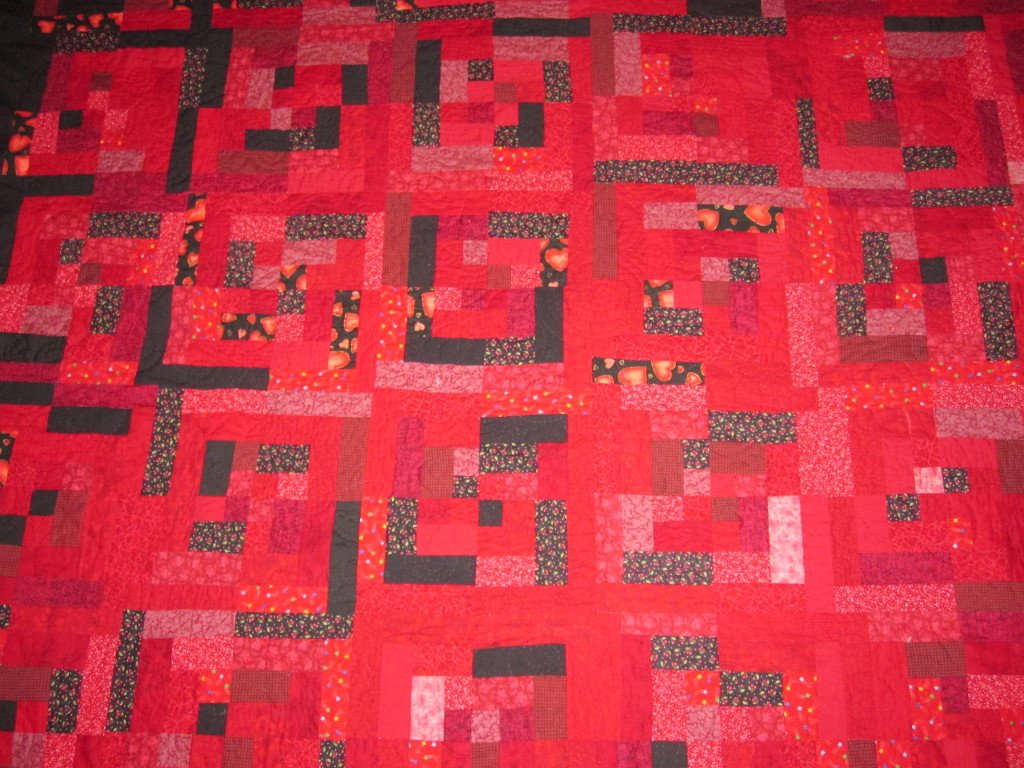
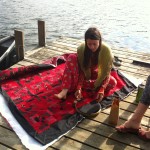
Yup! There it is, my super red 13 year quilt, finally finished.  This baby began in 2002 when I was in theEYE program, spring 2002 EYE program at the Peterborough Youth Emergency Shelter.  We were encouraged to create some of our own programming, and I was looking to get some experience sewing, so one of the other members suggested that her mom might take me in at her sewing shop.  I went in one afternoon a week and sewed together strips of fabric into squares for log cabin quilts to be donated later.  In addition to this, I also was taught how to make a simple garment.  Lessons I learned in the back room of that sewing shop have stayed with me for many of my sewing projects since.  03Mar07 219

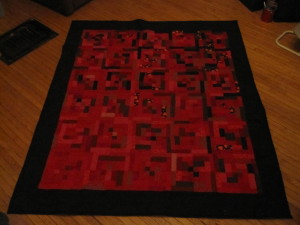
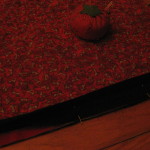
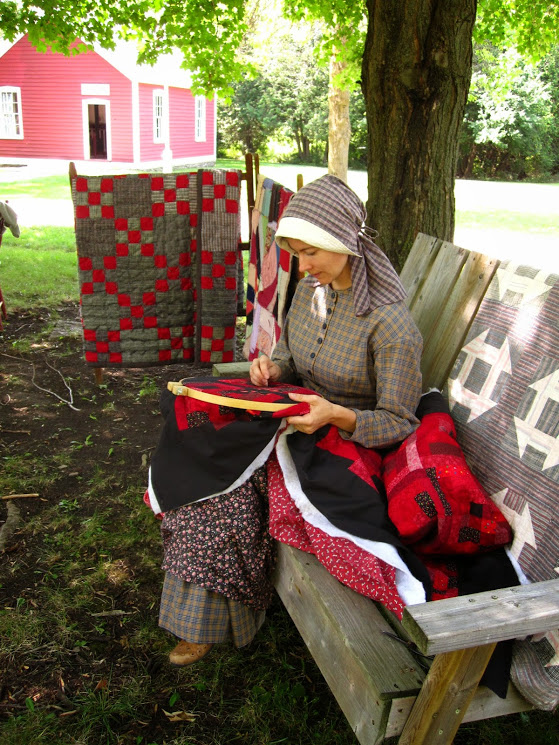
Following this experience, I decided that I’d like to make my own quilt. CassCanQuiltNanas_NEW I’ve always loved the combination of red and black and chose this as my colour theme.  I took my time collecting fabric, cutting strips and piecing the quilt.  I did it in the same style as those I had been working on in the sewing shop.  I can’t find many pictures from this time, but I’ll add more as I find them.  Once the body of the quilt was assembled, with mom’s help, I strung it up on an old quilt frame that my grandpa had made (I believe this was based on the one in the upstairs of the Fitzpatrick home at Lang Pioneer Village, which connects to how the quilt is finally finished).

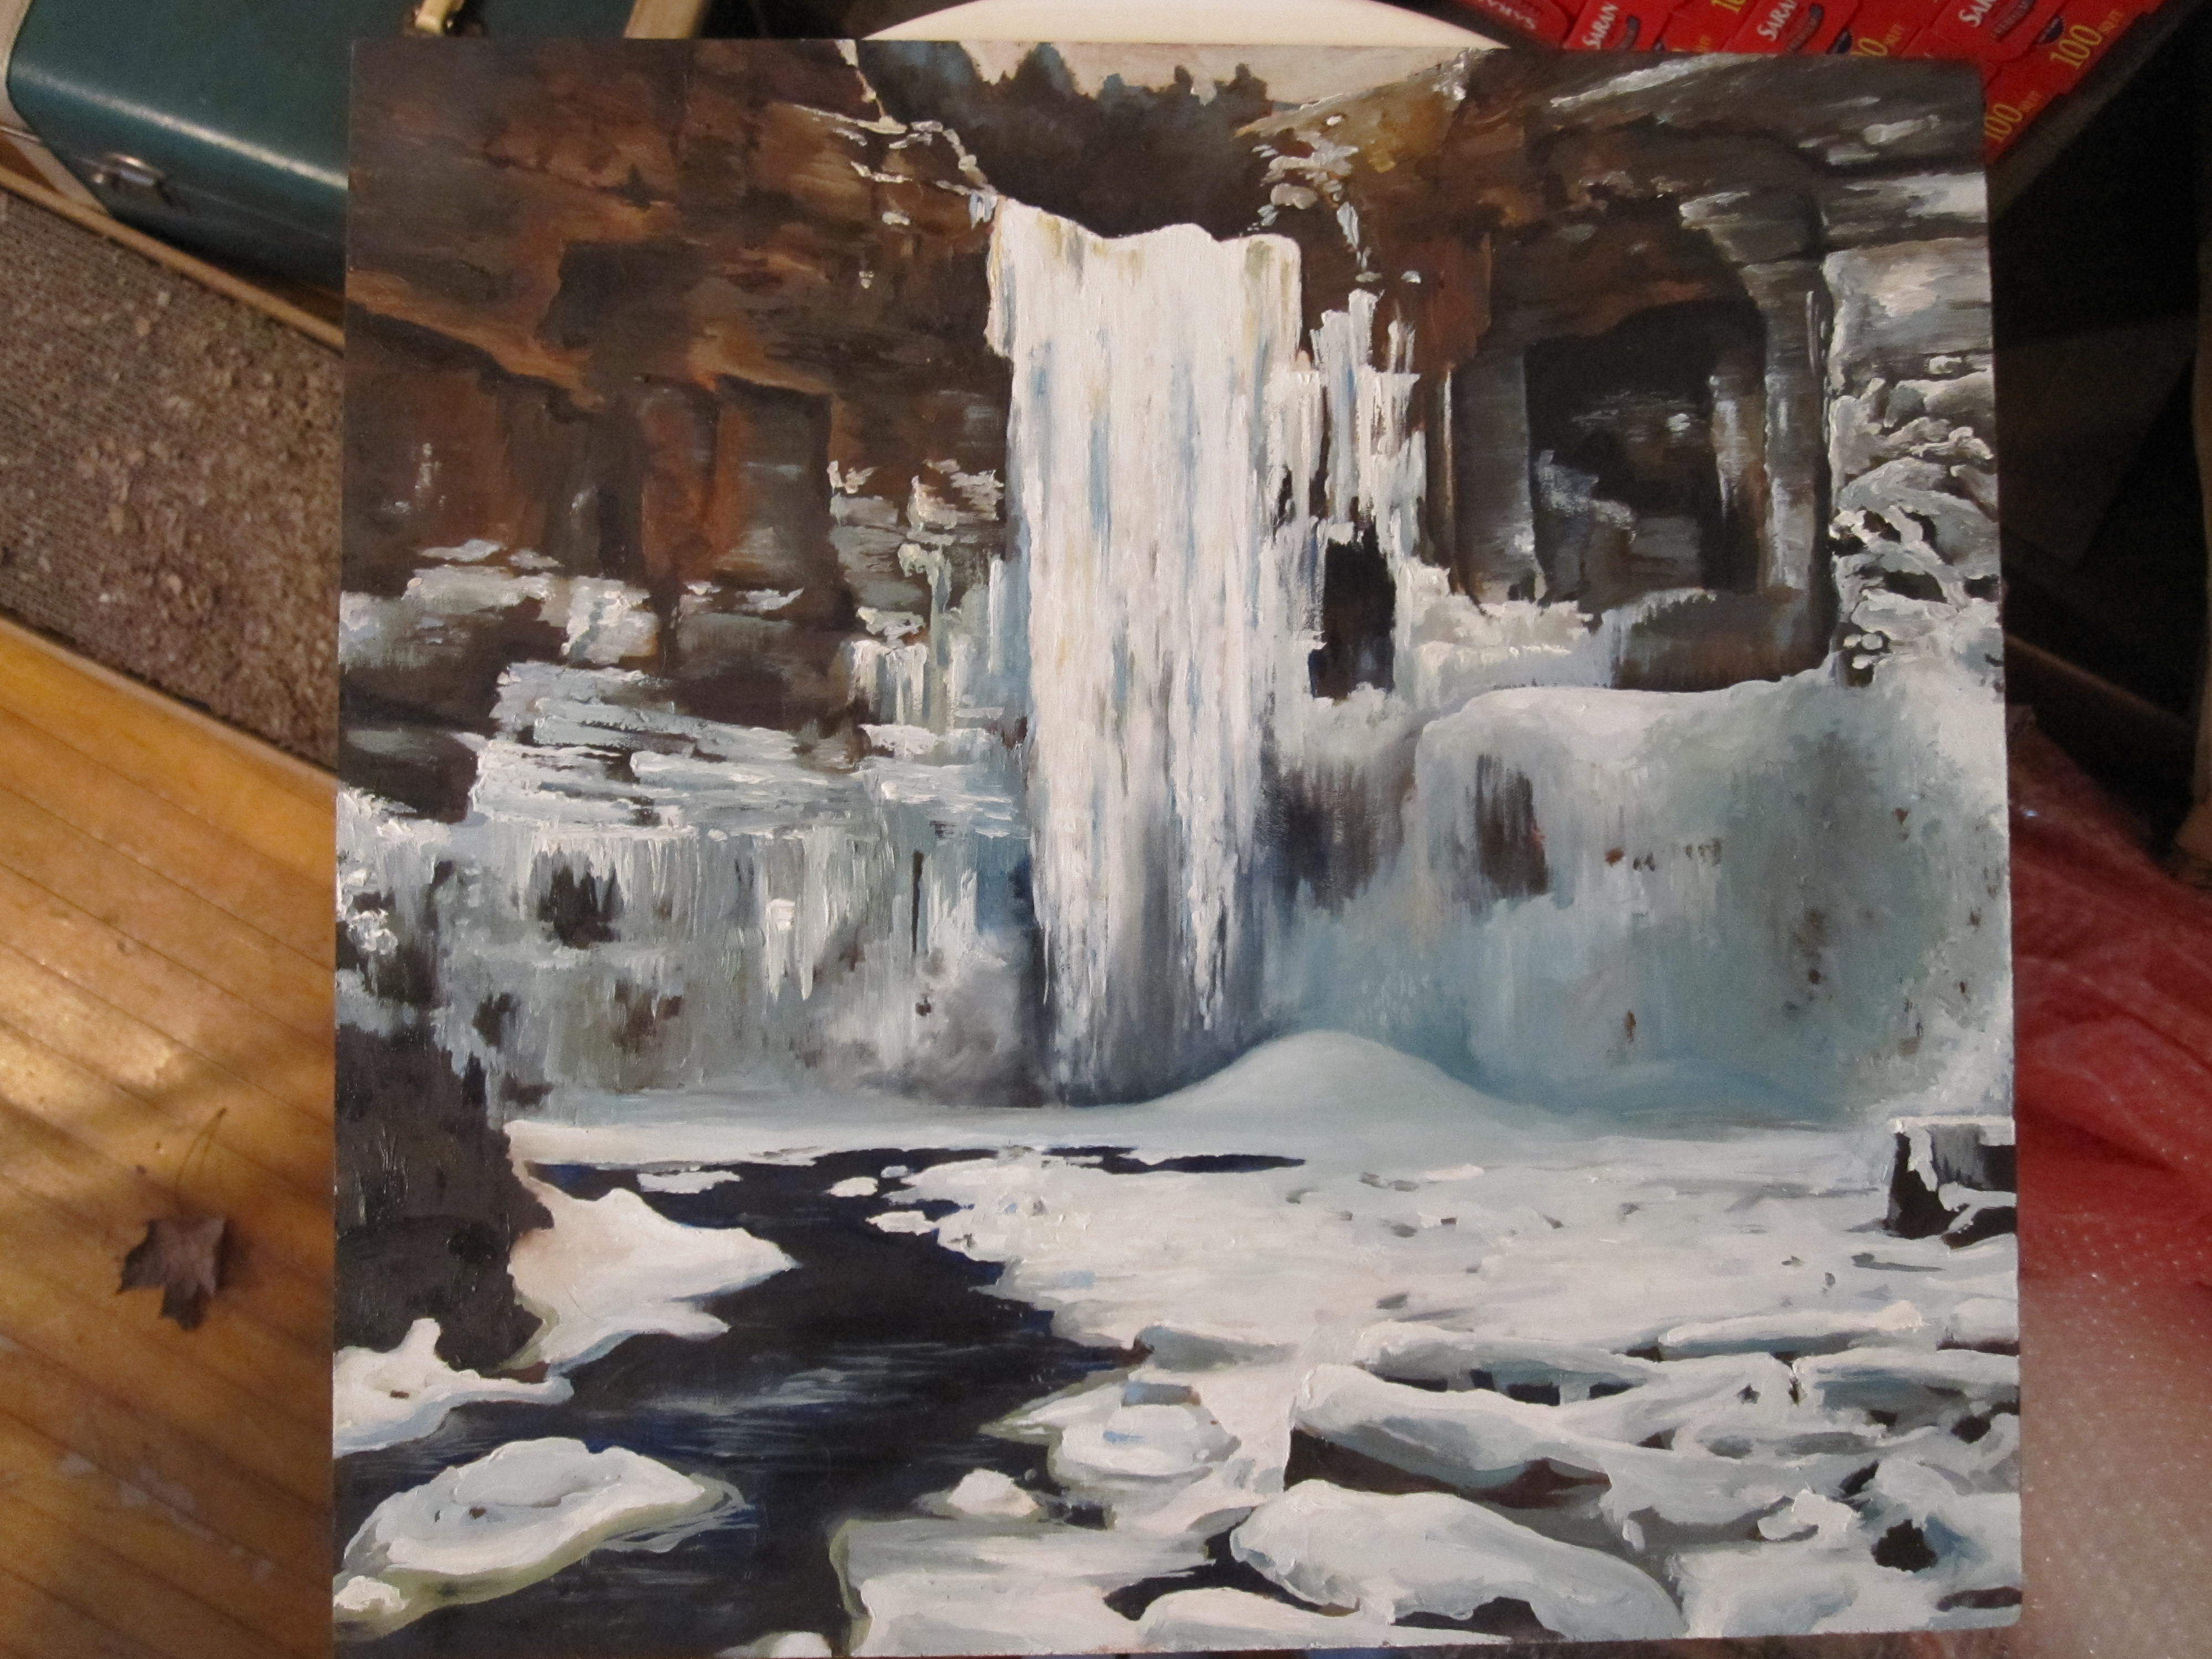
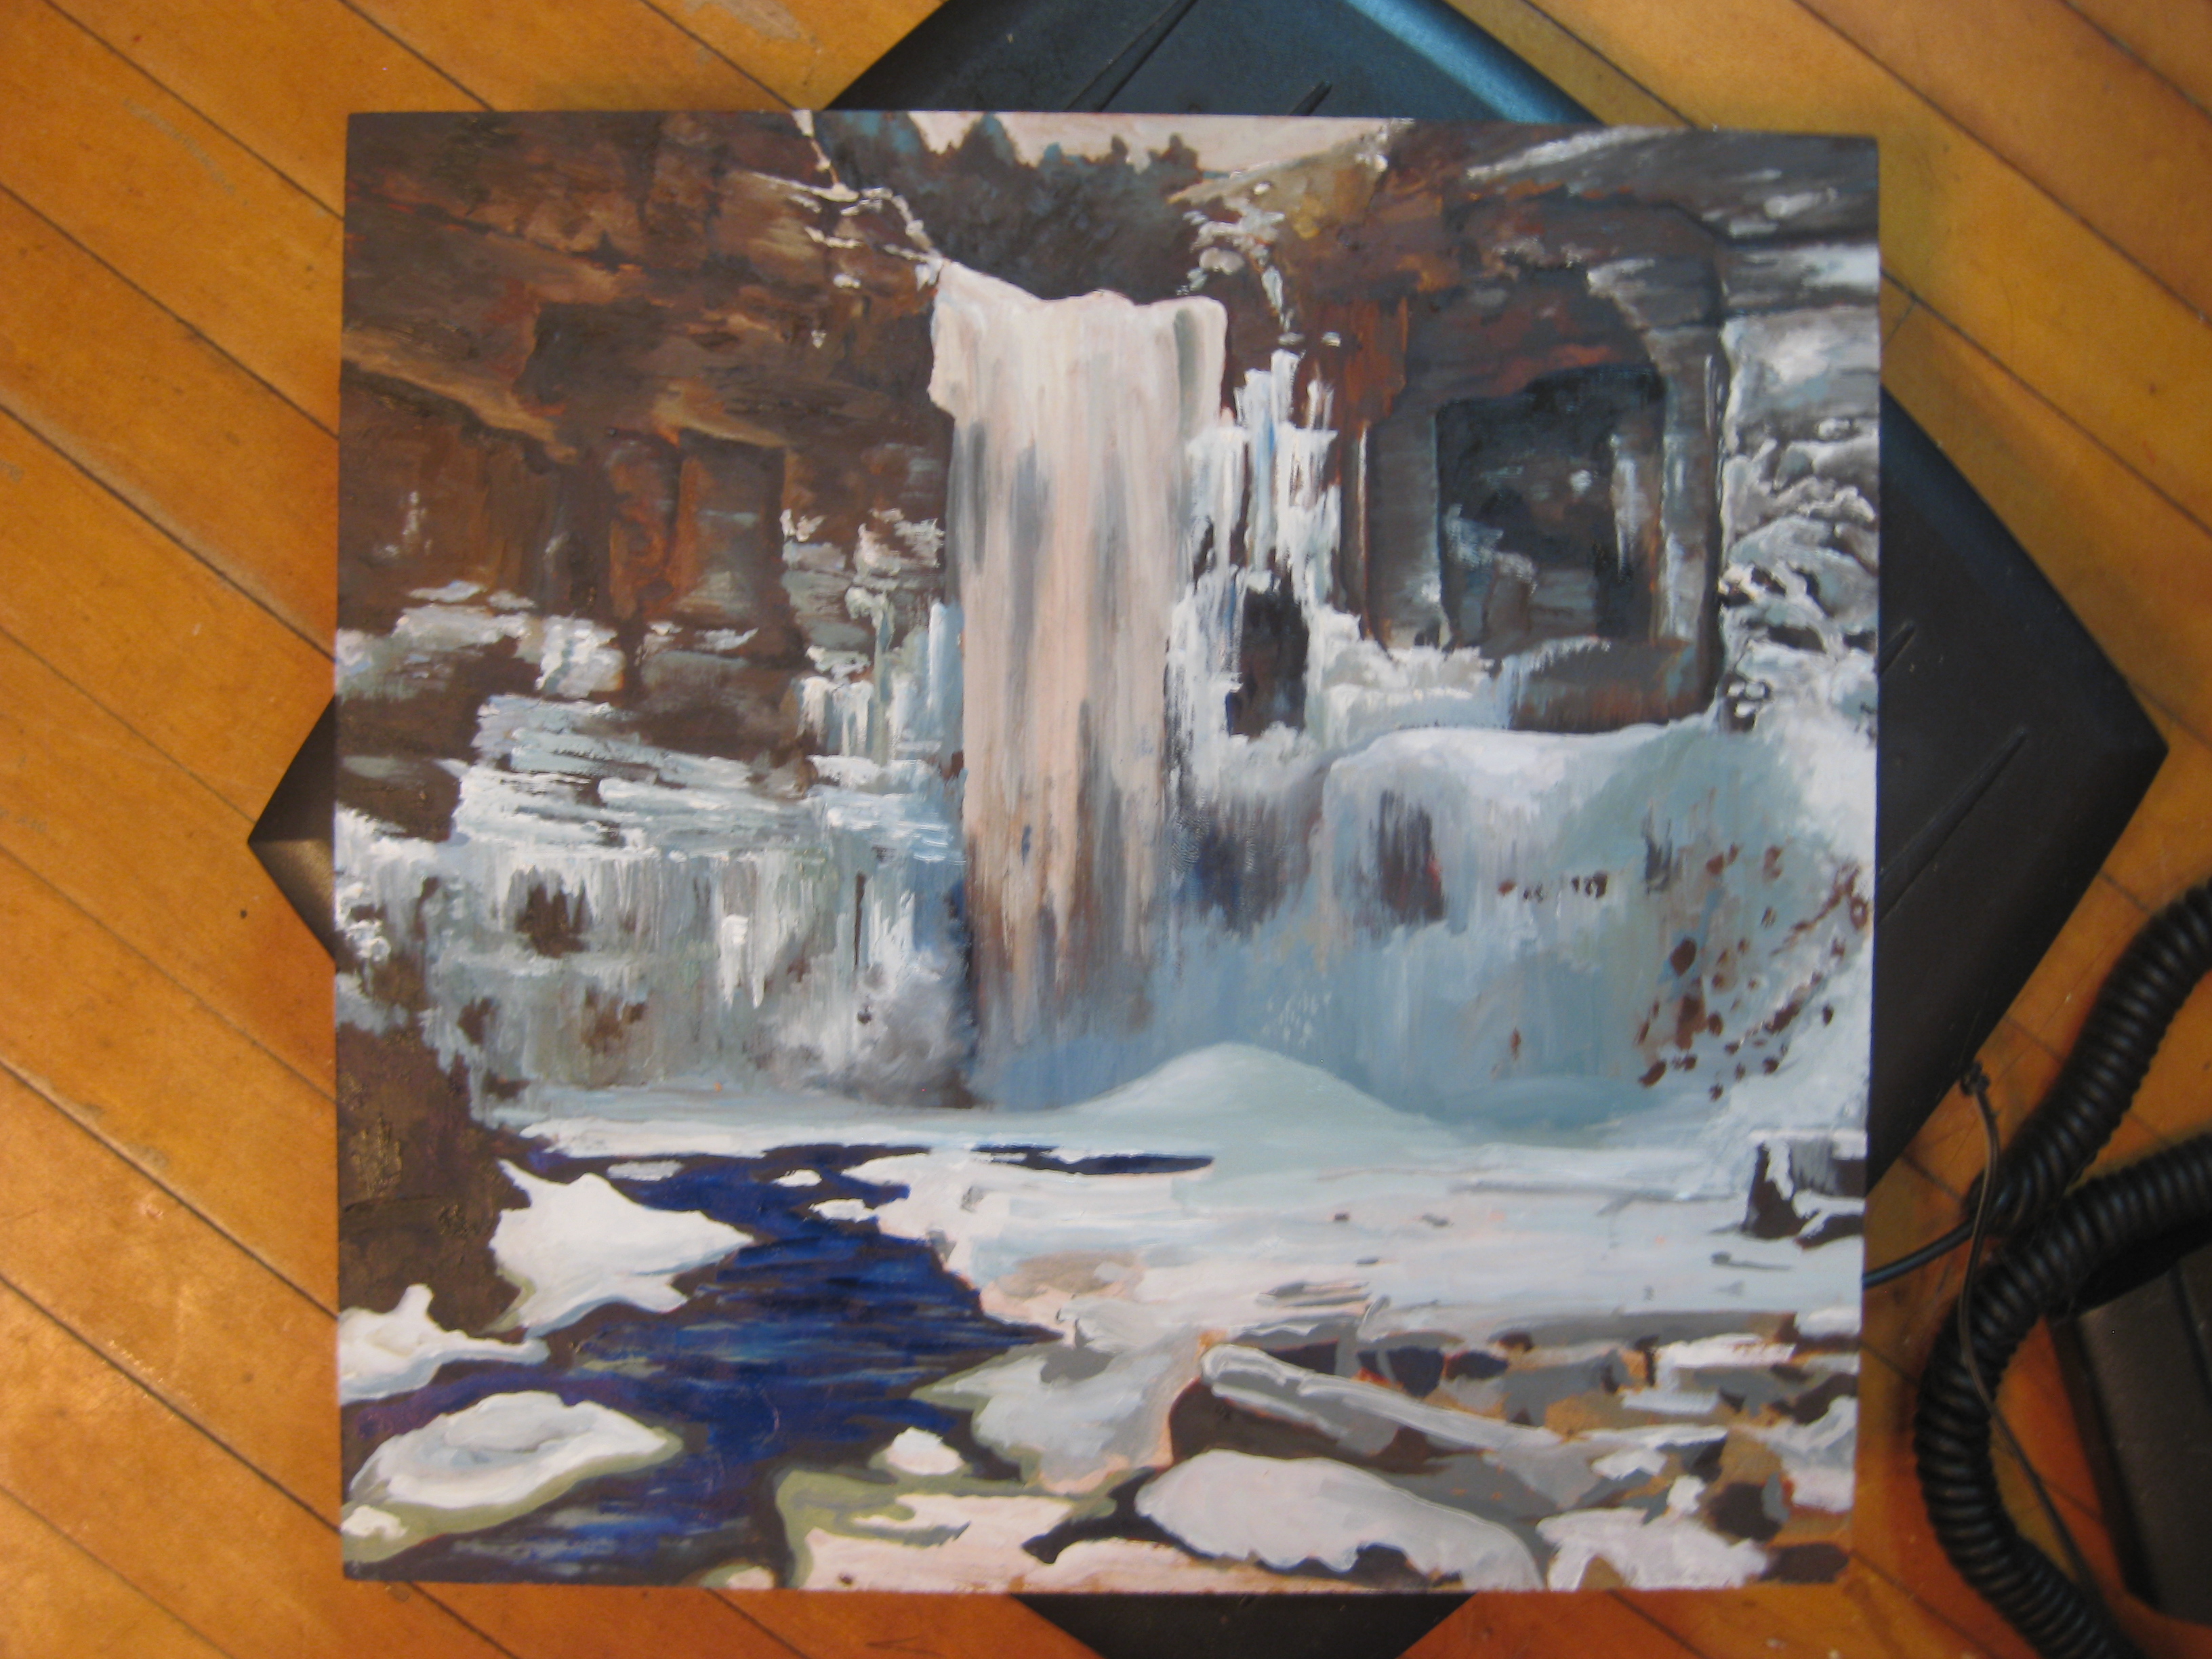
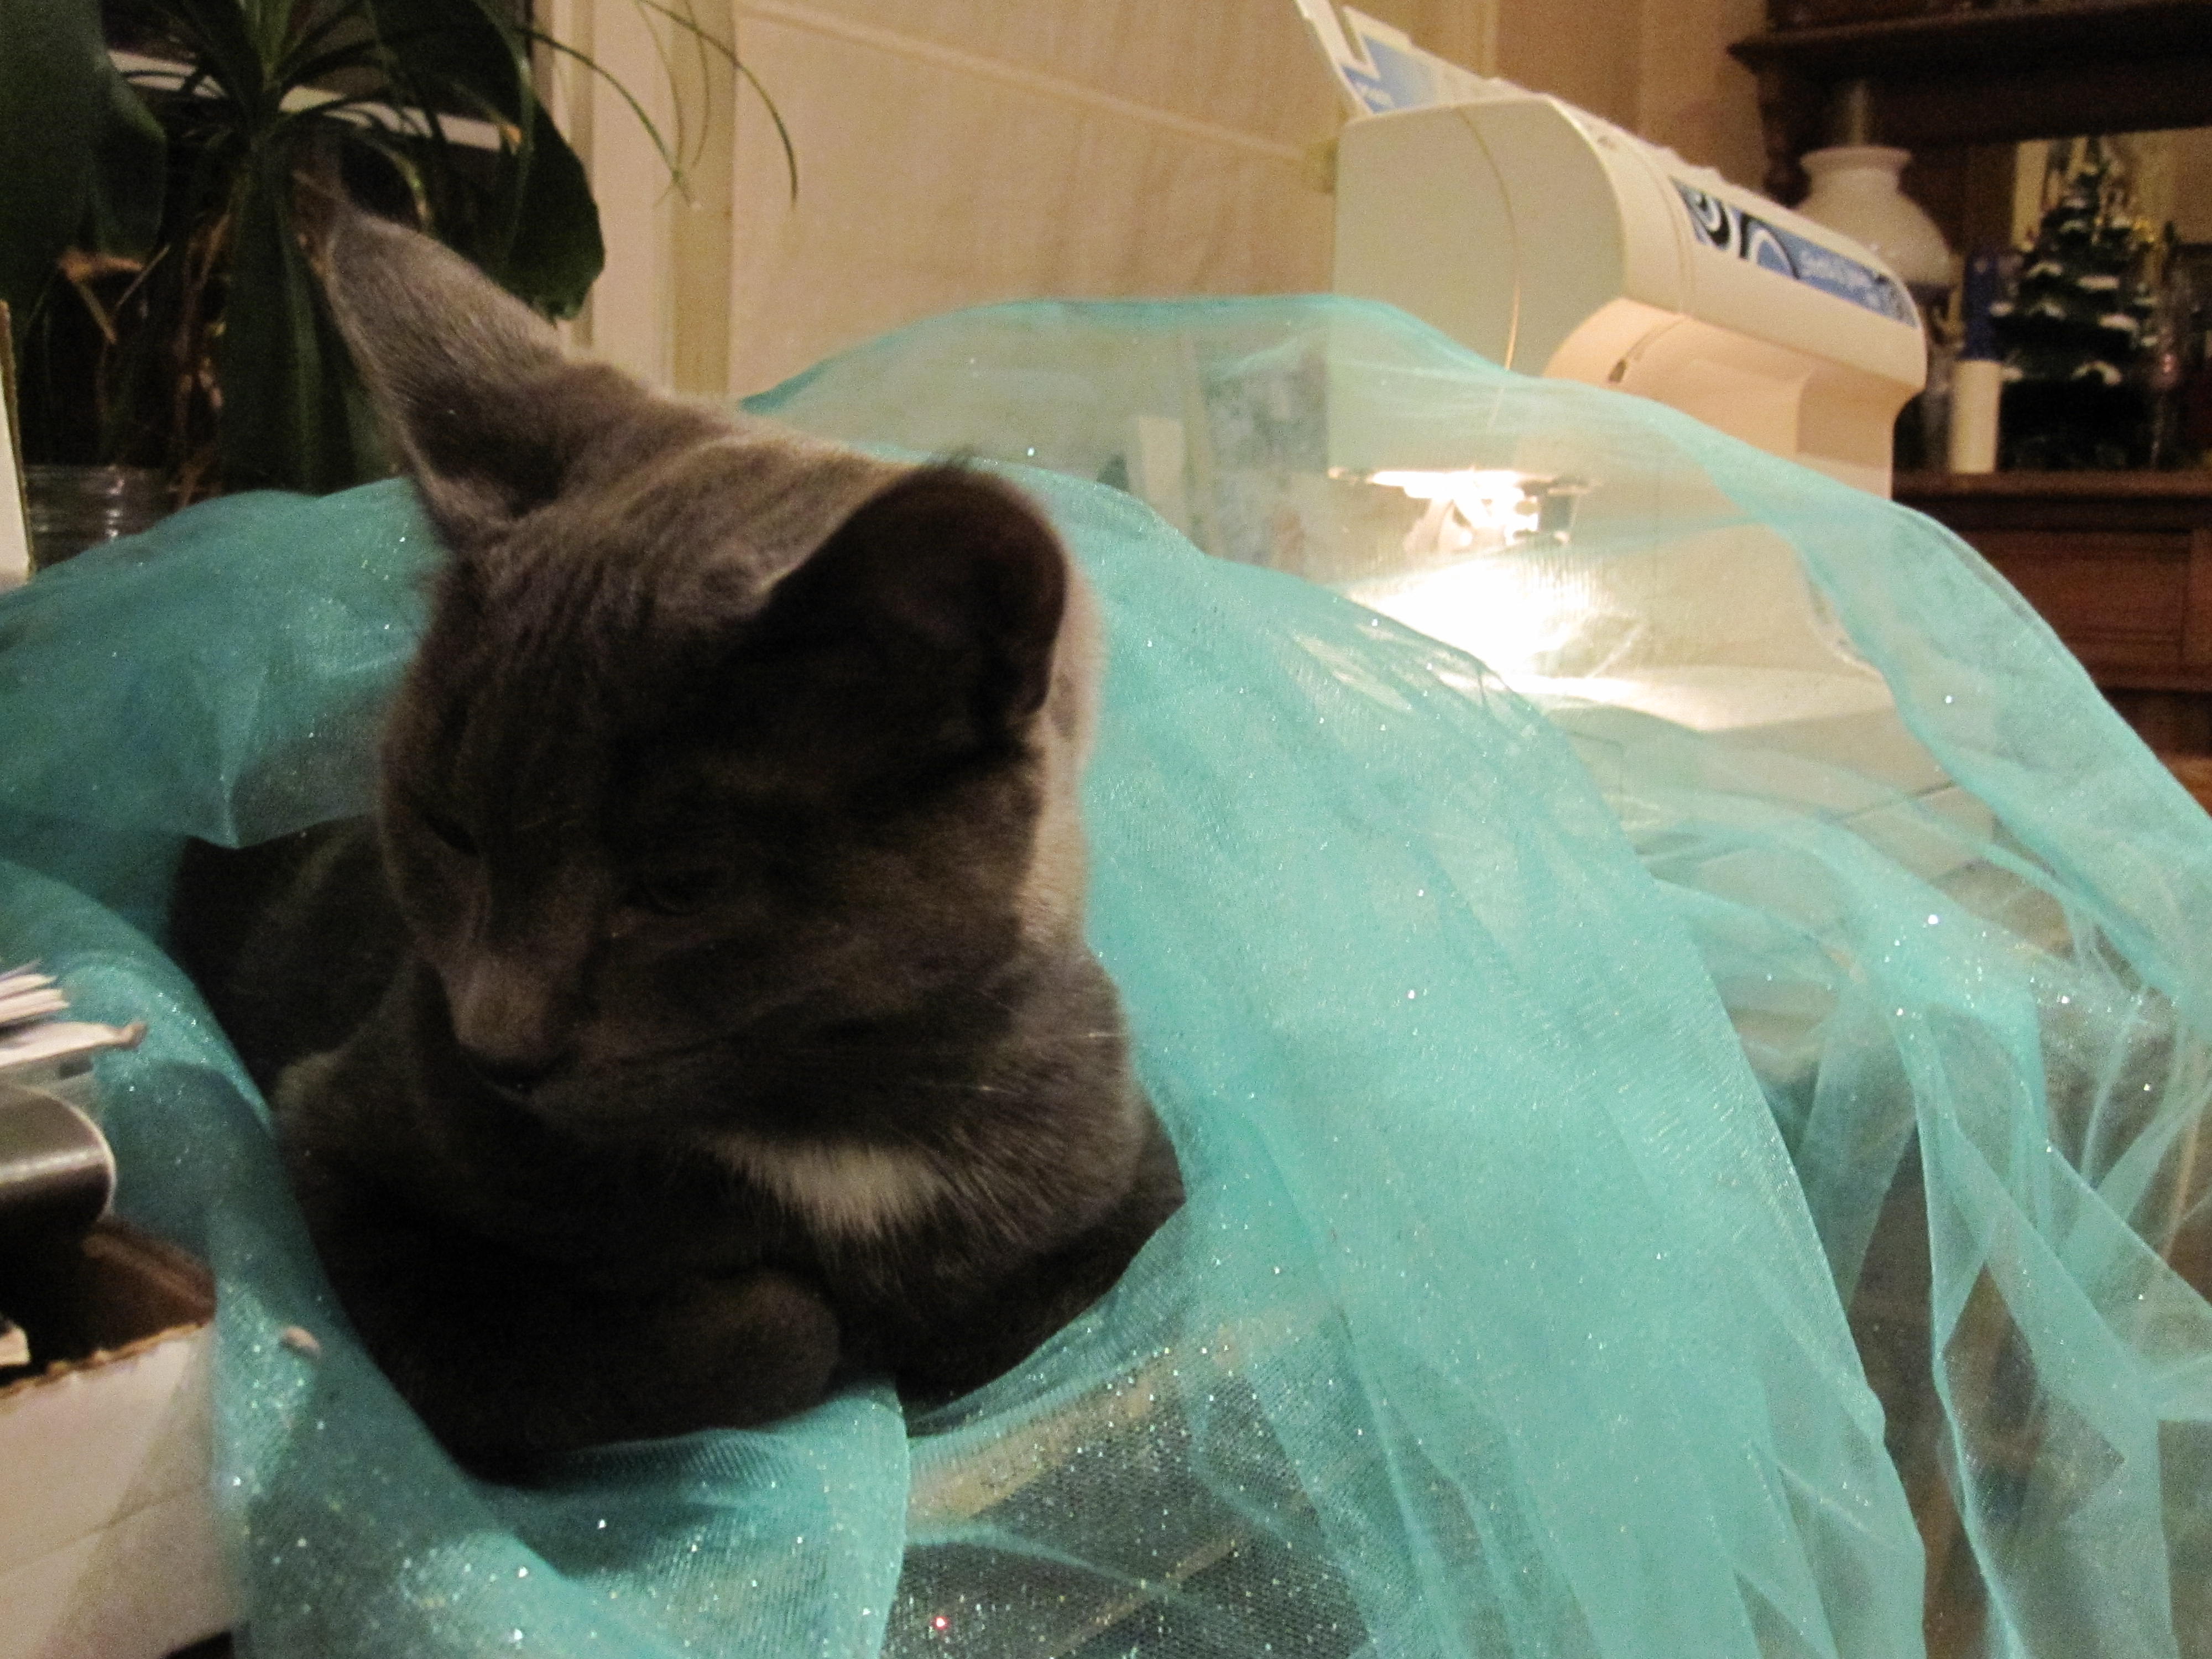
The quilt frame was bulky and hard to work with, which lead to less and less 08Aug20_2013Lynn 146frequent bouts of quilting, and then the quilt eventually came off, with plans to find something my convenient.  Fast forward to 2013, I’m working at Lang Pioneer Village.  I snag one of the rug hookers’ hoops and put it on my quilt… presto! I’m a lap-quilter.  I was allowed to bring my quilt to work (which I’m super-grateful for, it may have been another five years) when I was stationed in appropriate buildings and was able to press forward with my quilt.  I worked on it one or two days my second summer at Lang and it was time for some outer edge-quilty-decision-making time.  10351725_10154562828465247_4604935370911182285_n

If anyone knows my family, they know that creative decisions can hold up a project for some time.  I finally decided how to do the border and finished it up by January.

IMG_9606            01Jan31casscam 019         03Mar07 200      03Mar07 19201Jan31casscam 017

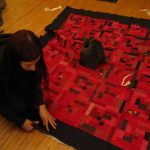
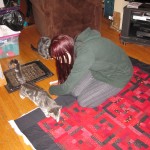
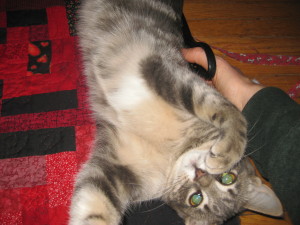
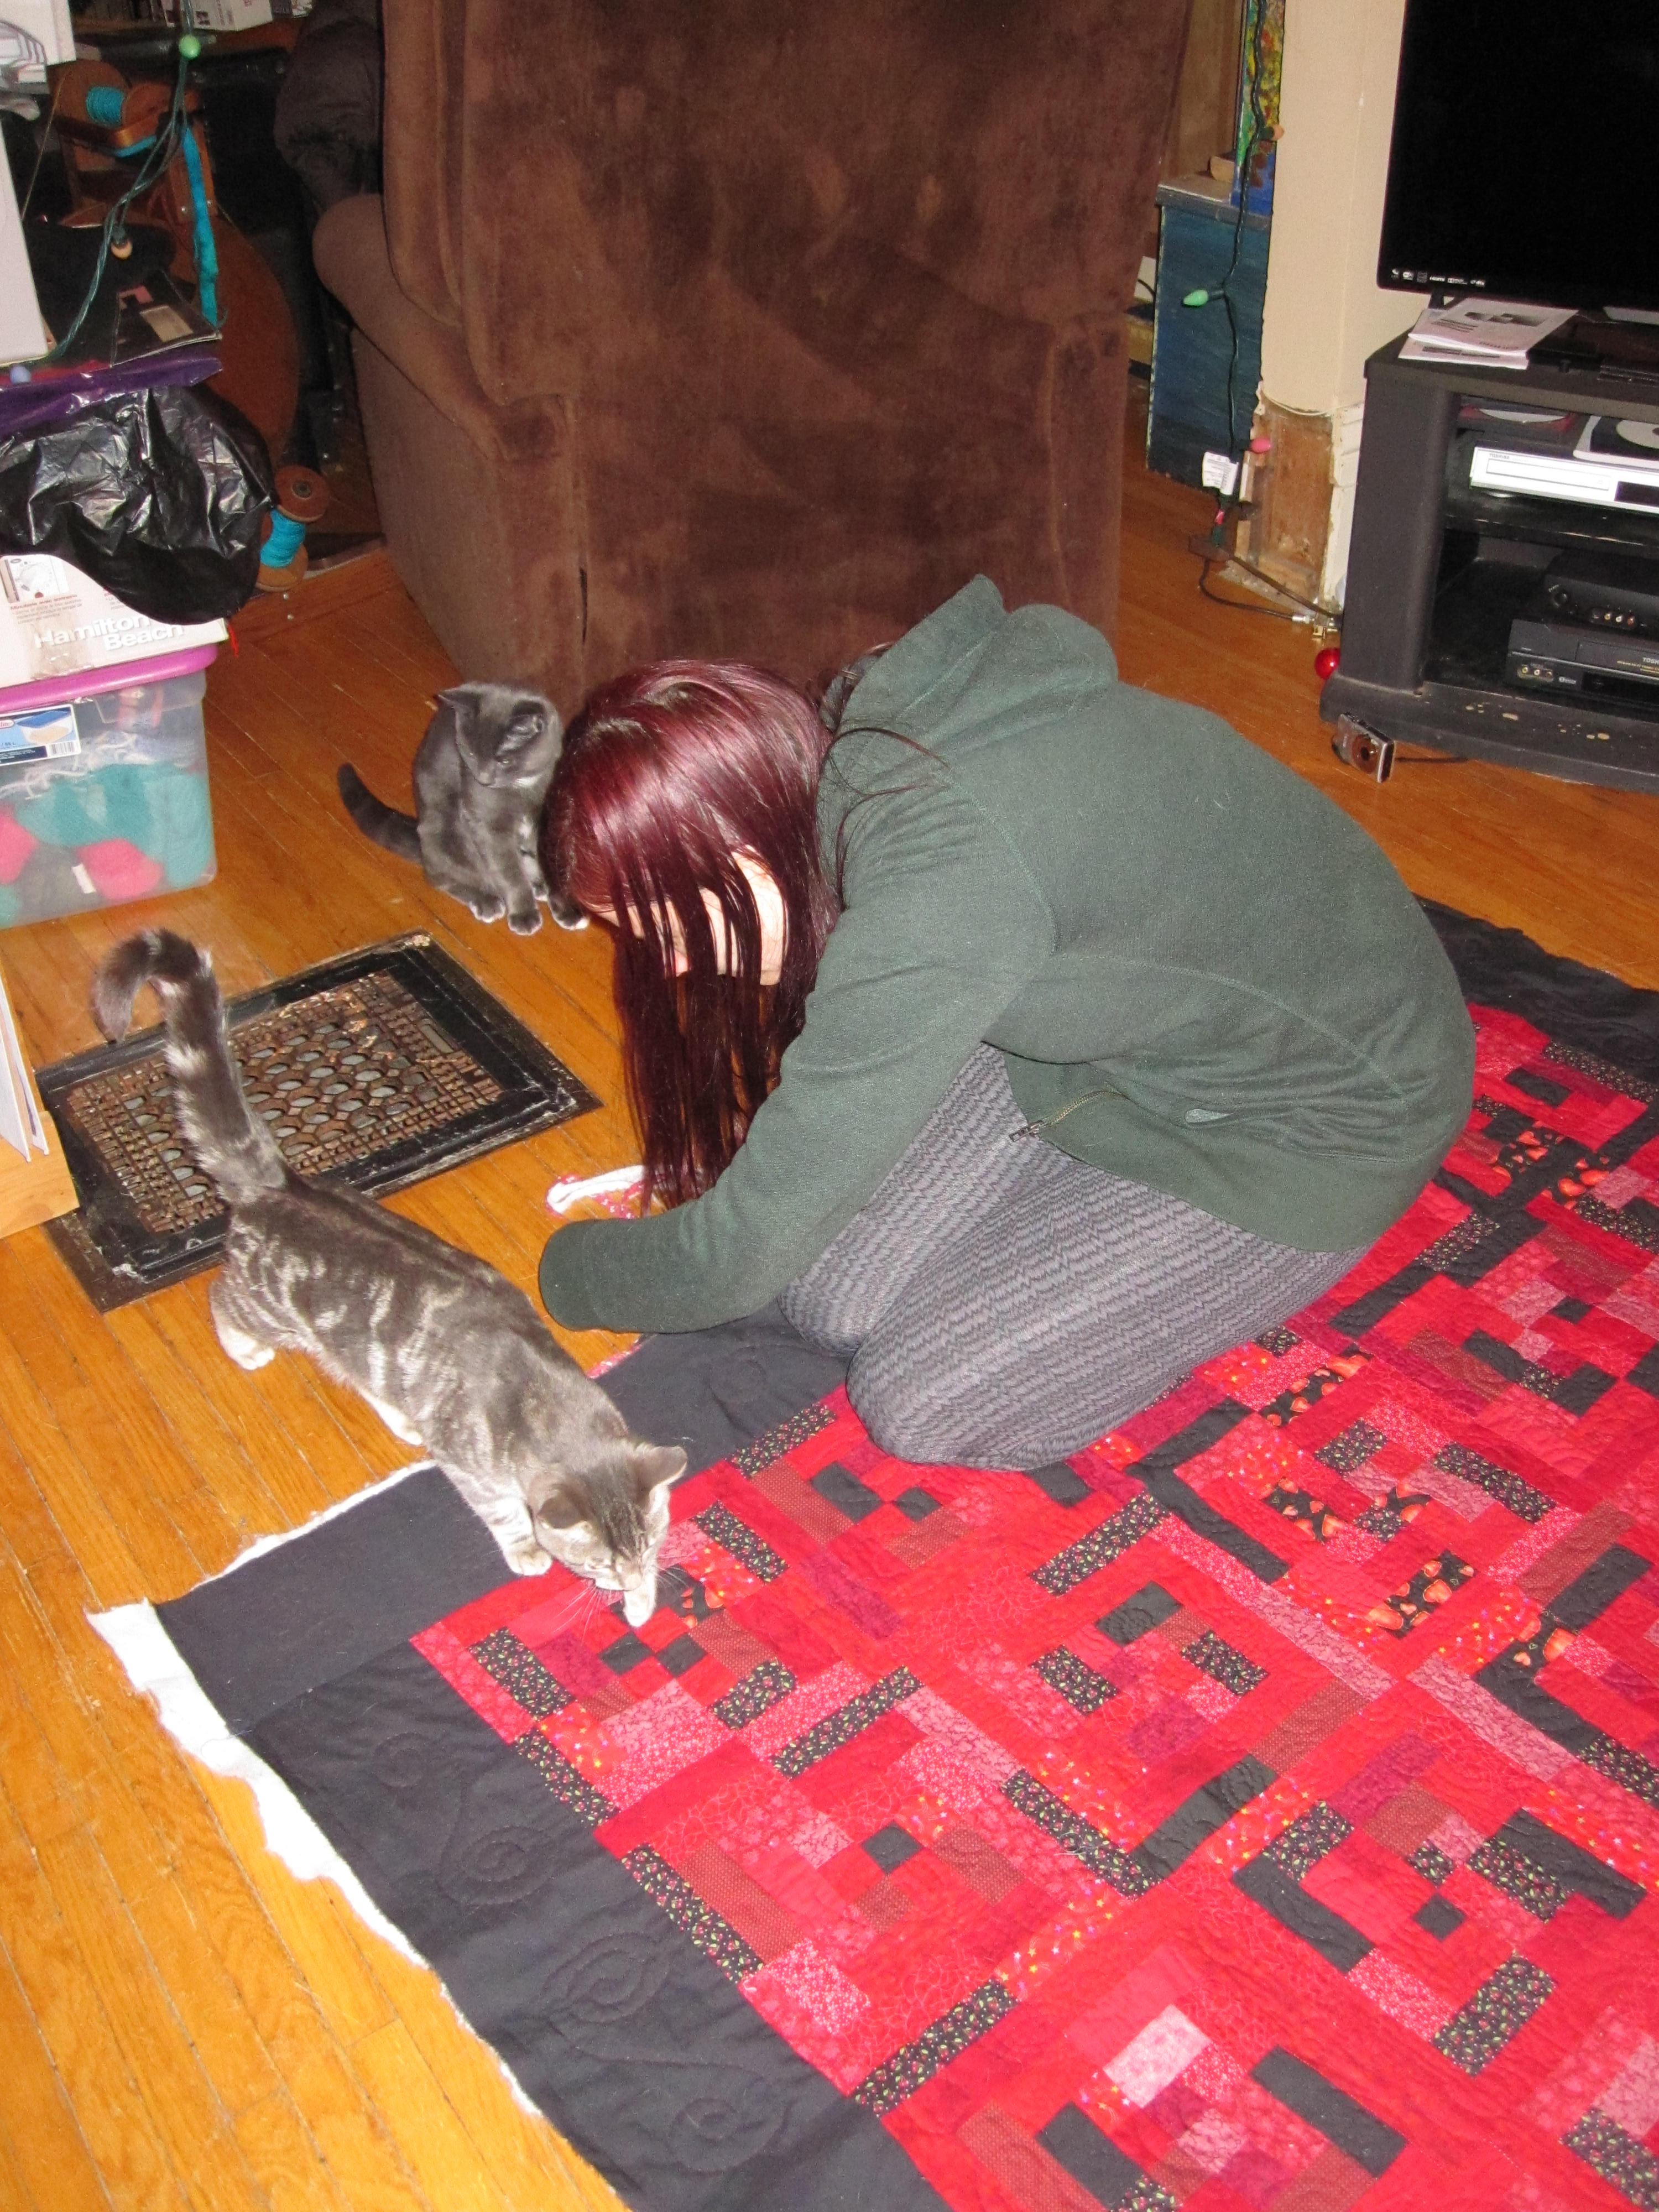
Mom and some kittens helped me with the final stages, then finally it was done, January17, 2015.  The cats all approved.  I”m pretty sure that my quilt holds on to all of the memories of the years it took to finish it, probably making it extra snugly and warm.


P.S.  If anyone from the Peterborough Youth Emergency Shelter comes across this, I’m looking for a copy of the super-awesome CD that we made as a group.  I need to hear it!! :)
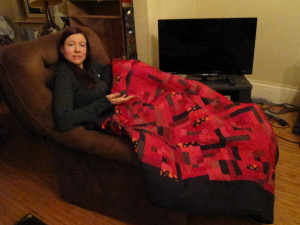
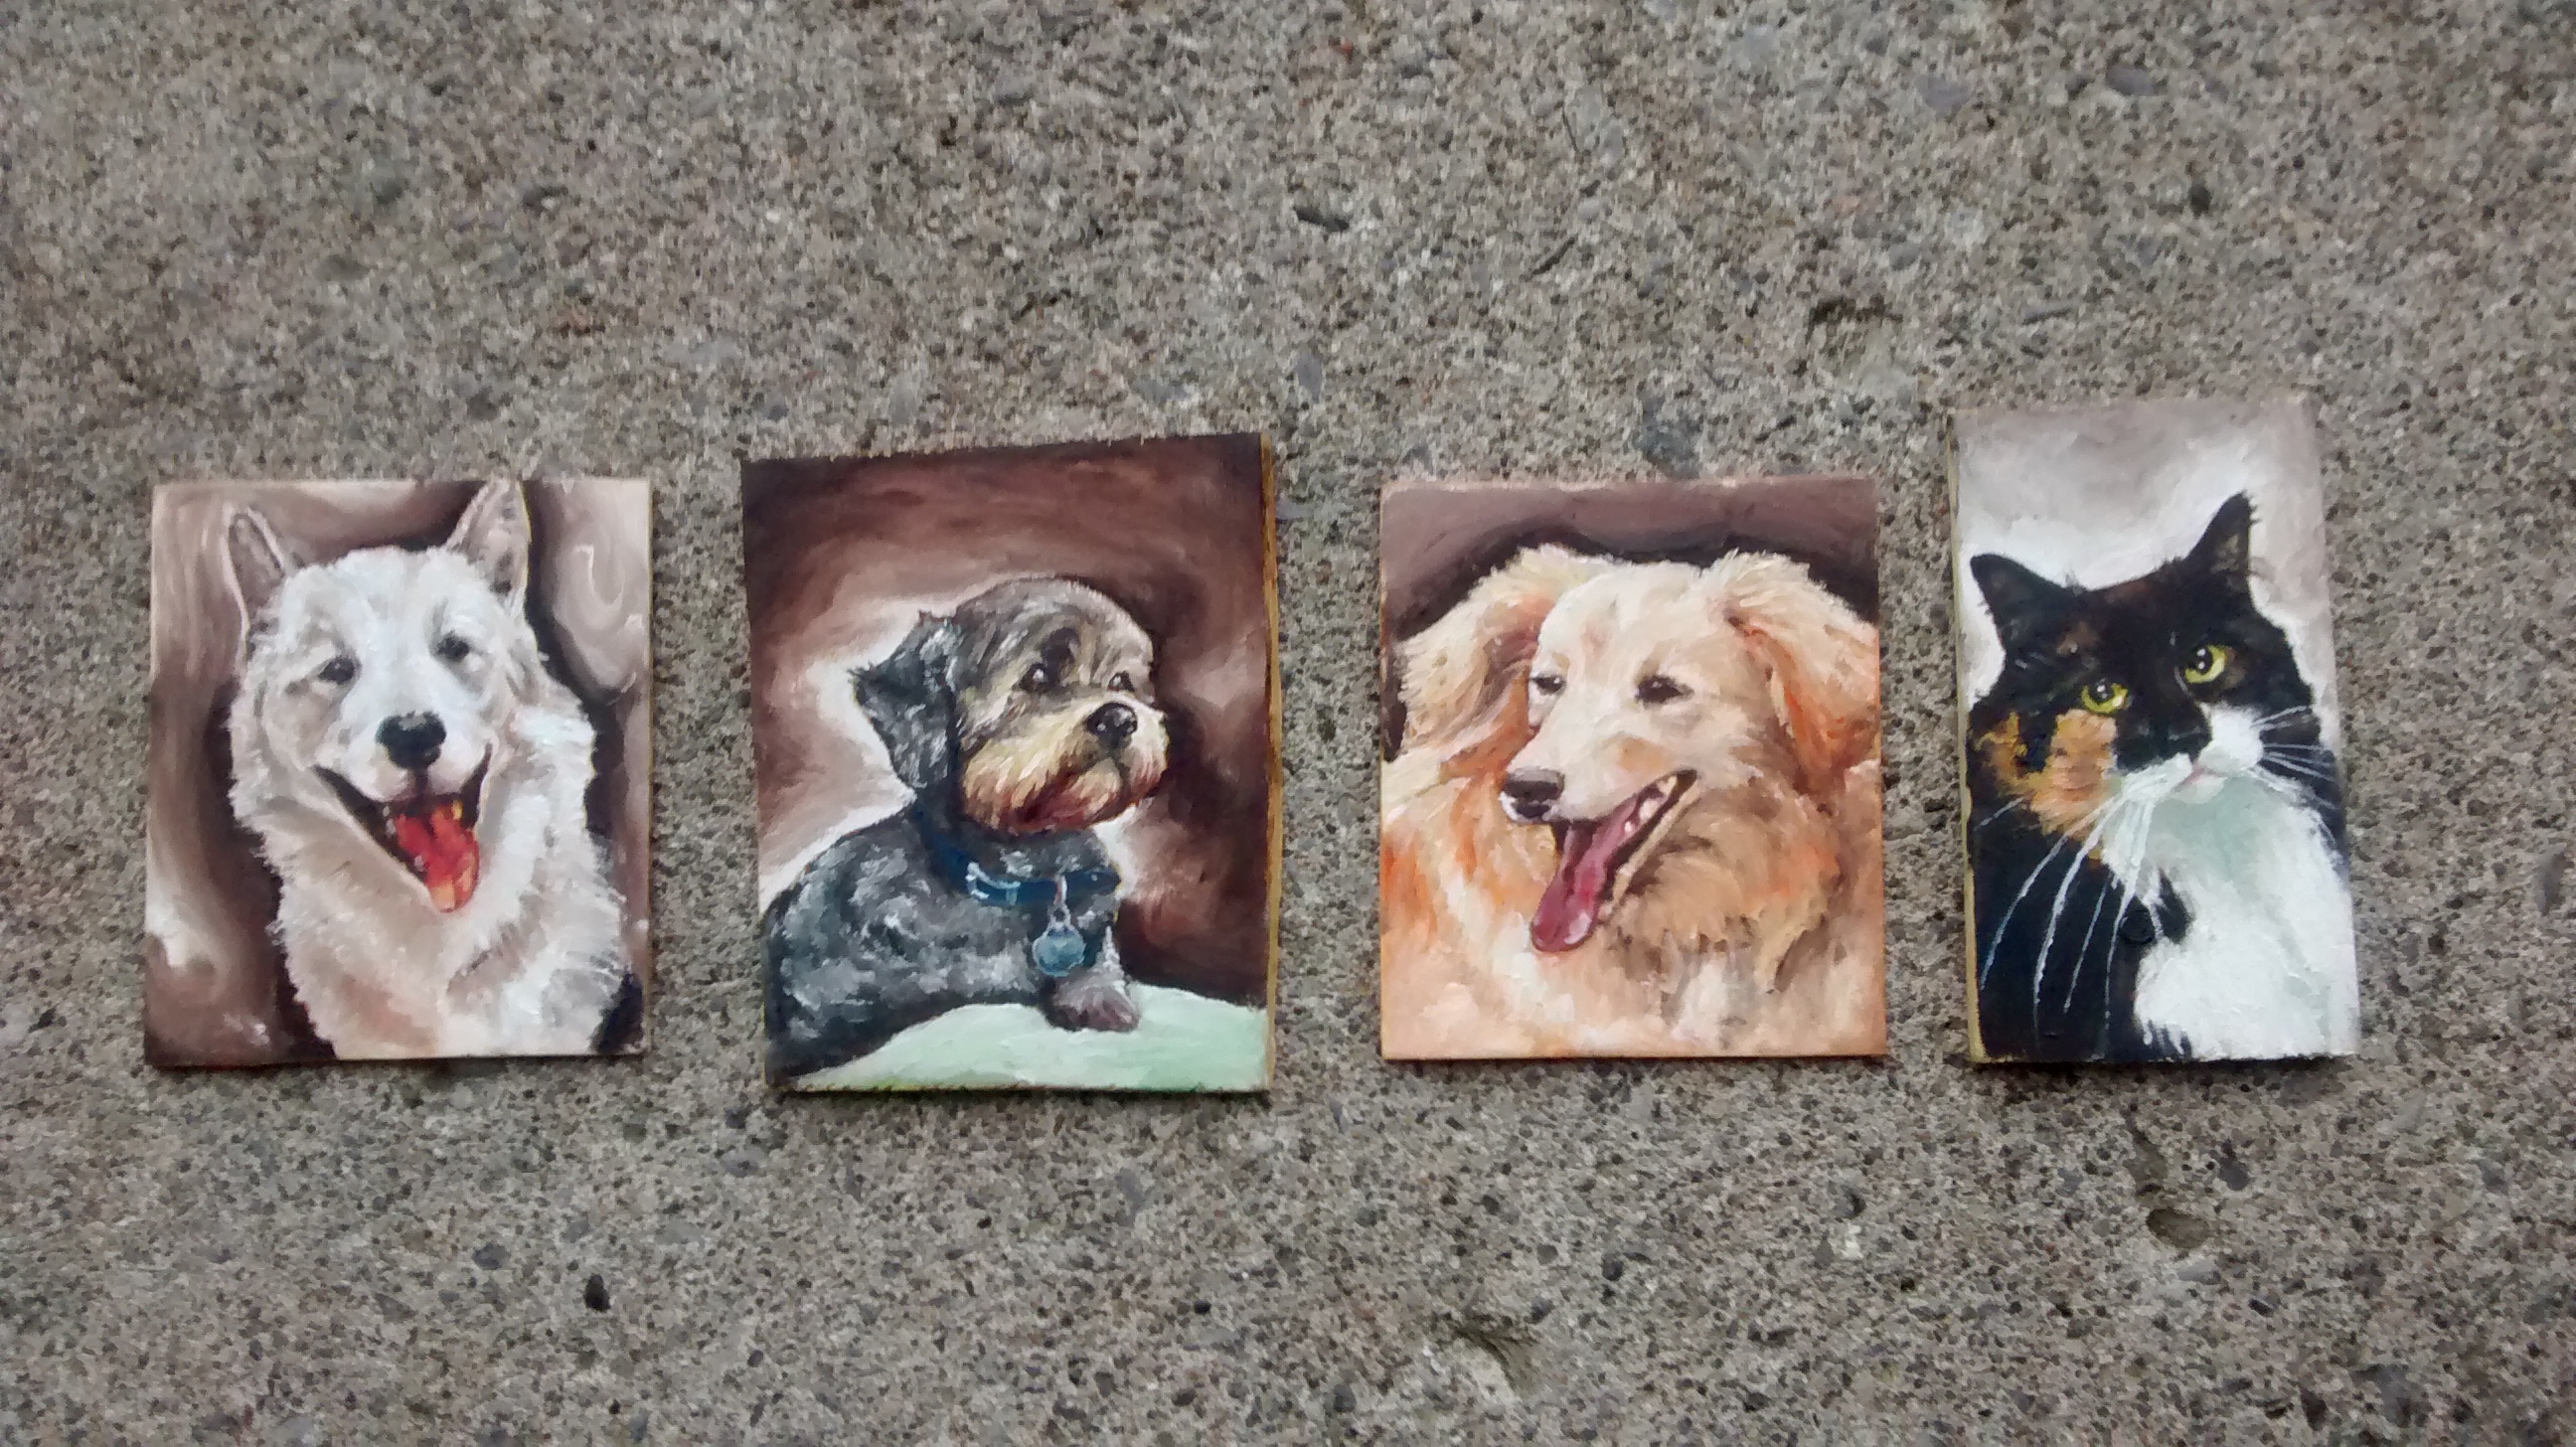
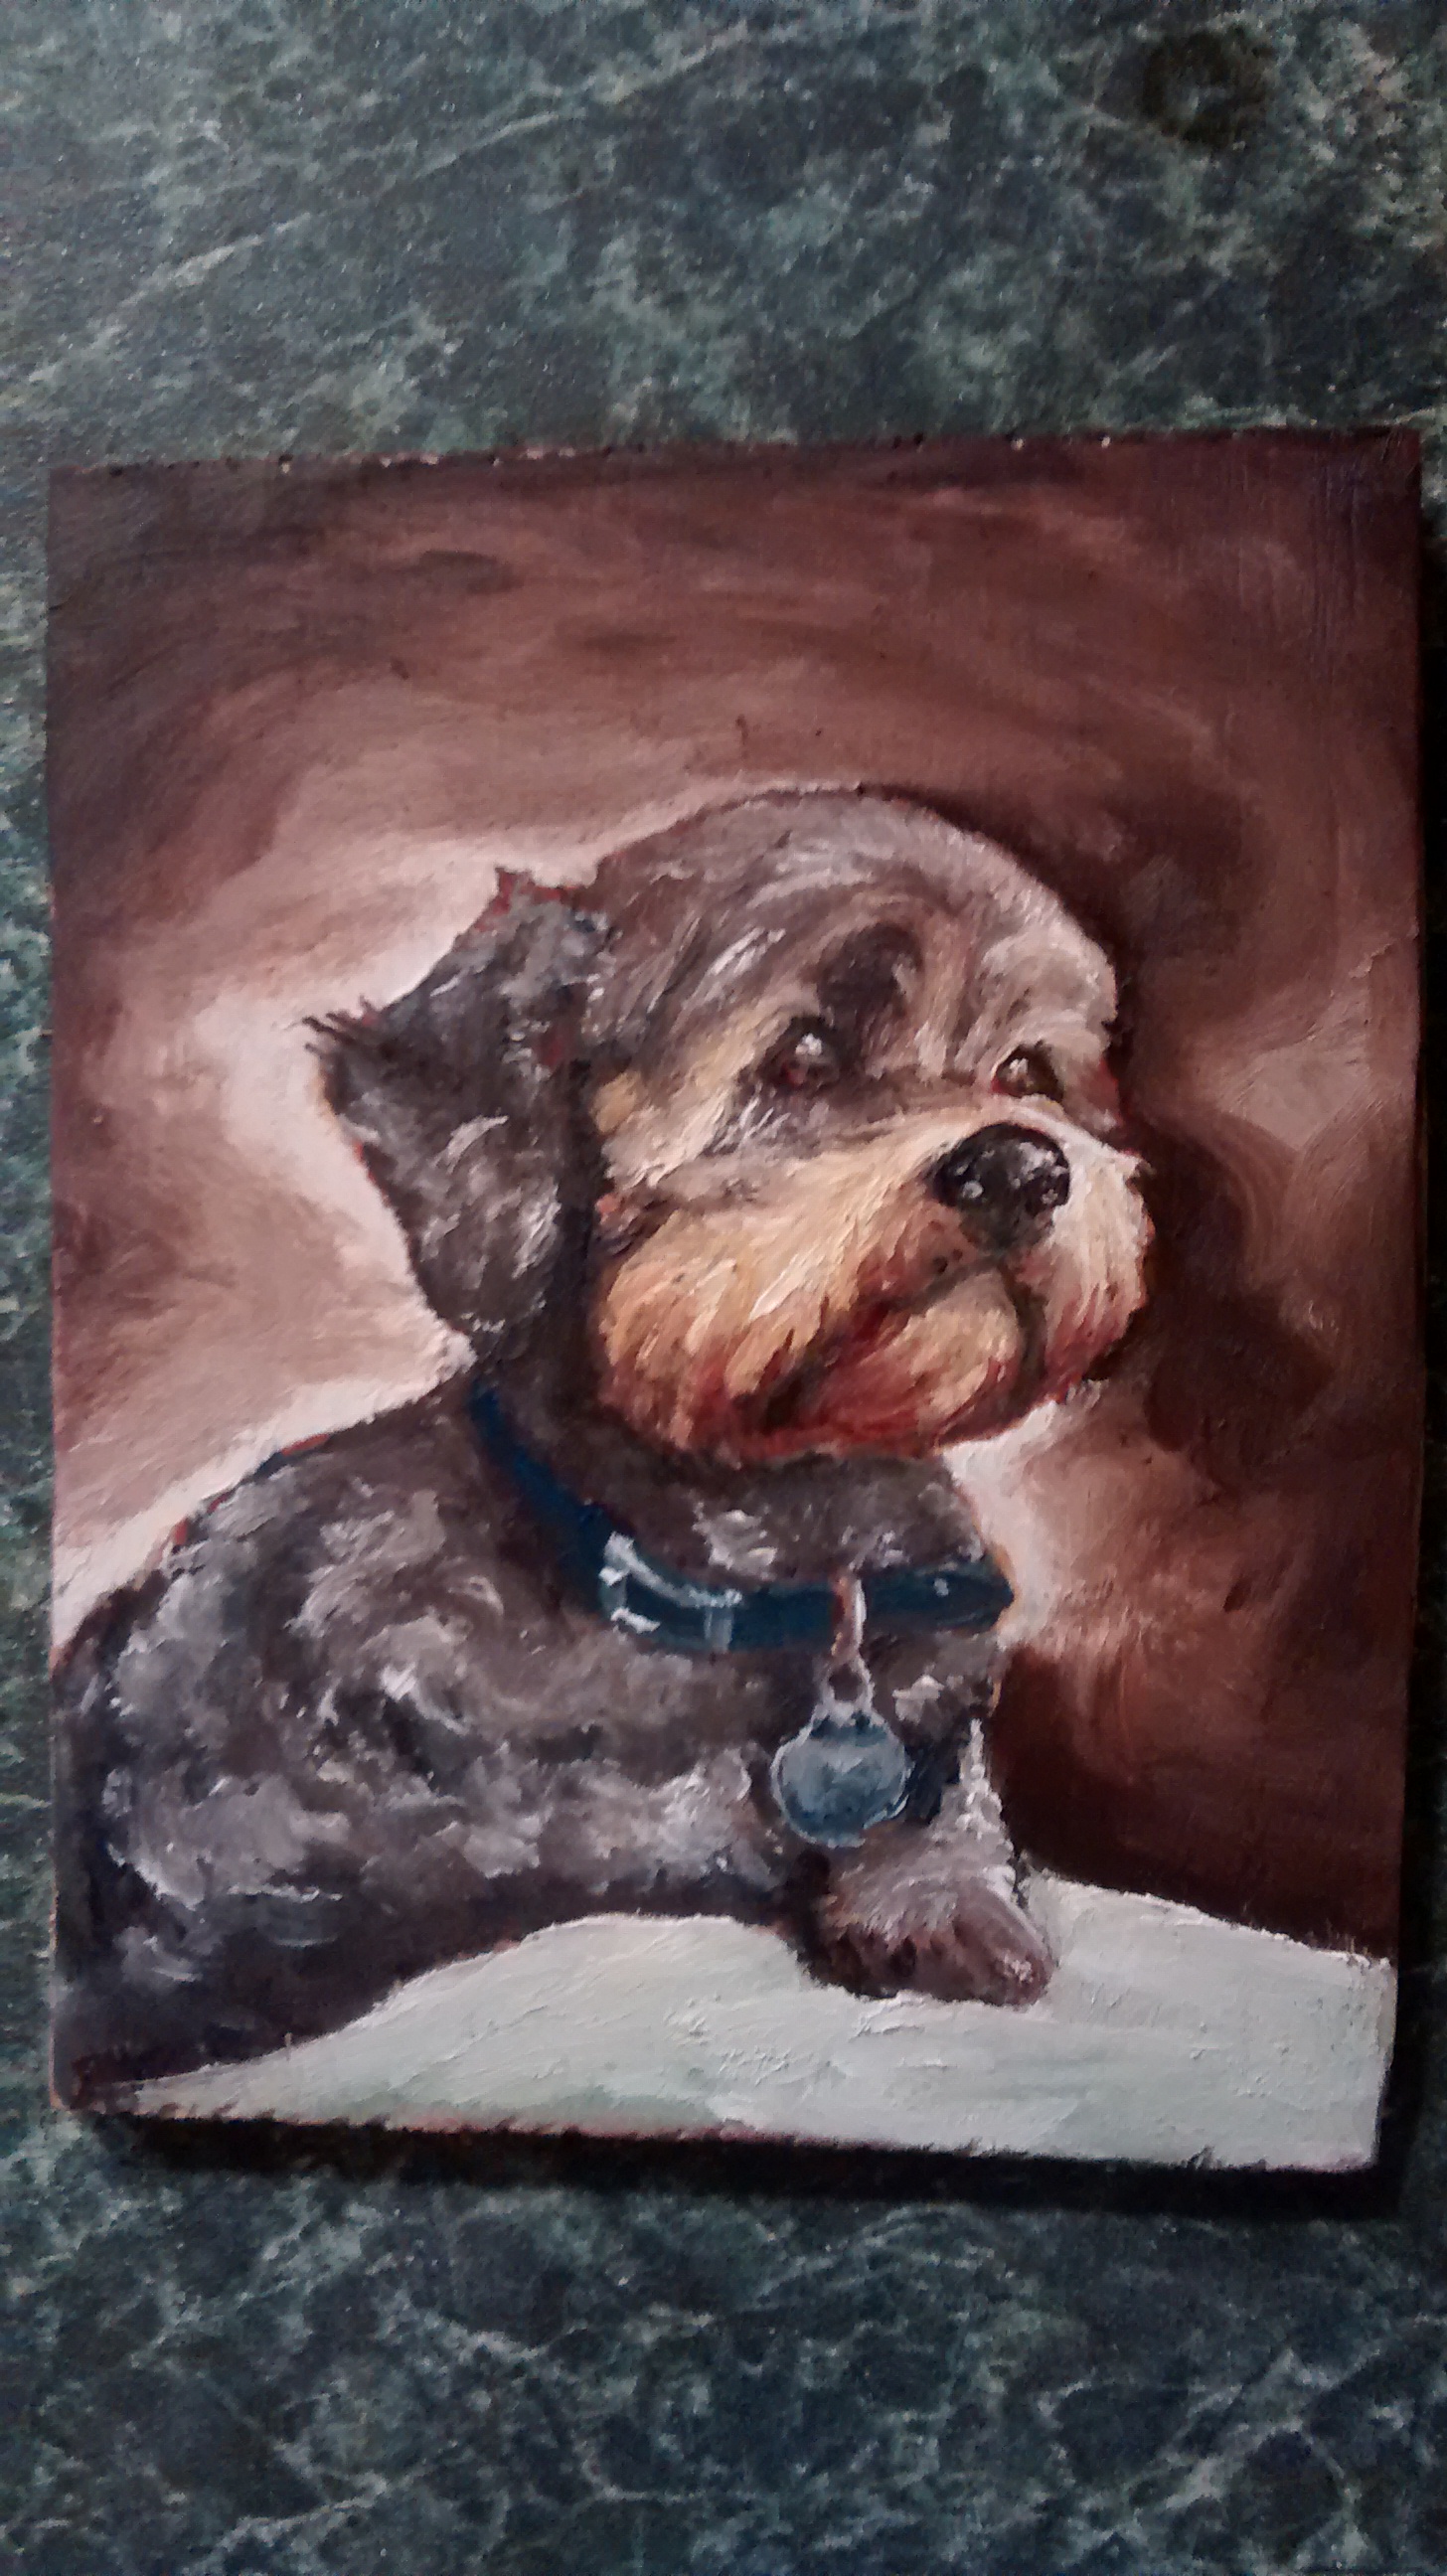
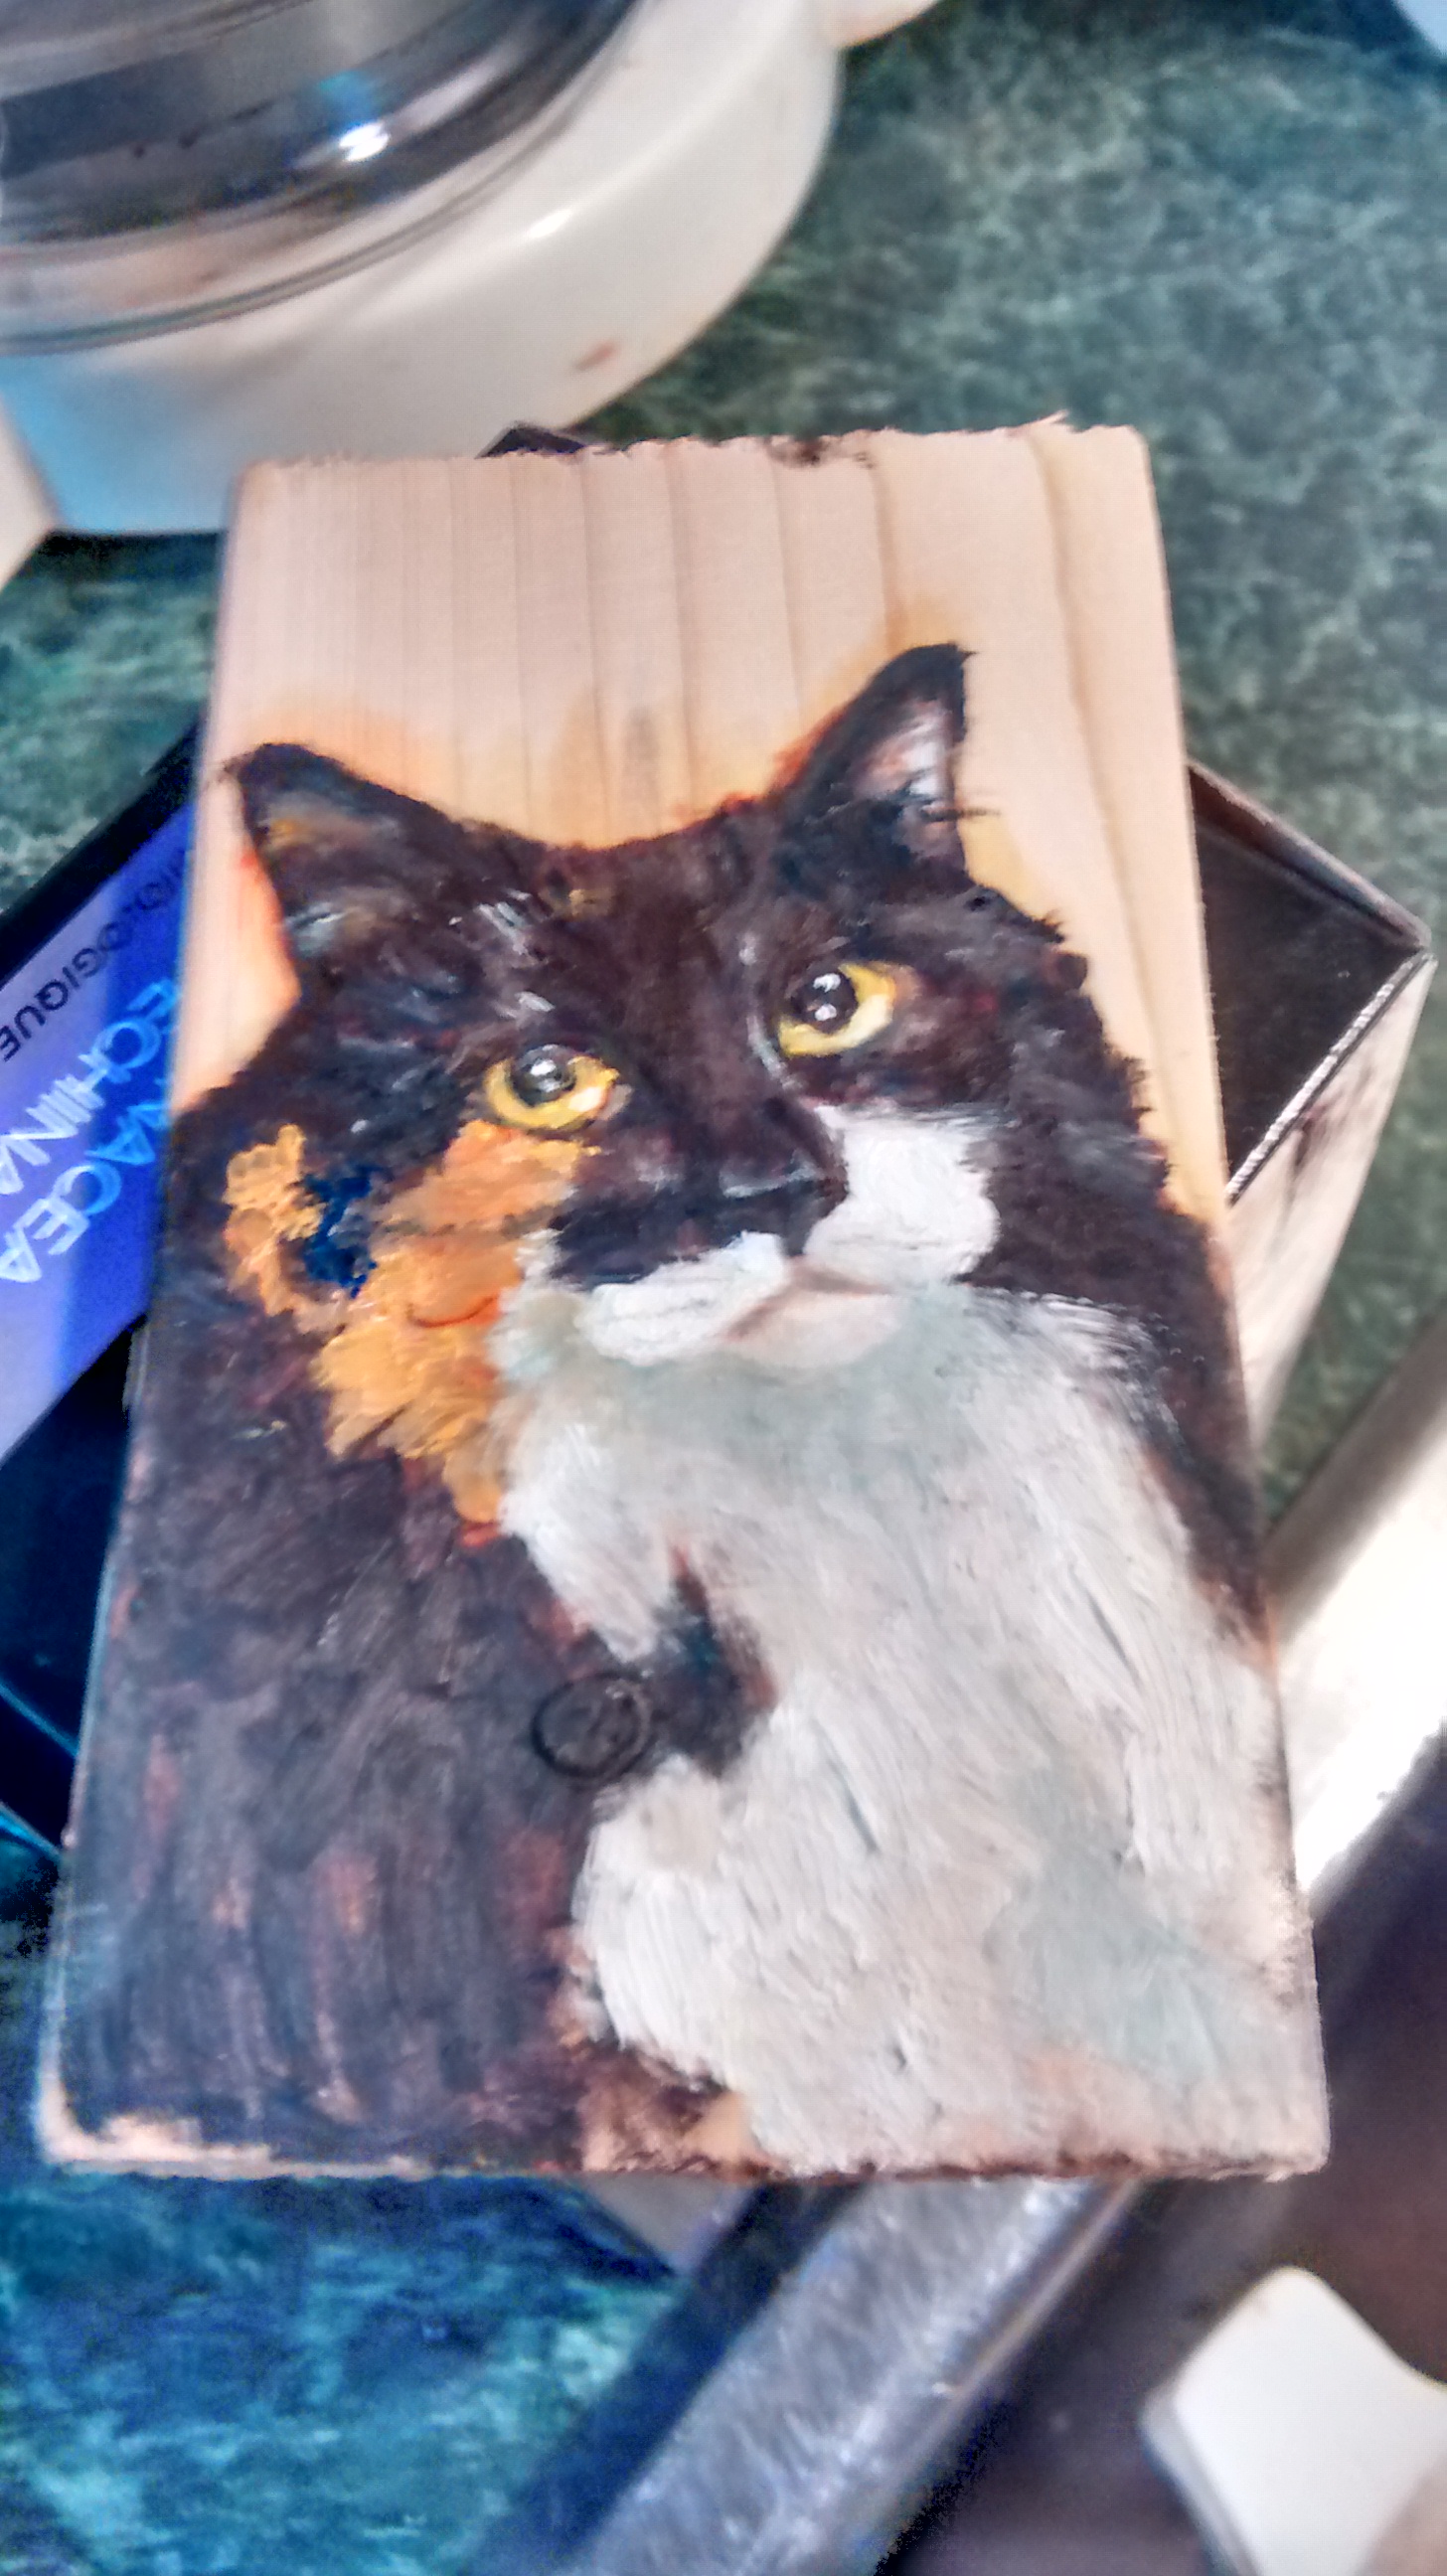
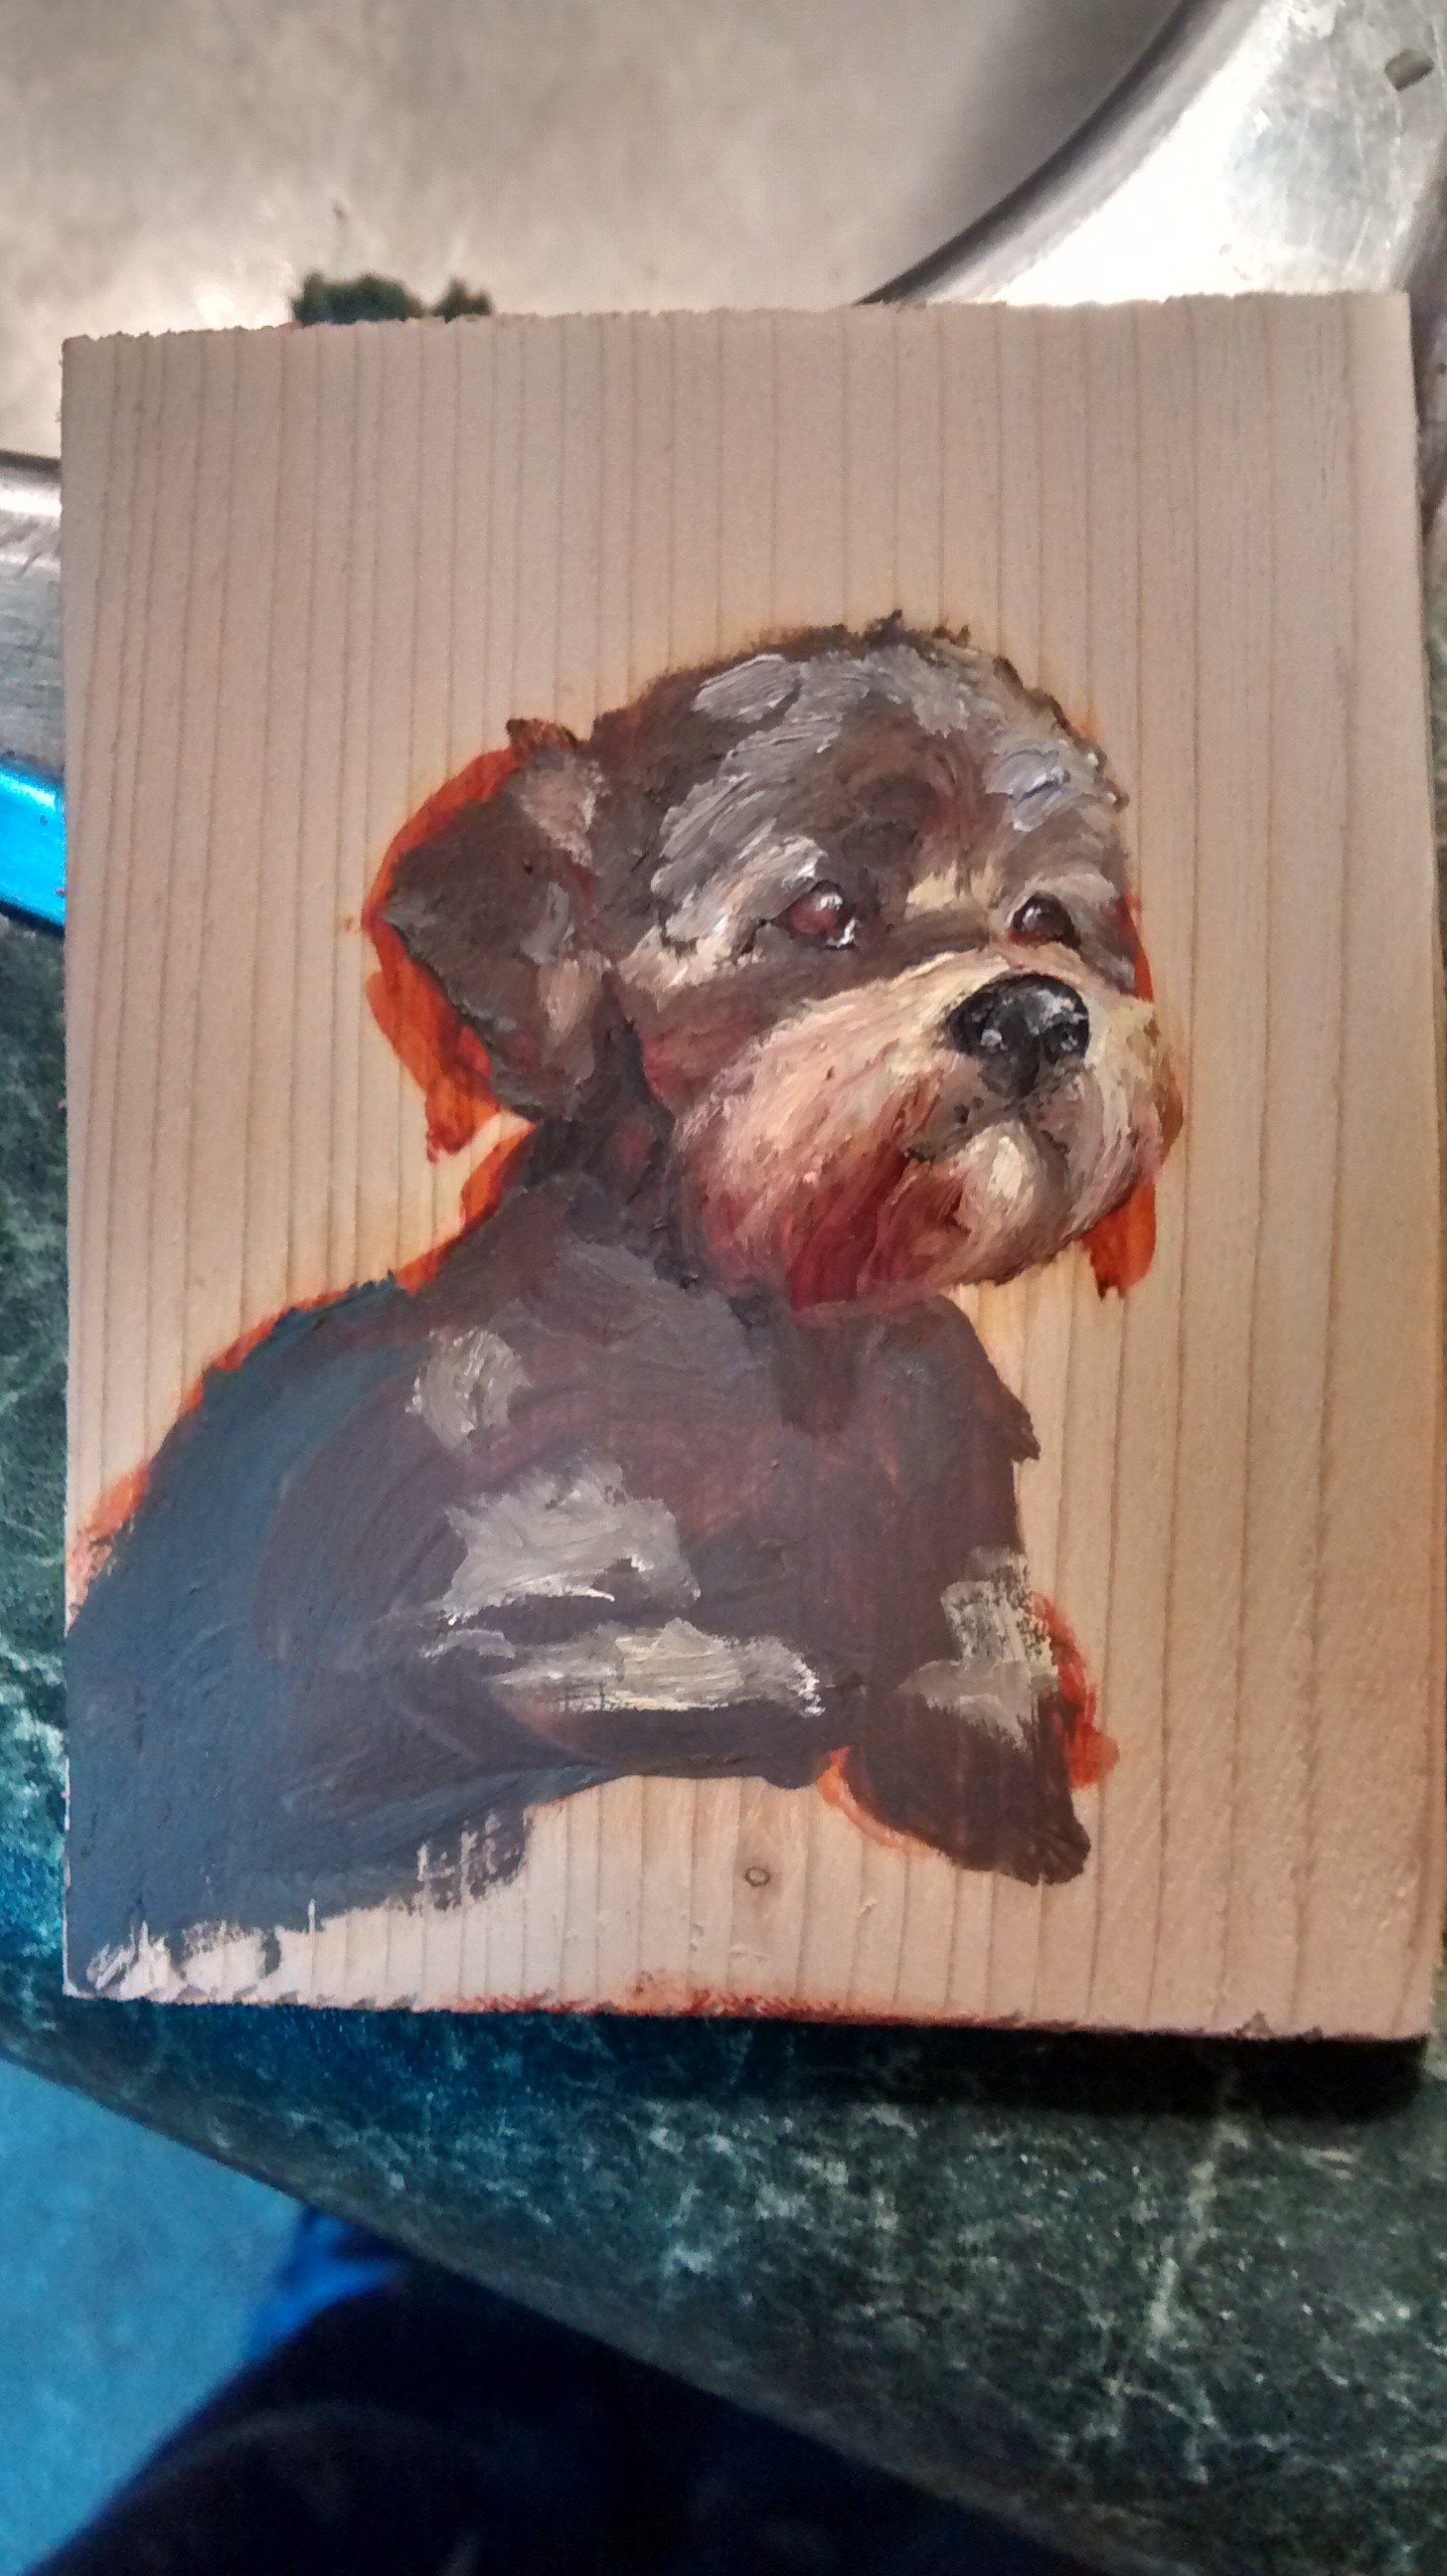
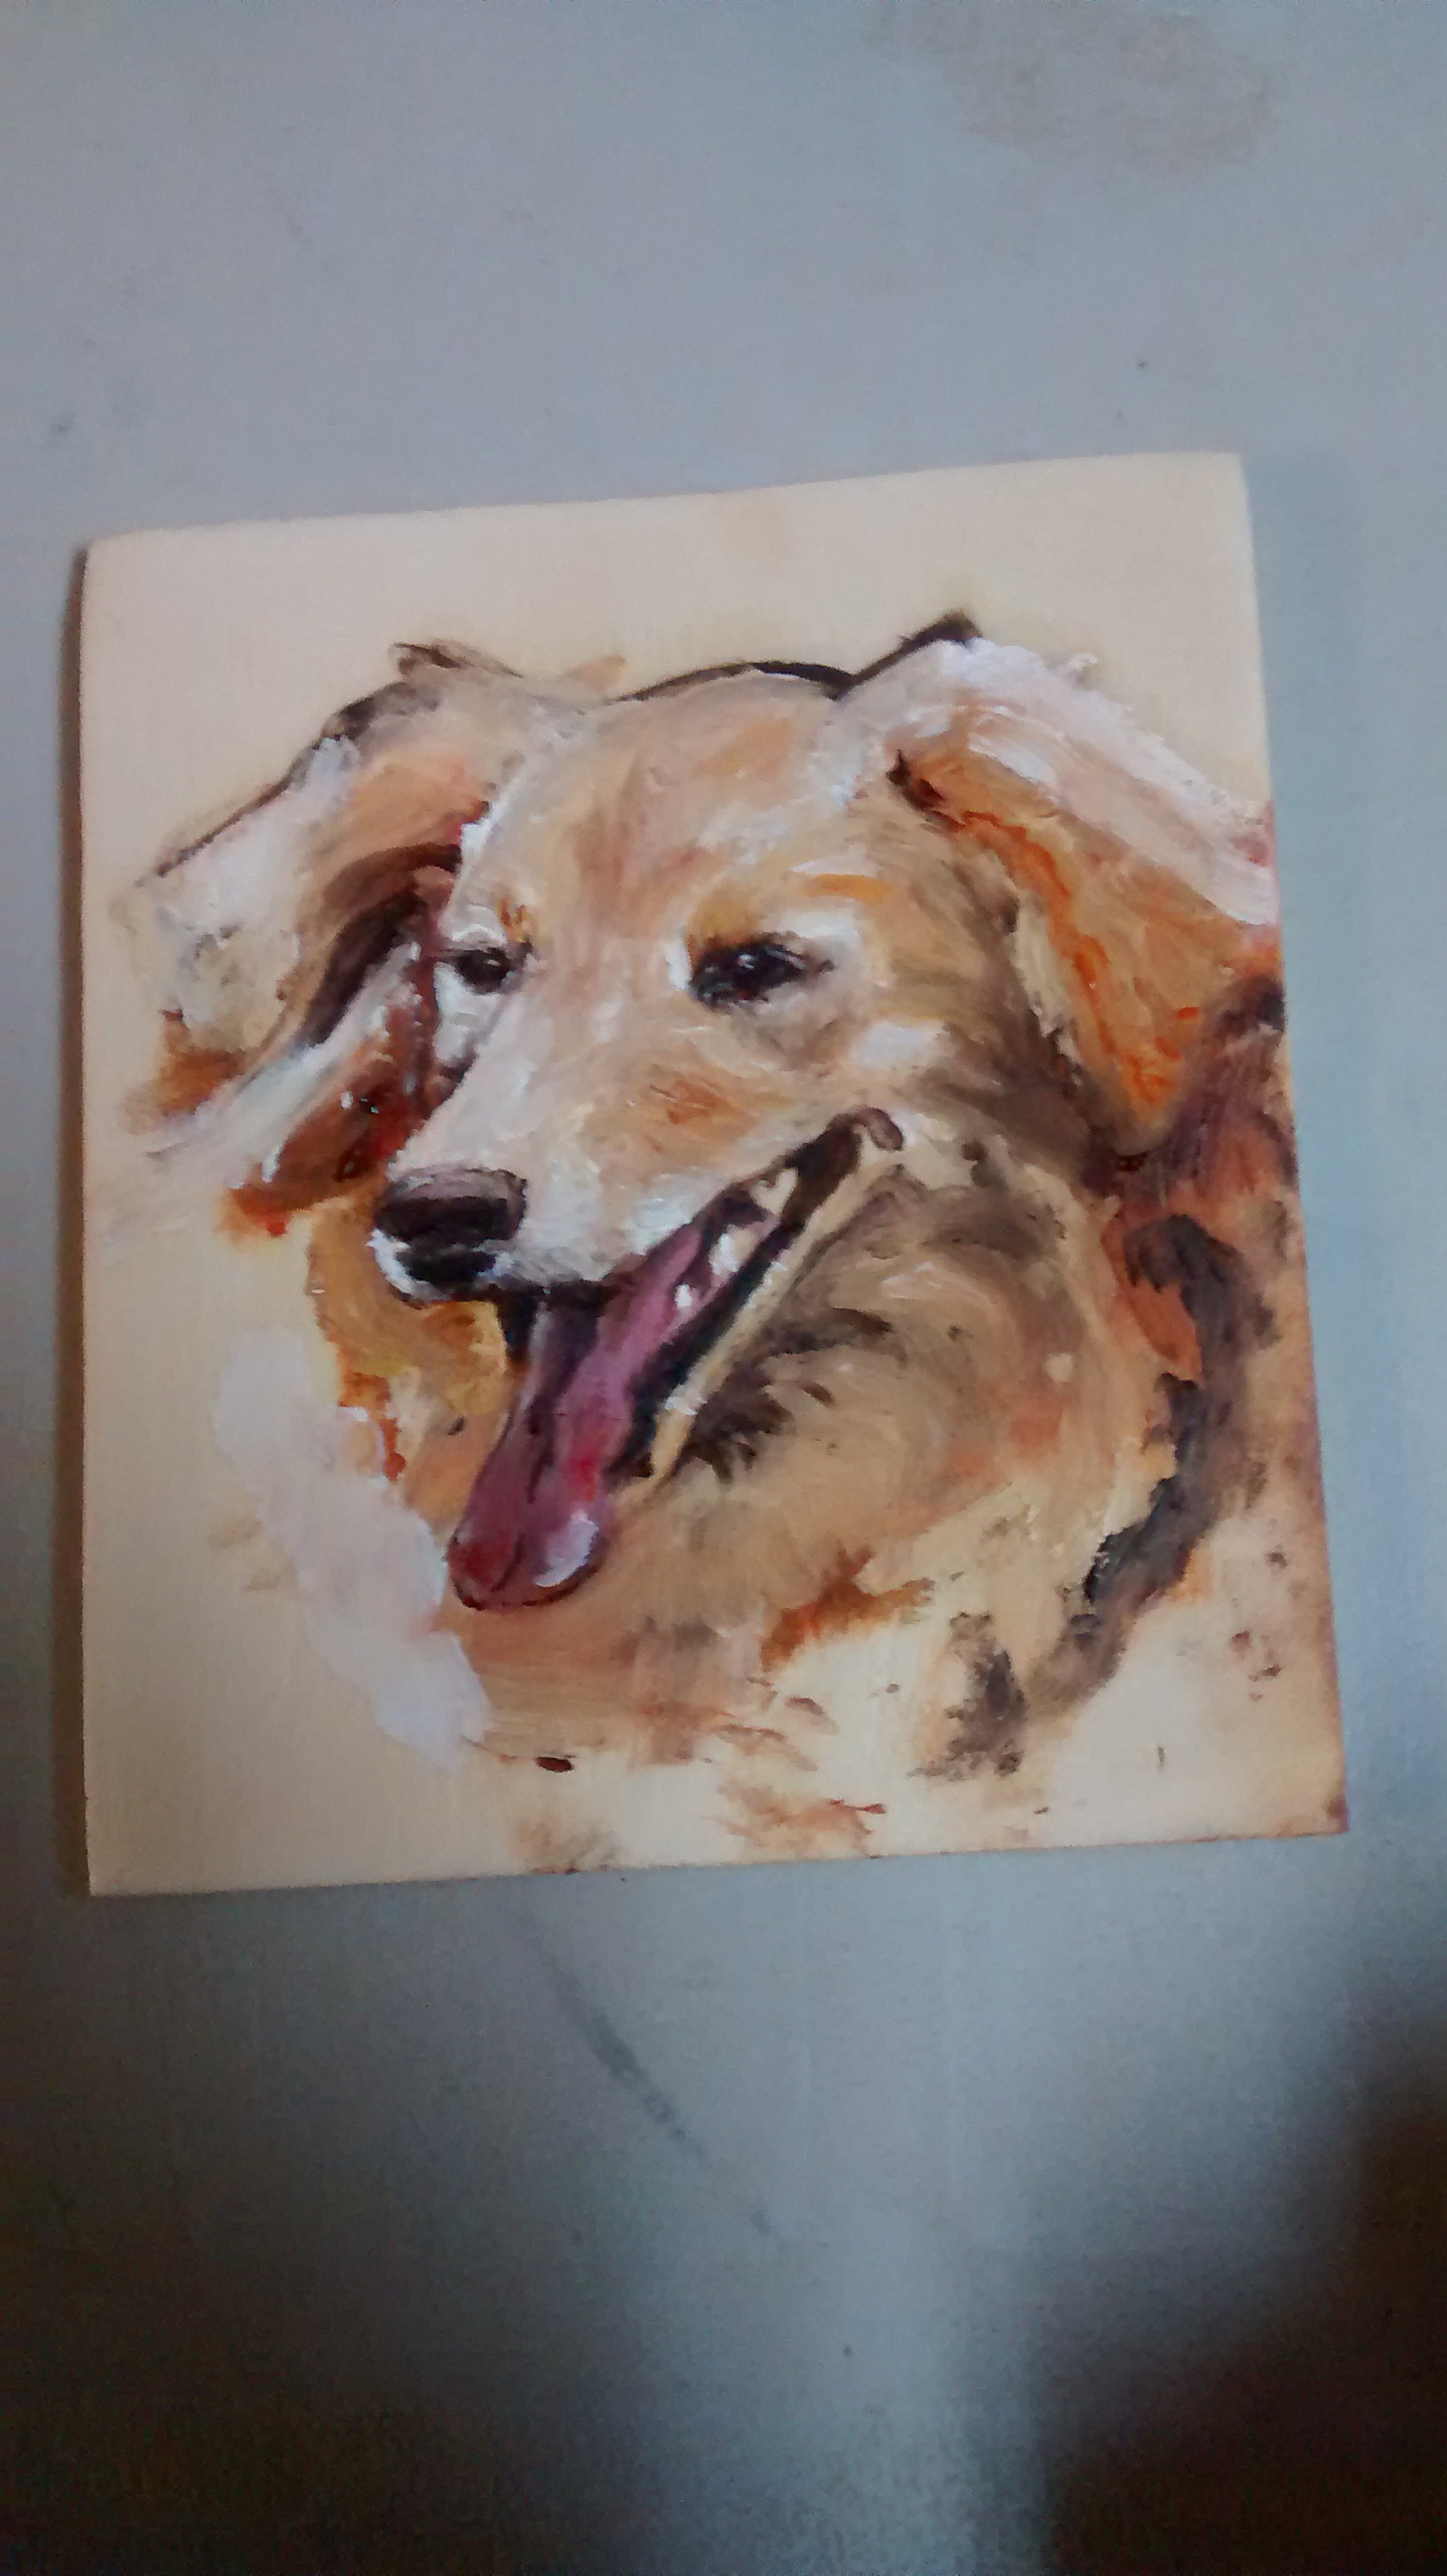
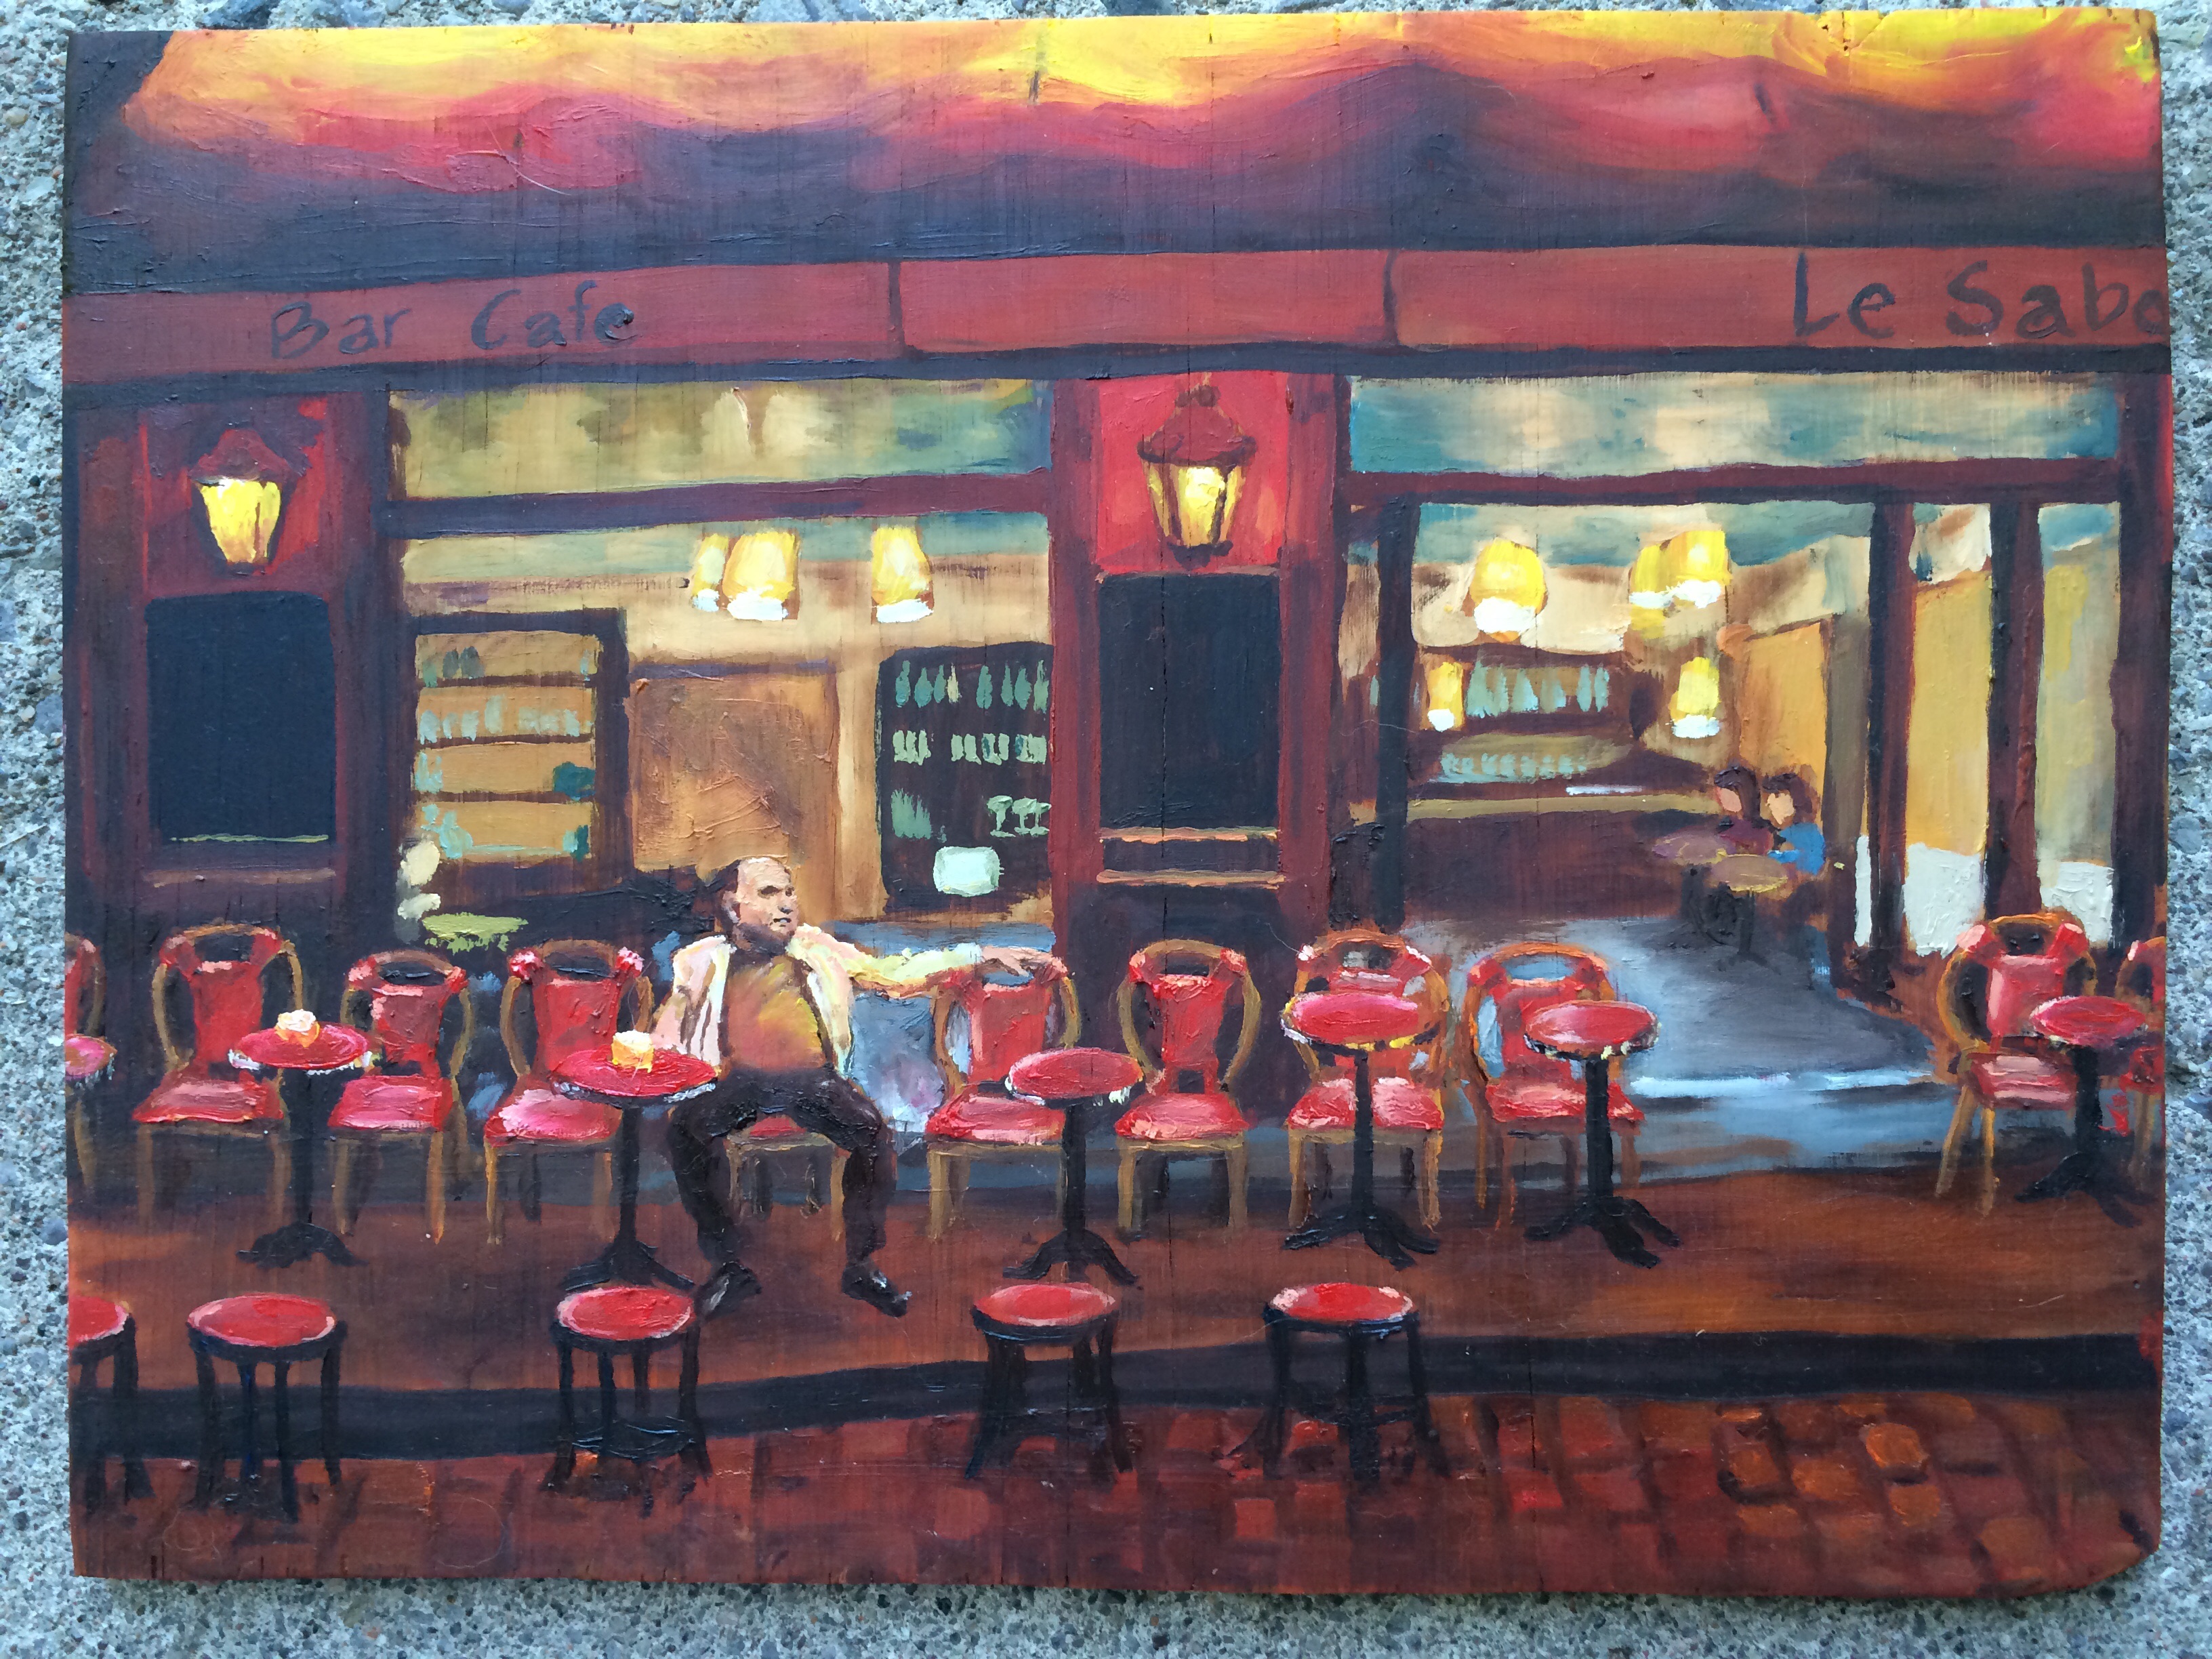
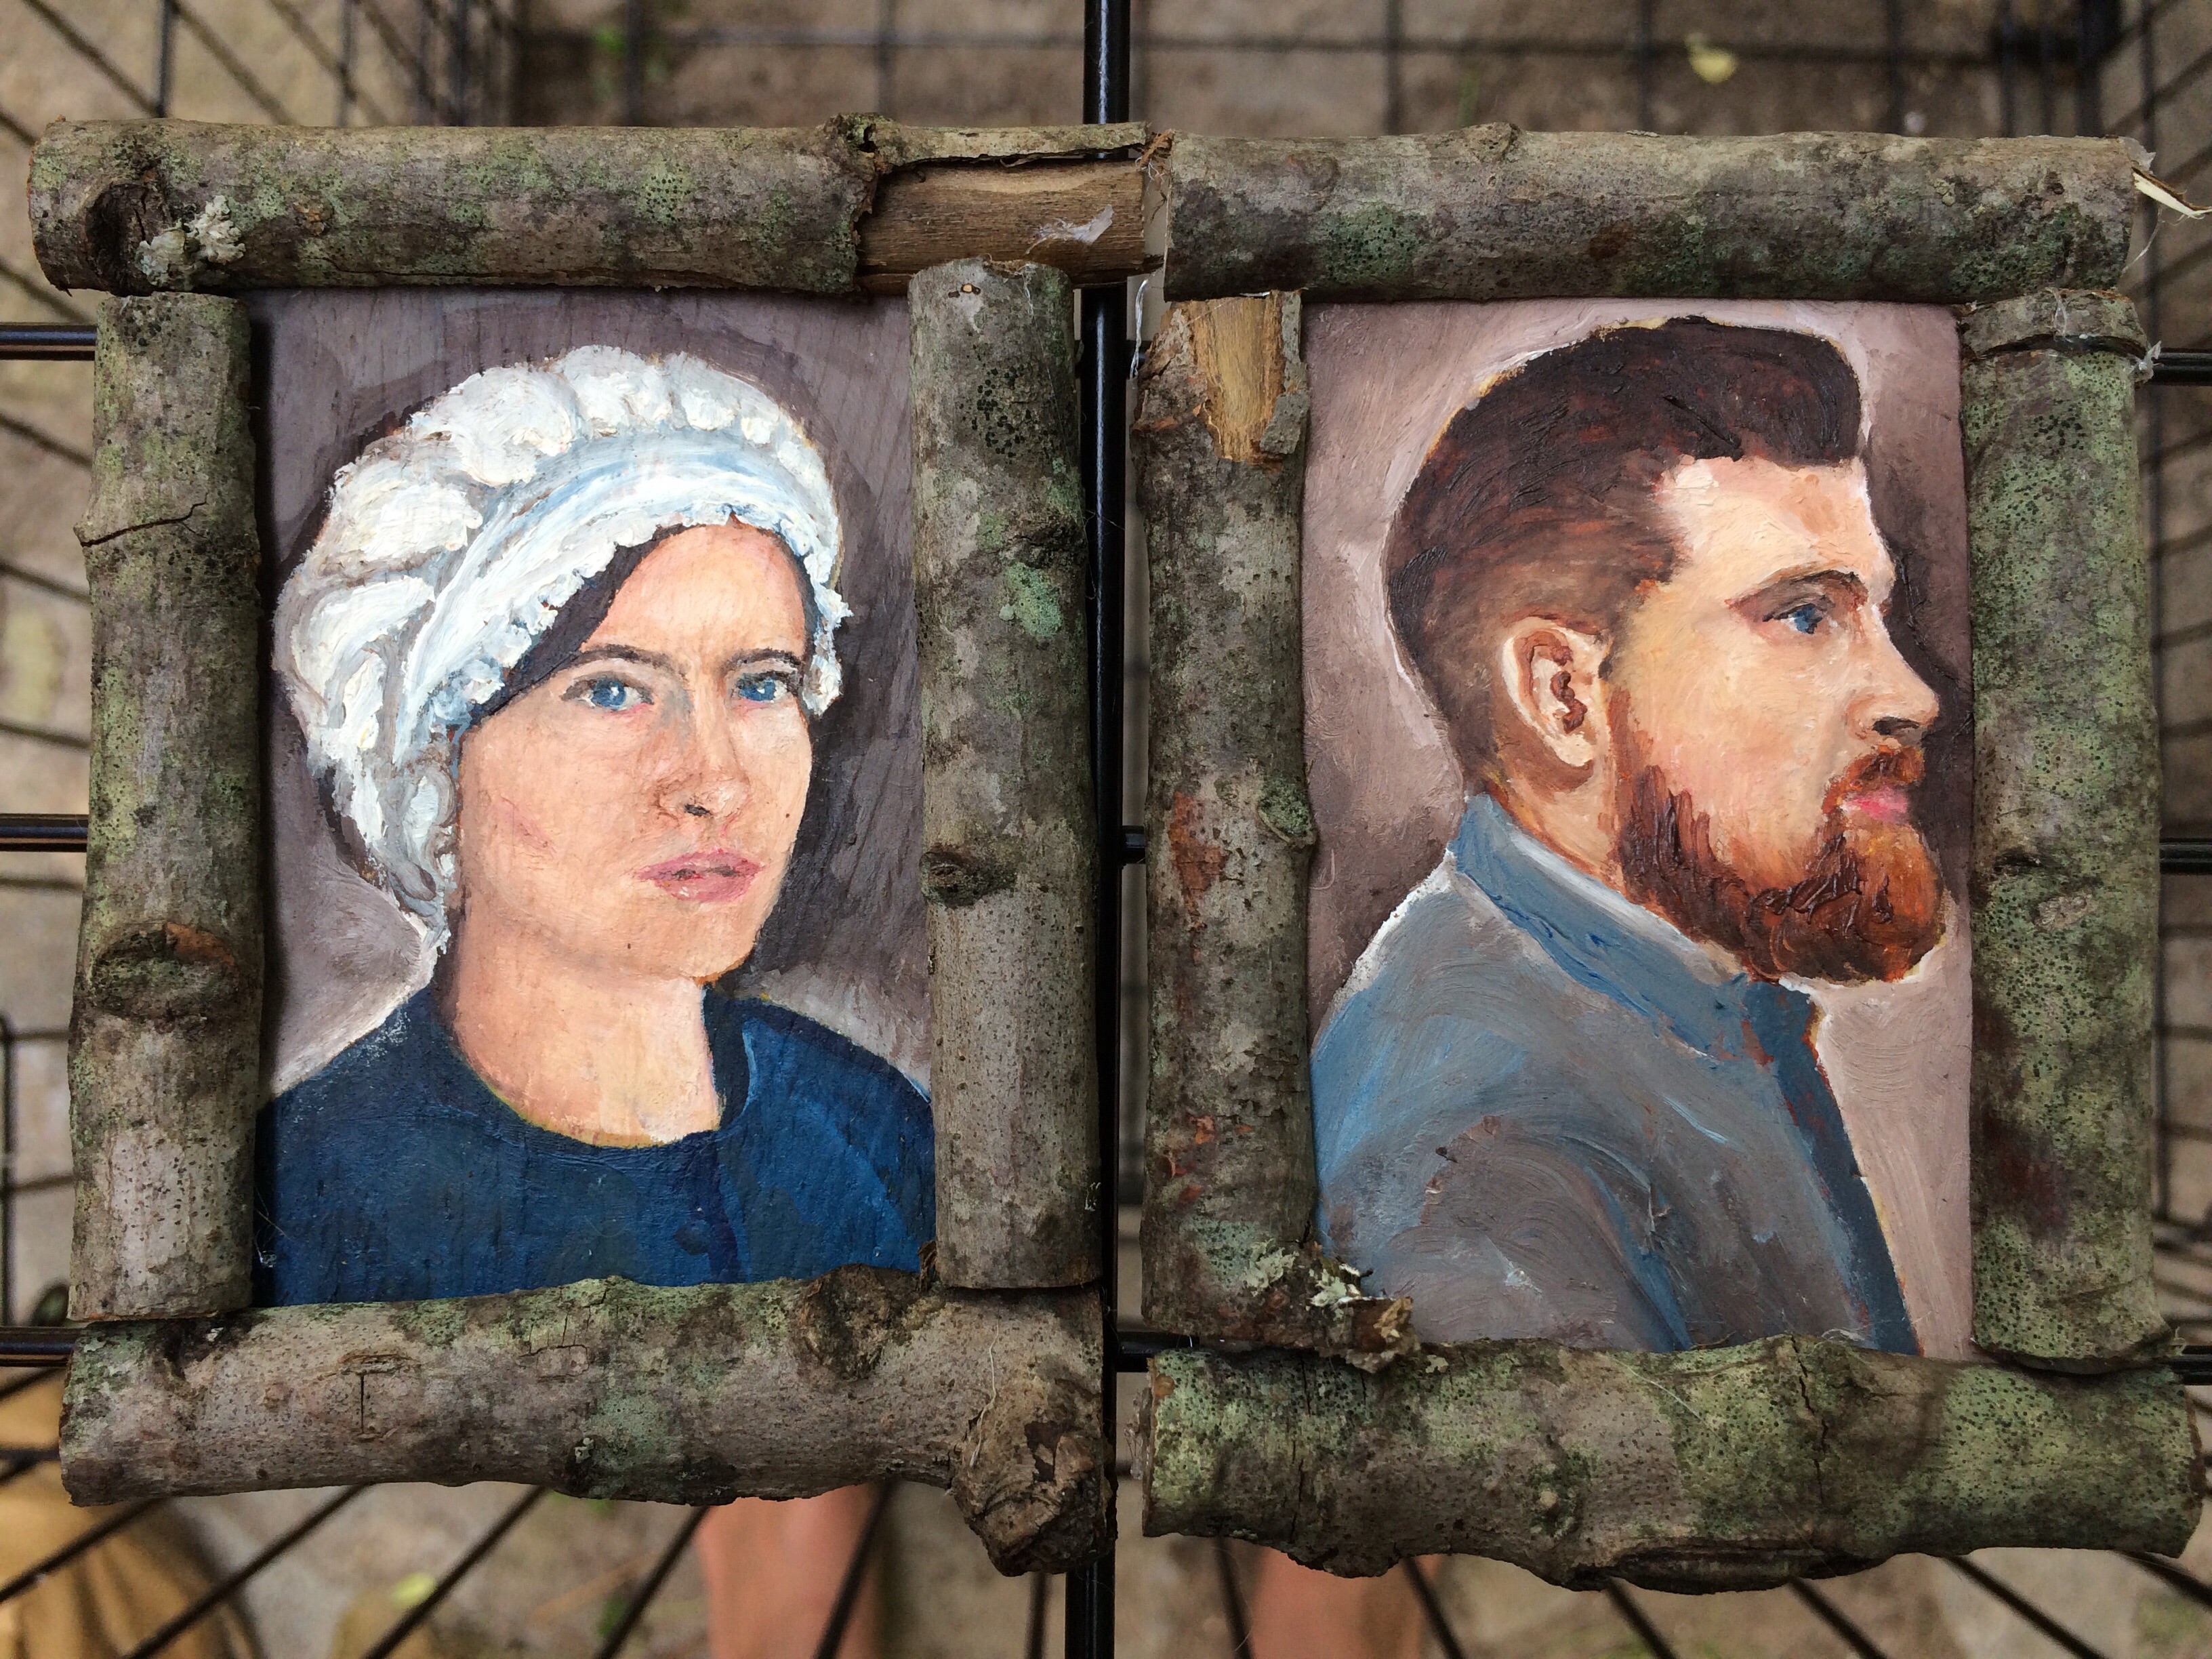
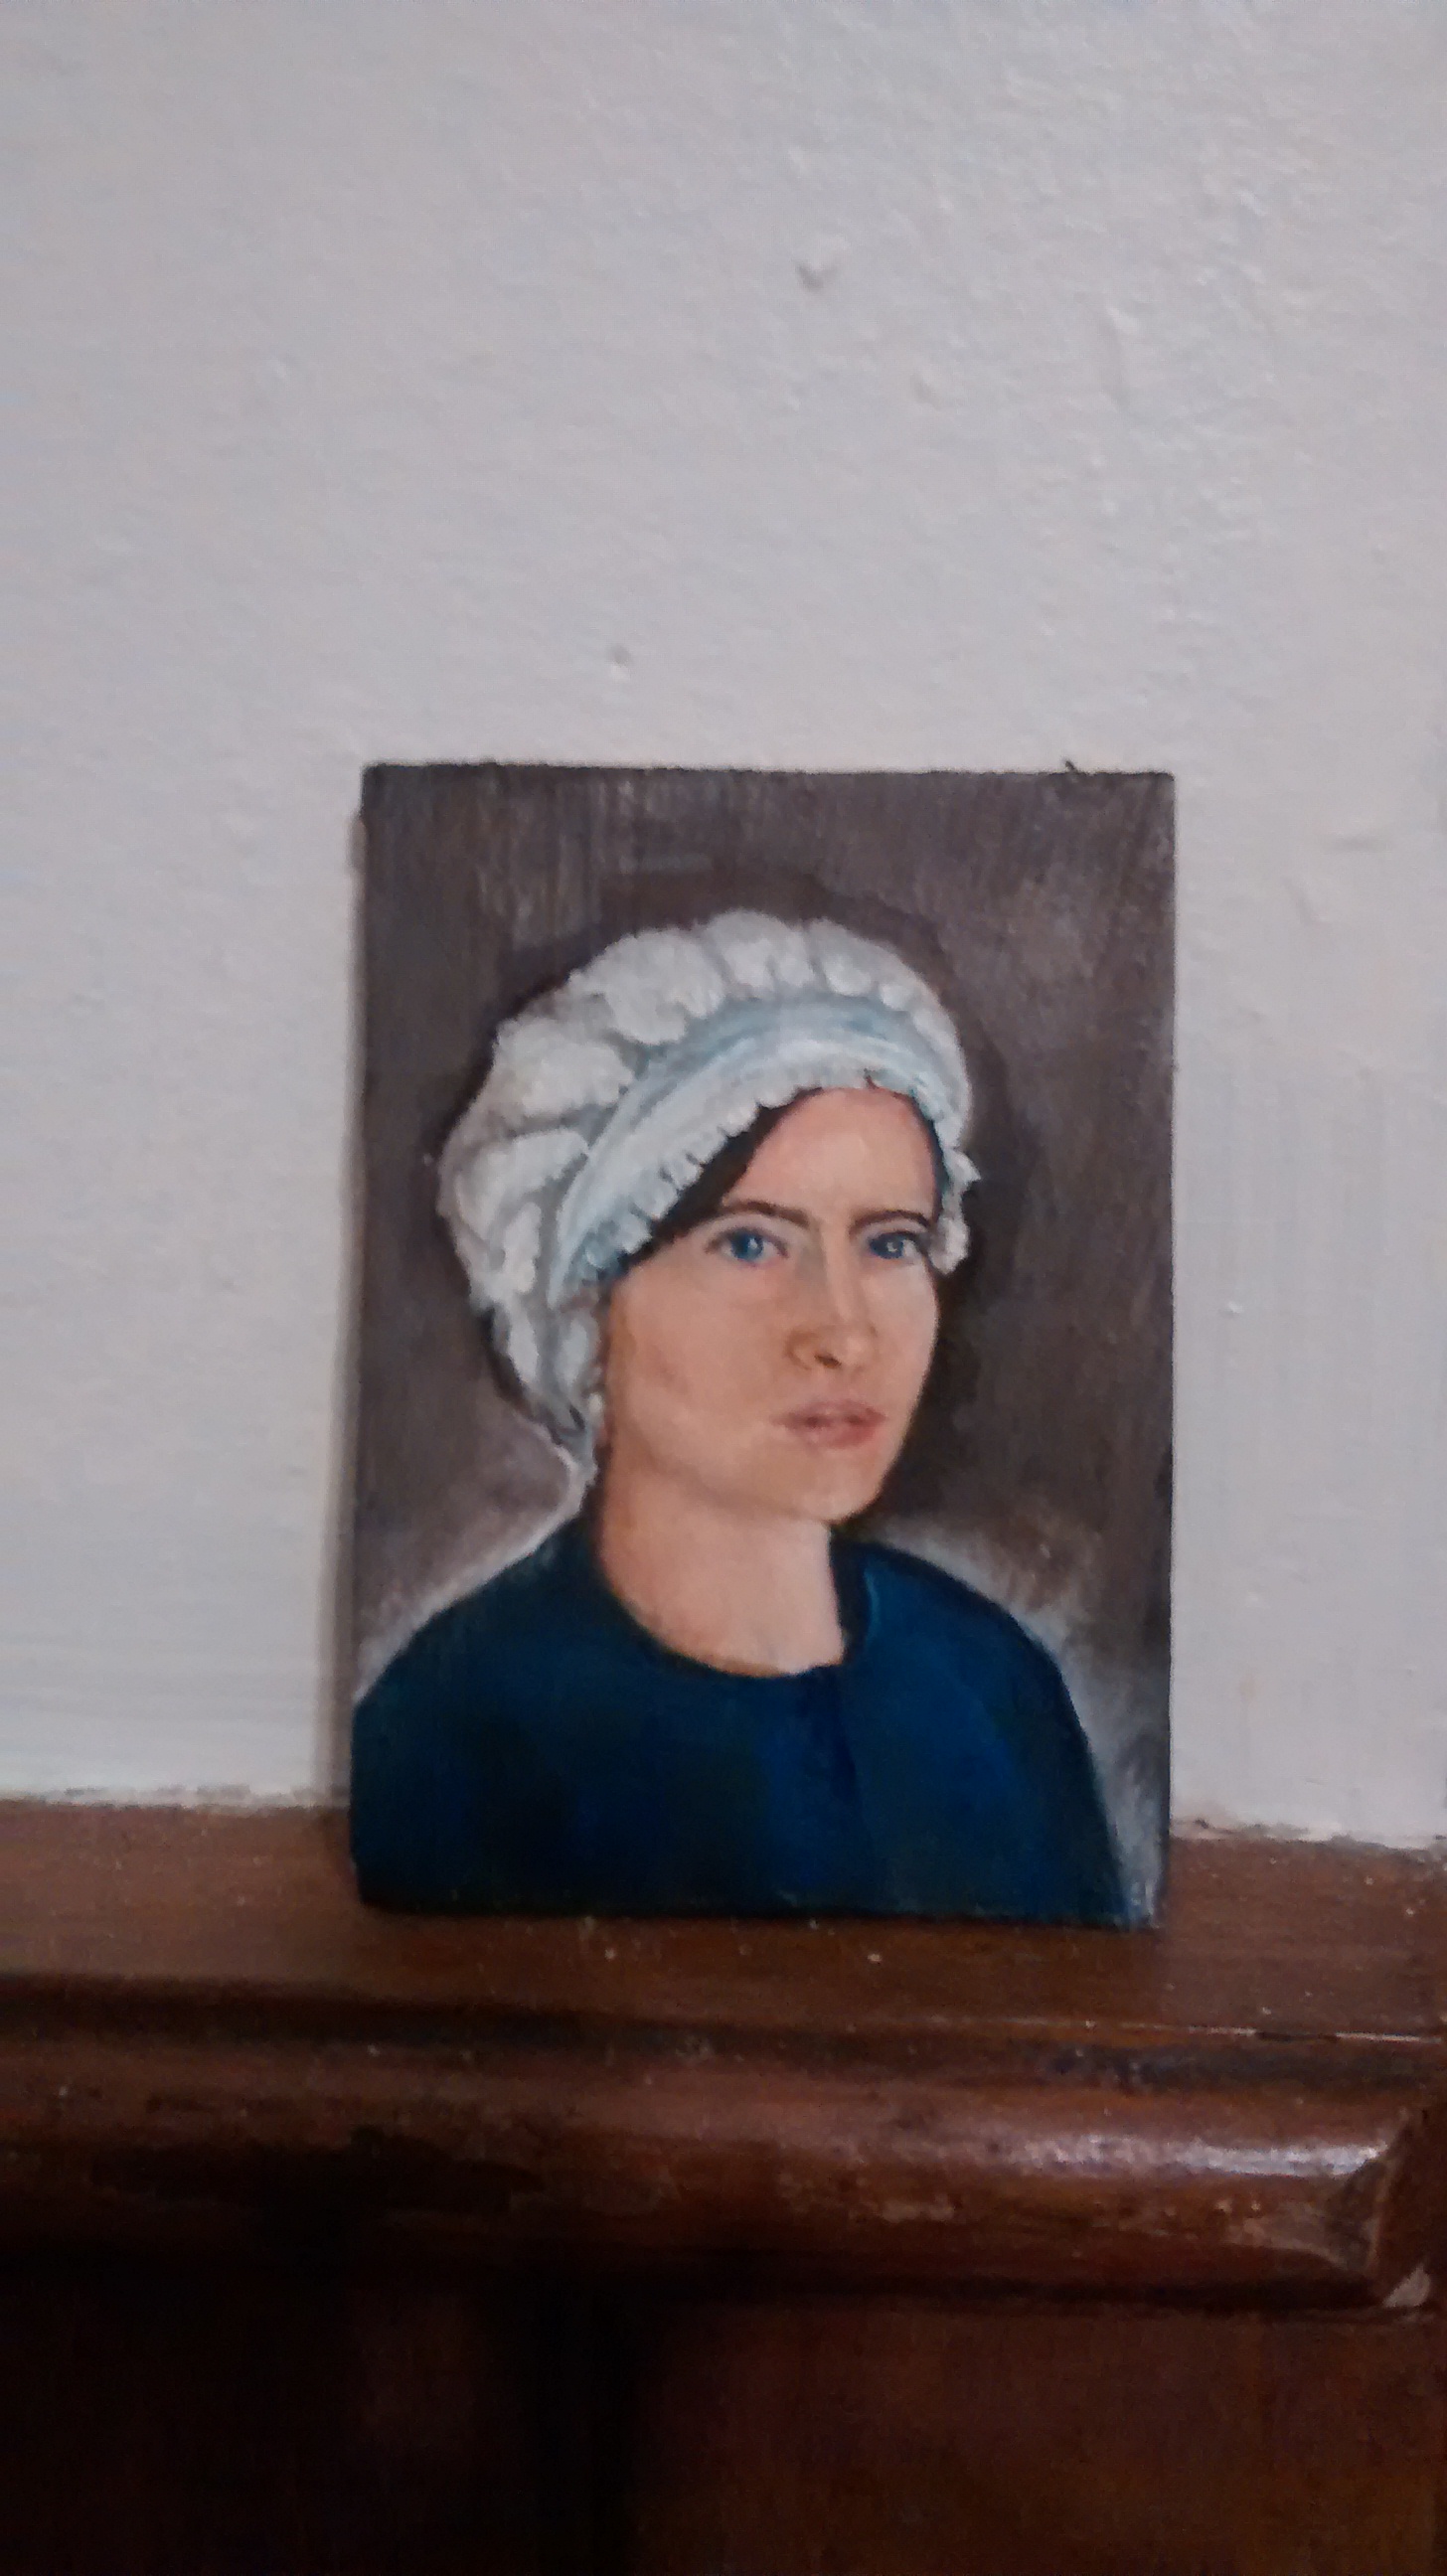
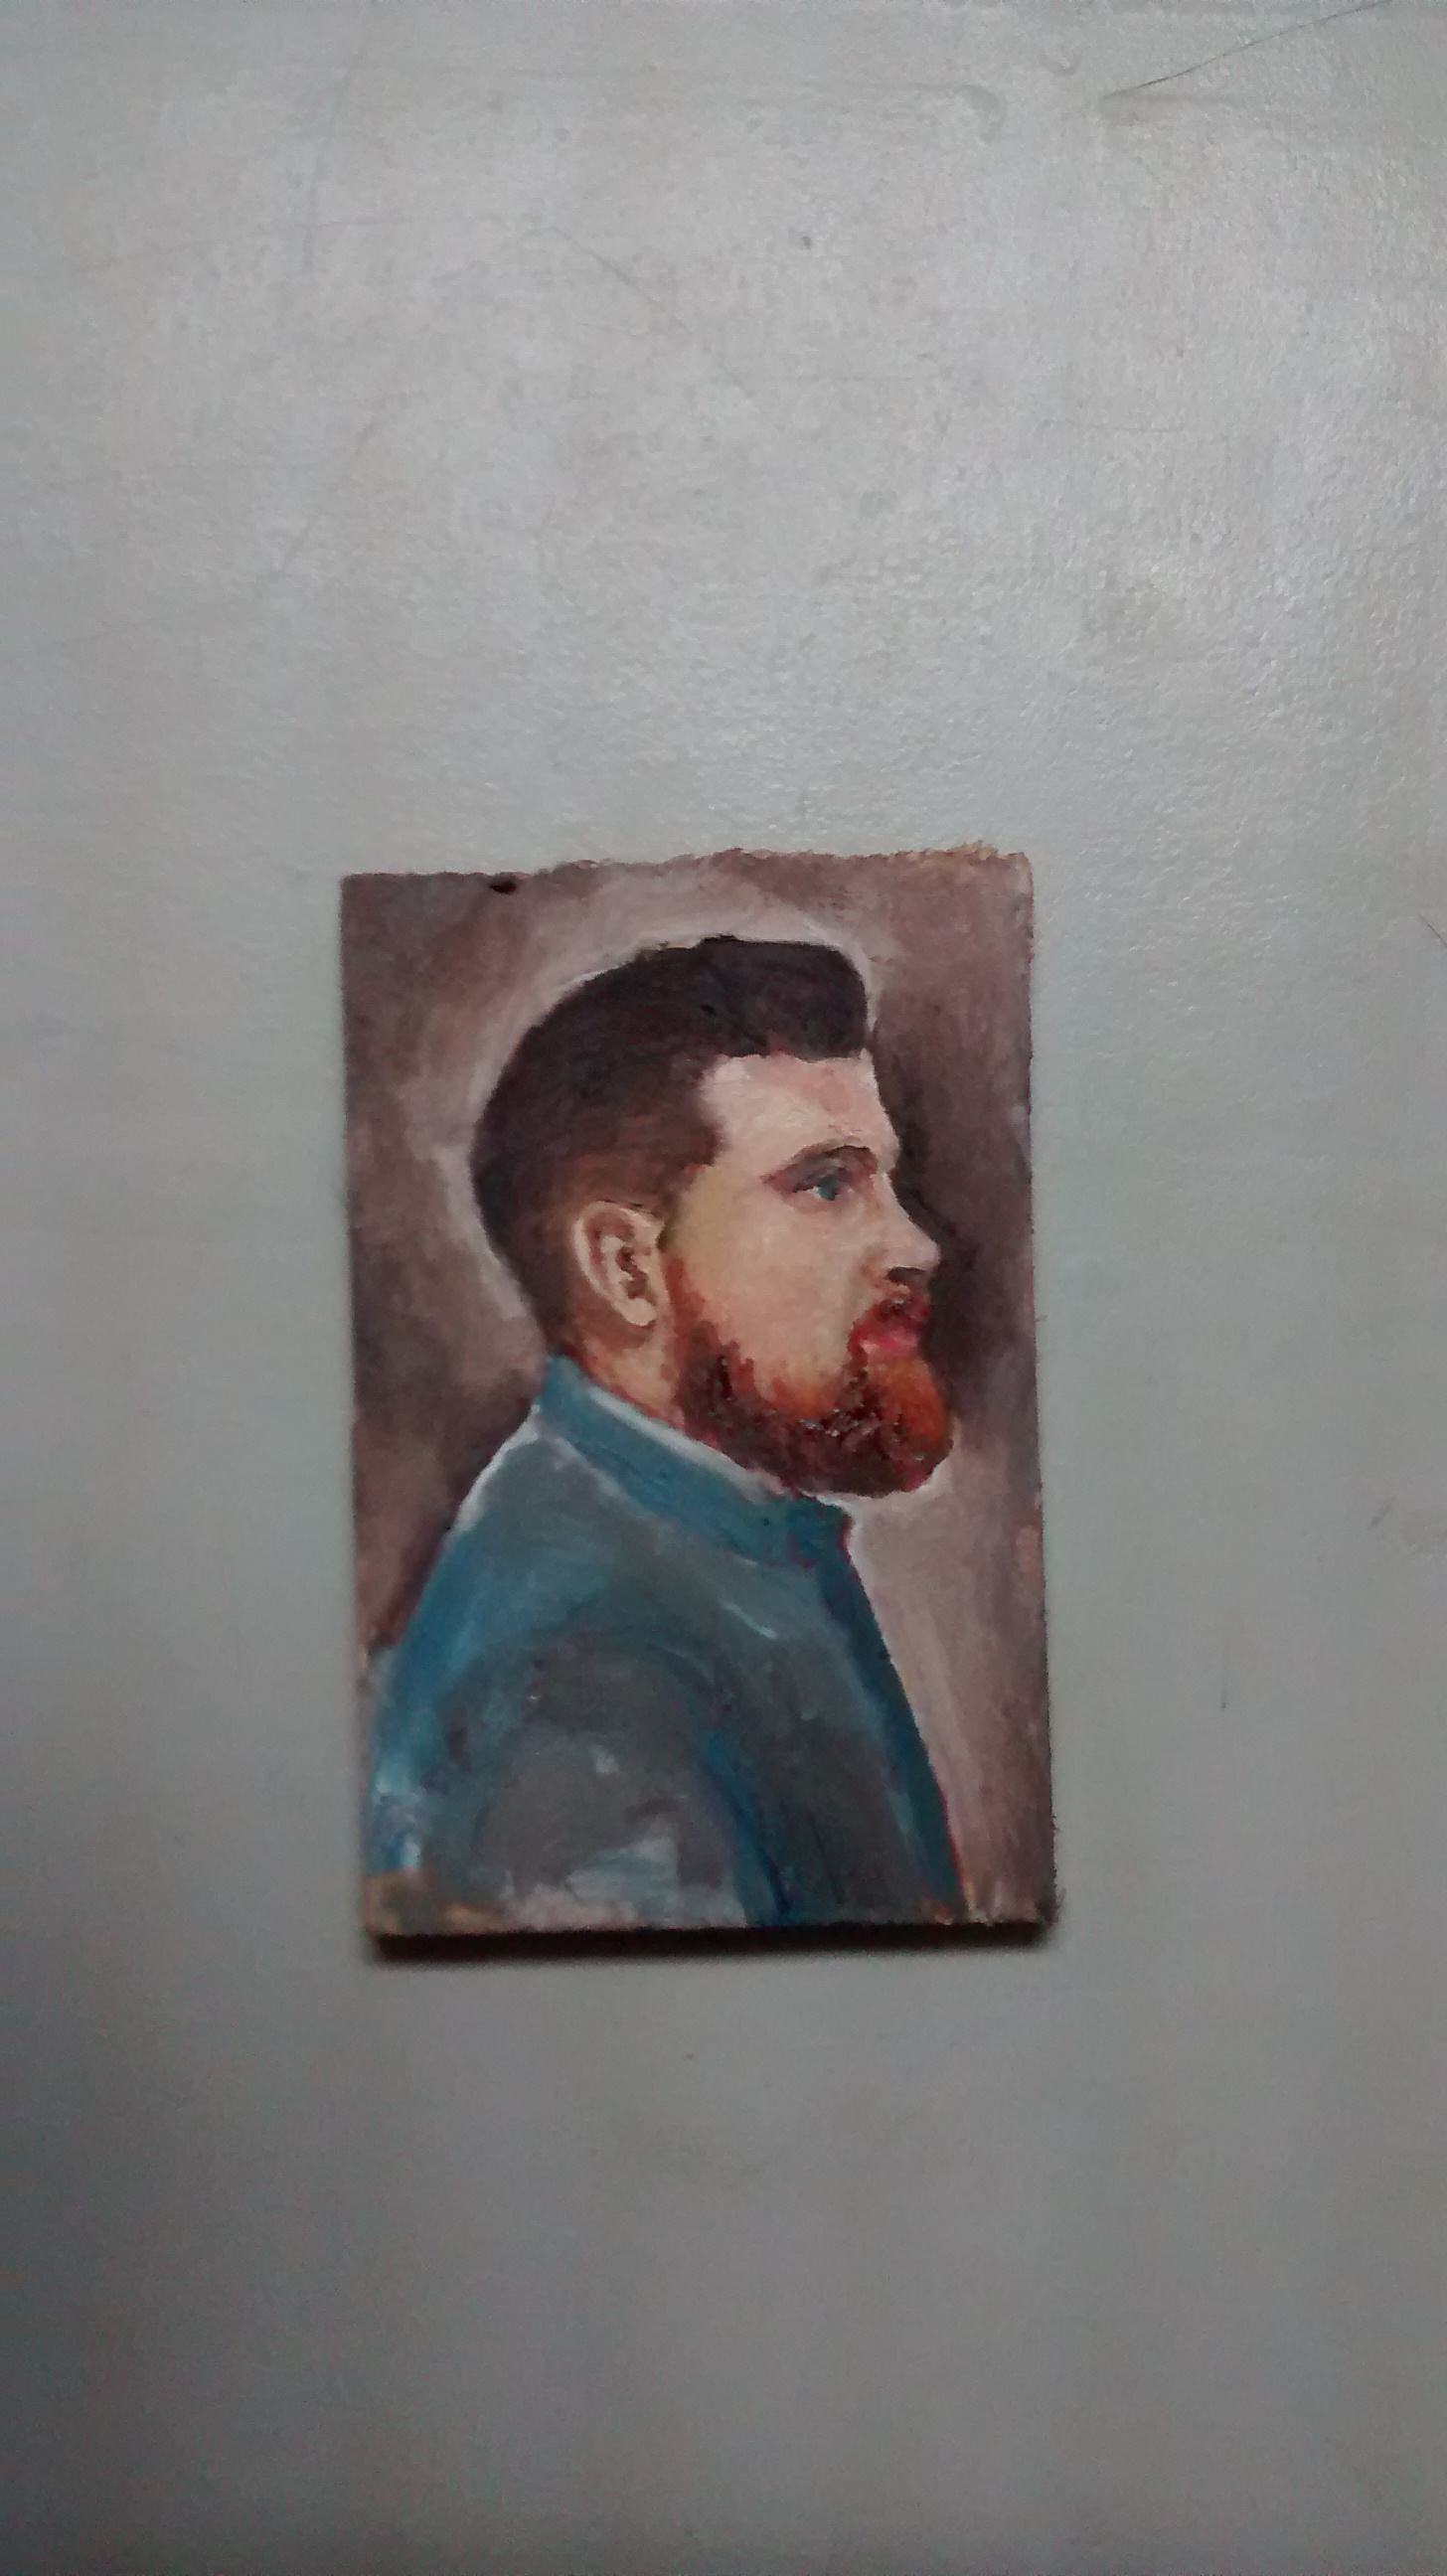
03Mar07 20501Jan31casscam 023


Mermaid Sparkle Tutu

Mermaid Sparkle TutuI made this sweet sparkly skirt as a Christmas present for Sammi.  I had been trying to figure out what to get for her when we found ourselves at a Sam Roberts concert.  The opening band was all ’90s altrock mashed in to one and too loud, but Sammi really liked the keys player’s outfit.  Specifically her top, which was a lose black shift (I think that’s what you’d call it) with rainbow sequins.

As I plugged my ears (still hearing the music perfectly clearly) I thought of how a similar shirt would probably be easy to make and totally possible before Christmas.

The inspiration.The next week I set out to fabricland with mom to scout out fabric options.  There wasn’t really fabric like what I was looking for, although there was a nice pink/pale rainbow one that I thought might do.  There was, however (yes biology students, this is when you use “however”, not just randomly when you want to sound ‘smart’), a sparkly mesh that caught my eye.  We didn’t buy anything that day, but the crinoline crazy stuff stayed in my brain.  I went back in a festive mania and bought the sequins, two colours of sparkle crinoline and a generic crinoline (in case I needed more volume).  Everyone else was festive at the store too and many people asked me about my project, and were shocked (ish) that I had no real plan.


image

I consulted some online tutorials and made a mental plan.  Tonnes of sparkles came off of the crazy fabric. The cats couldn’t stop themselves from helping at all stages.  I started with about 3m of the aqua, folding it over and basting.  Then I made wide square pleats in it and sewed again.  I then sectioned the 1m of blue-green and sewed it in to one long hoop and added

that to the aqua loop.Mess'o'sparkles01Jan09 12901Jan09 119kitten getting in to things/another helper01Jan09 12701Jan09 125

I figured out the basic size of the waistband to get over some hips and made it out of some scrap that as Testing the waistband
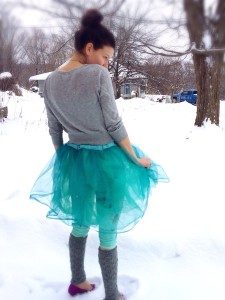
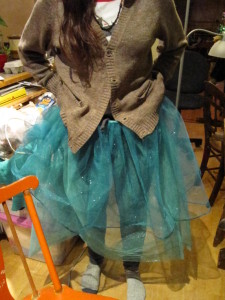
literally lying around.  It turned out to be pretty much the perfect colour. I gathered and sewed, then inserted some elastic.  I put that badboy on the judy and pulled up sections, sewing them in place by hand.  this provided a good amount of volume for the skirt.


It all turned out pretty cool.  There was plenty of fabric that I didn’t even touch, which I gave with the present.  There will be another sparkle project…Grey, admiring the skirt from beneath

image


The final product. Yay!!


Weekend knitting retreat

IMG_9709September, 2014

At some point, Sammi decided that we all needed a little retreat.  She had been looking at Air B&B for places to stay while she did a class at Haliburton School of the Arts and, deciding that cottages might not work out for that purpose, chose one that might be nice for us to go to.  IMG_9237

Being the people that we are, and knowing that at least part of the point of of going to a cottage is to be bored, we decided to bring crafting projects along with us.  I (cassie) had recently finished my yellow/green shawl and Sammi had knit one super fast.  Mom was also looking for a project the she could make with some “art wool” for the speavers (Peterborough Hand Weavers and Spinners Guild).image

Candace bought wool before the trip because she wanted to try out the shawl pattern too.  One day we went to a wool shop while in Halliburton and Sammi couldn’t resist, but buy some wool to make a second one. Her shawl started at the cottage was obviously finished before anyone else’s.  So everyone worked on the shawl pattern.

image
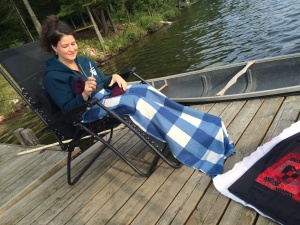
Anyway, the cottage was sweet and just enough space for us.  We did all of the cottage-y things available to us: canoe with a hole, paddle boat that went in circles, walk to natural pond where we touched small creatures…10Oct31 164there was even a nice platform by the water where we had a few yoga sessions.  Mostly we ate and worked on our projects.  The shawl pattern is great because it works with all types of wool, giving a different but IMG_9287
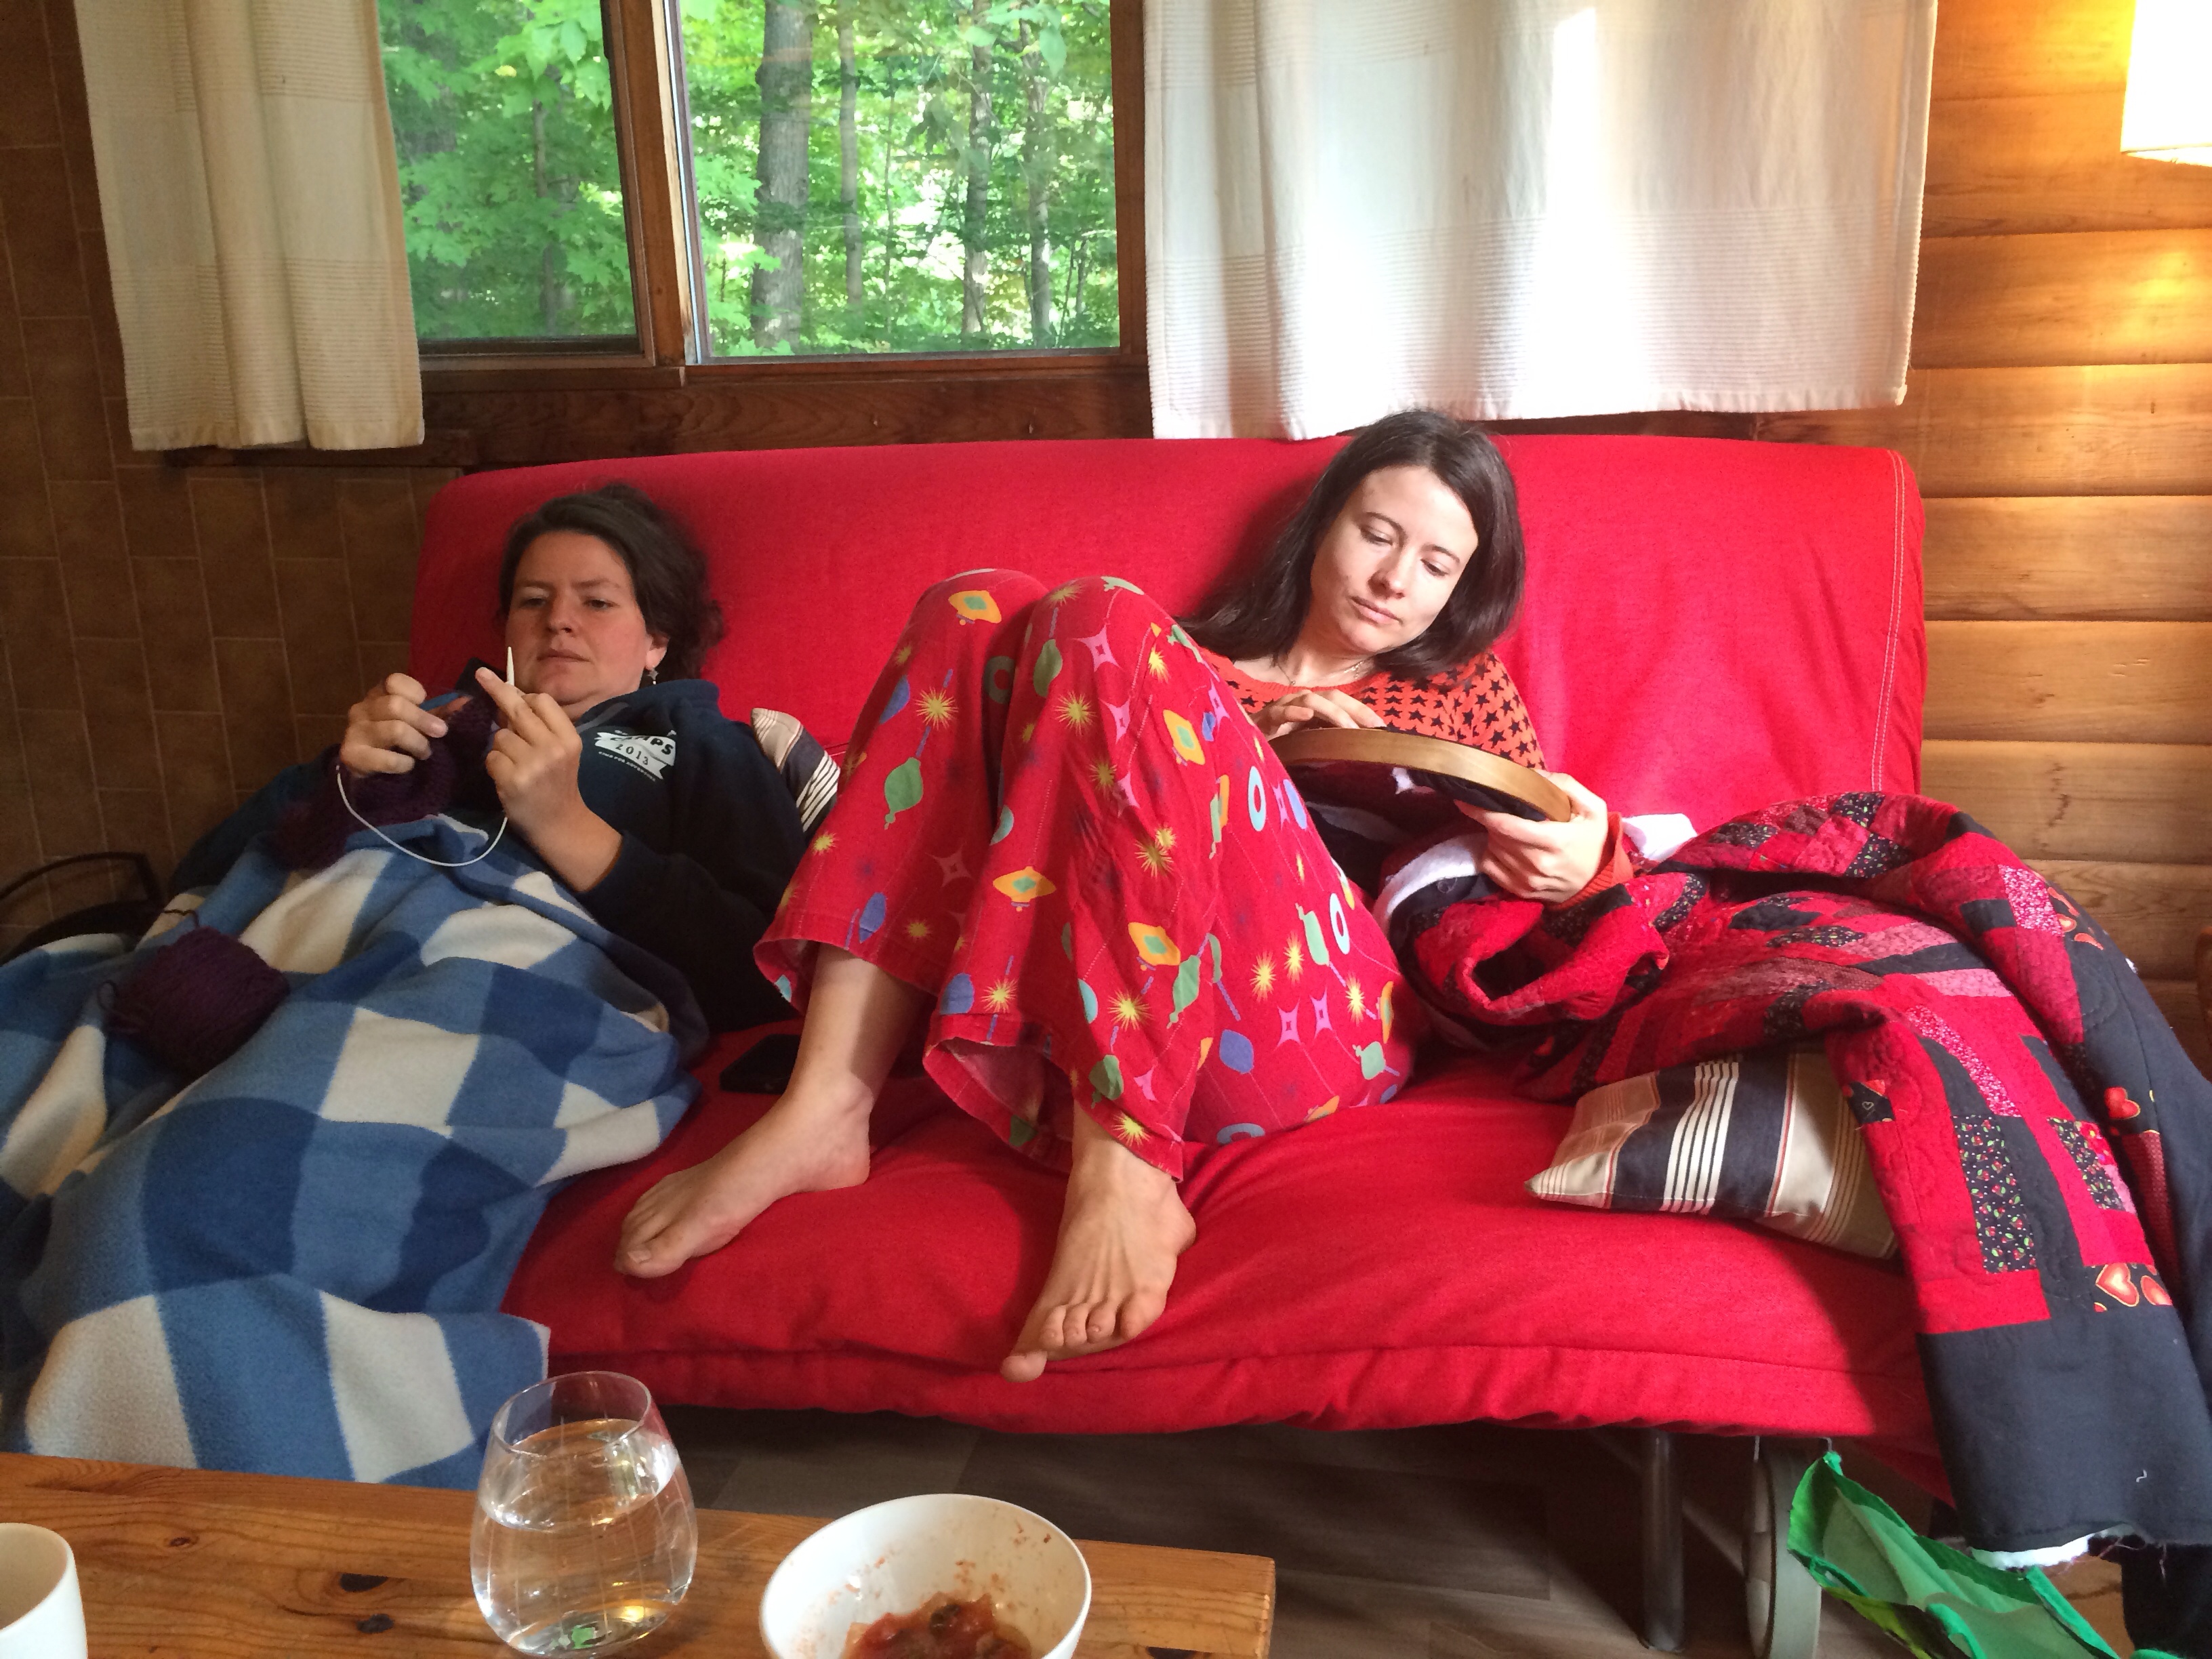
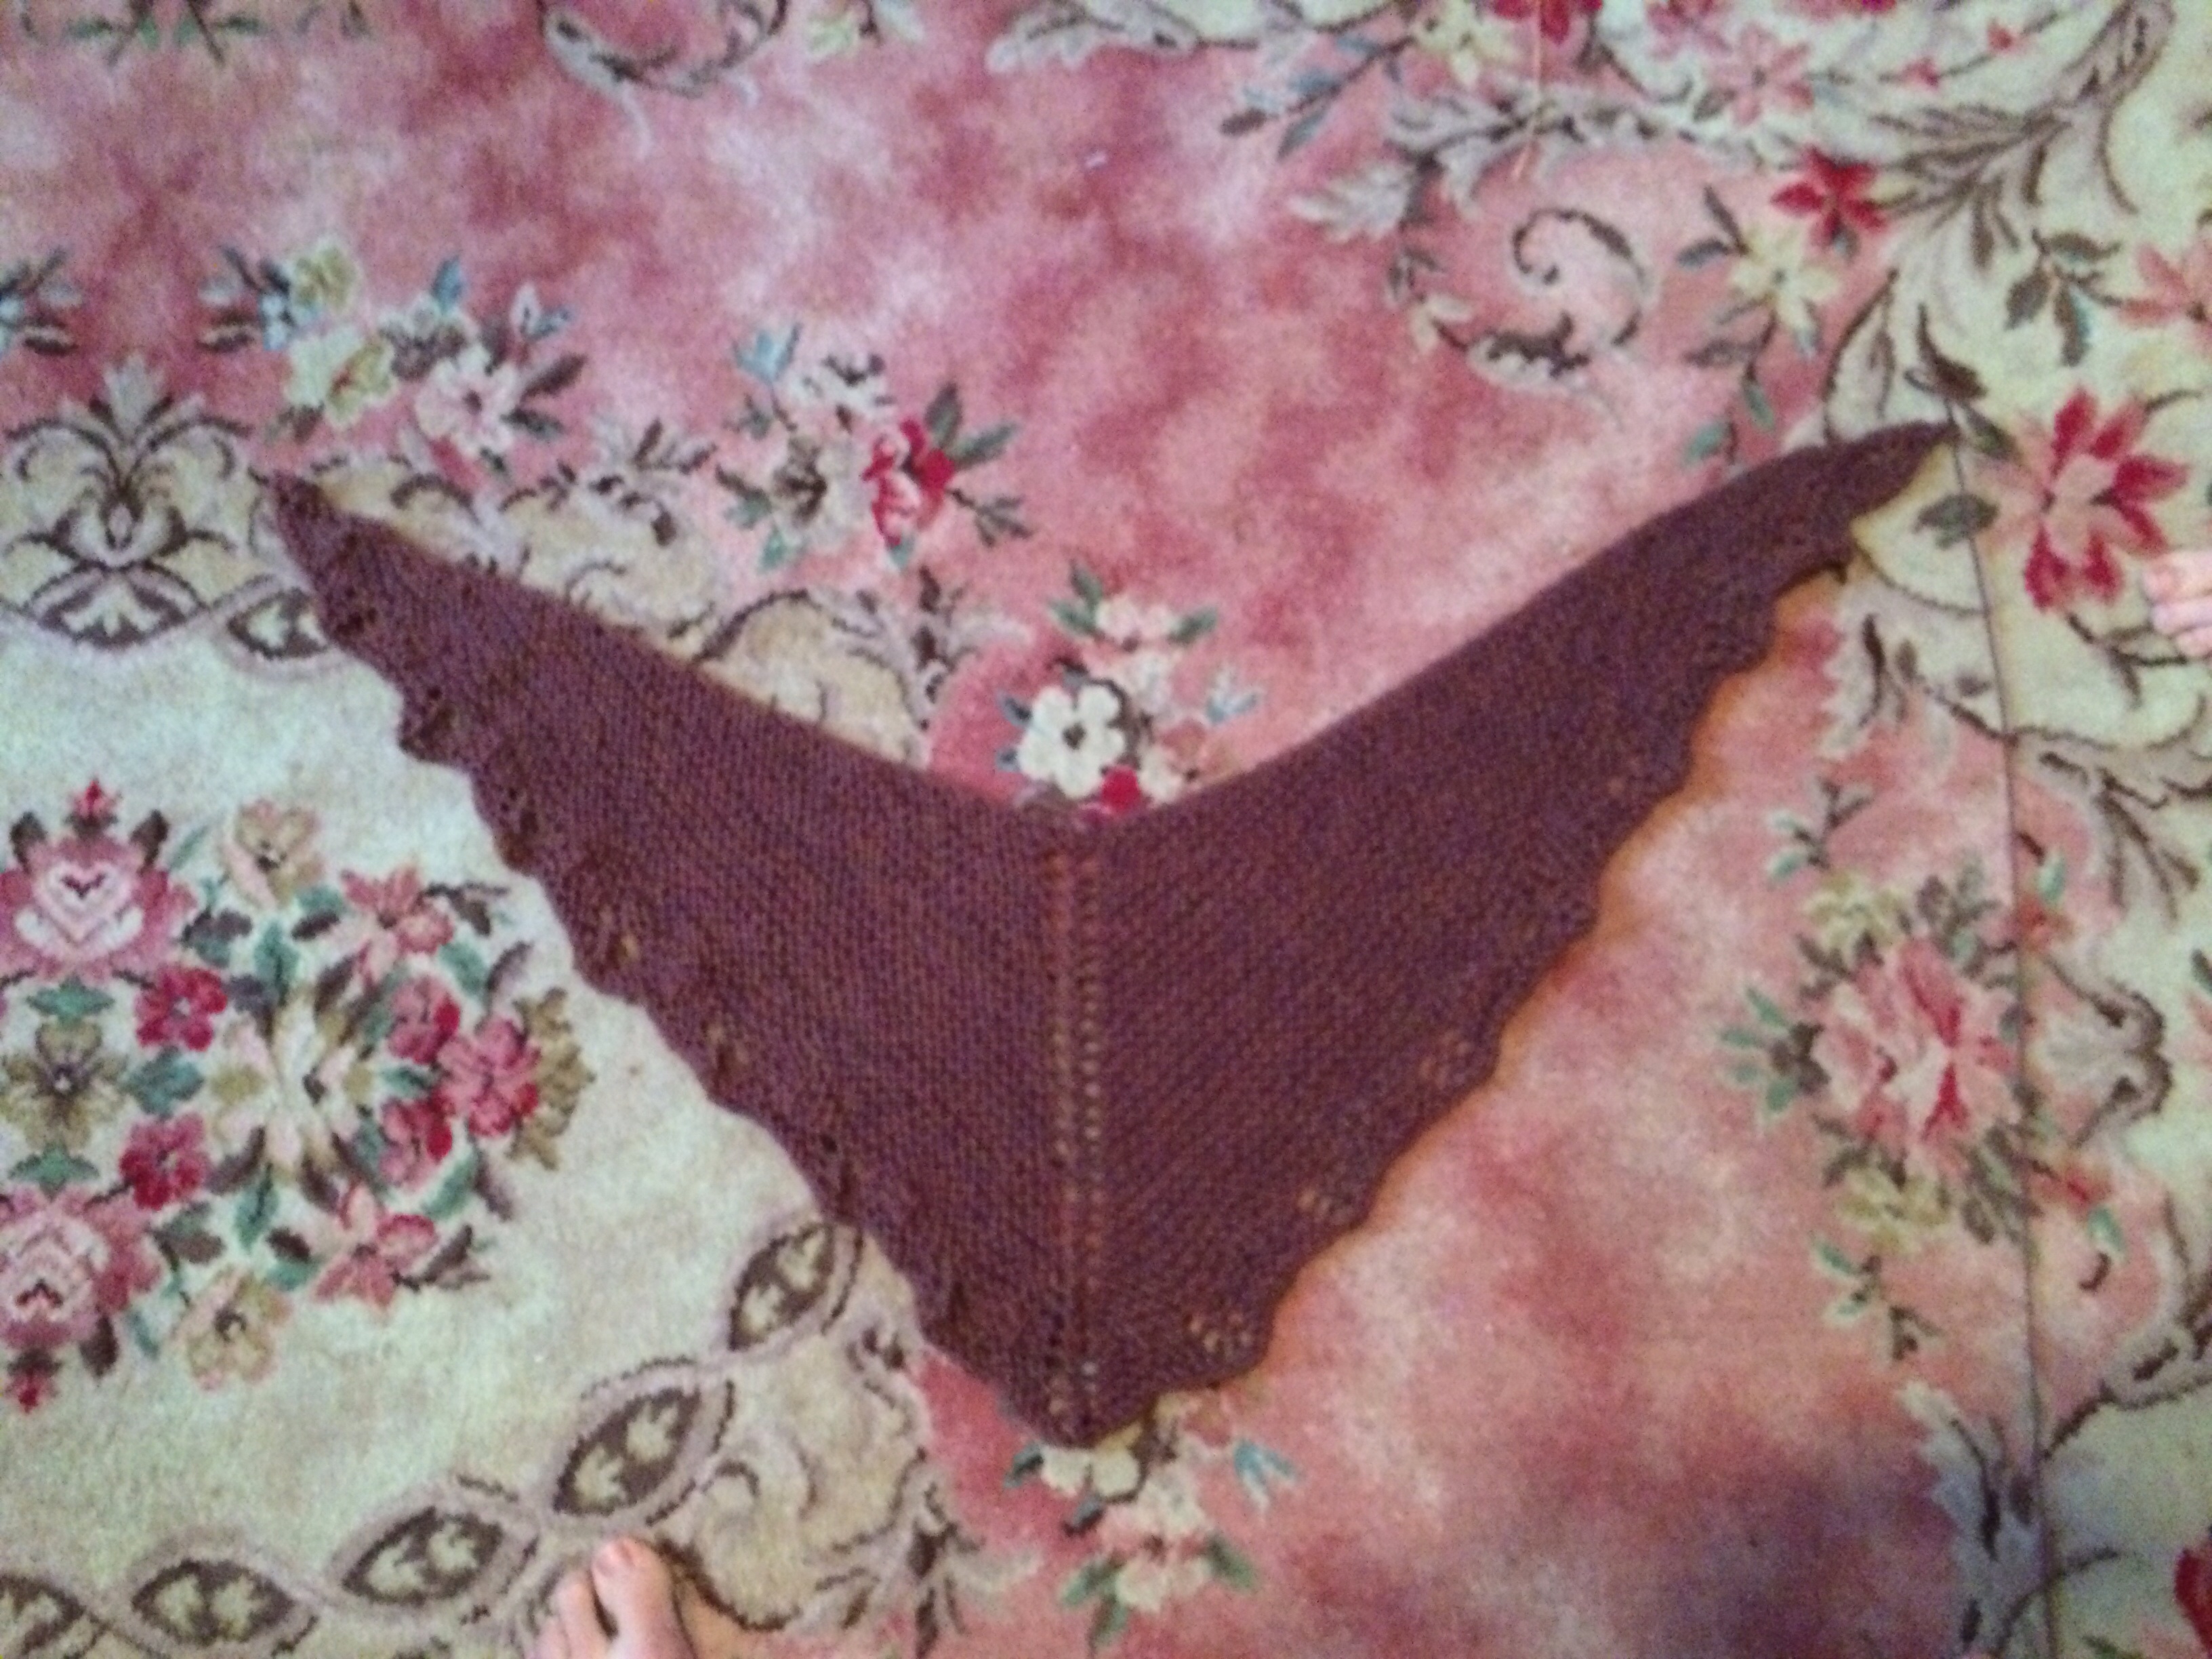
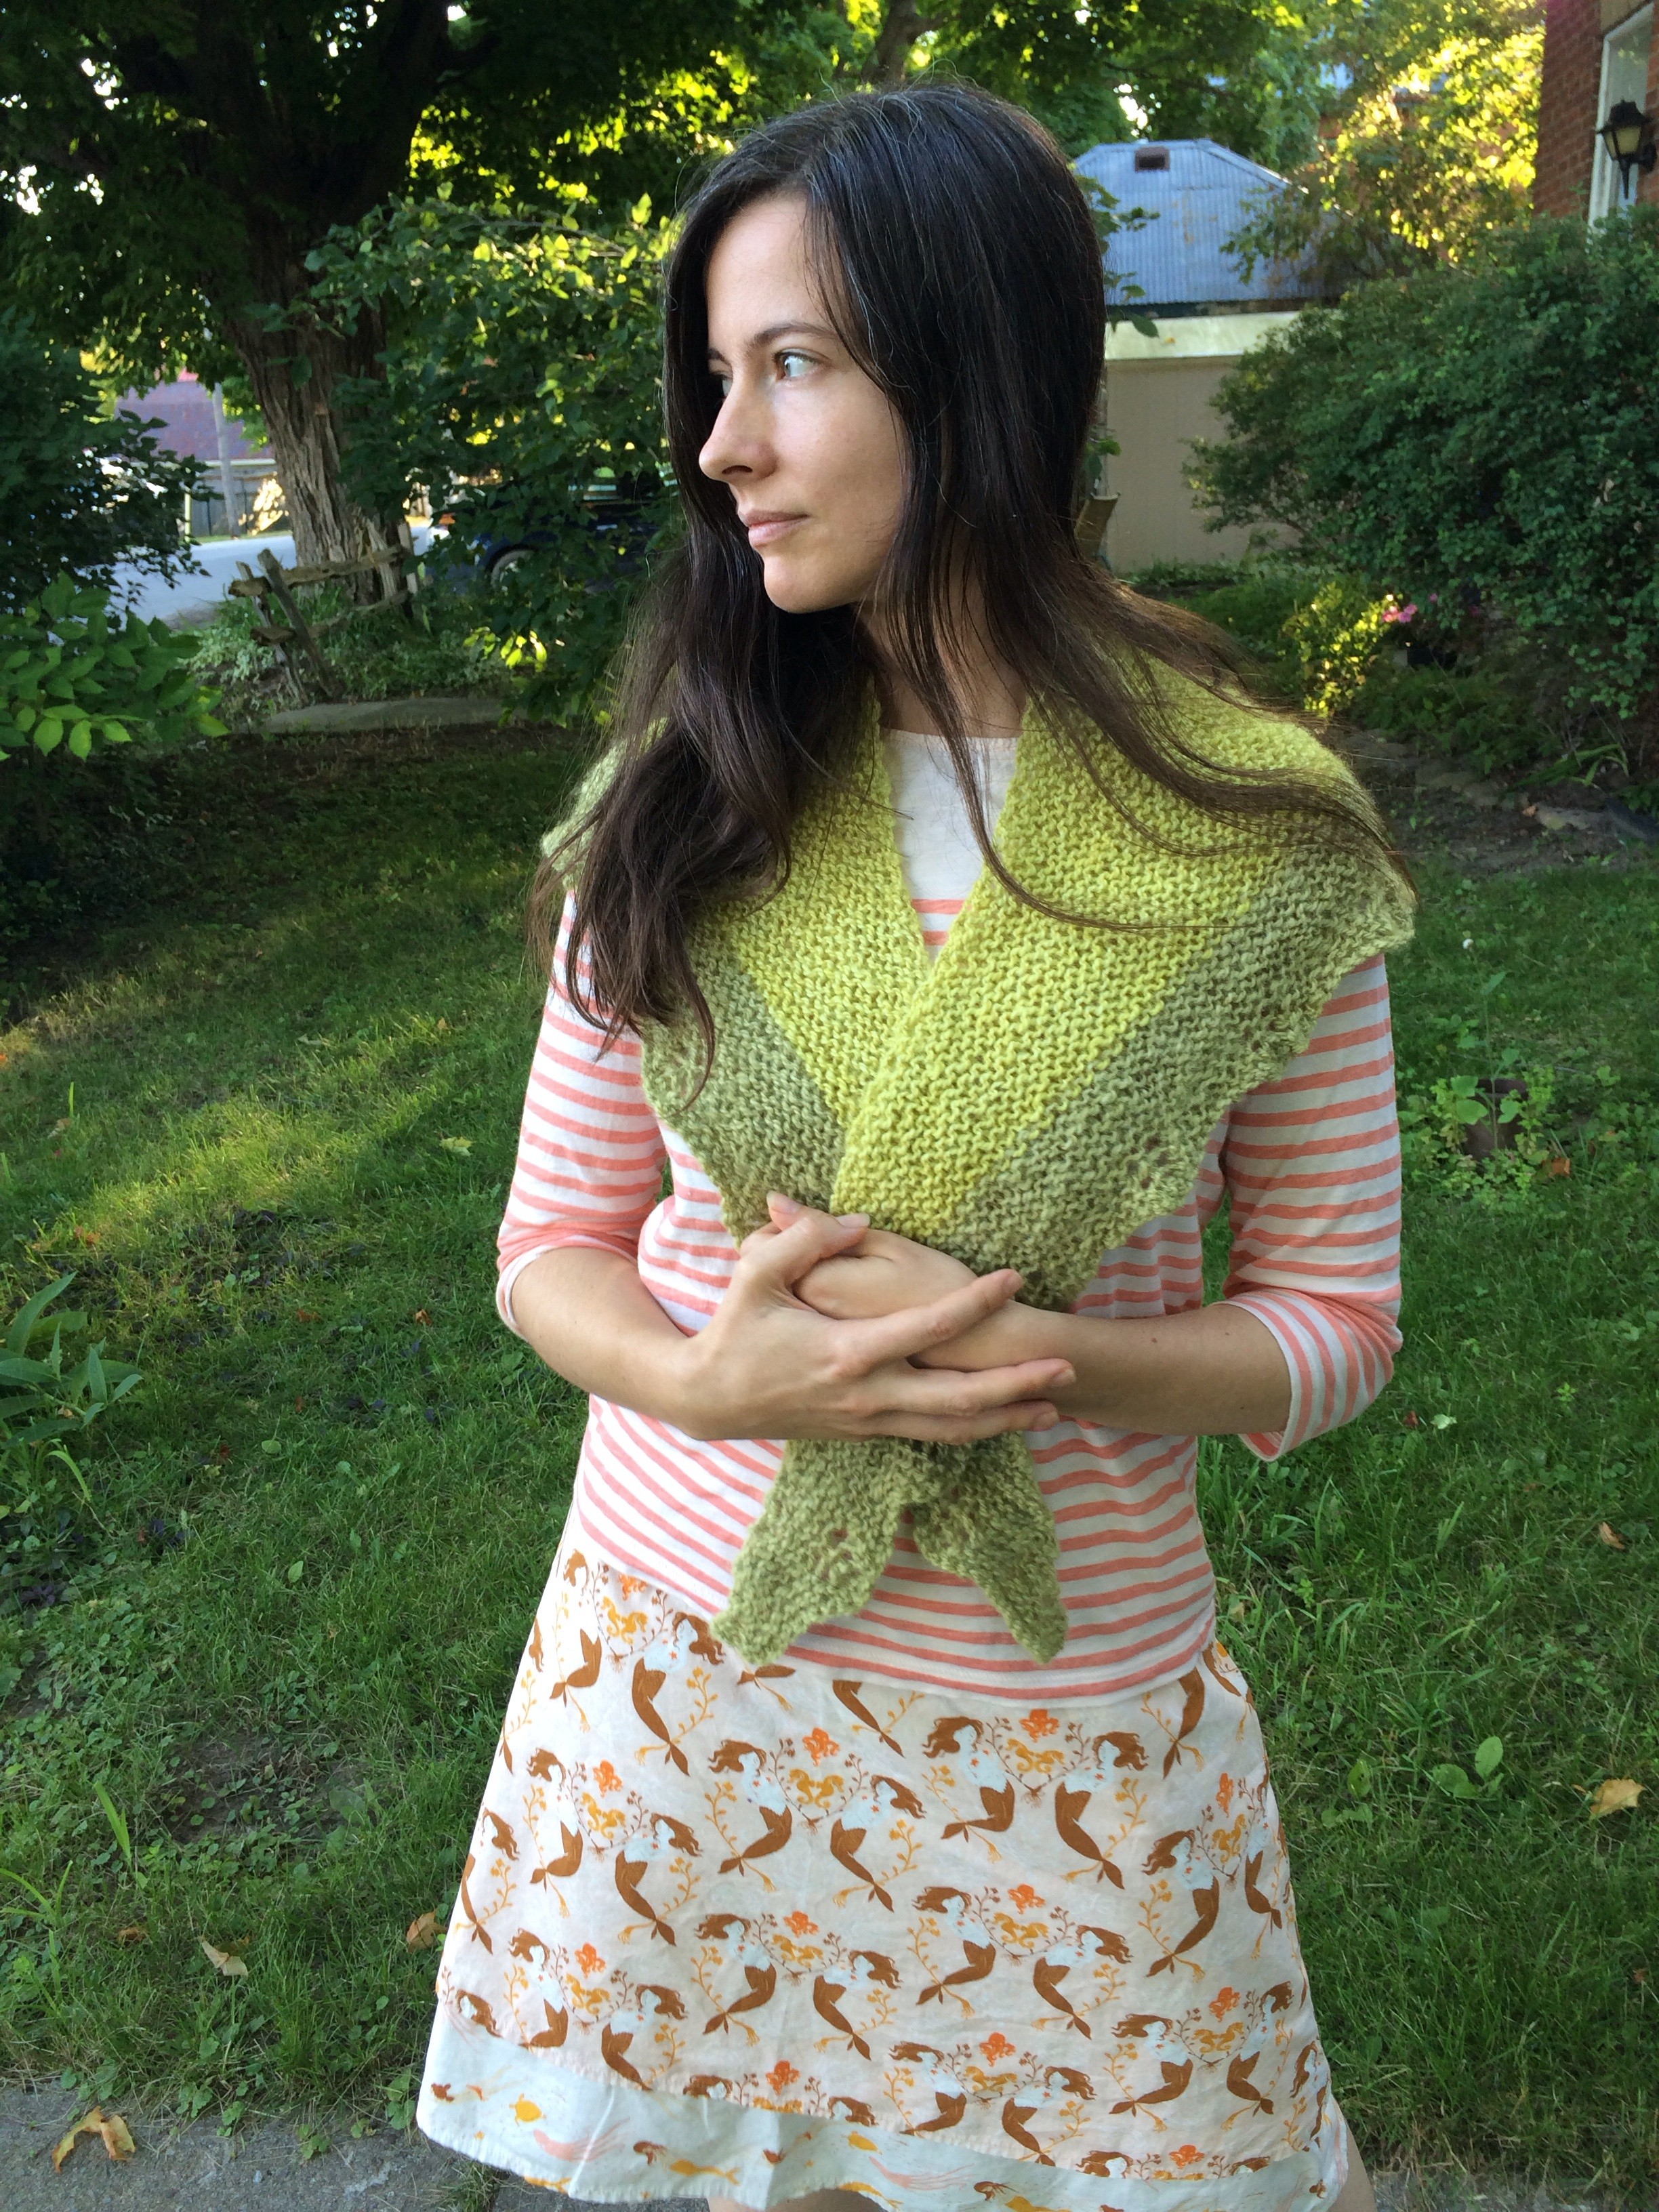
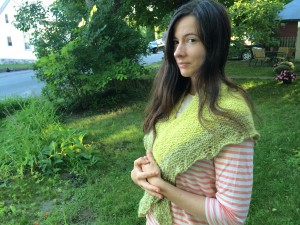
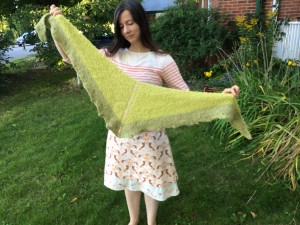
pleasing result.  Since I had finished my shawl and could not find the pattern for the socks I’m working on, I quilted.  I still consider the cottage time to be a knitting retreat.    Sammi getting Candace startedimageIMG_9606imageIMG_9615
IMG_20140908_160828975image

Waterfall Wedding Present

07july10casscam 10107july10casscam 102IMG_20141016_16533538011Nov16CassCam 097I 11Nov16CassCam 051generally have an avoidance for painting outdoor scenes.  I think that it’s because if I’m outside, I really have no idea how to focus and frame, unless I’m looking at something small.  This painting and its subject matter came about because of the upcoming (when I started) marriage of Sammi’s best friend Mary and her lovely husband, Daniel.  We decided we would work together to make a gift for them.  At the time, they were living in Kansas, and although I’ve never been to Kansas, I picture it as being rather flat.  We agreed that it would be good to make a painting of a waterfall from Daniel’s hometown to remind them of the east.  Sammi had a really nice picture that she had taken of Taughannock Falls (so she did all of the cropping) that we decided would be great to paint from.  IMG_20140930_135154551

We planed to paint it together, but as I started drawing it out on the board, I felt a panic, like it was totally outside my comfort zone.  I had the feeling that we wouldn’t finish it, but that maybe if I plugged away at it alone it might eventually get it done.  I think I took pictures of the process more to make sure that it got past the point of each photo than to document.  I had never attempted to paint rocks before.  They were tough to get through, as they were just various shades of brown without much excitement.  As I finished those I realized that I hadn’t attempted ice and snow either.  It was much more fun and moved along more quickly, as well as the water.  I saved the details of the falls for the end.  I had painted an under painting and adding the final frozen water was quite enjoyable.  Sammi had the painting framed at Christensen’s Fine Art.  M&D didn’t get the painting until months after the wedding, but they seemed happy with it.

11Nov15 044 IMG_20141206_09415449701Jan09casscam 055

Felted Mushroom Ornaments

11Nov16CassCam 146
Felted mushrooms in the snow.

I have no desire to eat mushrooms, but I do think that they’re super cute.  I’ve been meaning to felt some christmas ornaments for some time, especially since, for the last couple of years, poorly made ones have been showing up at Chapters, or wherever.  When I came across an image of felted mushrooms online, I knew that this was something that would be easy for me to try, with only the risk of wasting a few hours.  My mom (Lynn) has all of the supplies, and a good store of unused sheep’s roving.  I knew that the style of mushroom I wanted has a red cap, so I needed roving in red.  Mom, a great lover of all things fleece, suggested that we dye some with Koolaid.  This involves microwaving the wool in the Koolaid until it sucks up all of the colour, a process that you can easily find online.

IMG_20140914_142054226
Microwaving Koolaid and wool.

The colour came out pretty yummy.  It was a little uneven, but that works for me.

IMG_20140914_145208593
It looked delicious!

Making the mushrooms was easy.  I started making the stem from the natural white with the felting tool.  Then moved on to a lumpy cap.  After, I added the red to line the top and added white dots for added cute factor.

mushroom tops

After I made my first mushroom, I knew that I needed mire ( the number 3 is always good).  Without realizing it, I created the exact same pattern of white dots on my second mushroom…and then kittens stole it.  I made two more mushrooms, attempting to place the dots differently…but I can’t help it, that number 3…

11Nov16CassCam 147

Anyway, felting leads to more felting… me and Sammi have a little something in mind with these guys…

Next time, a painting.

IMG_20141004_212327770
Octopus. Roving in the background.
IMG_20141004_200113423
Turtle. I made this to give to the Kawartha Turtle Trauma Centre, but missed the deadline (very sad).


Fern Lace Shawl with Naturally Dyed, Hand-spun (not by me) Wool

Fern-lace Shawl

So, this is normally my mom’s territory.  This summer my job at Lang Pioneer Village I was given instruction on dying wool using plant-derived dyes.  Ladies (why no men?  Maybe there were some) from local weavers and spinners groups spun a whole bunch of wool this spring and I was allowed to run free experimenting with these natural dyes.  My mom has (Lynn) been into this for a long time and I have been on several excursions with her to collect Black Walnuts, Queen-Ann’s Lace, or whatever else we can identify that has dyeing properties, but this summer I actually got involved in the dyeing process.  Also, as I used up lots of the spun wool, I figured that I needed to learn to spin some as well.

I’m not going to go into the processes for this post (plus you can find all of this stuff online), but here are some pictures of all that.

IMG_20140823_125721045
My trusty work spinning wheel


IMG_20140829_125139110
Winding wool that I’d spun. In the background, mordanting over the fire.
IMG_20140830_125316689
Preparing a dye bath over the fire. This was full of Staghorn Sumac berries. It produced my greatest dye failure; a smoker’s-hair yellow-grey.


IMG_20140823_131510531
An array of colours produced by plants, some grown for their dyeing properties in the Fitzpatric garden at Lang Pioneer Village, others collected on the grounds.

The true intent of this post is my Fern-lace shawl.   After getting a sweet electric-yellow out of a bunch of goldenrod (Canada Goldenrod, Solidago altissima ?) I figured that I really needed to knit something from these cool colours we were coming up with.  Pauline Gillespie, the volunteer teaching us dyeing, had already instructed dying with apple bark and Marguerite.  One day she came by with knit shawls as gifts for me and my co-worker, Tara, and I told her that I wanted to knit with the dyed wool.   She said “Go for it!” and ran off to get the pattern for me.Fern Lace Shawl

The pattern seemed to indicate that it was something you worked on only when you had cabin fever, and although I’m pretty sure that knitting is one of the activities that gives you cabin fever (no, I’m not the knitter in the family), I began.  I wanted to start with my favorite goldenrod yellow, then I thought I’d finish with a heavily overspun apple bark, so as not to use up all the really nice wool. The pattern starts nice and simple, cast on five, then add at the beginning and end of of each row with some yarn-over action (YOLO!) in the centre.  The rows get longer and longer and then you (I) realise that the little ugly apple bark ball will not be enough.  I ended up pillaging another skein of really nice apple bark, so you can see a slight change in tone on the trim.  I don’t mind.

Fern Lace Shawl I wanted the shawl to be a little longer in the back than the pattern called for so I added more rows.  Of course when you do this, you have to make sure that the lacy trim at the end makes sense.  I tried a few times.  The first was totally off, so on the second attempt, which was closer, I made it fit.  I’m quite happy with the result.  Now I just have to find those times which require a shawl and then remember to wear it.  I think it will come in handy for coolish Autumn walks in the natural areas around my home.

Fern Lace Shawl