Samantha recently purchased an older AVL loom. This loom works with a computer to produce lovely weaving patterns. After reassembling the loom and figuring out what cable was needed to connect the loom to the computer, the loom was ready for a warp. Sammi hand dyed a cotton warp and with the help of Cassie, has begun the process of putting the warp on the loom. This begins with winding two inch sections onto the back beam.
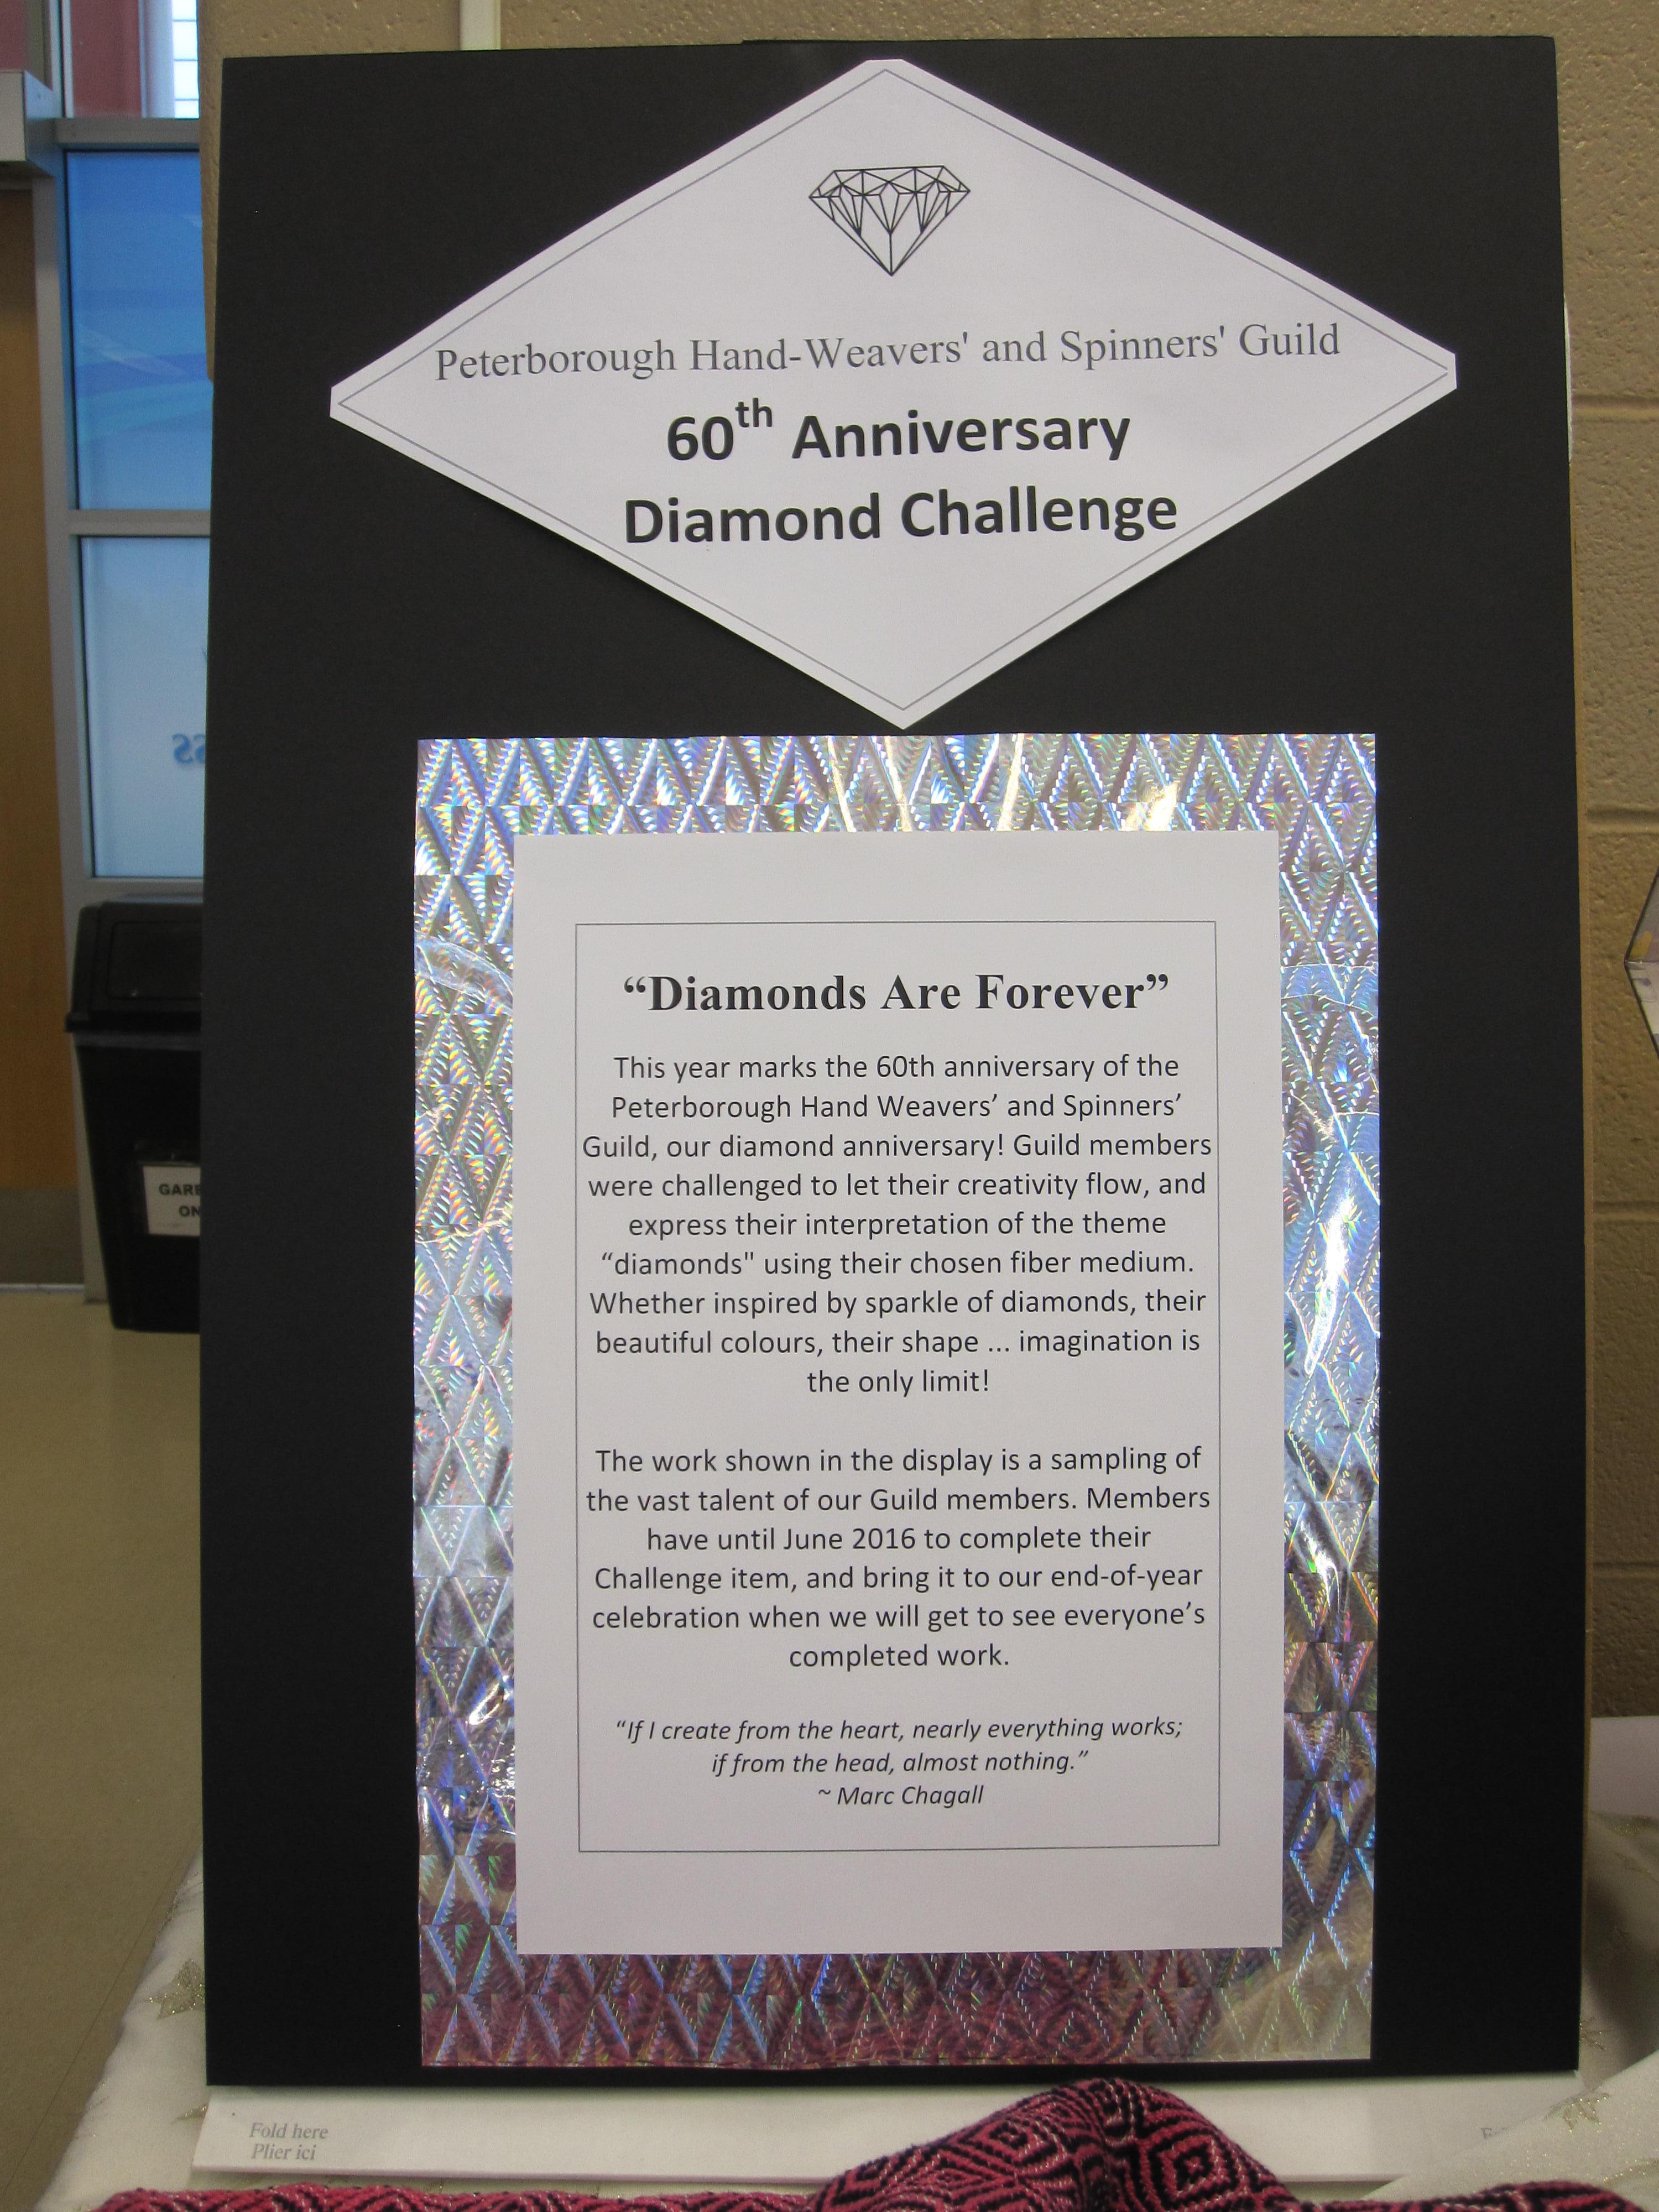
The Peterborough Handweavers and Spinners Guild have a fibre art challenge each year.
This year, 2016, being the 60th Anniversary of the Guild, it was decided that the challenge would be “Diamonds”.
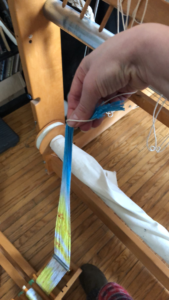
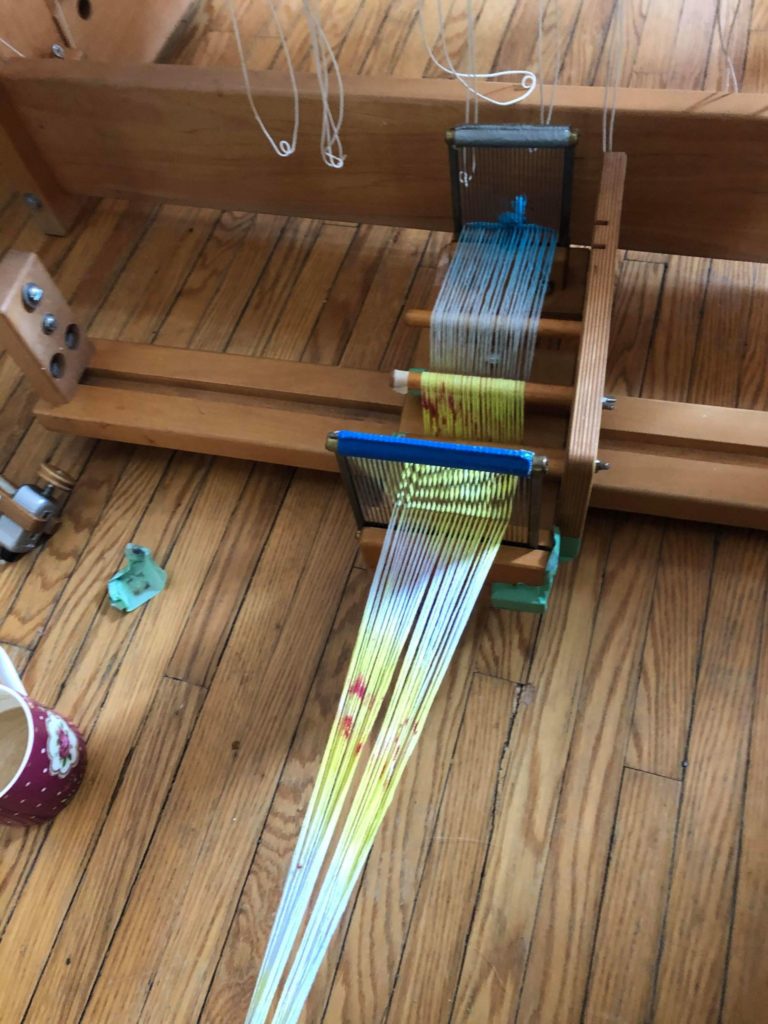
The challenge items are to be displayed at several events during the year, the first one being the Fibre Arts Show and Sale. Of course I left it until about a week before the show, to decide what I was going to do. I thought I would weave something with a diamond pattern. With the help and encouragement of my daughter Cassie, I began the project.
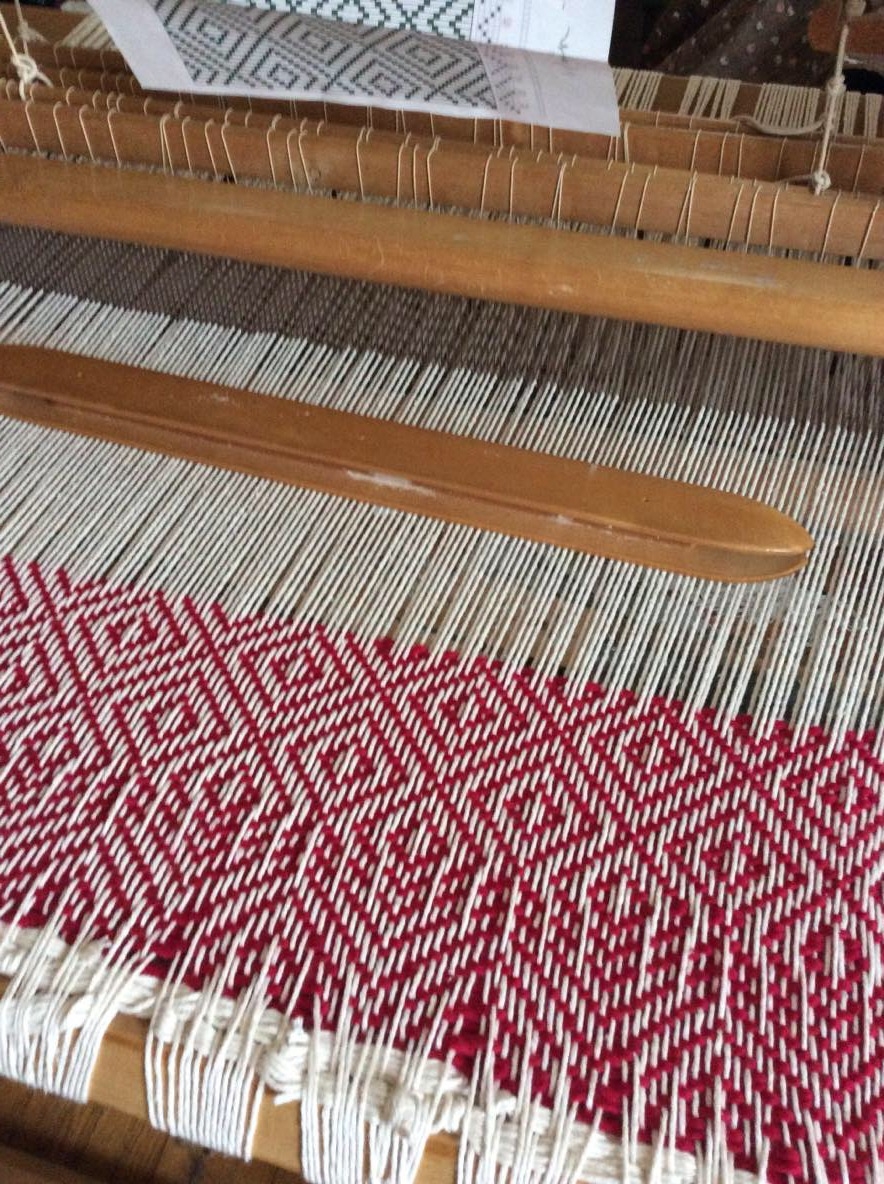
First I made the warp. I used a white cotton. Because my loom isn’t built for uneven weaving, it was a bit of a challenge to get the weaving done. I practiced with a couple of different yarns, in yellow shades, that I had spun myself.
Then for my project … for the weft, I used a navy blue wool. After a certain length… small rug size… I cut it off and hemmed the ends. Then I could use this as my challenge item for the Fibre Arts Show & Sale. Of course there was still quite a length of warp left so I used it up with a red wool weft. For this rug, I left tassels on the ends. They turned out quite nicely. My cats loved them . . .
Some years ago, I worked at the Canadian Canoe Museum; it was my best job ever, (Largely because I had amazing coworkers and it was a pretty idyllic setting.) until it fairly abruptly wasn’t (Which had to do with a lot of factors: a changing workplace setting, upheavals in my personal life, and some interpersonal stuff which kind-of created the conditions to make my perfect job awful, quite suddenly). But during the time that it was awesome, it was really awesome, and occasionally I’d have the opportunity to do something really neat. Like weave my very own pack basket.
The Canoe Museum actually has loads of really good courses which I completely recommend – you can check out their full listing here. They’ve been carefully designed so that you can complete the project you’re working on by the end of the allotted time. As someone with more than my fair share of half-completed projects from ill-designed workshops stuffed away to be finished ‘someday,’ I have a keen appreciation for getting to finish a project with an experienced teacher and the appropriate tools.
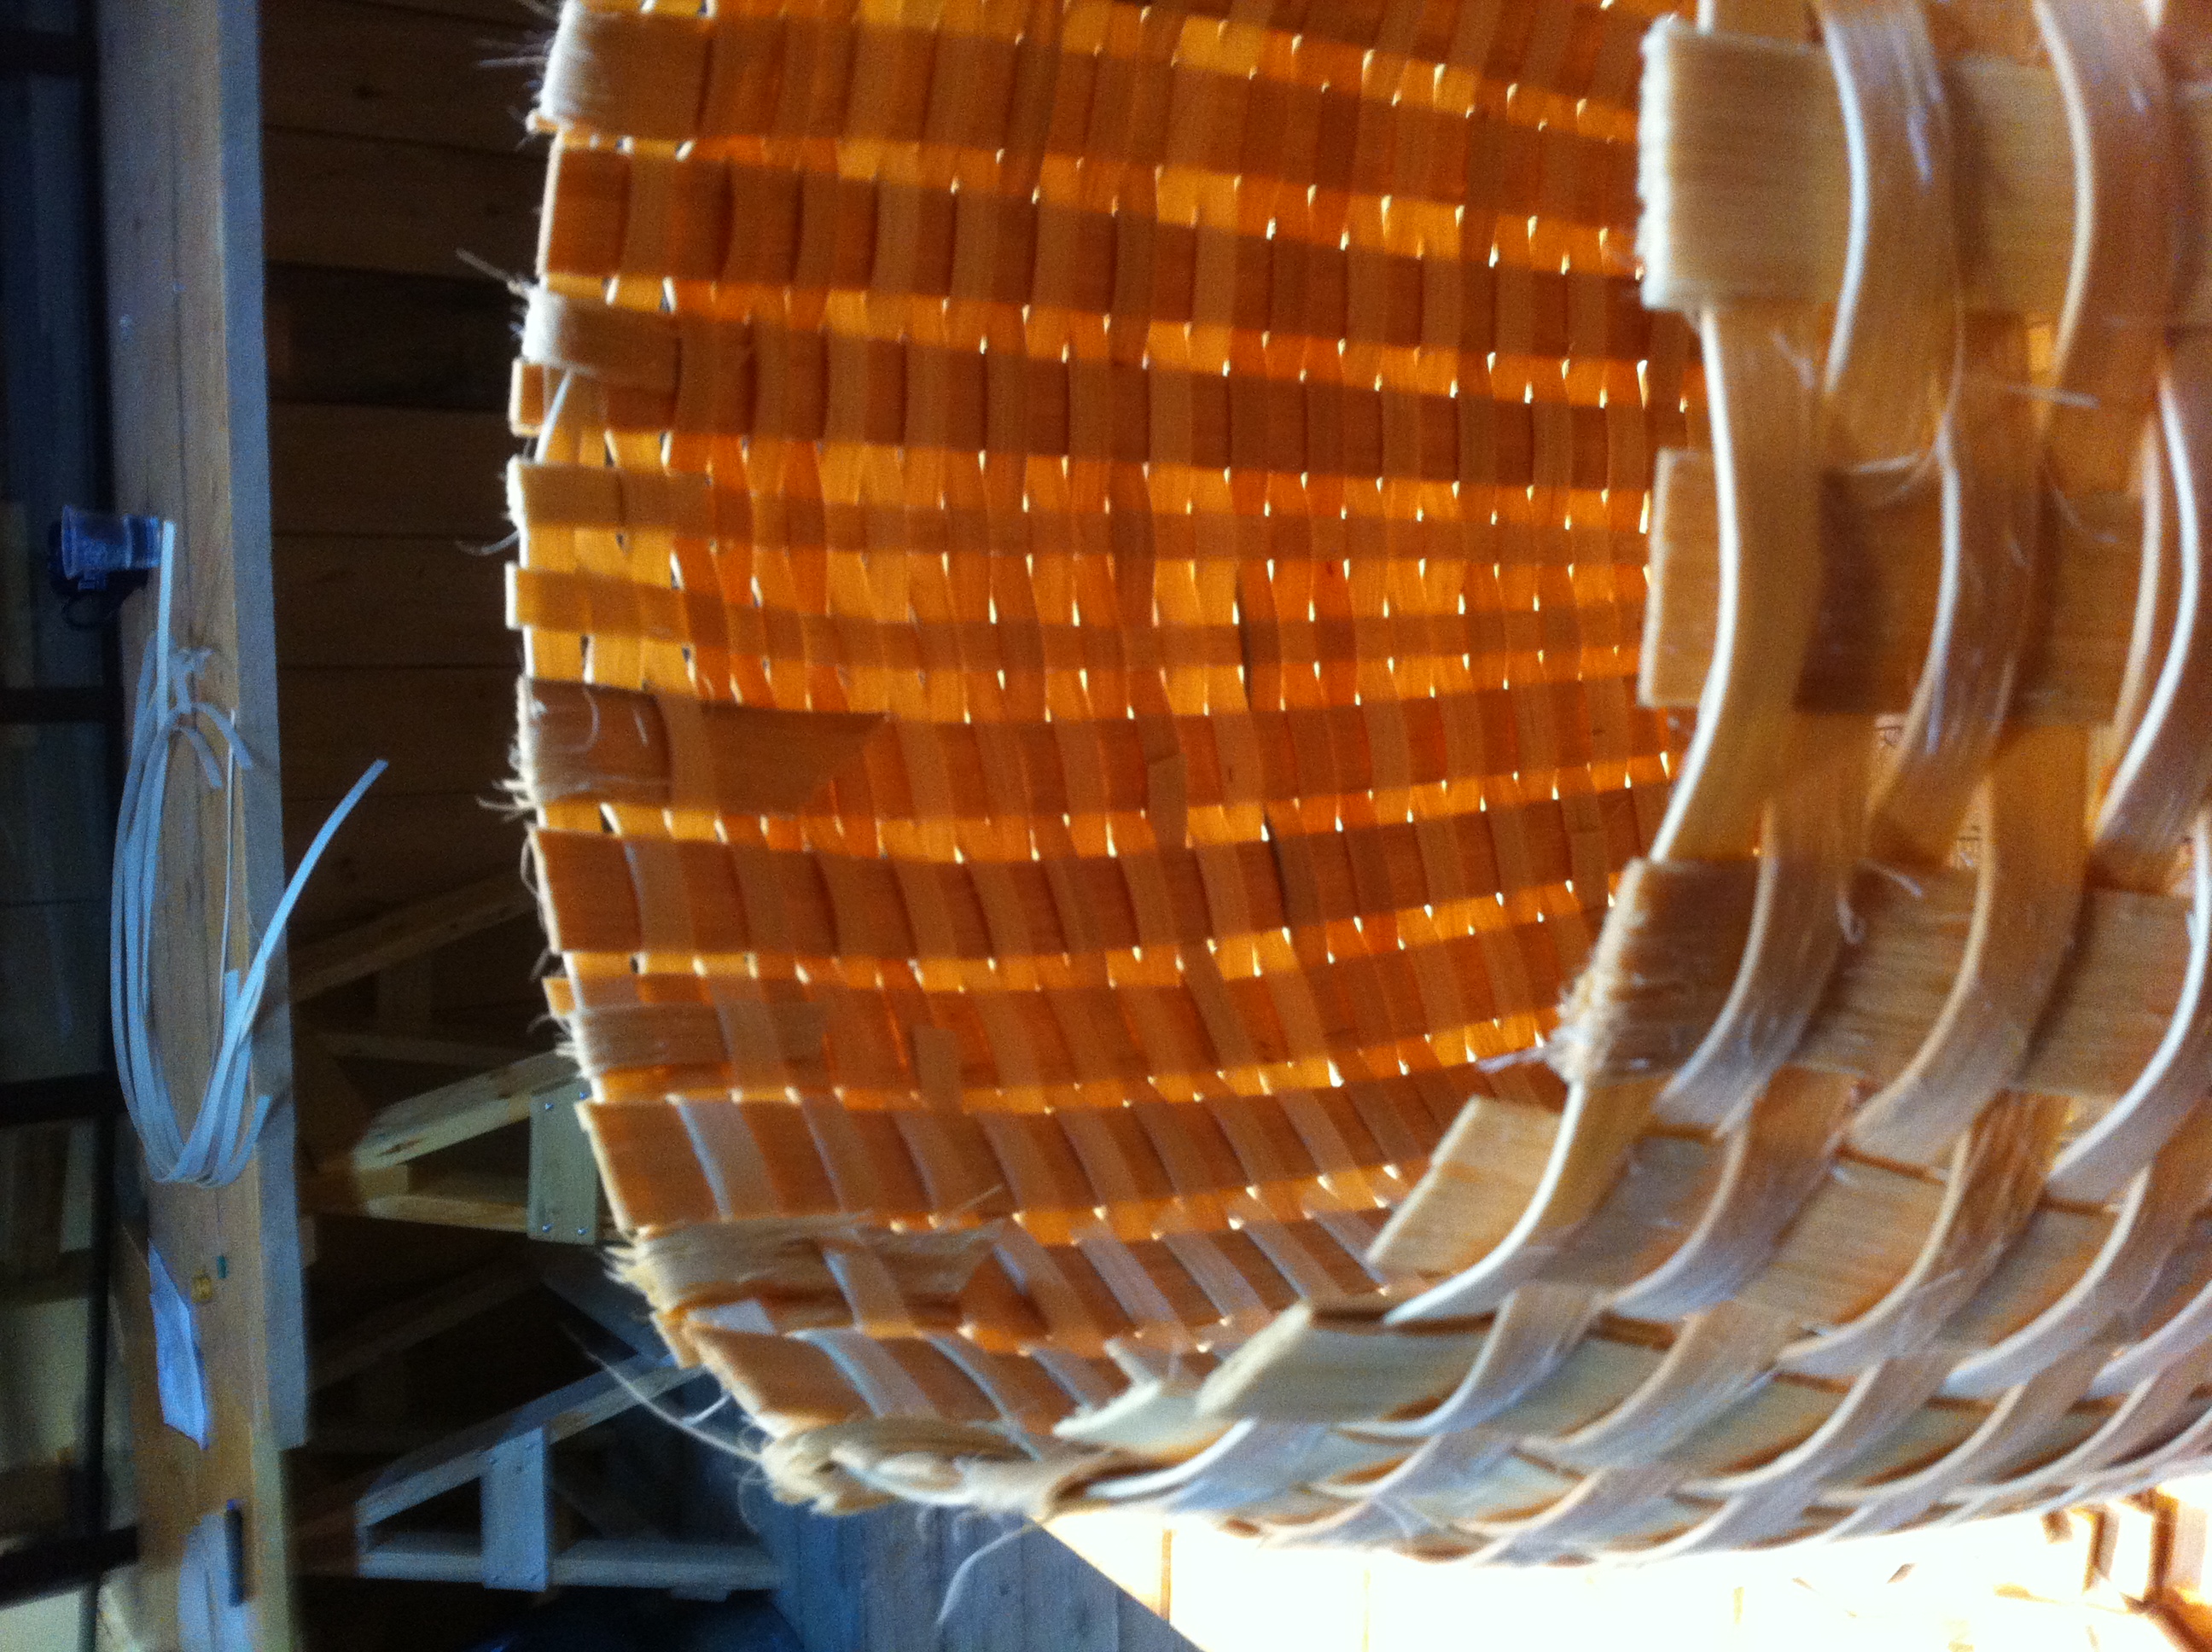
Pack Basket – completing the base
I’d always wanted to try my hand at basketry; though it’s one of the more derided skills, it’s kind-of fascinating. It’s relatively easy, especially when someone has pre-cut everything for you, but meditative, especially if you’re trying to work fast. You get into a place mentally where you just focus on weaving, and on the shape that you’re creating, and you don’t think about much else except whether or not your bamboo is wet enough.
When it was finished, I wore it home on my back, still slightly damp, and so the part of the basket that rests against my back is fairly well-moulded into a shape that is comfortable for me to wear.
I know a lot of people might make this and never use it, or just have it as a decorative object around the house, but I’ve often worn it when biking down to the farmer’s market with my sisters, or to music festivals when I’ve needed to carry unwieldy things. I’ve worn it when wildcrafting – it’s a great container for wild apples, grapes, or dye plants, as it doesn’t crush its contents.
I prefer it to a knapsack – because it holds its shape, it’s easier to find things in it; the small holes in the sides let light in, so you can see what’s in the basket. Additionally, it breathes really well – fabric knapsacks tend to press agains the small of my back, which is where I generate a lot of heat. I find that super-annoying.
However, when you do wear it, you get a lot of attention – sometimes people stop you to compliment you or ask where you got it, and others just give you that look that people give other people who are doing something noticeably different. Most days, that’s not something that stops me, but as beautiful and useful a thing as a pack basket is, lots of people are going to give you the squint-eye if you go around using yours for its intended purpose.
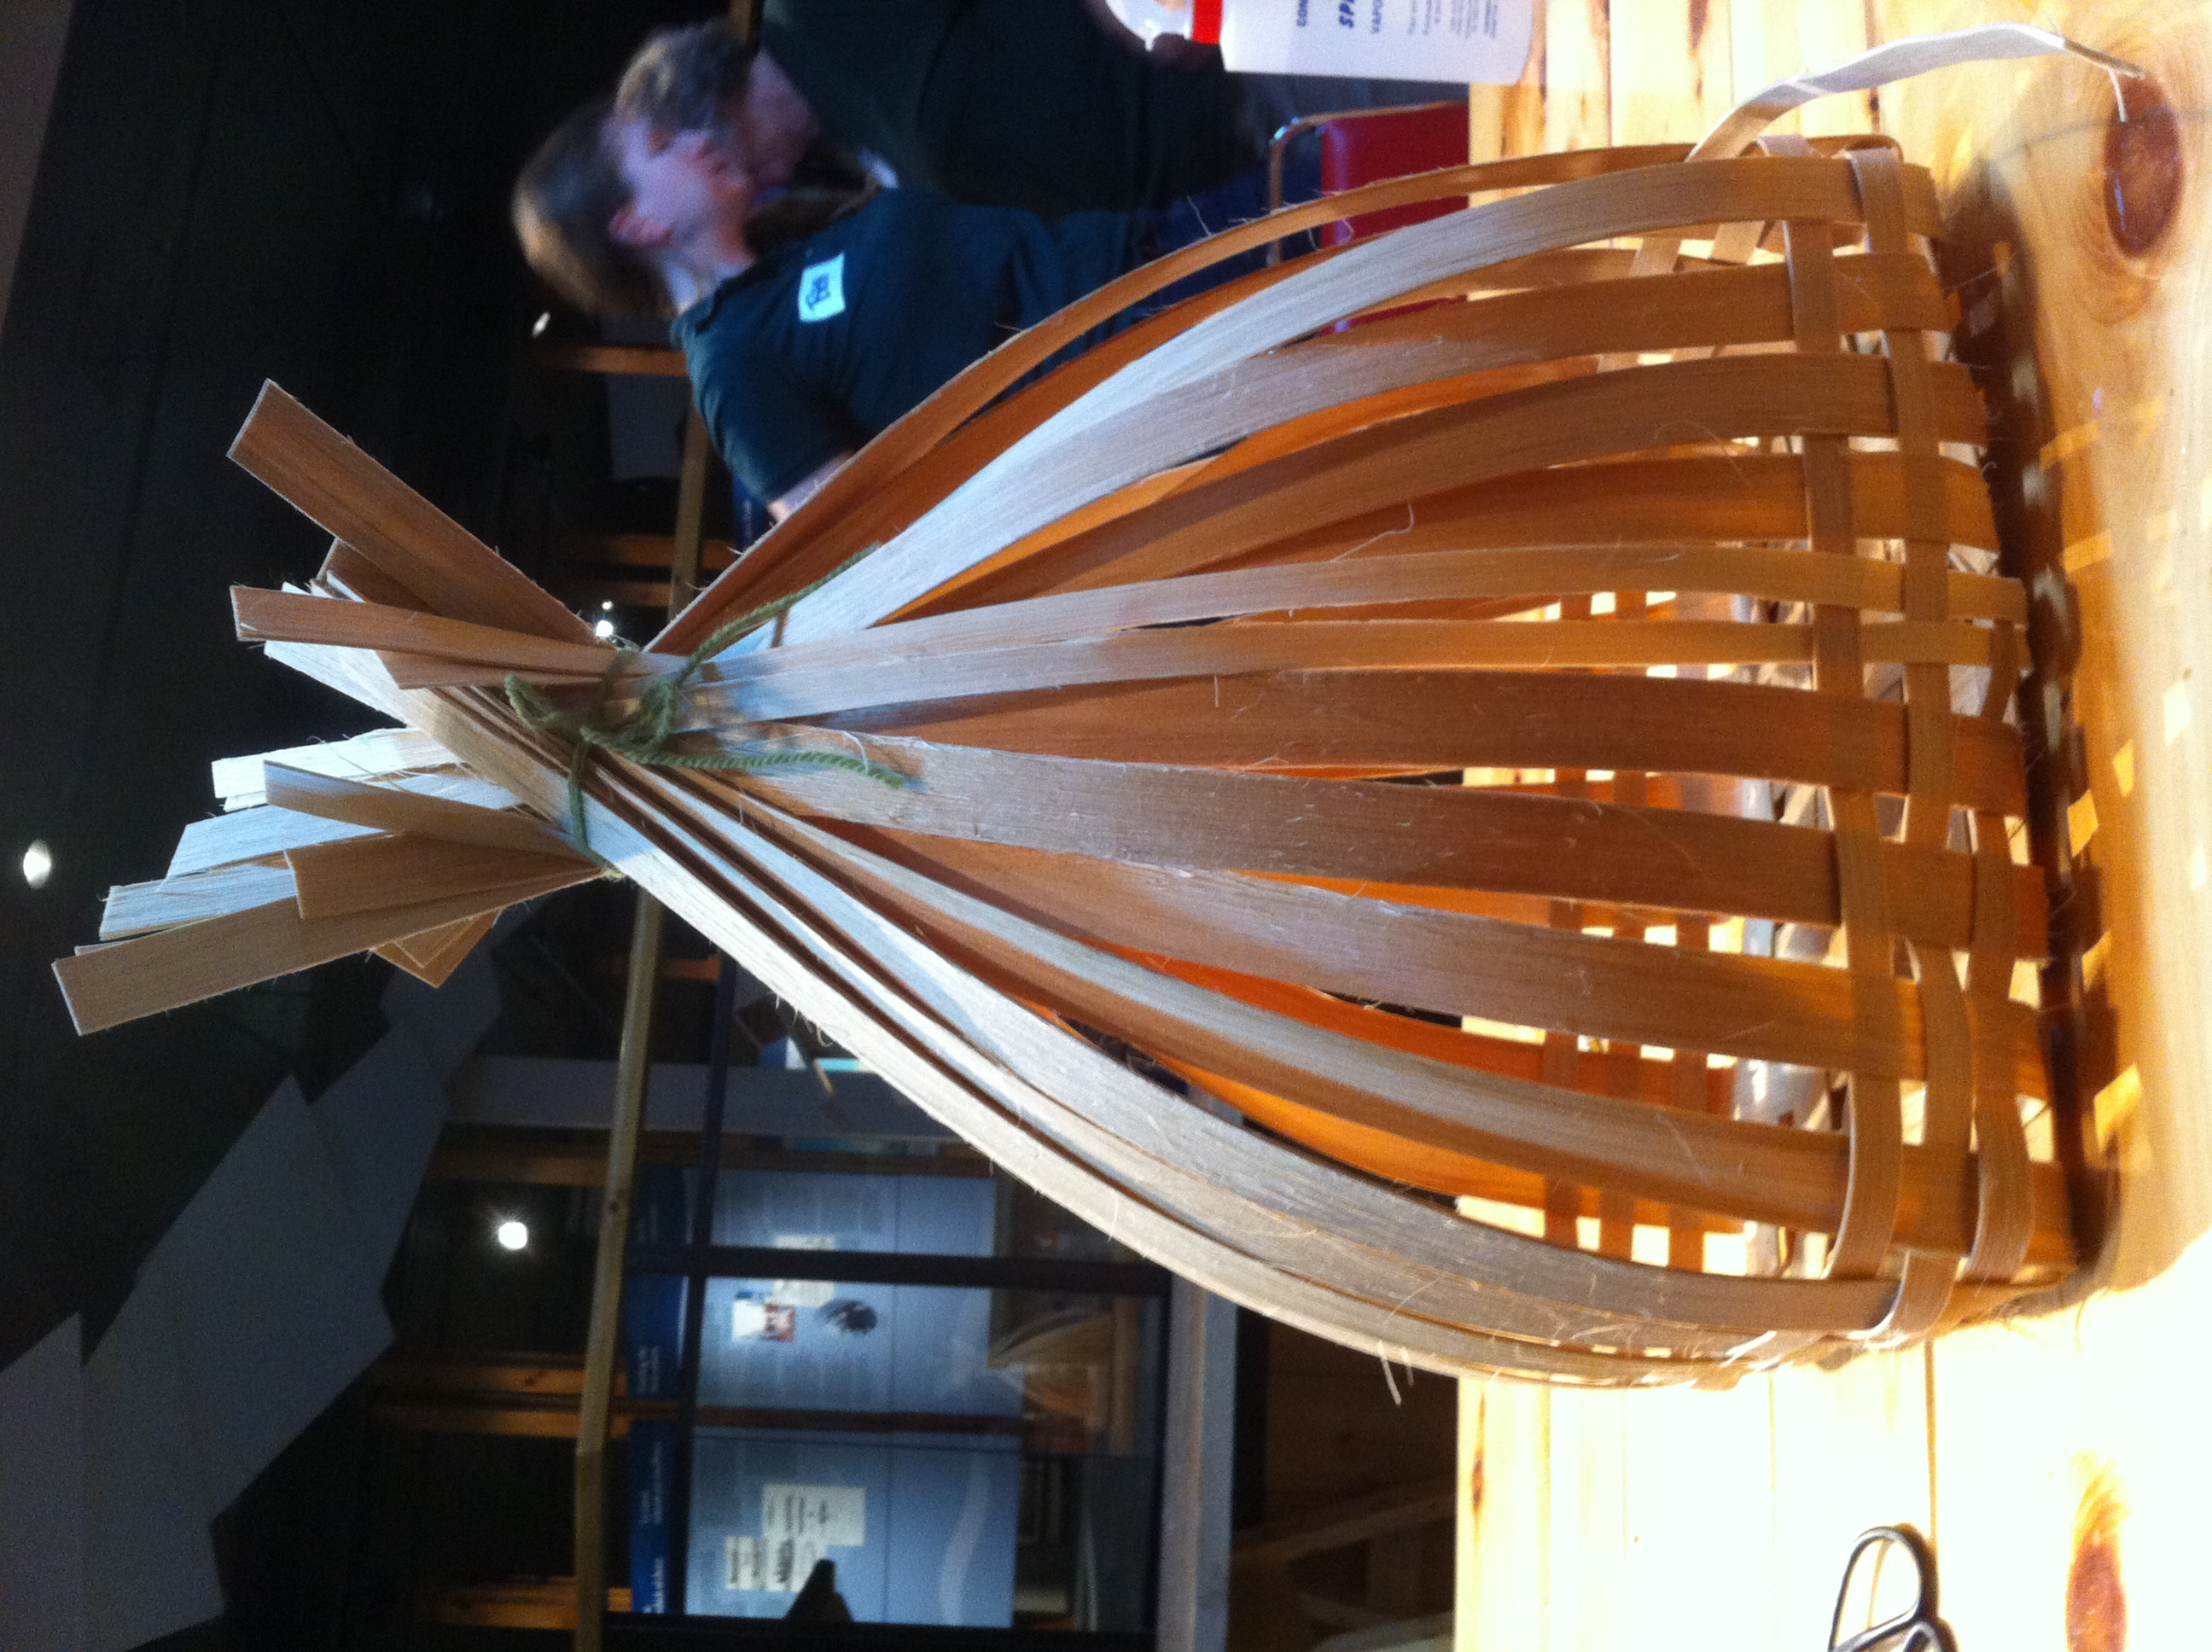
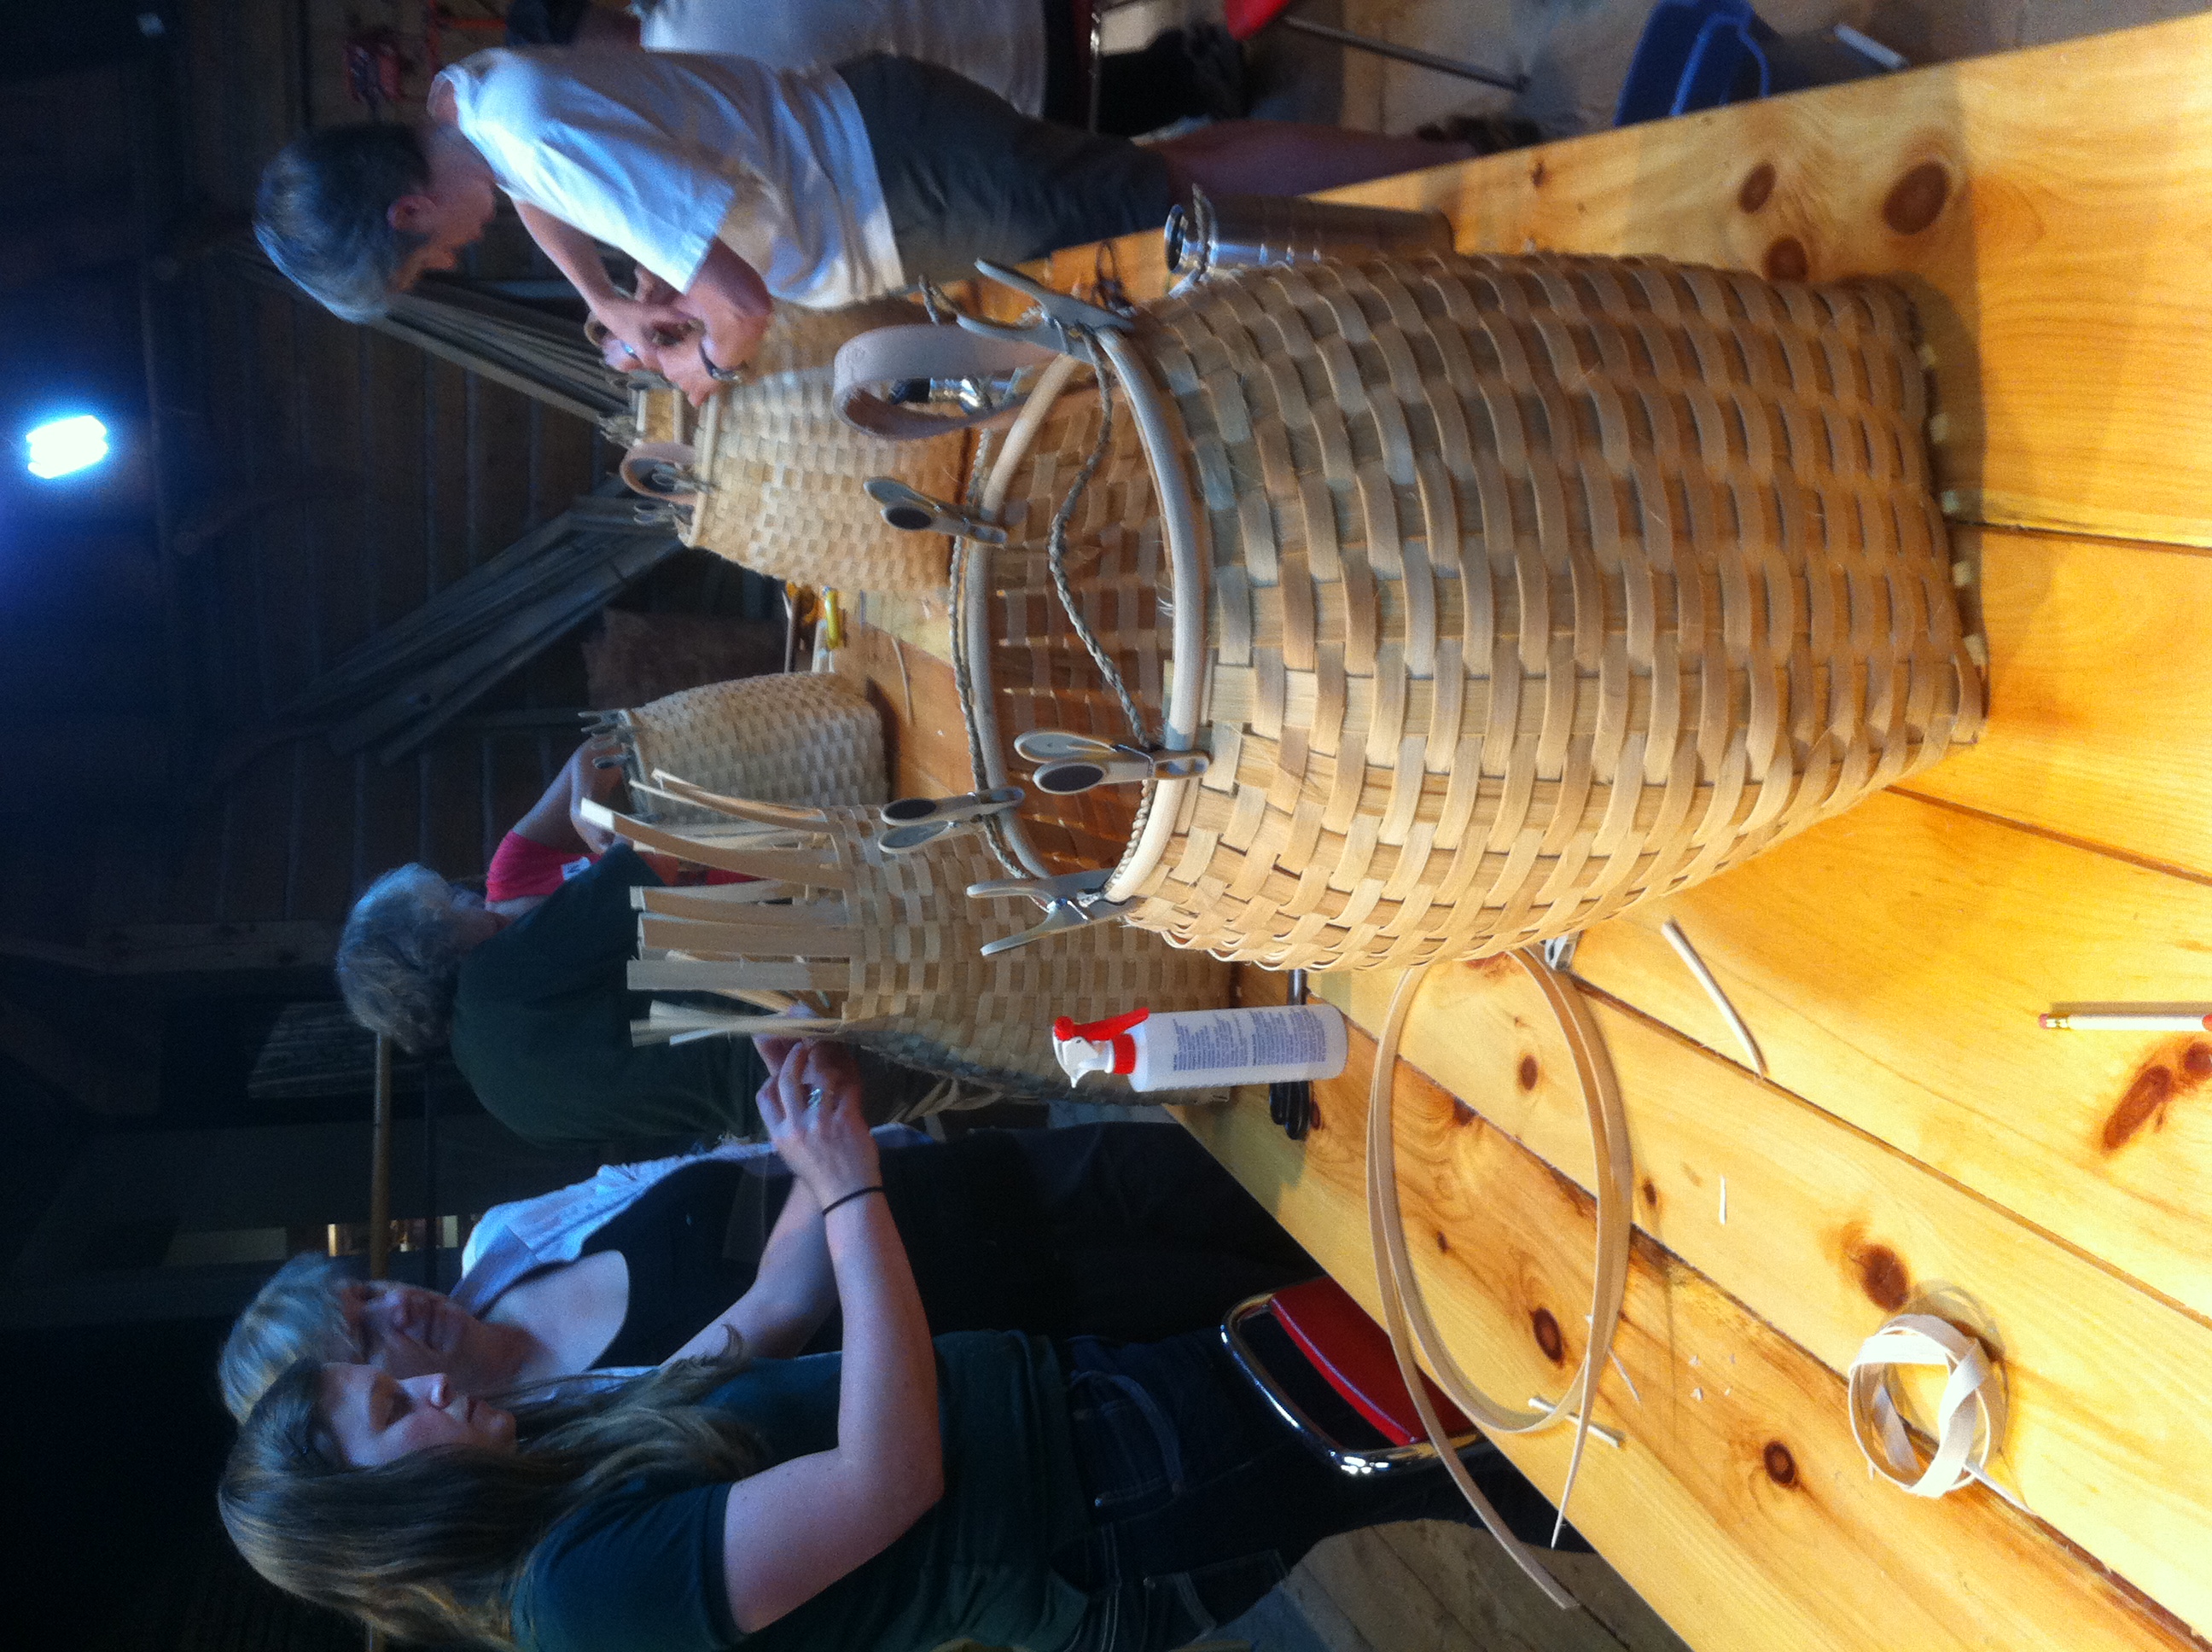
Pack Basket – starting to form the shape.
Pack Basket – starting to form the shape.
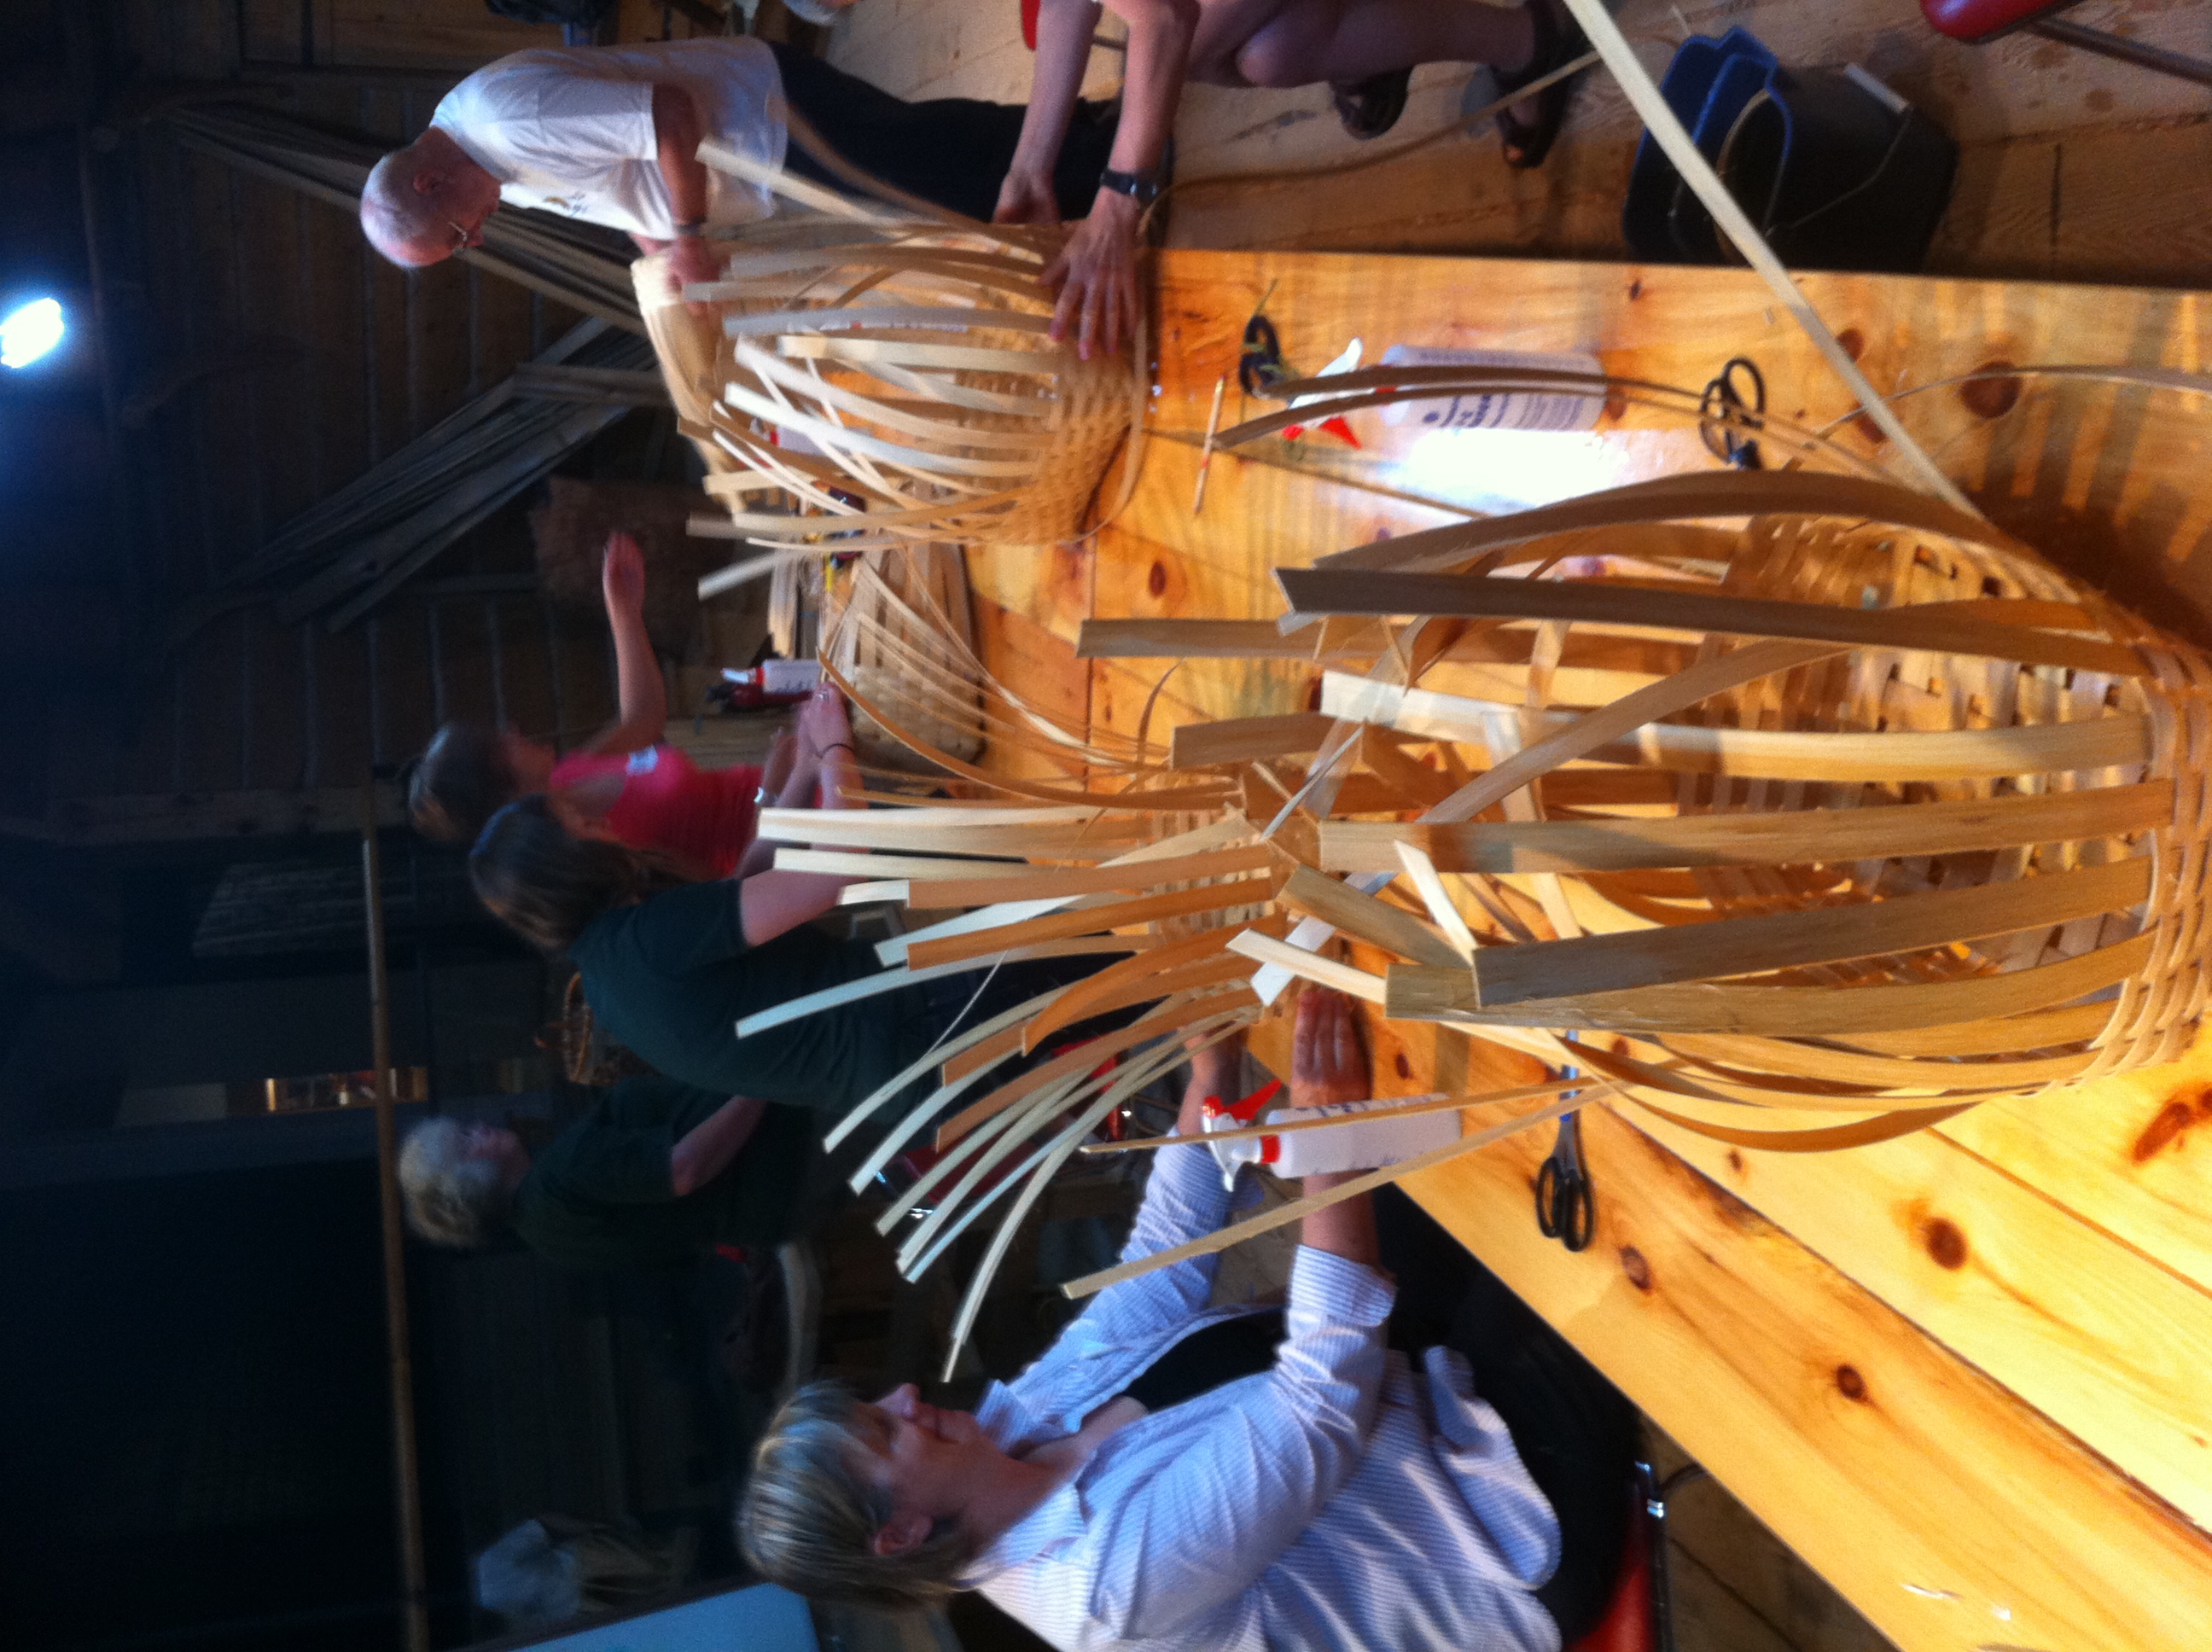
Pack Basket – a few participants weaving
Pack Basket – weaving finished
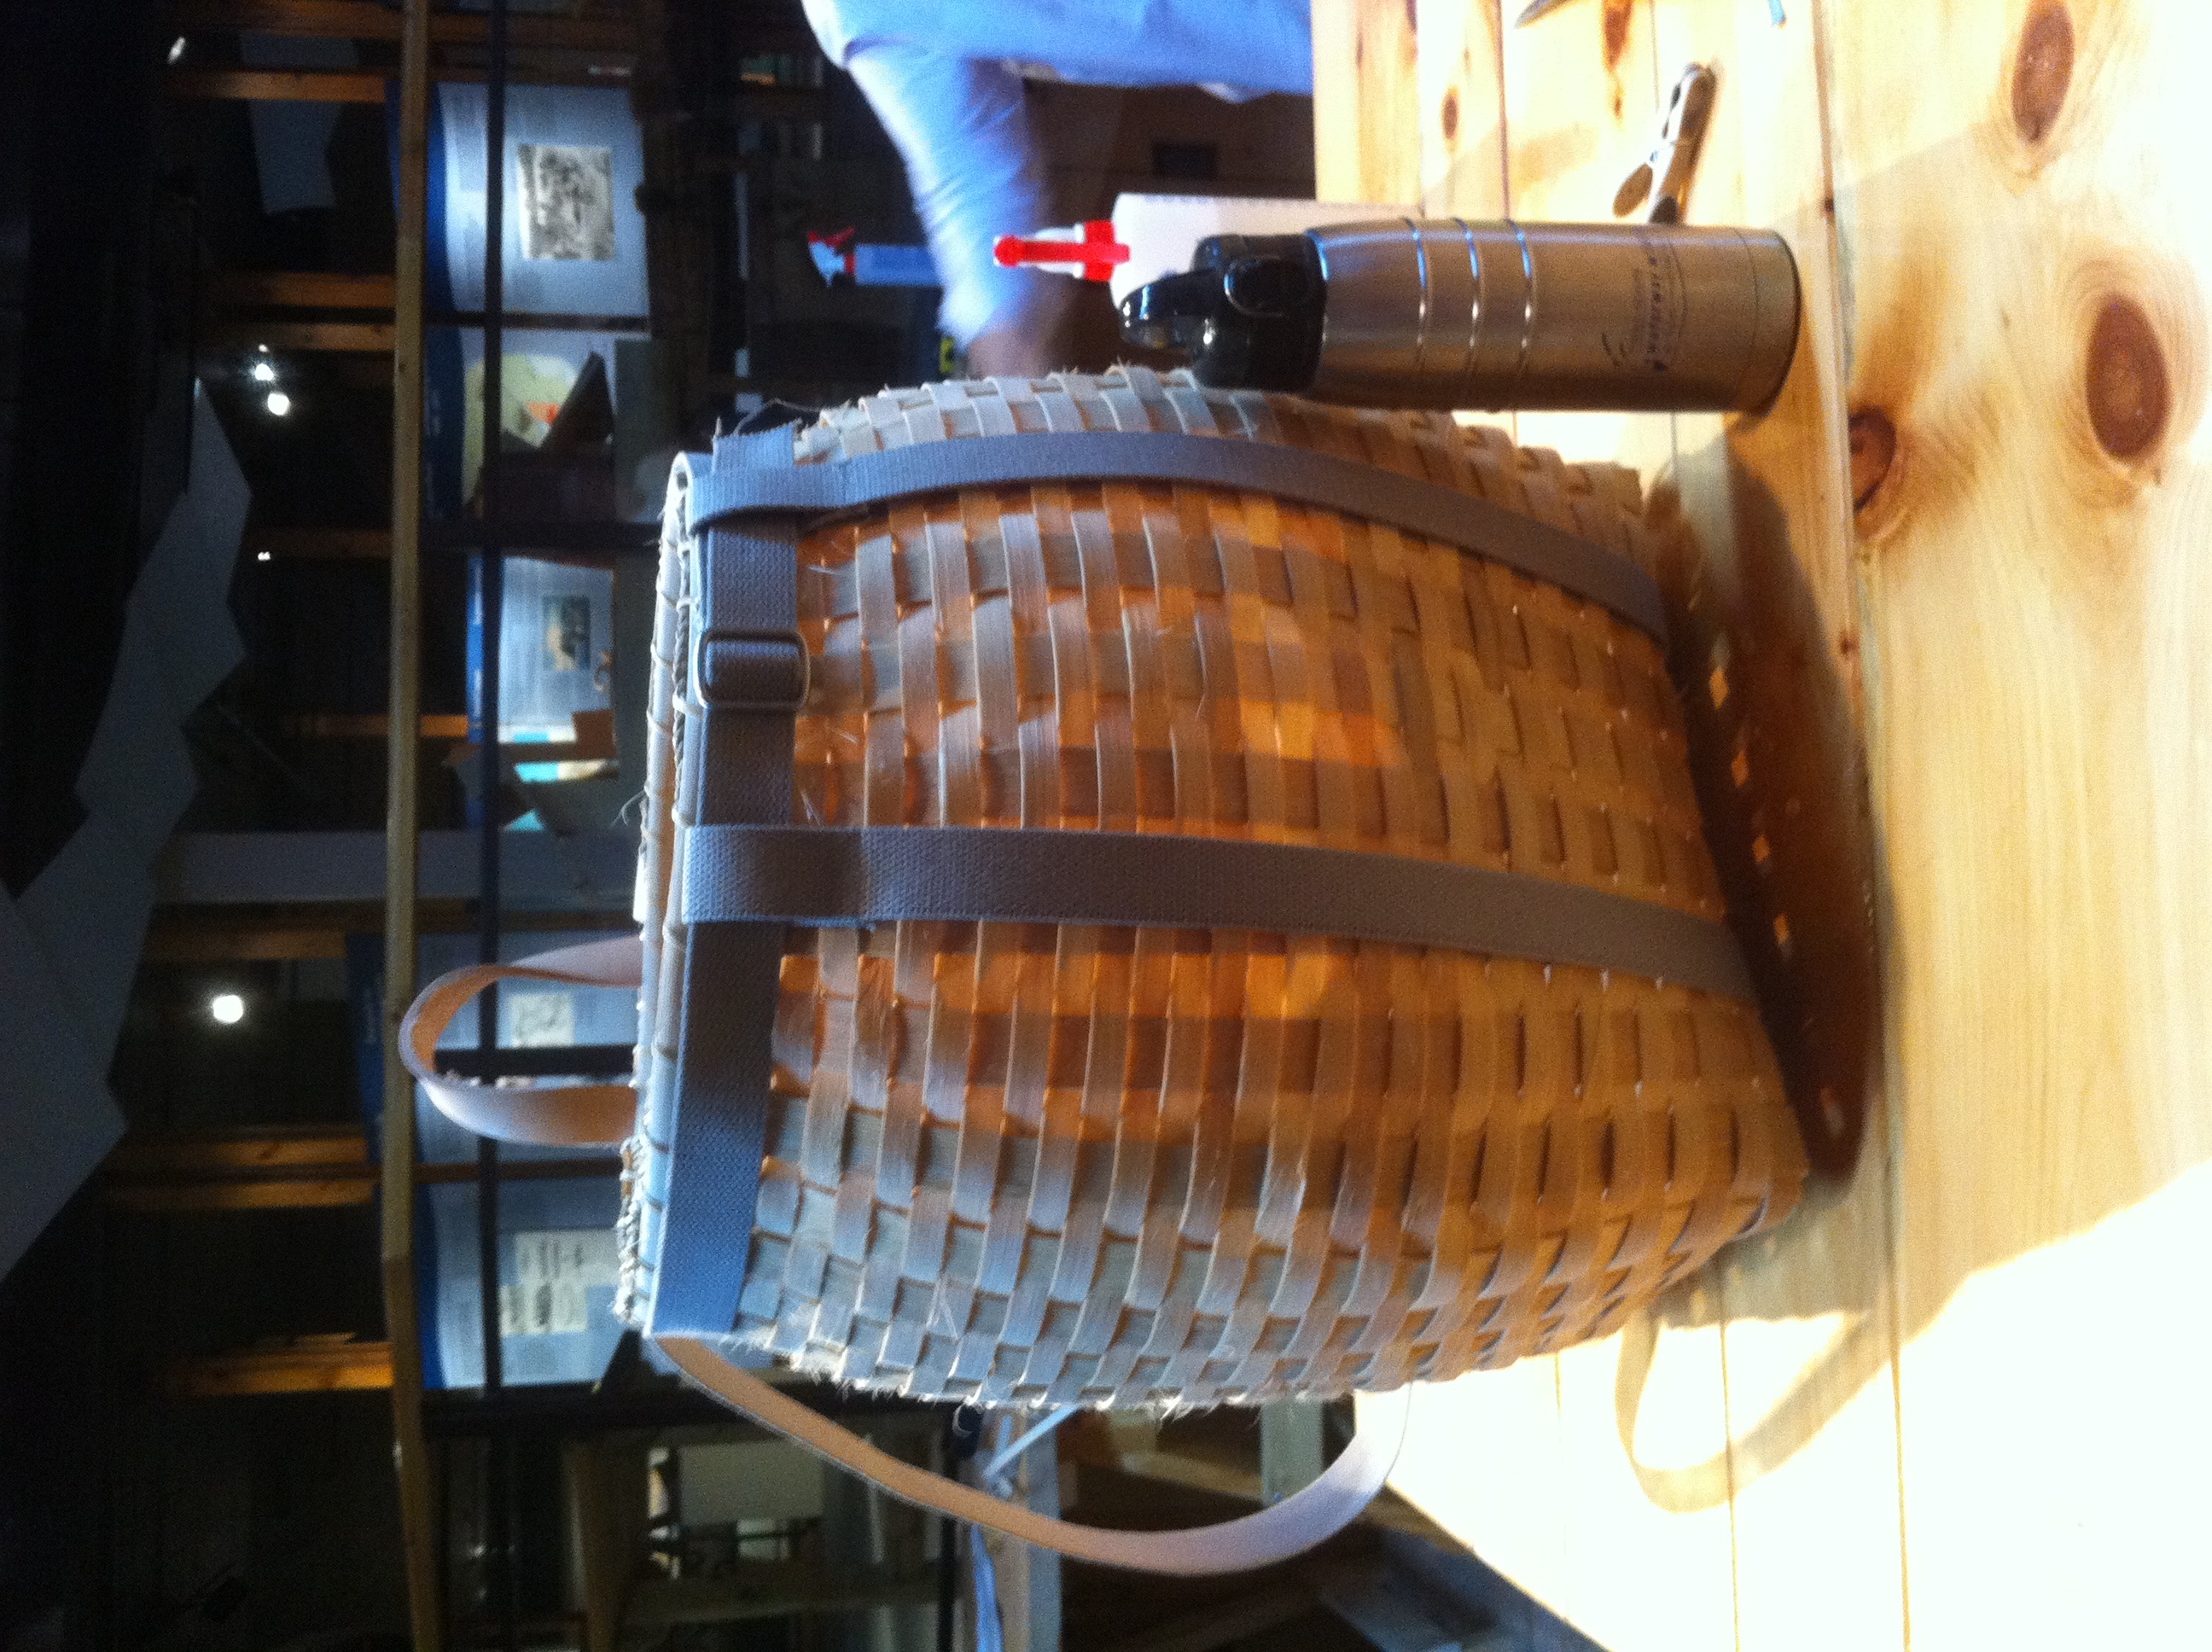
Pack Basket – clamping on the rim
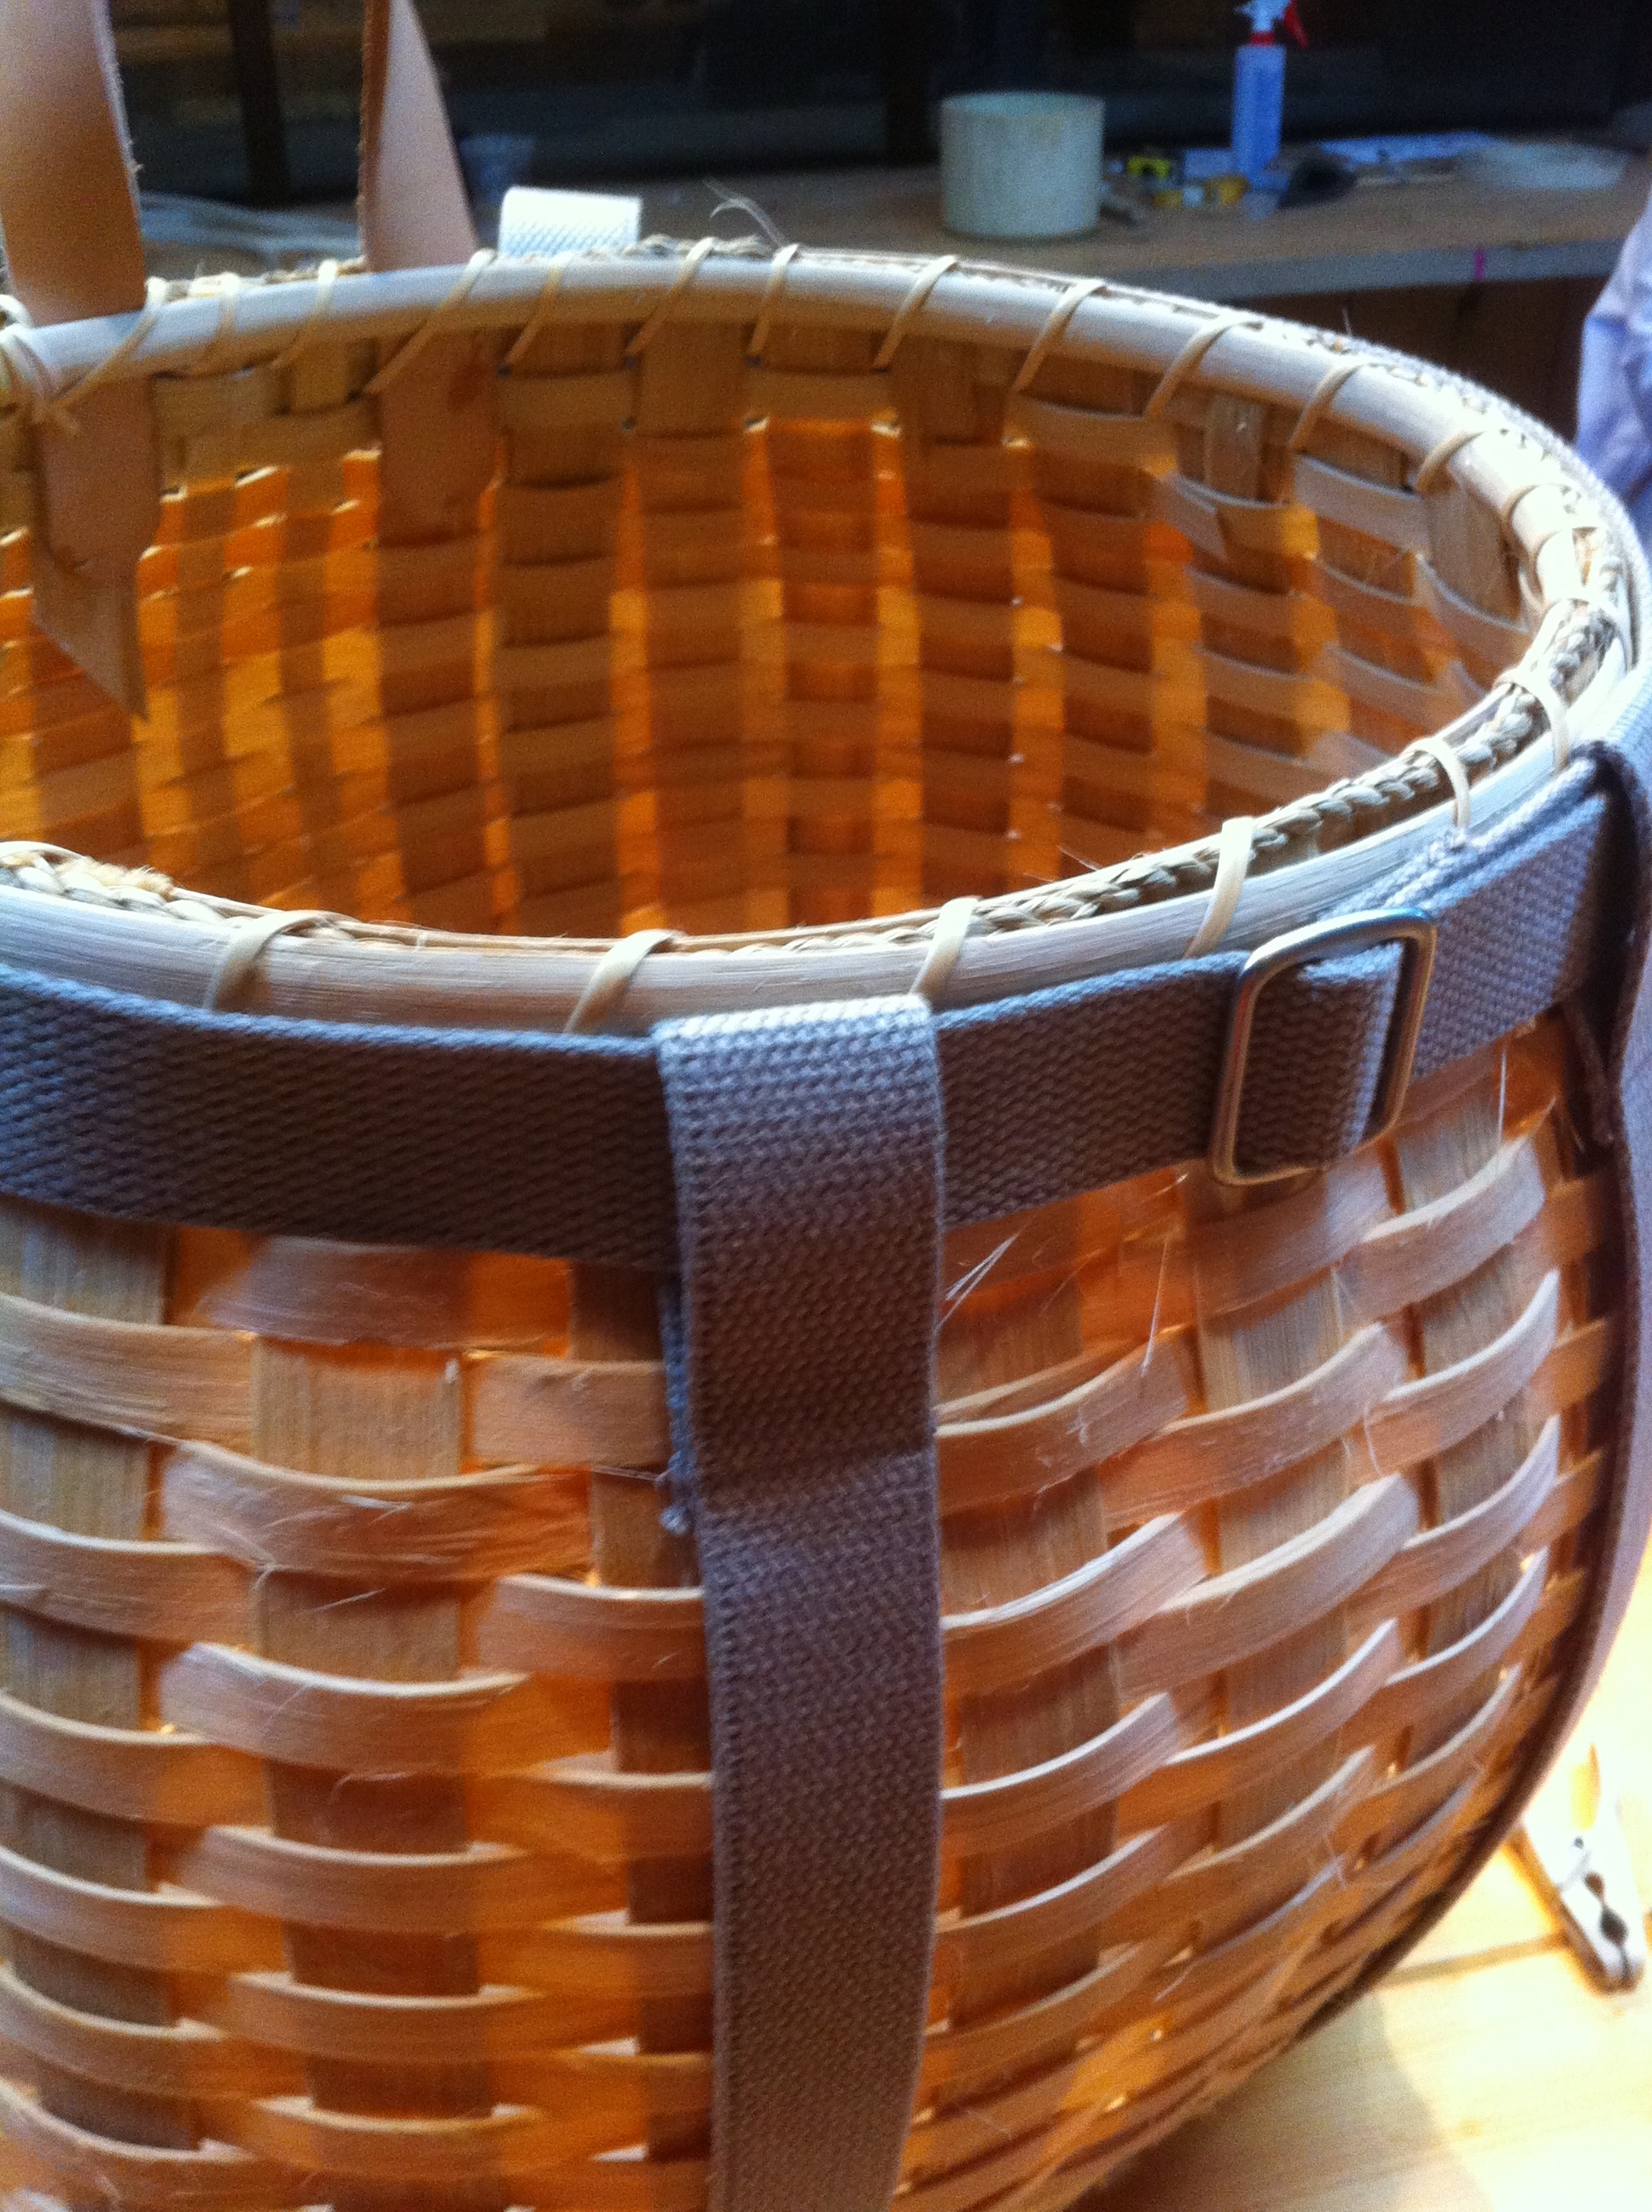
Pack Basket – the rim and straps all fitted and finished!
Pack Basket – ready to be worn on the bike ride home!
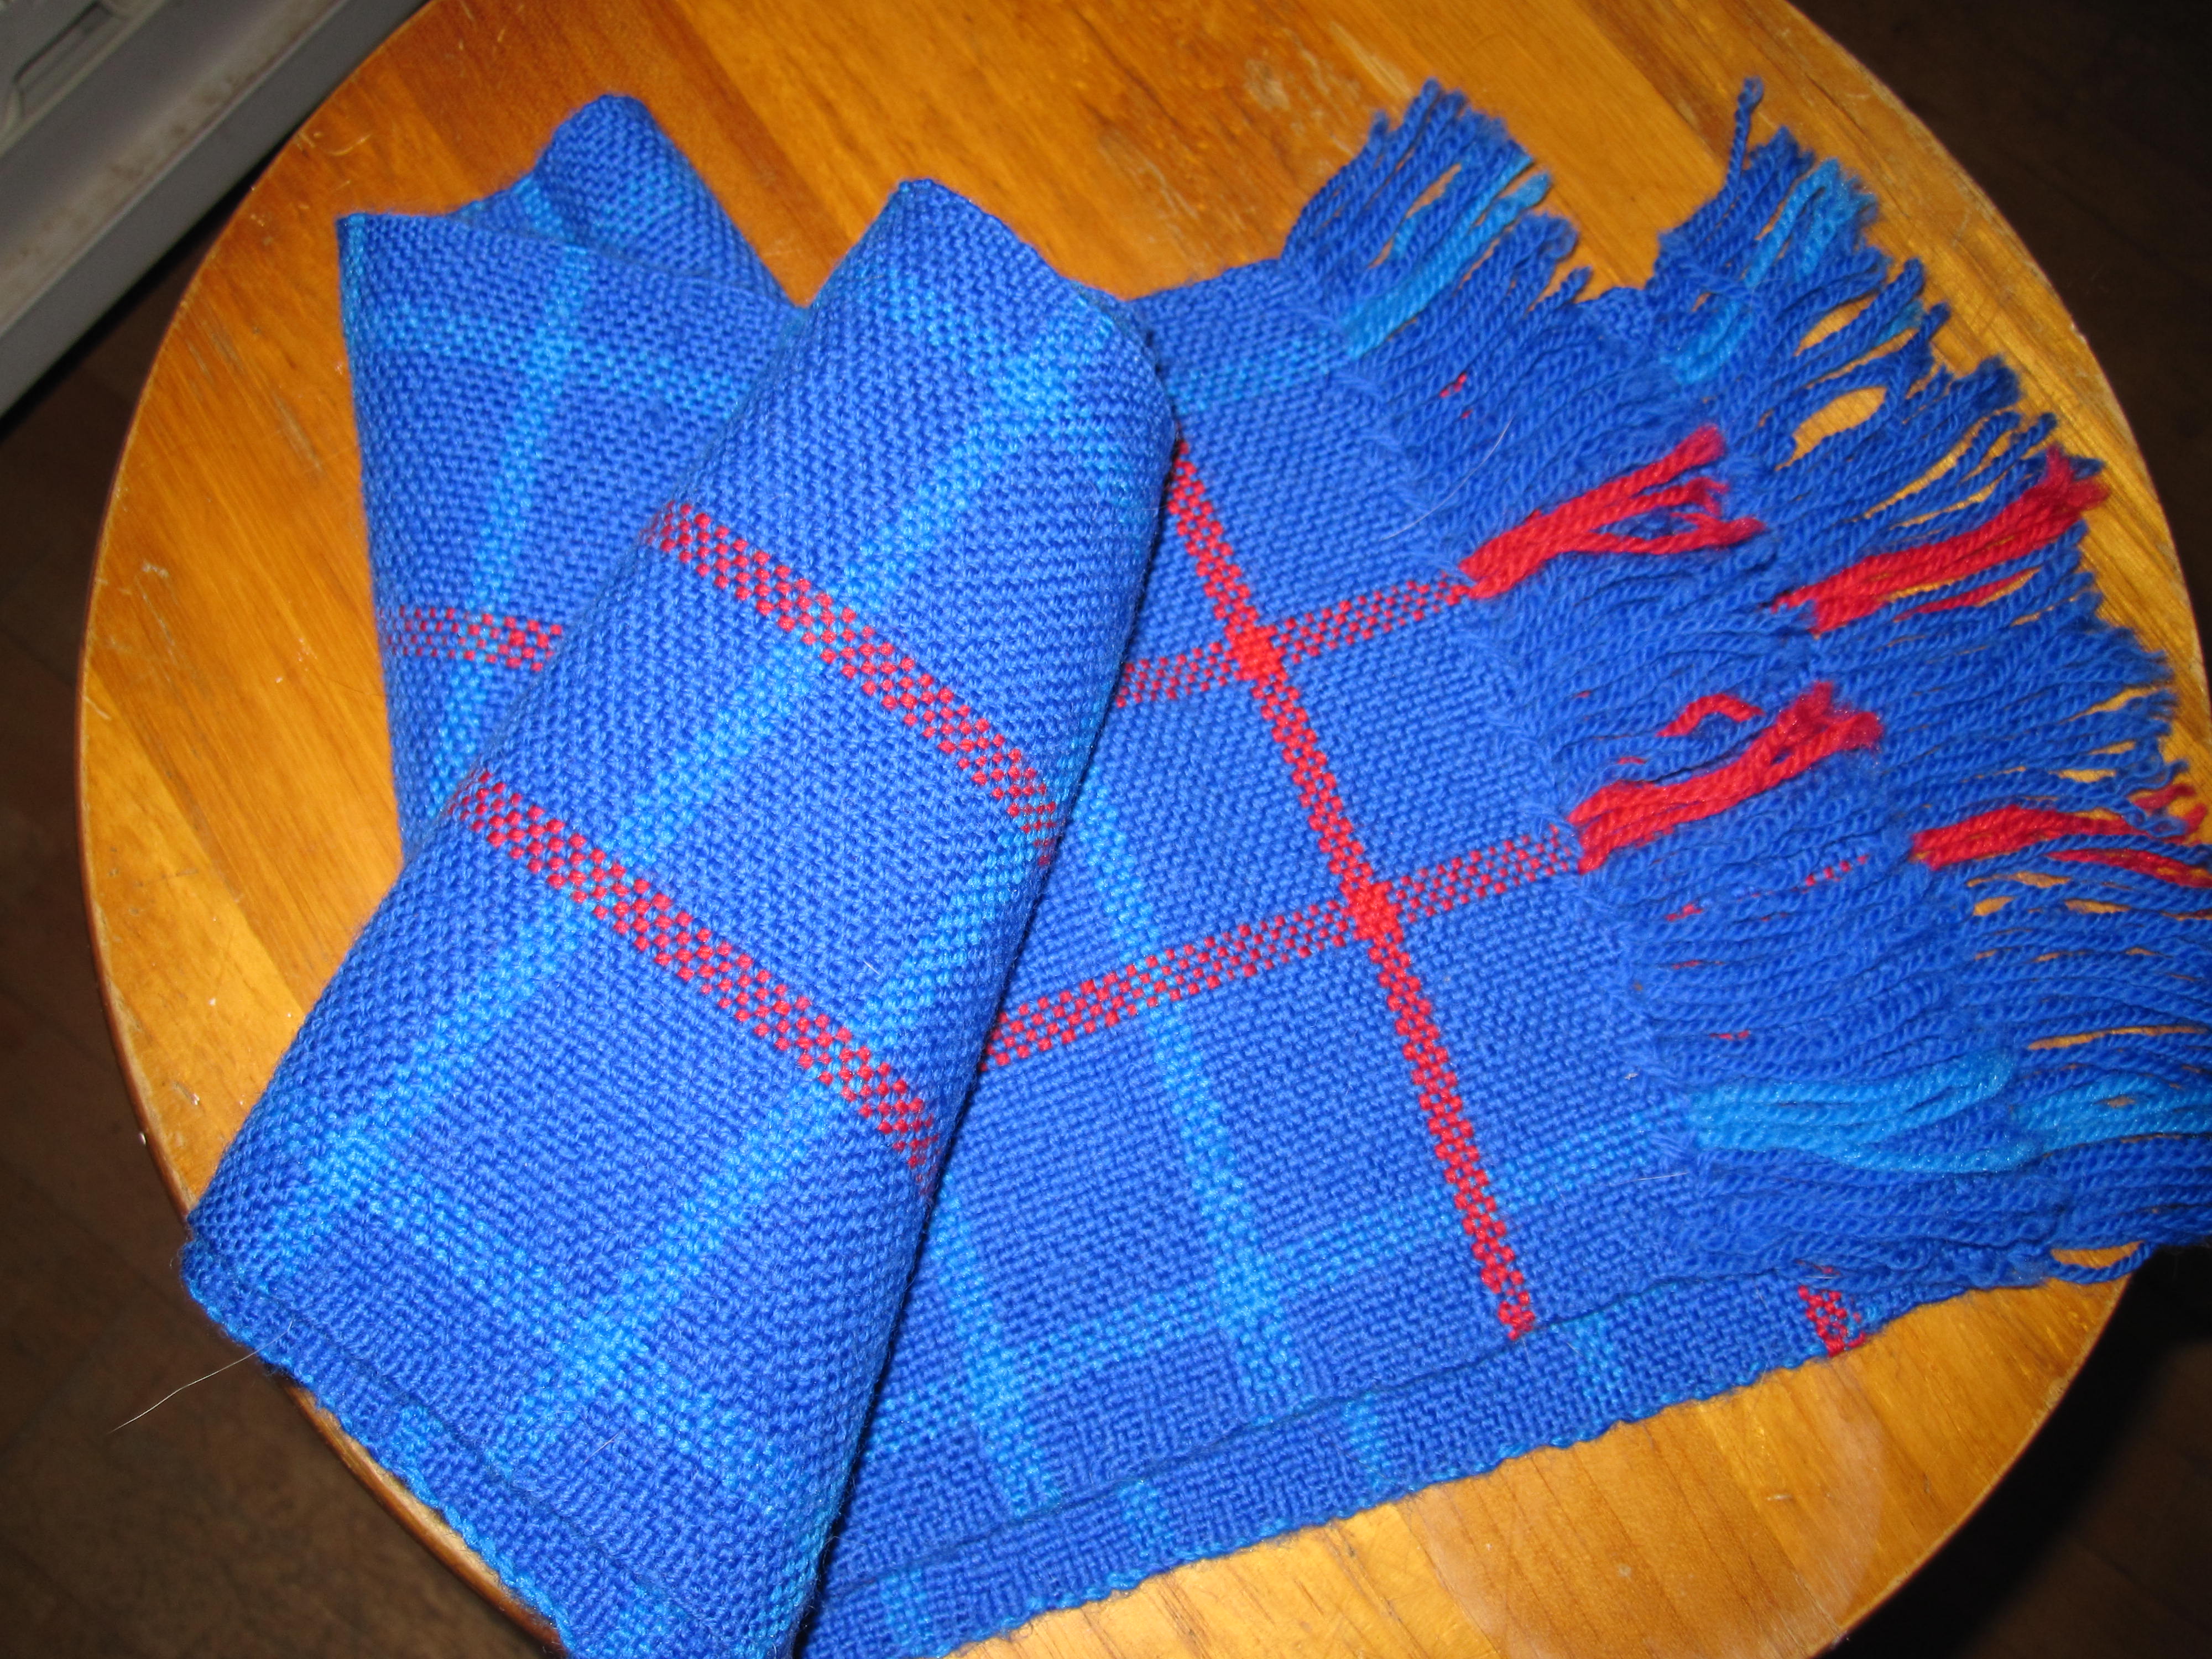
This was one of my first weaving projects. I made it for my Mother for Christmas one year.
I bought a lot of yarn at an auction and used it in several scarves. This is a wool blend and quite fine. The woman that had previously owned the yarn used it in a knitting machine. She got her yarn from the old woollen mill in town. I also bought (by mistake) her knitting machine. I just didn’t want to learn another craft so I haven’t used it.