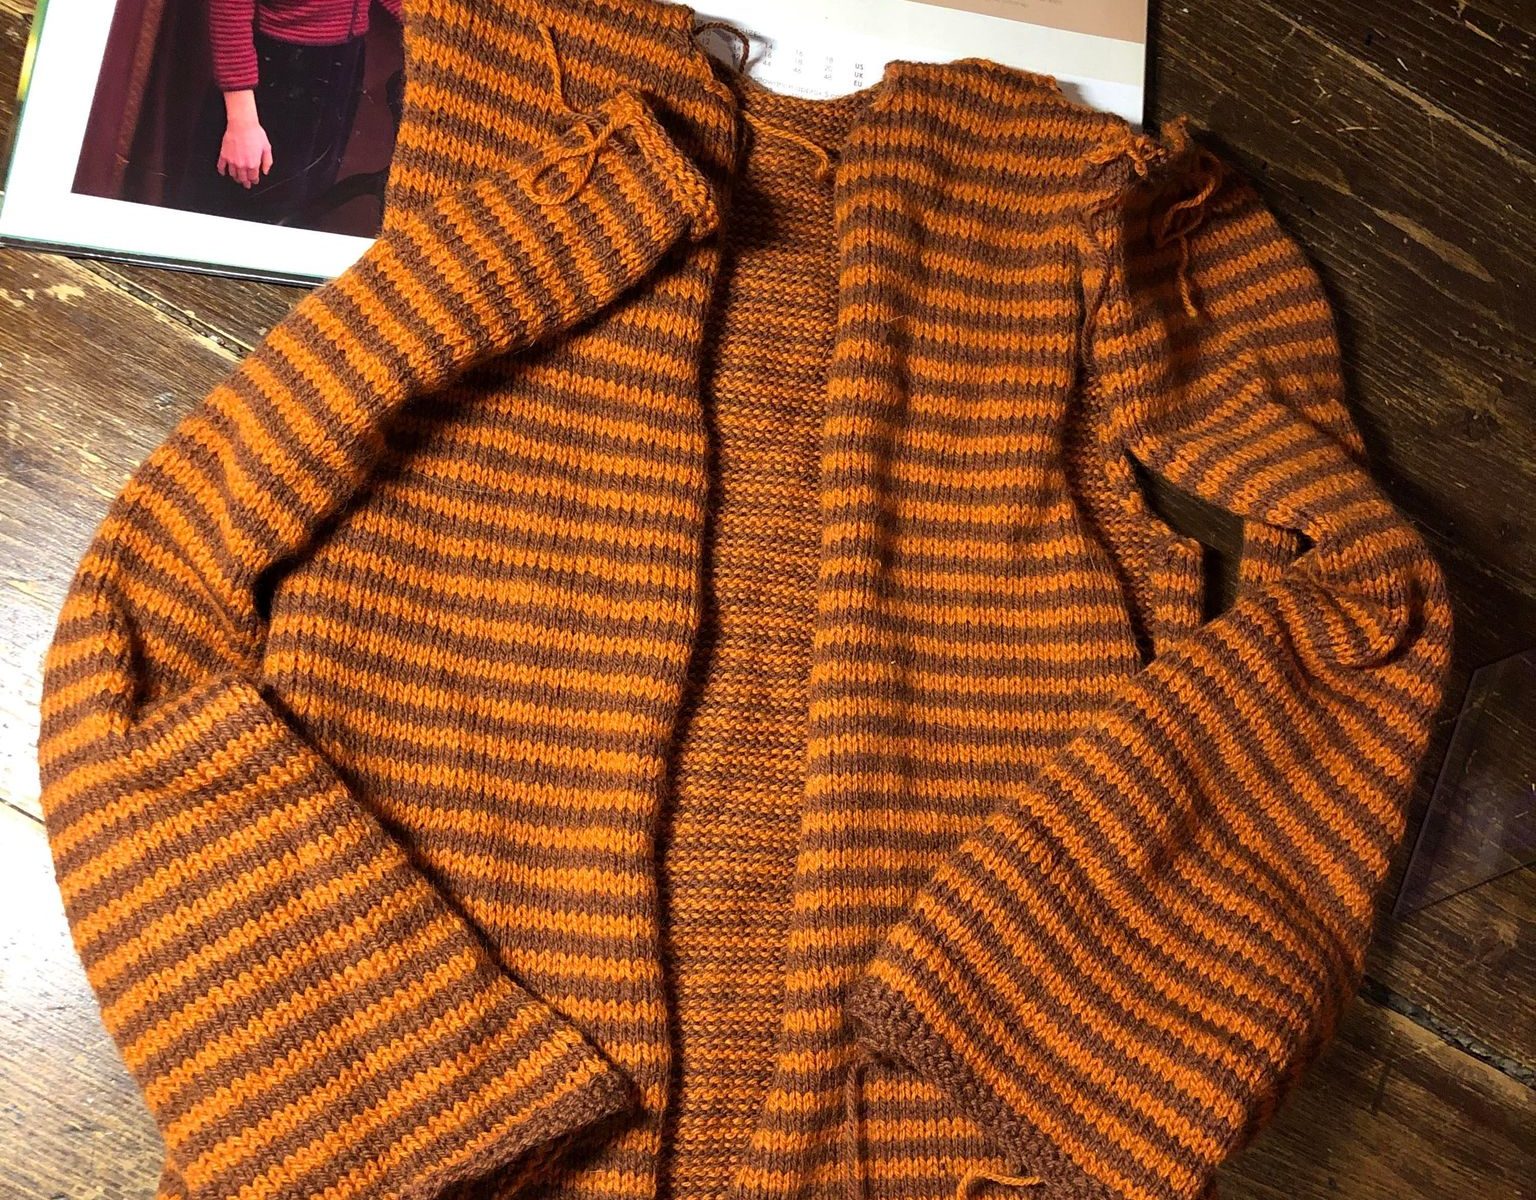
Several years ago Cassie asked me to knit this striped cardigan for her for Christmas. The pattern seemed to be a bit screwy, (maybe it was me), but something seemed to be wrong.
Several times I put the knitted pieces away and then would find it and work on it again. Recently the Needles in the Hay wool shop had a UFO KAL. You were supposed to find an Un Finished Object Knitting project, get it out and finish it and they were offering a discount on purchases for those who could complete an item and finish it within a certain time, and post about it. Well I managed to finish the cardigan and now it is a wearable item.
The Pattern
The Un Finished Object – in piecesCassandra wearing the CardiganLynn modelling the cardiganShawland Artisans
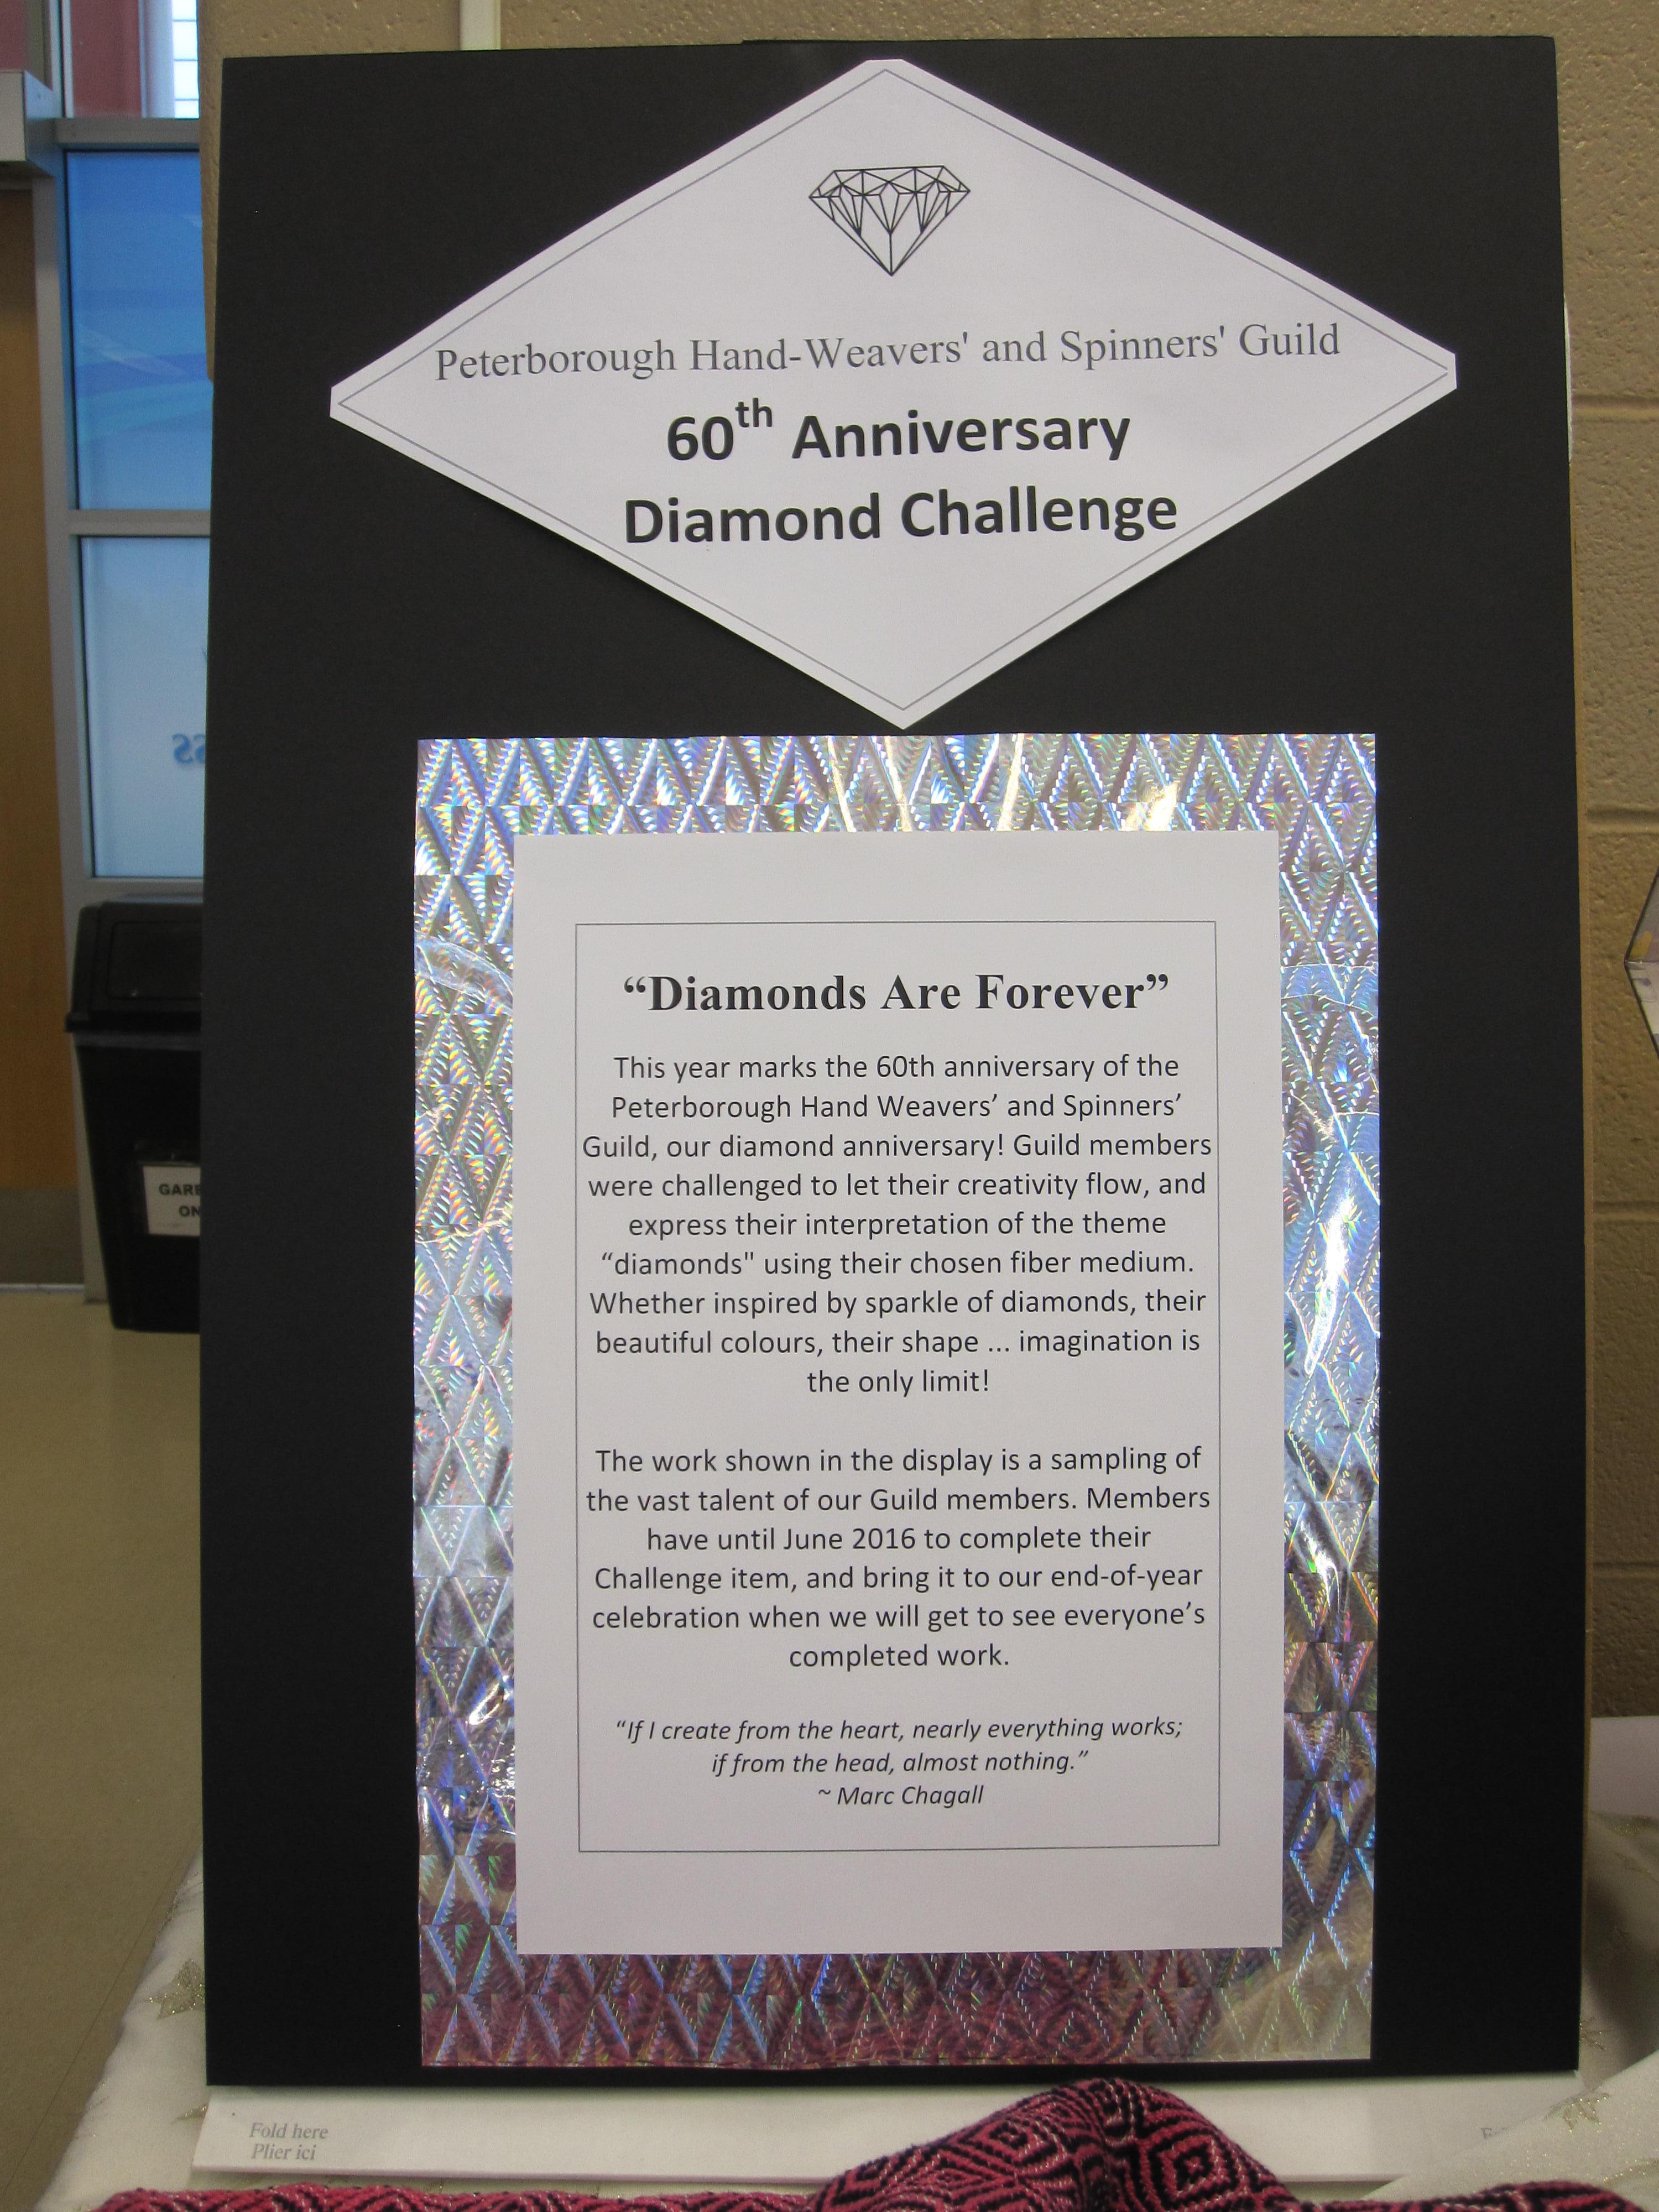
The Peterborough Handweavers and Spinners Guild have a fibre art challenge each year.
This year, 2016, being the 60th Anniversary of the Guild, it was decided that the challenge would be “Diamonds”.
The challenge items are to be displayed at several events during the year, the first one being the Fibre Arts Show and Sale. Of course I left it until about a week before the show, to decide what I was going to do. I thought I would weave something with a diamond pattern. With the help and encouragement of my daughter Cassie, I began the project.
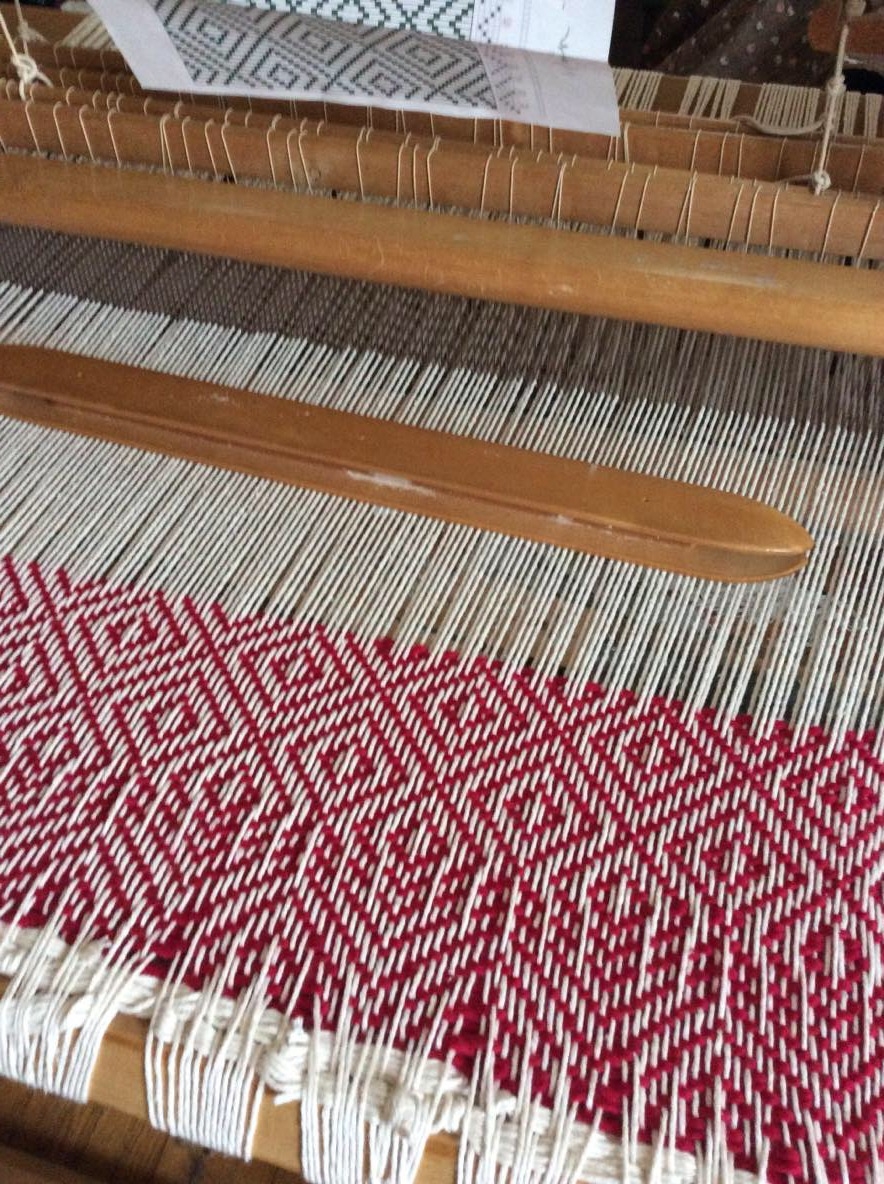
First I made the warp. I used a white cotton. Because my loom isn’t built for uneven weaving, it was a bit of a challenge to get the weaving done. I practiced with a couple of different yarns, in yellow shades, that I had spun myself.
Then for my project … for the weft, I used a navy blue wool. After a certain length… small rug size… I cut it off and hemmed the ends. Then I could use this as my challenge item for the Fibre Arts Show & Sale. Of course there was still quite a length of warp left so I used it up with a red wool weft. For this rug, I left tassels on the ends. They turned out quite nicely. My cats loved them . . .
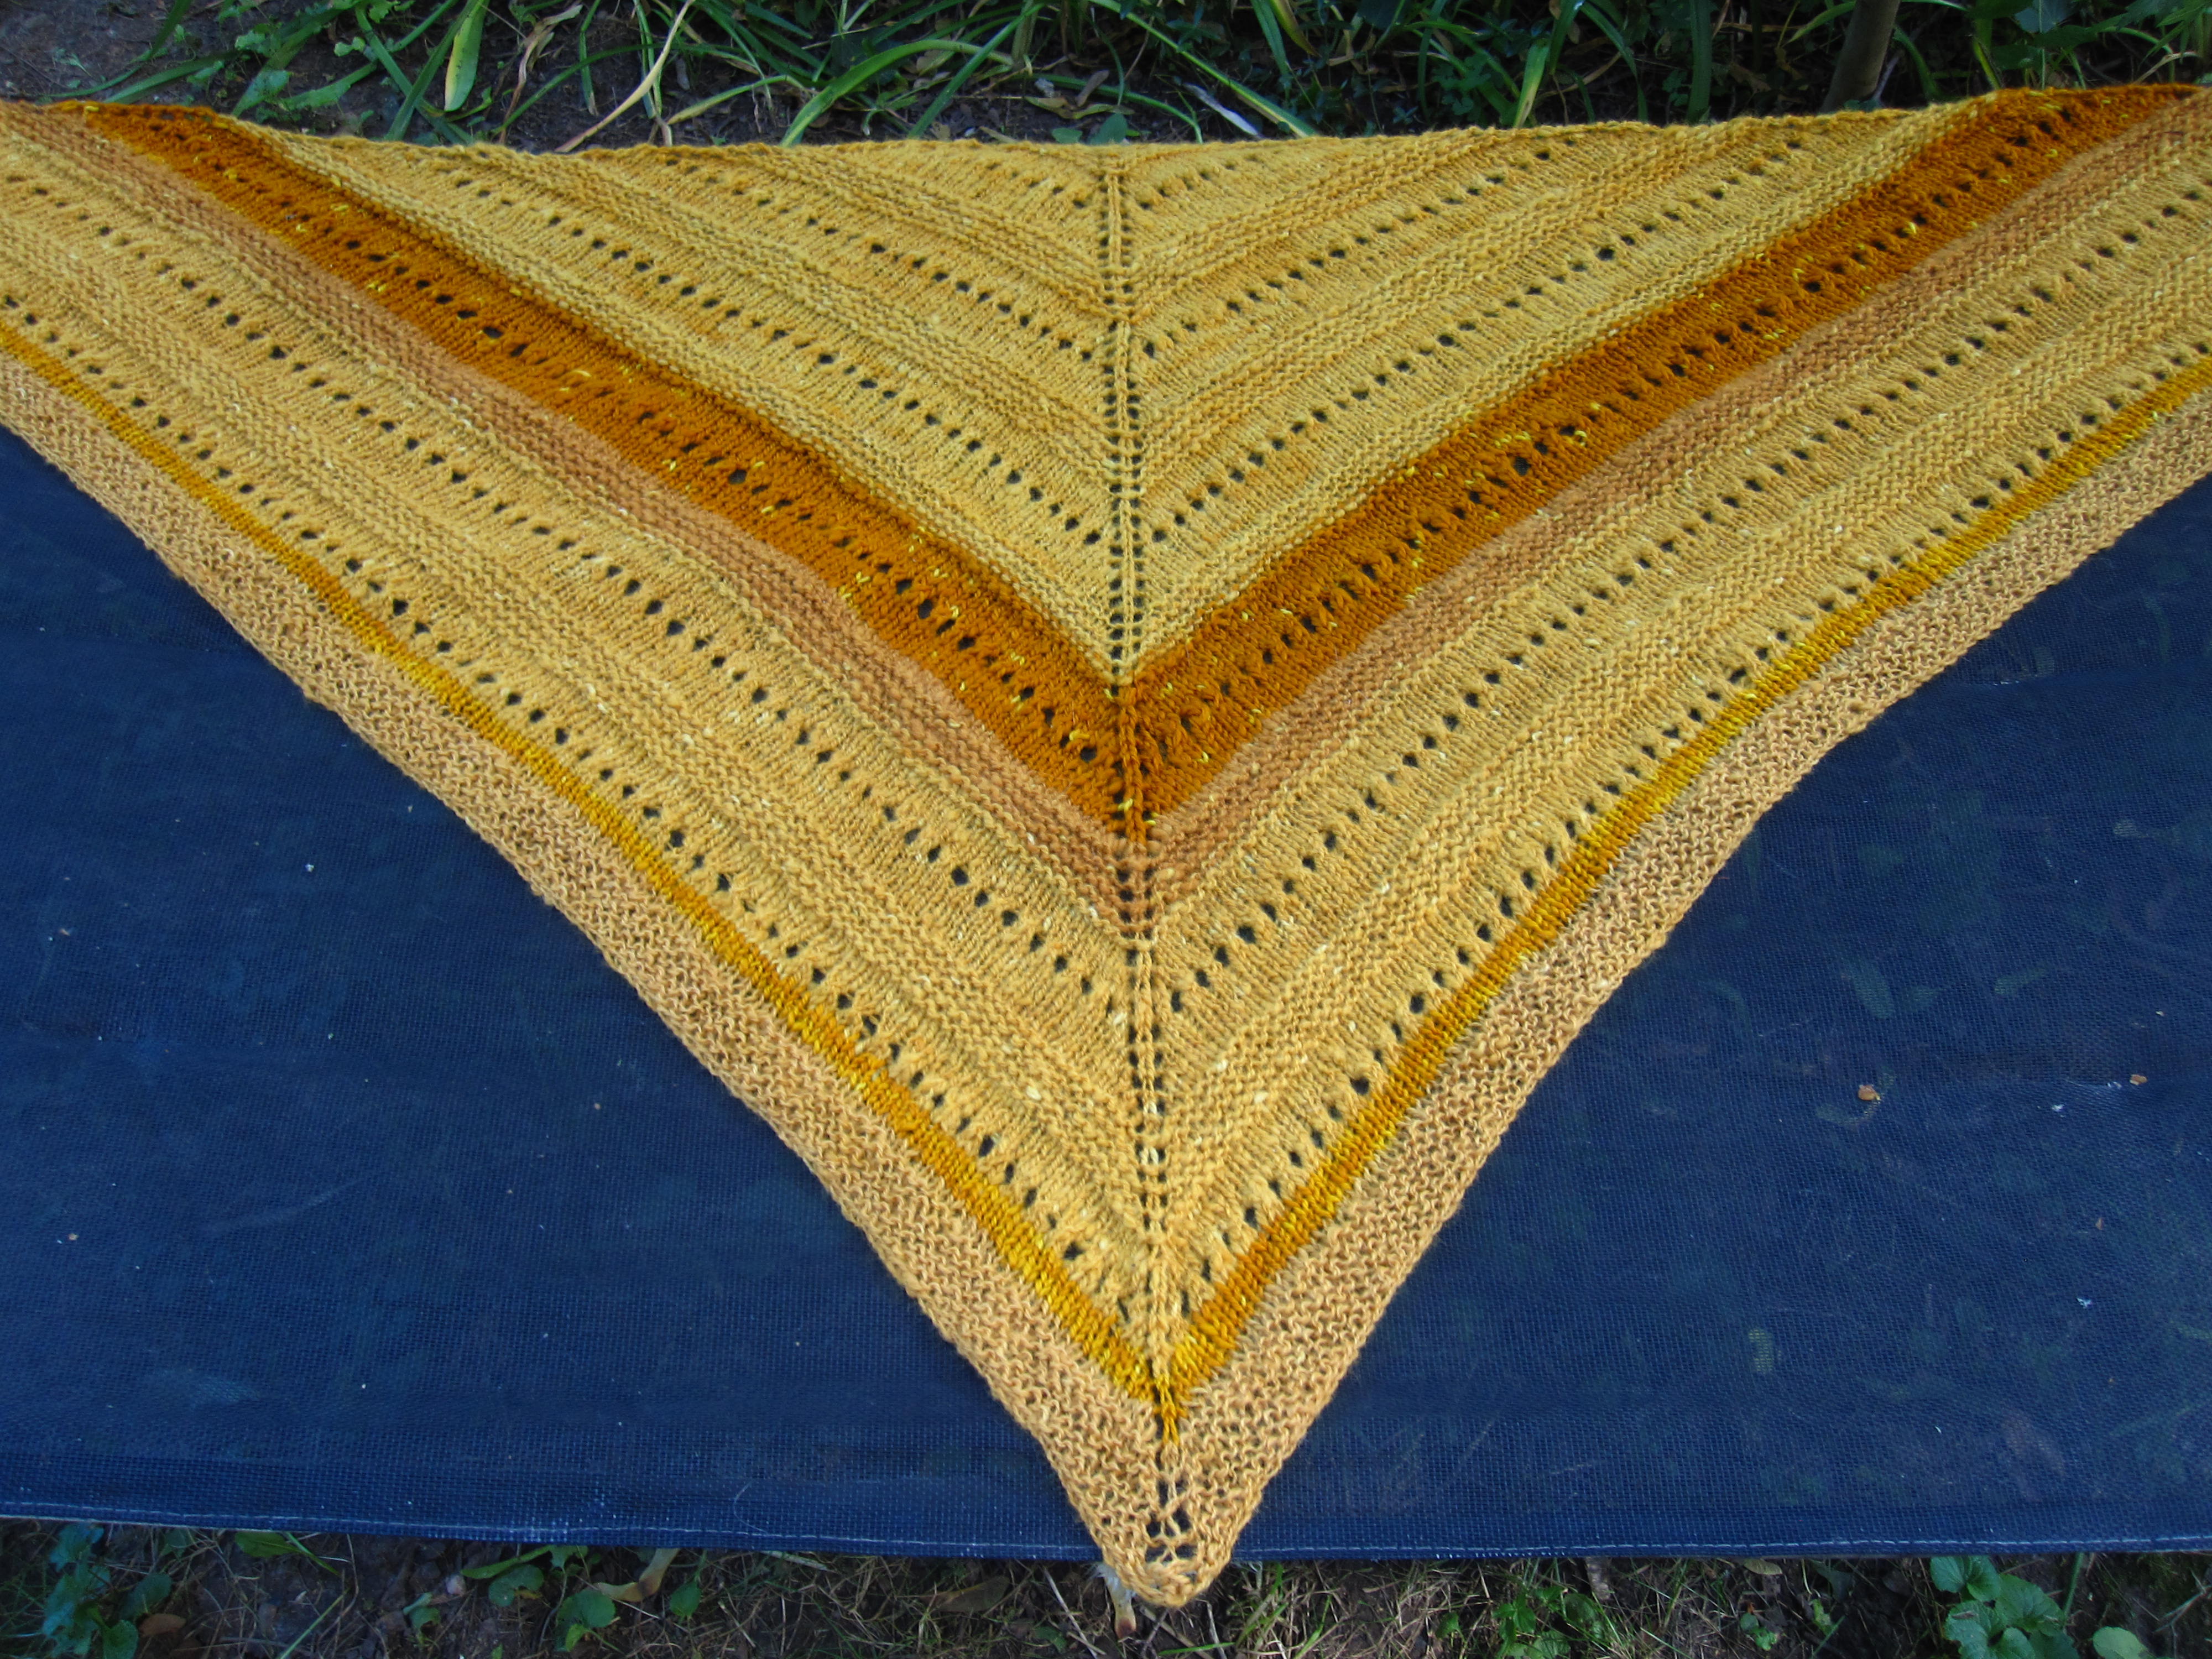
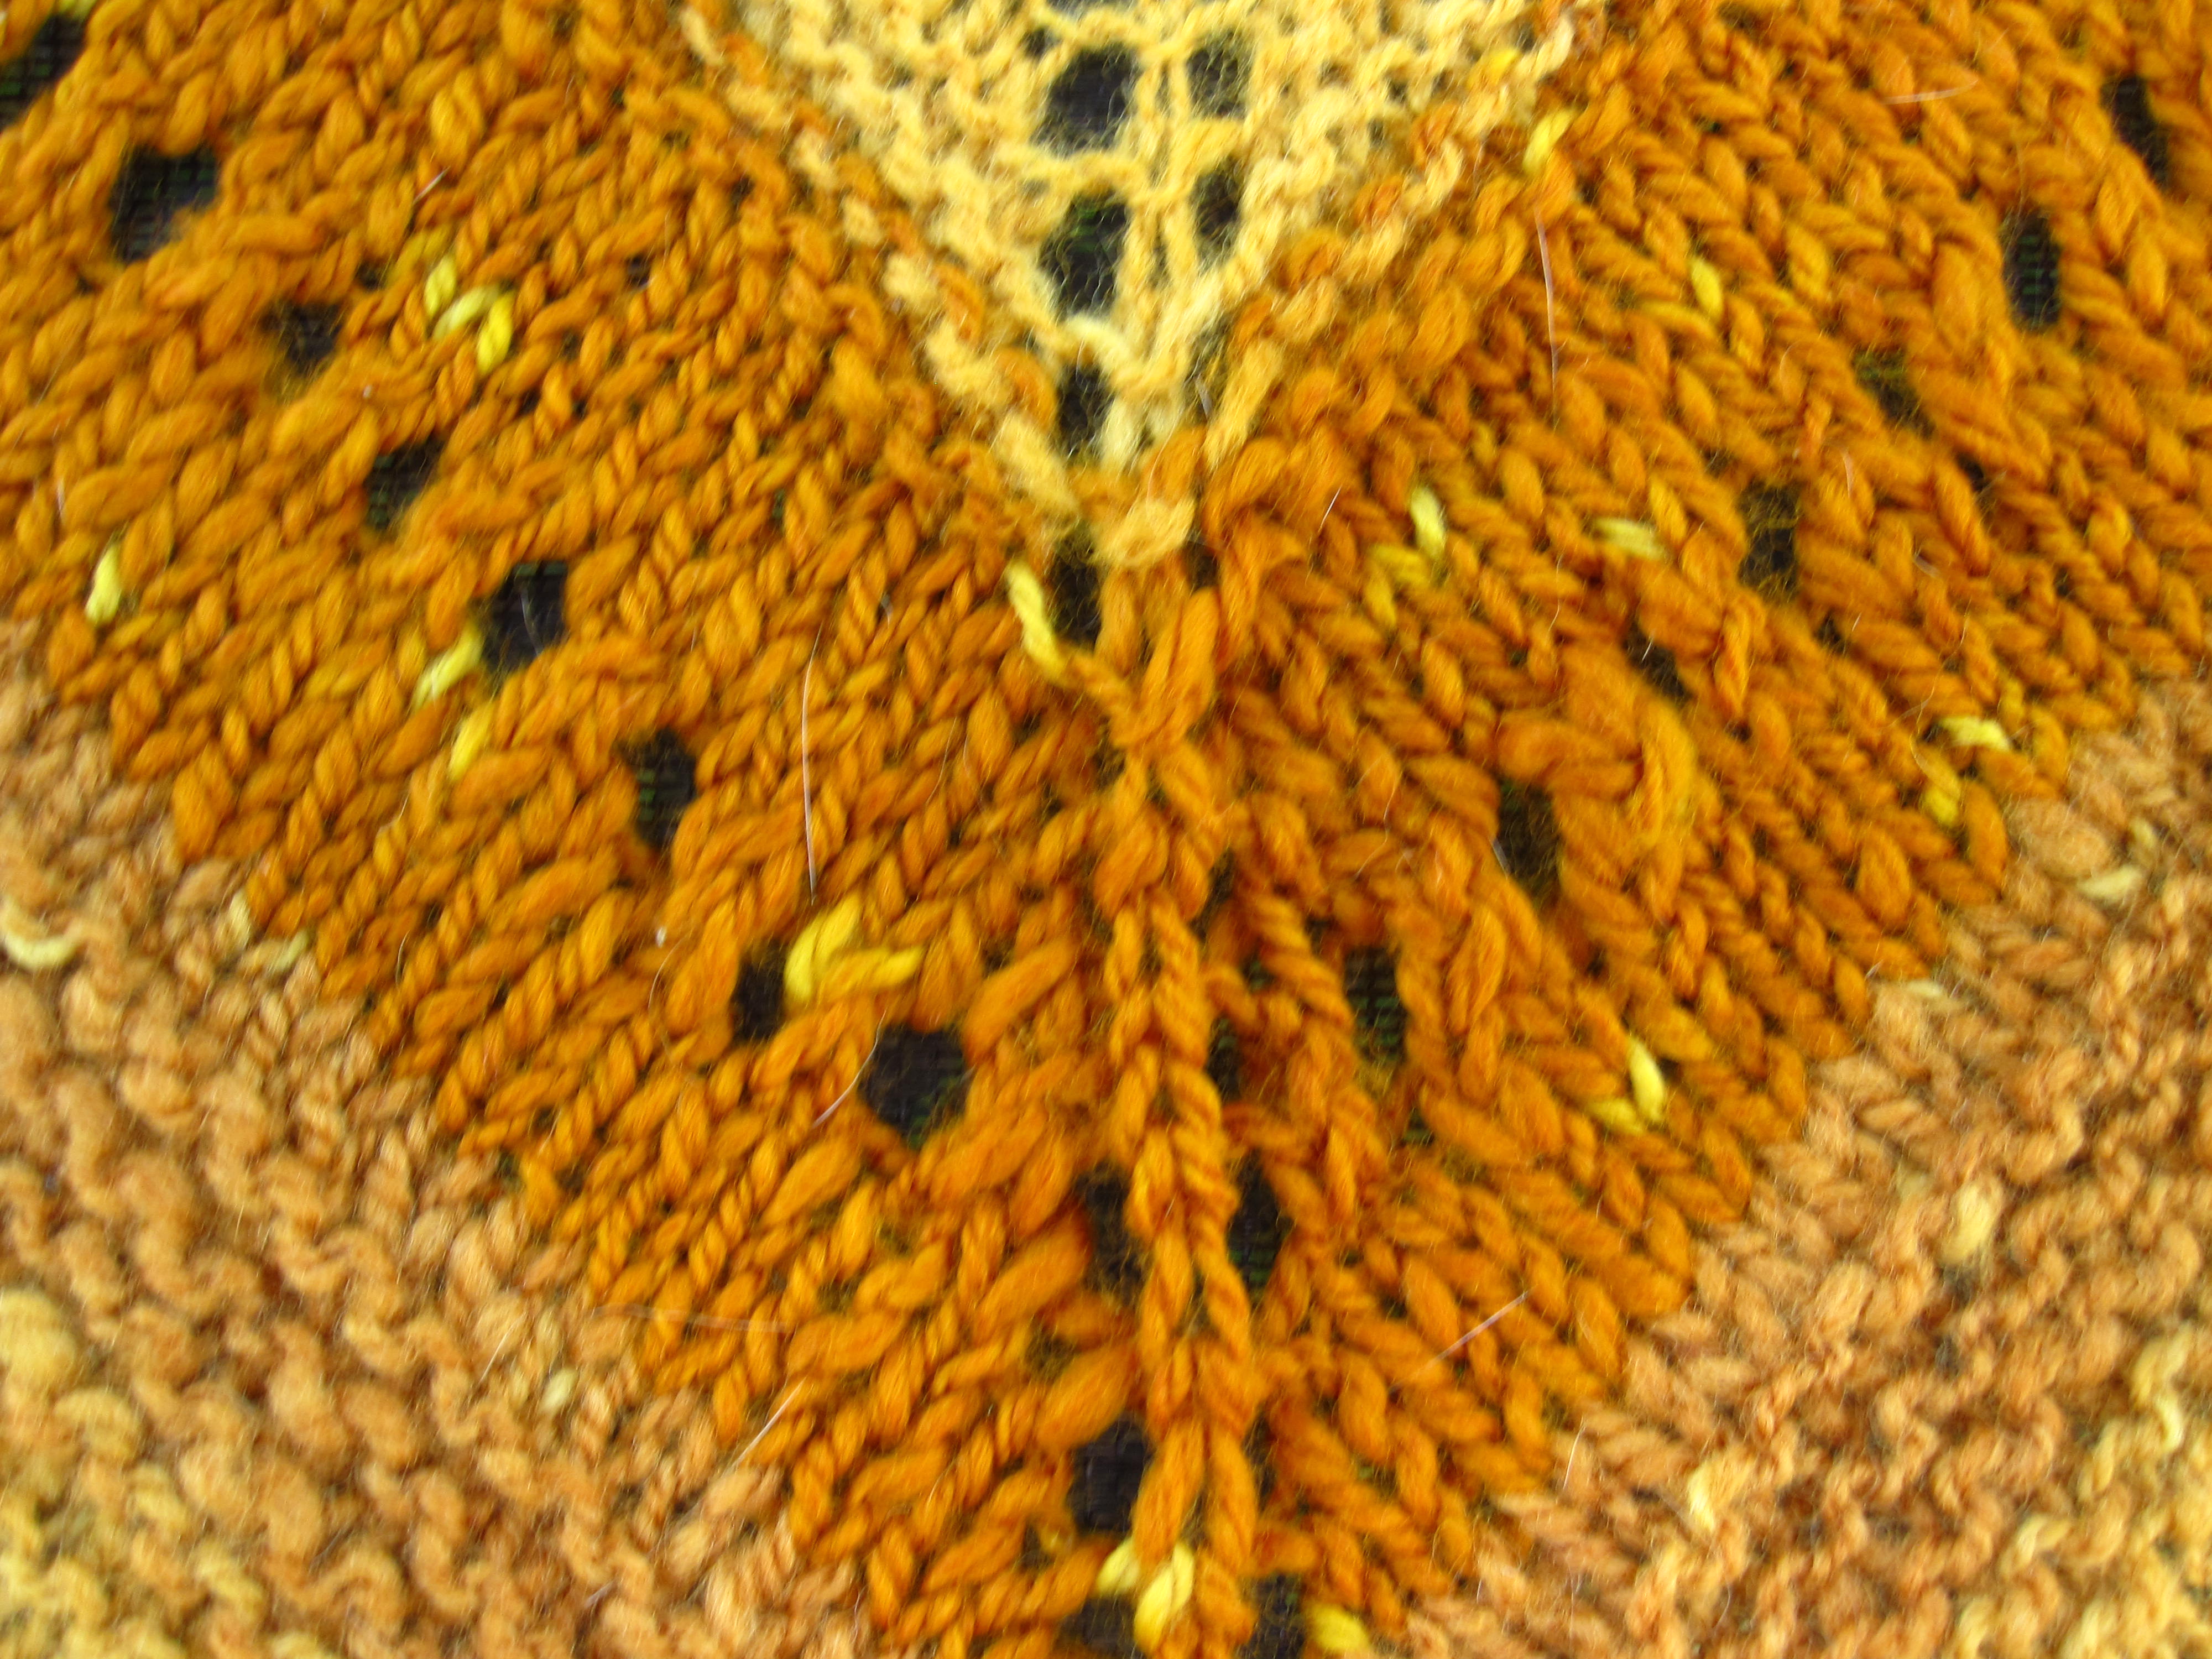
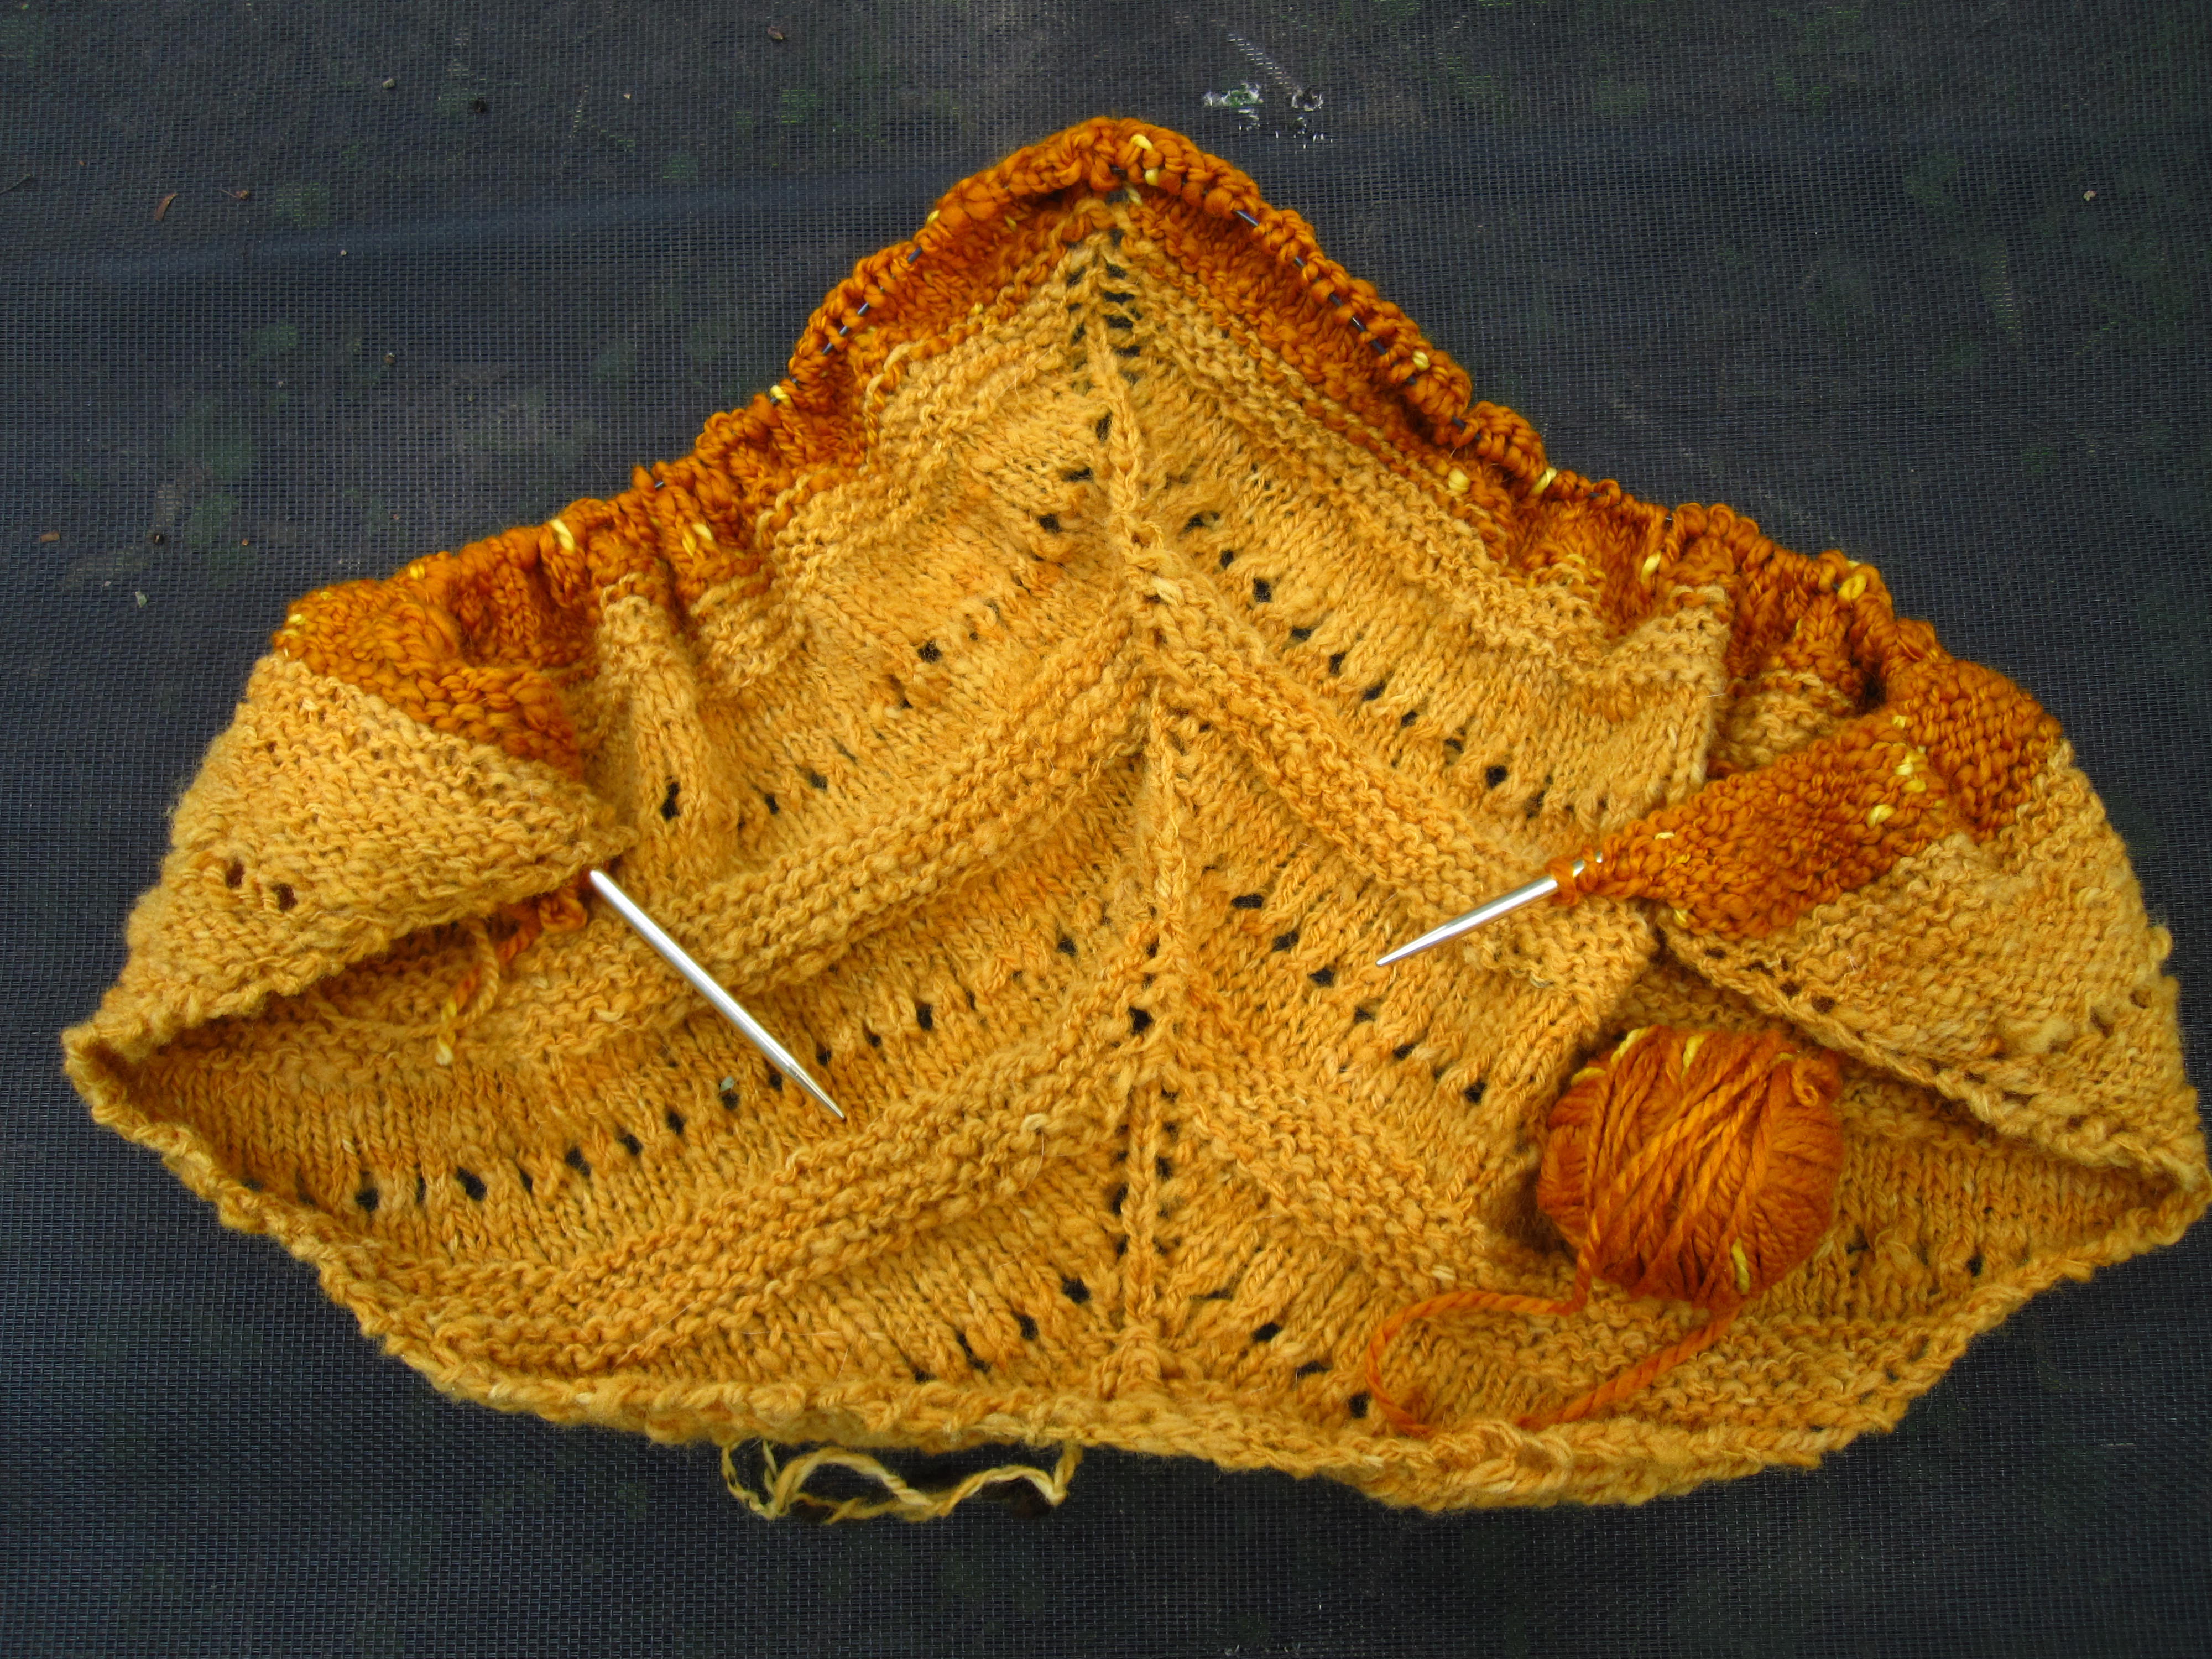
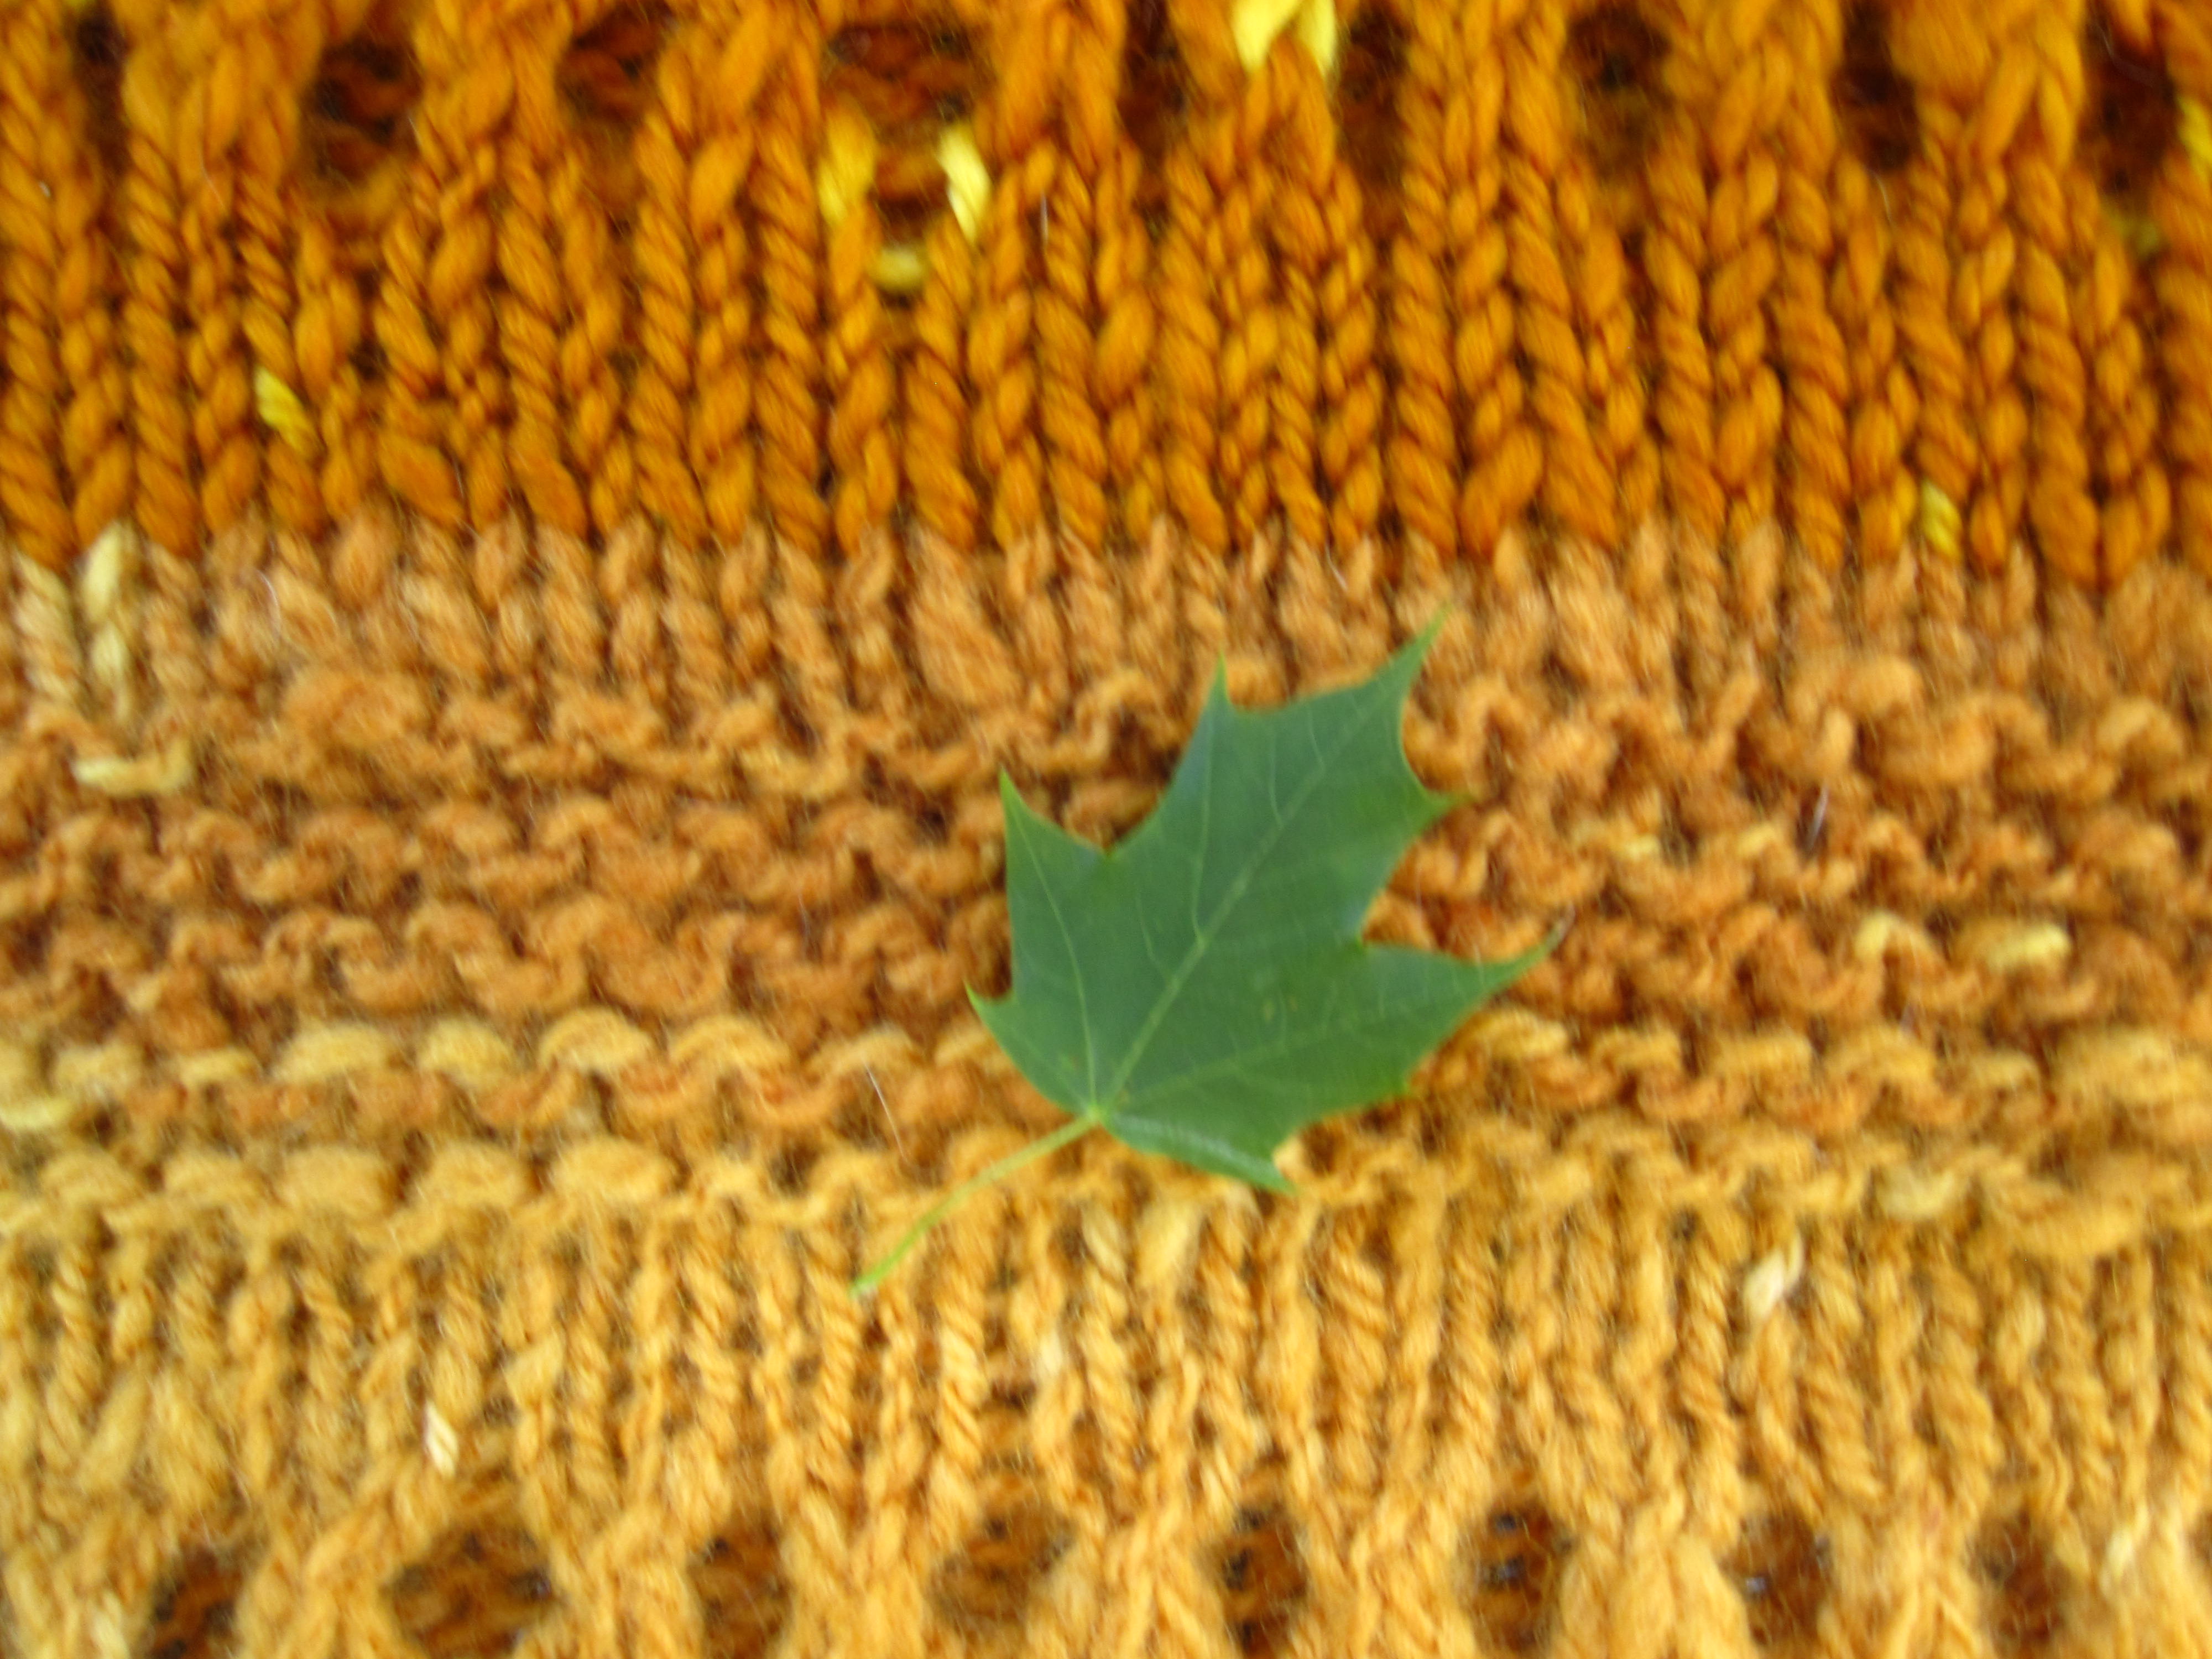
Cassie needed a project to use up the wool that she had spun using a drop spindle. She had died it with Woad seeds. We found a pattern on the internet for Lala’s Simple Shawl lalasimpleshawl_eng-2 . It is similar to the small shawls that we made before, but this shawl is much bigger and the pattern is a bit different. I decided that I should make one too. It seemed like a good way to use up some of the wool that I have spun and dyed. I started out with a large ball of wool that had been dyed with onion skins. Of course this ball ran out before the shawl was finished so I found another similar one. It ended up that I had to use several different types and weights of wool with different intensities of onion skin dyes.
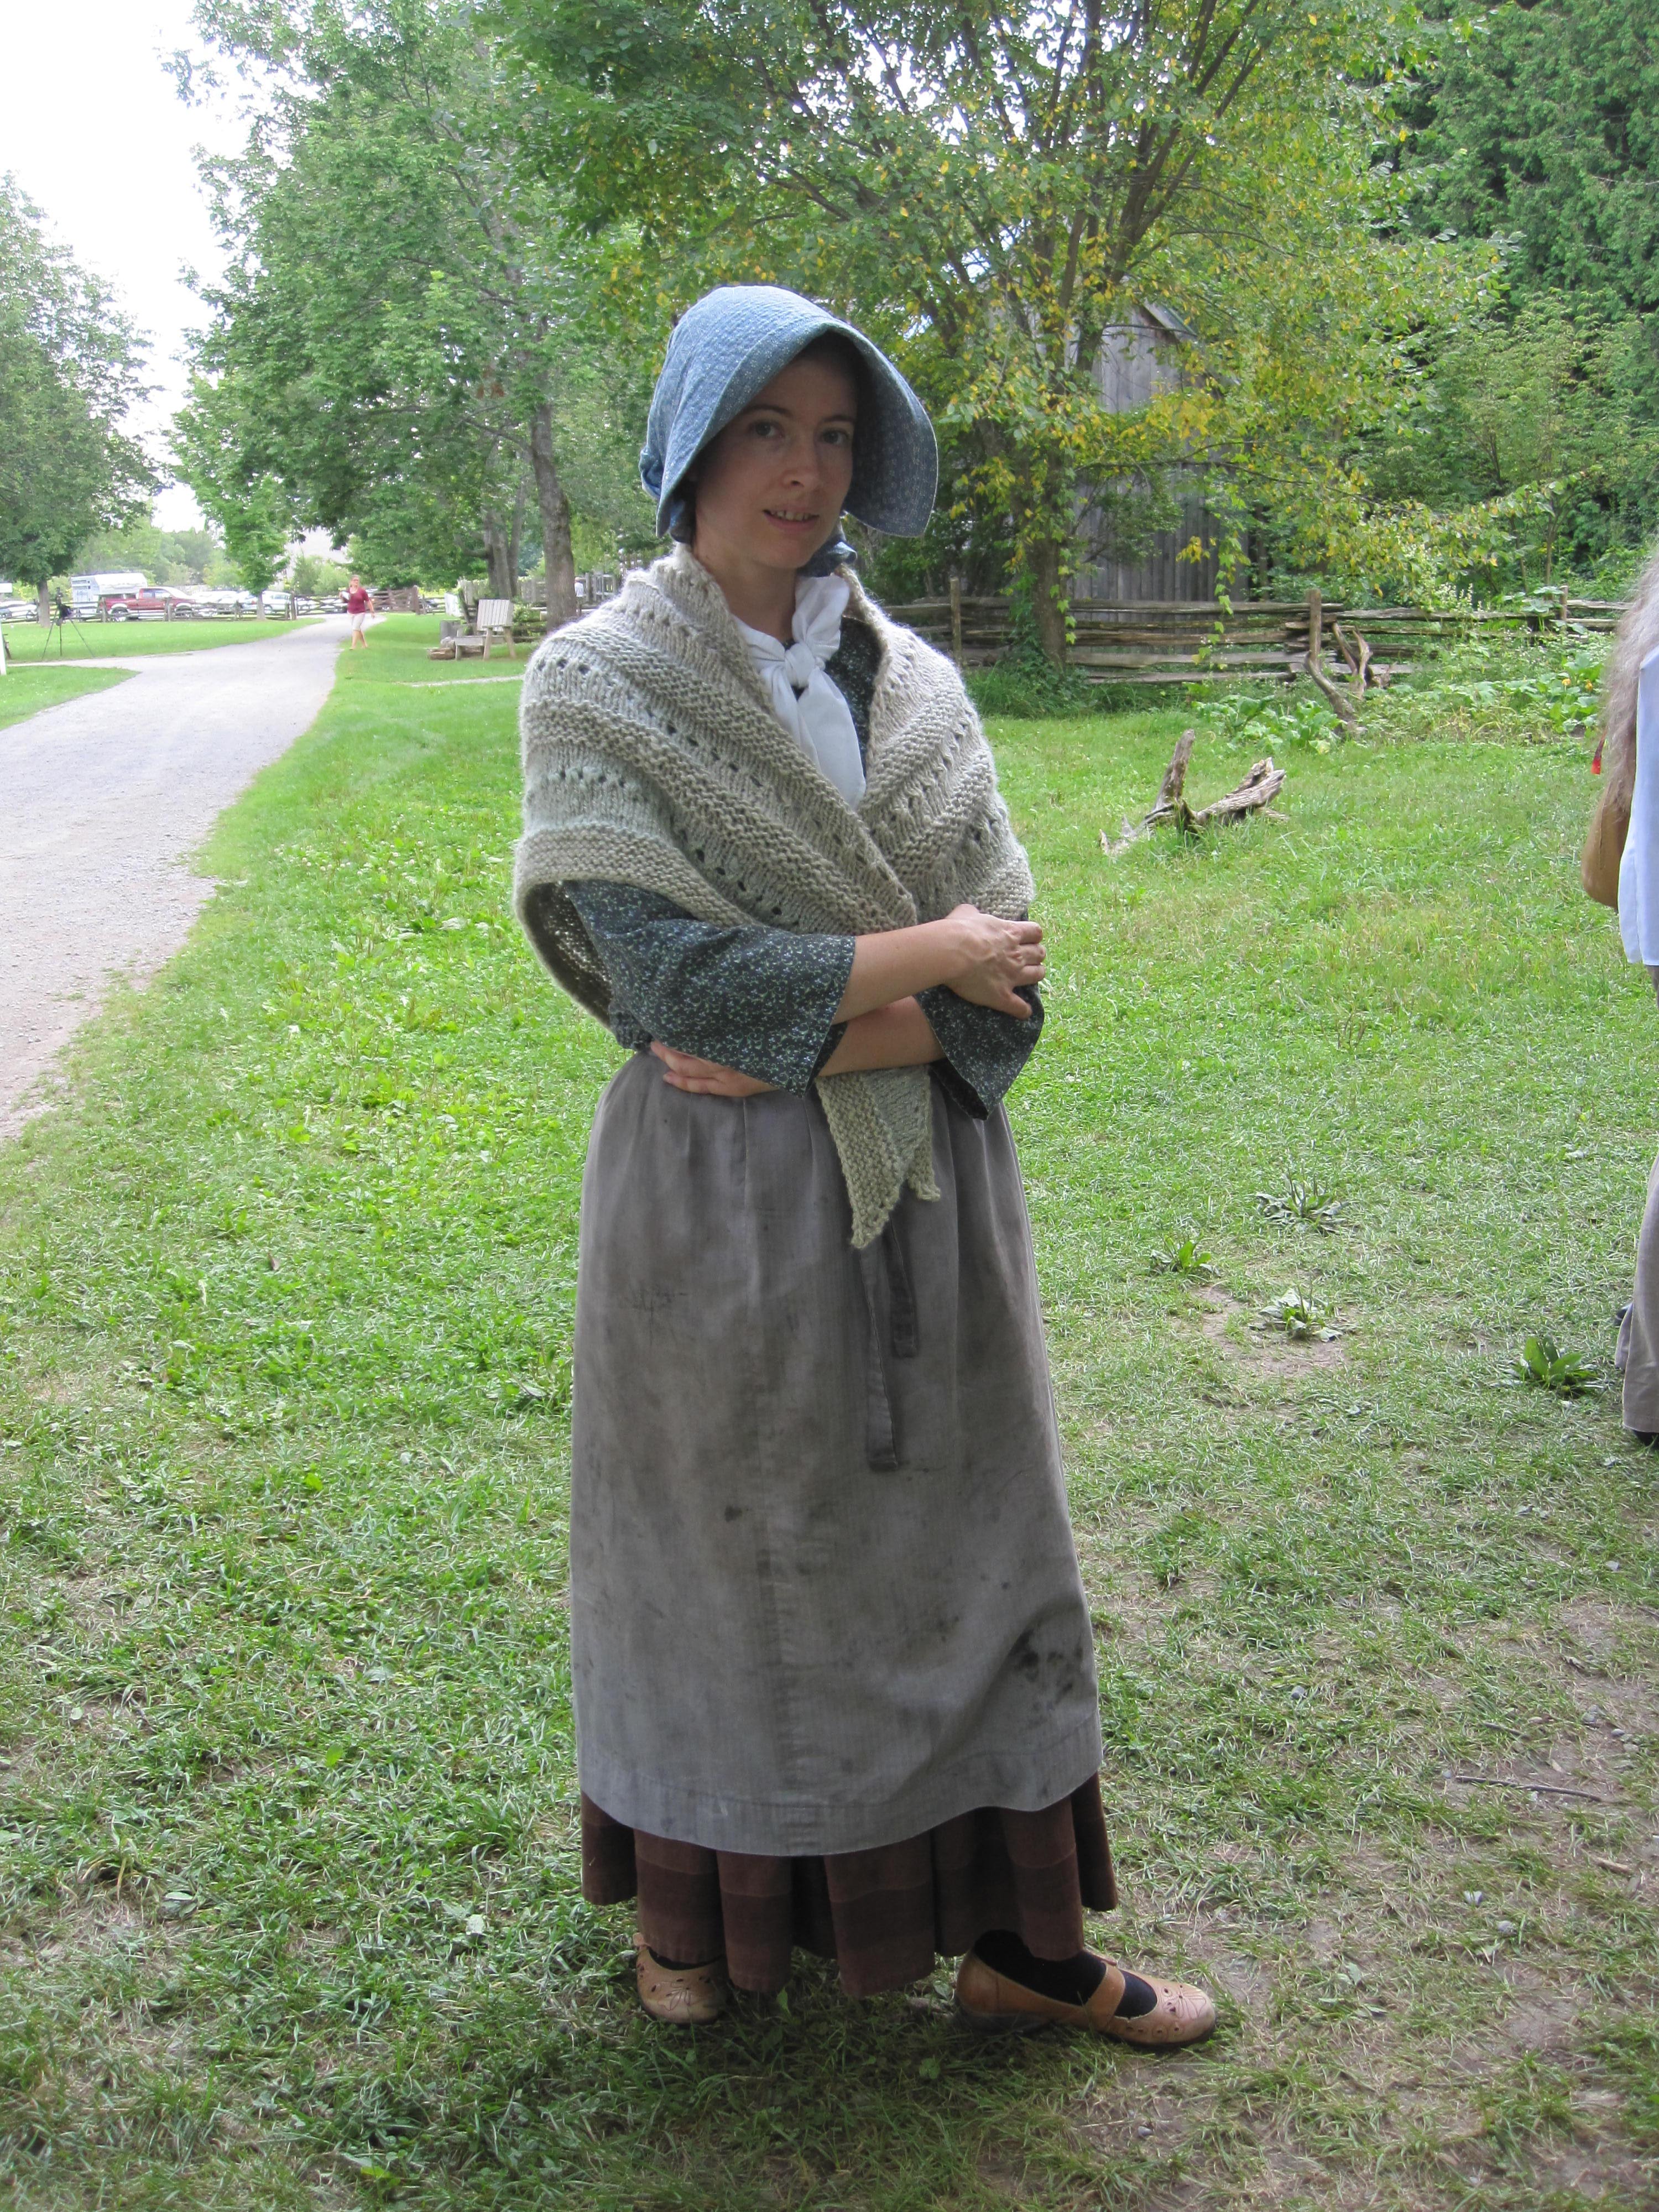
The finished shawl has a striped look as each ball of wool was different. I quite like the results. The one picture shows Cassie wearing her blue shawl while working at Lang. I thinkshe ran out of wool and had to spin more to finish. Sammi also made her version of the shawl with wool that she purchased a while ago from Harrisville. Of course she made hers in half the time it took me. Candace has also started one with some lovely wool that she bought in Toronto.
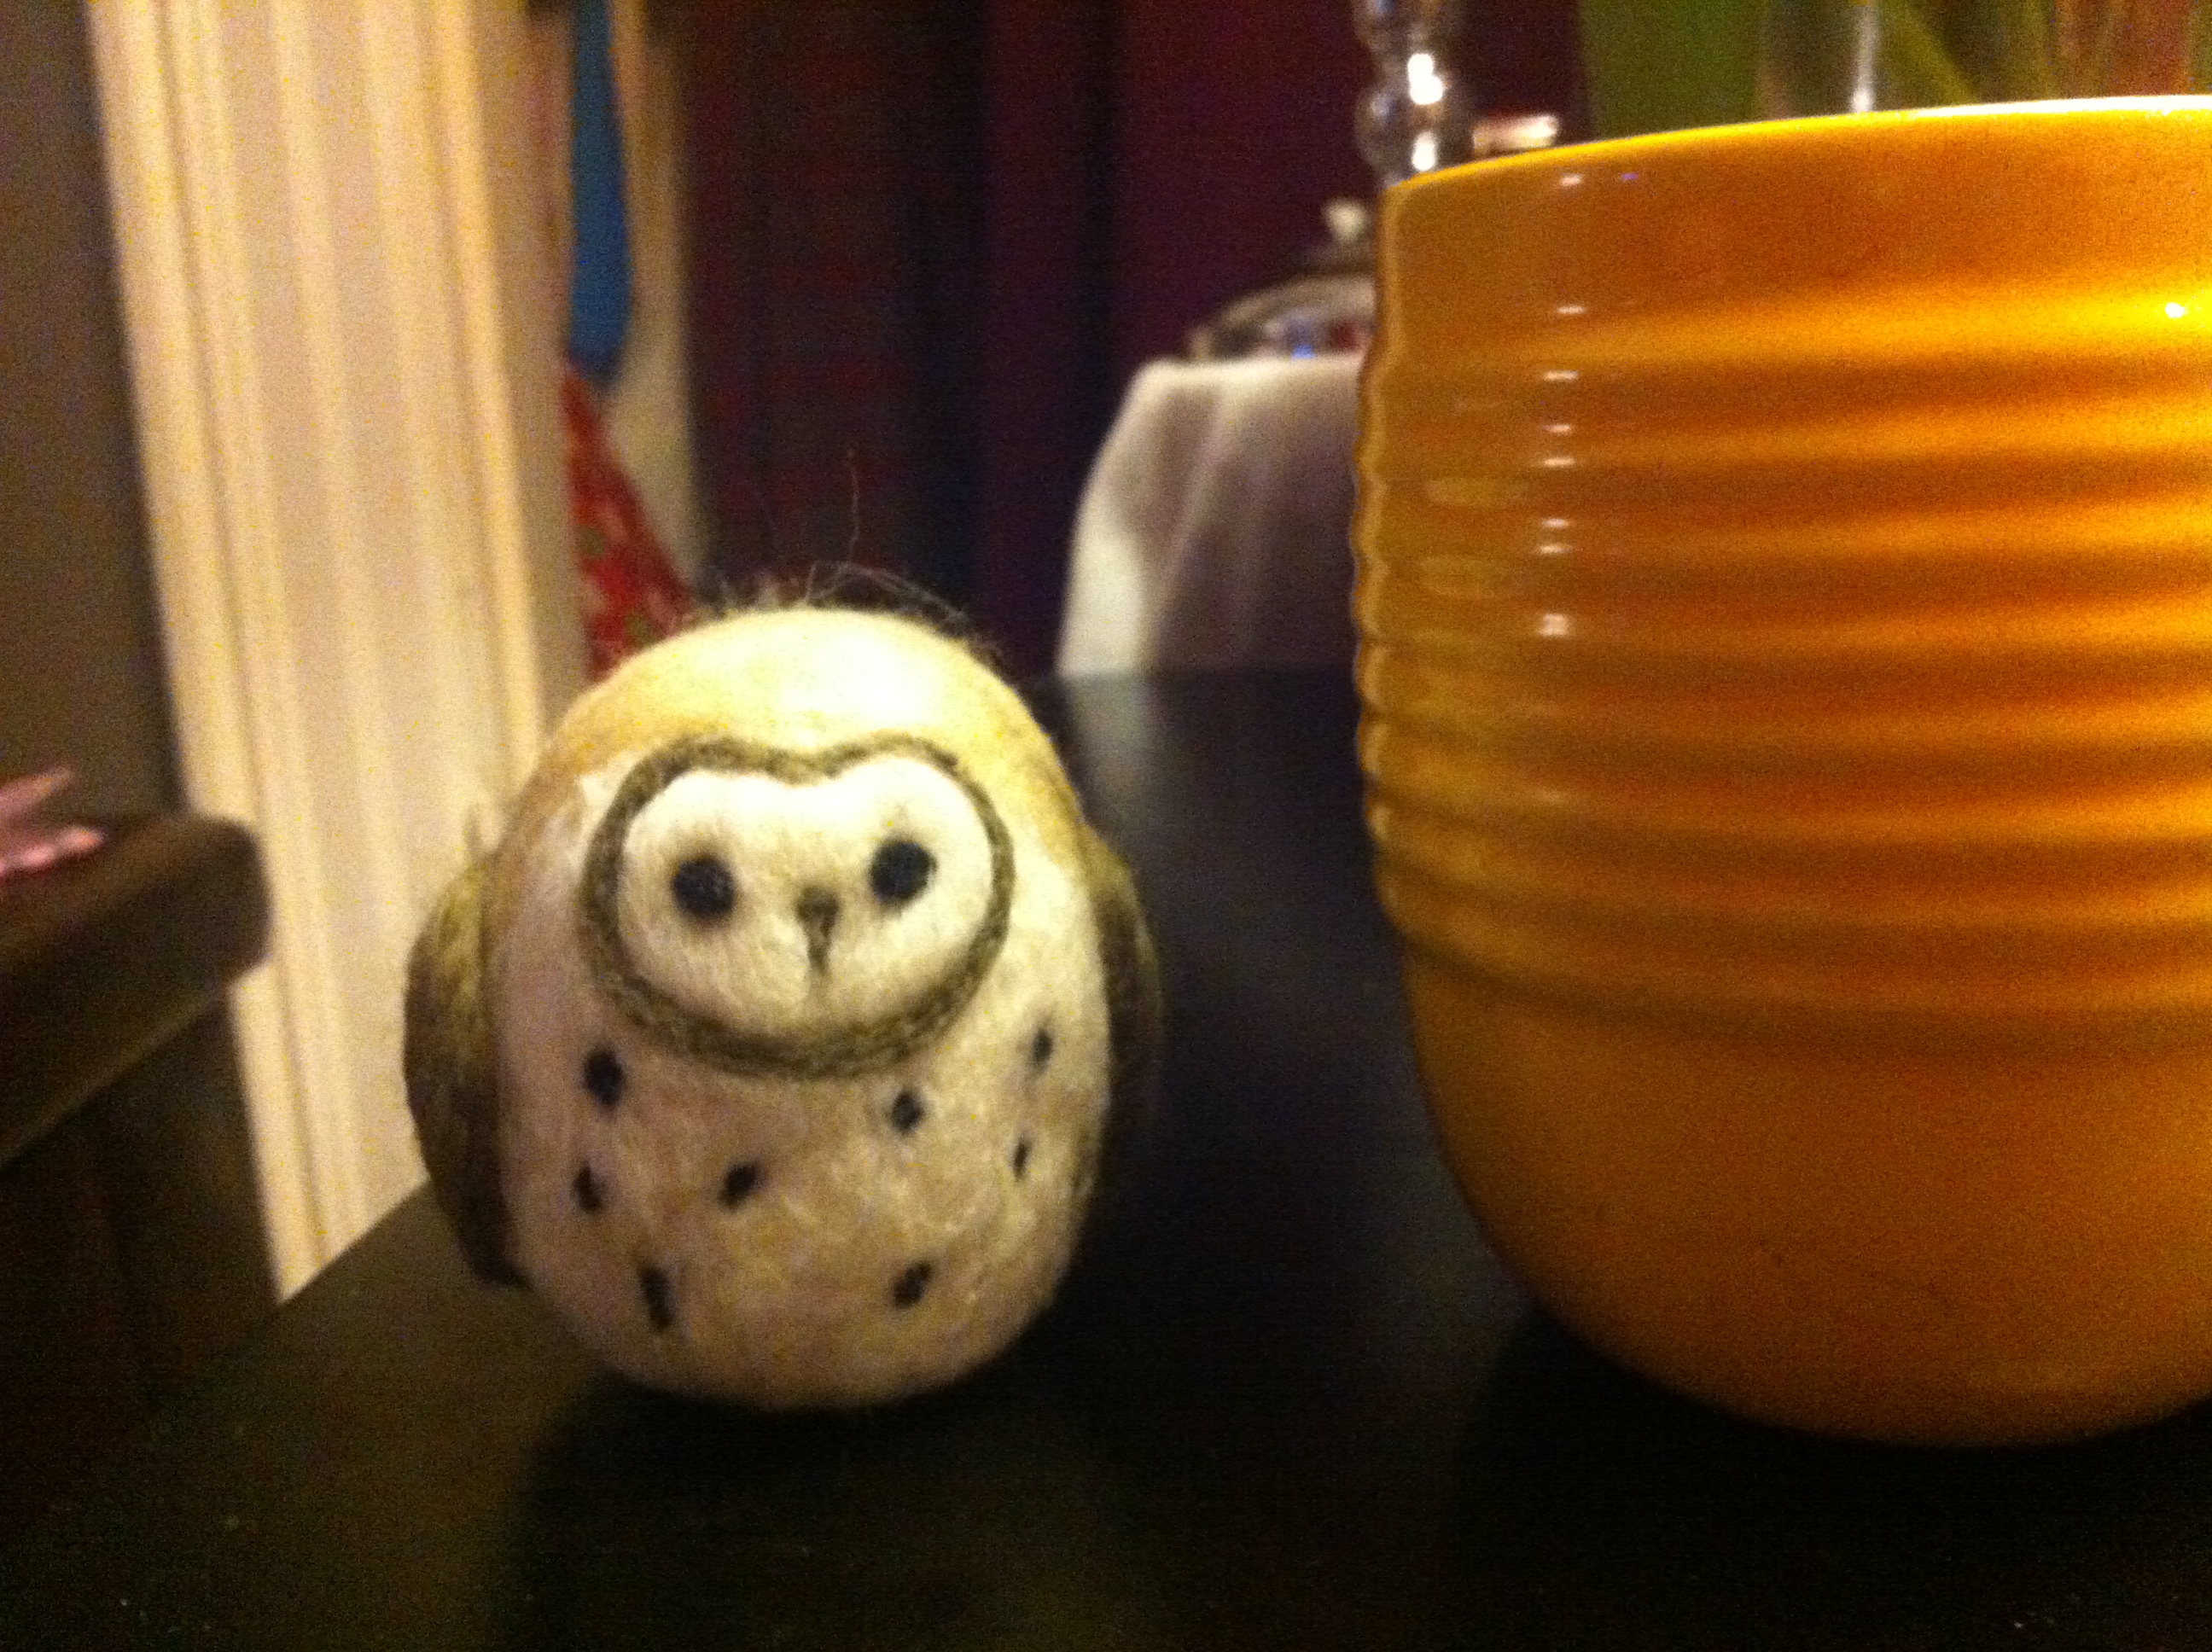
A couple of weeks ago, I was up in Cobourg visiting friends, eating lots of delicious food, and attending the Shelter Valley Folk Festival‘s Annual General Meeting. My awesome friend Lesley ((Who not only has a great and very funny blog but also is starting an excellent project called ‘Northumberland Small Time‘))had me over for brunch and crafternoon, and we took a quick trip over to The Black Lamb in Port Hope to pick up needle-felting supplies.
I’ve been meaning to buy some needle-felting supplies for a long time, but none of the wool stores in Toronto seem very well-stocked for that sort of thing; The Black Lamb, however, has plenty of great colours and supplies, and is pretty awesome for anyone working in wool.
I’ve only ever made one needle-felted object before – a little snow man, which I made at a Peterborough Hand-Weavers and Spinners Guild meeting – and I wasn’t really sure what I was doing, but it’s a pretty straightforward skill to pick up, at least for simple projects.
Anyway, I made a cute little owl – I think maybe it’s a barn owl. As they used to say in Brownies, ‘too-whit, too-woo!’
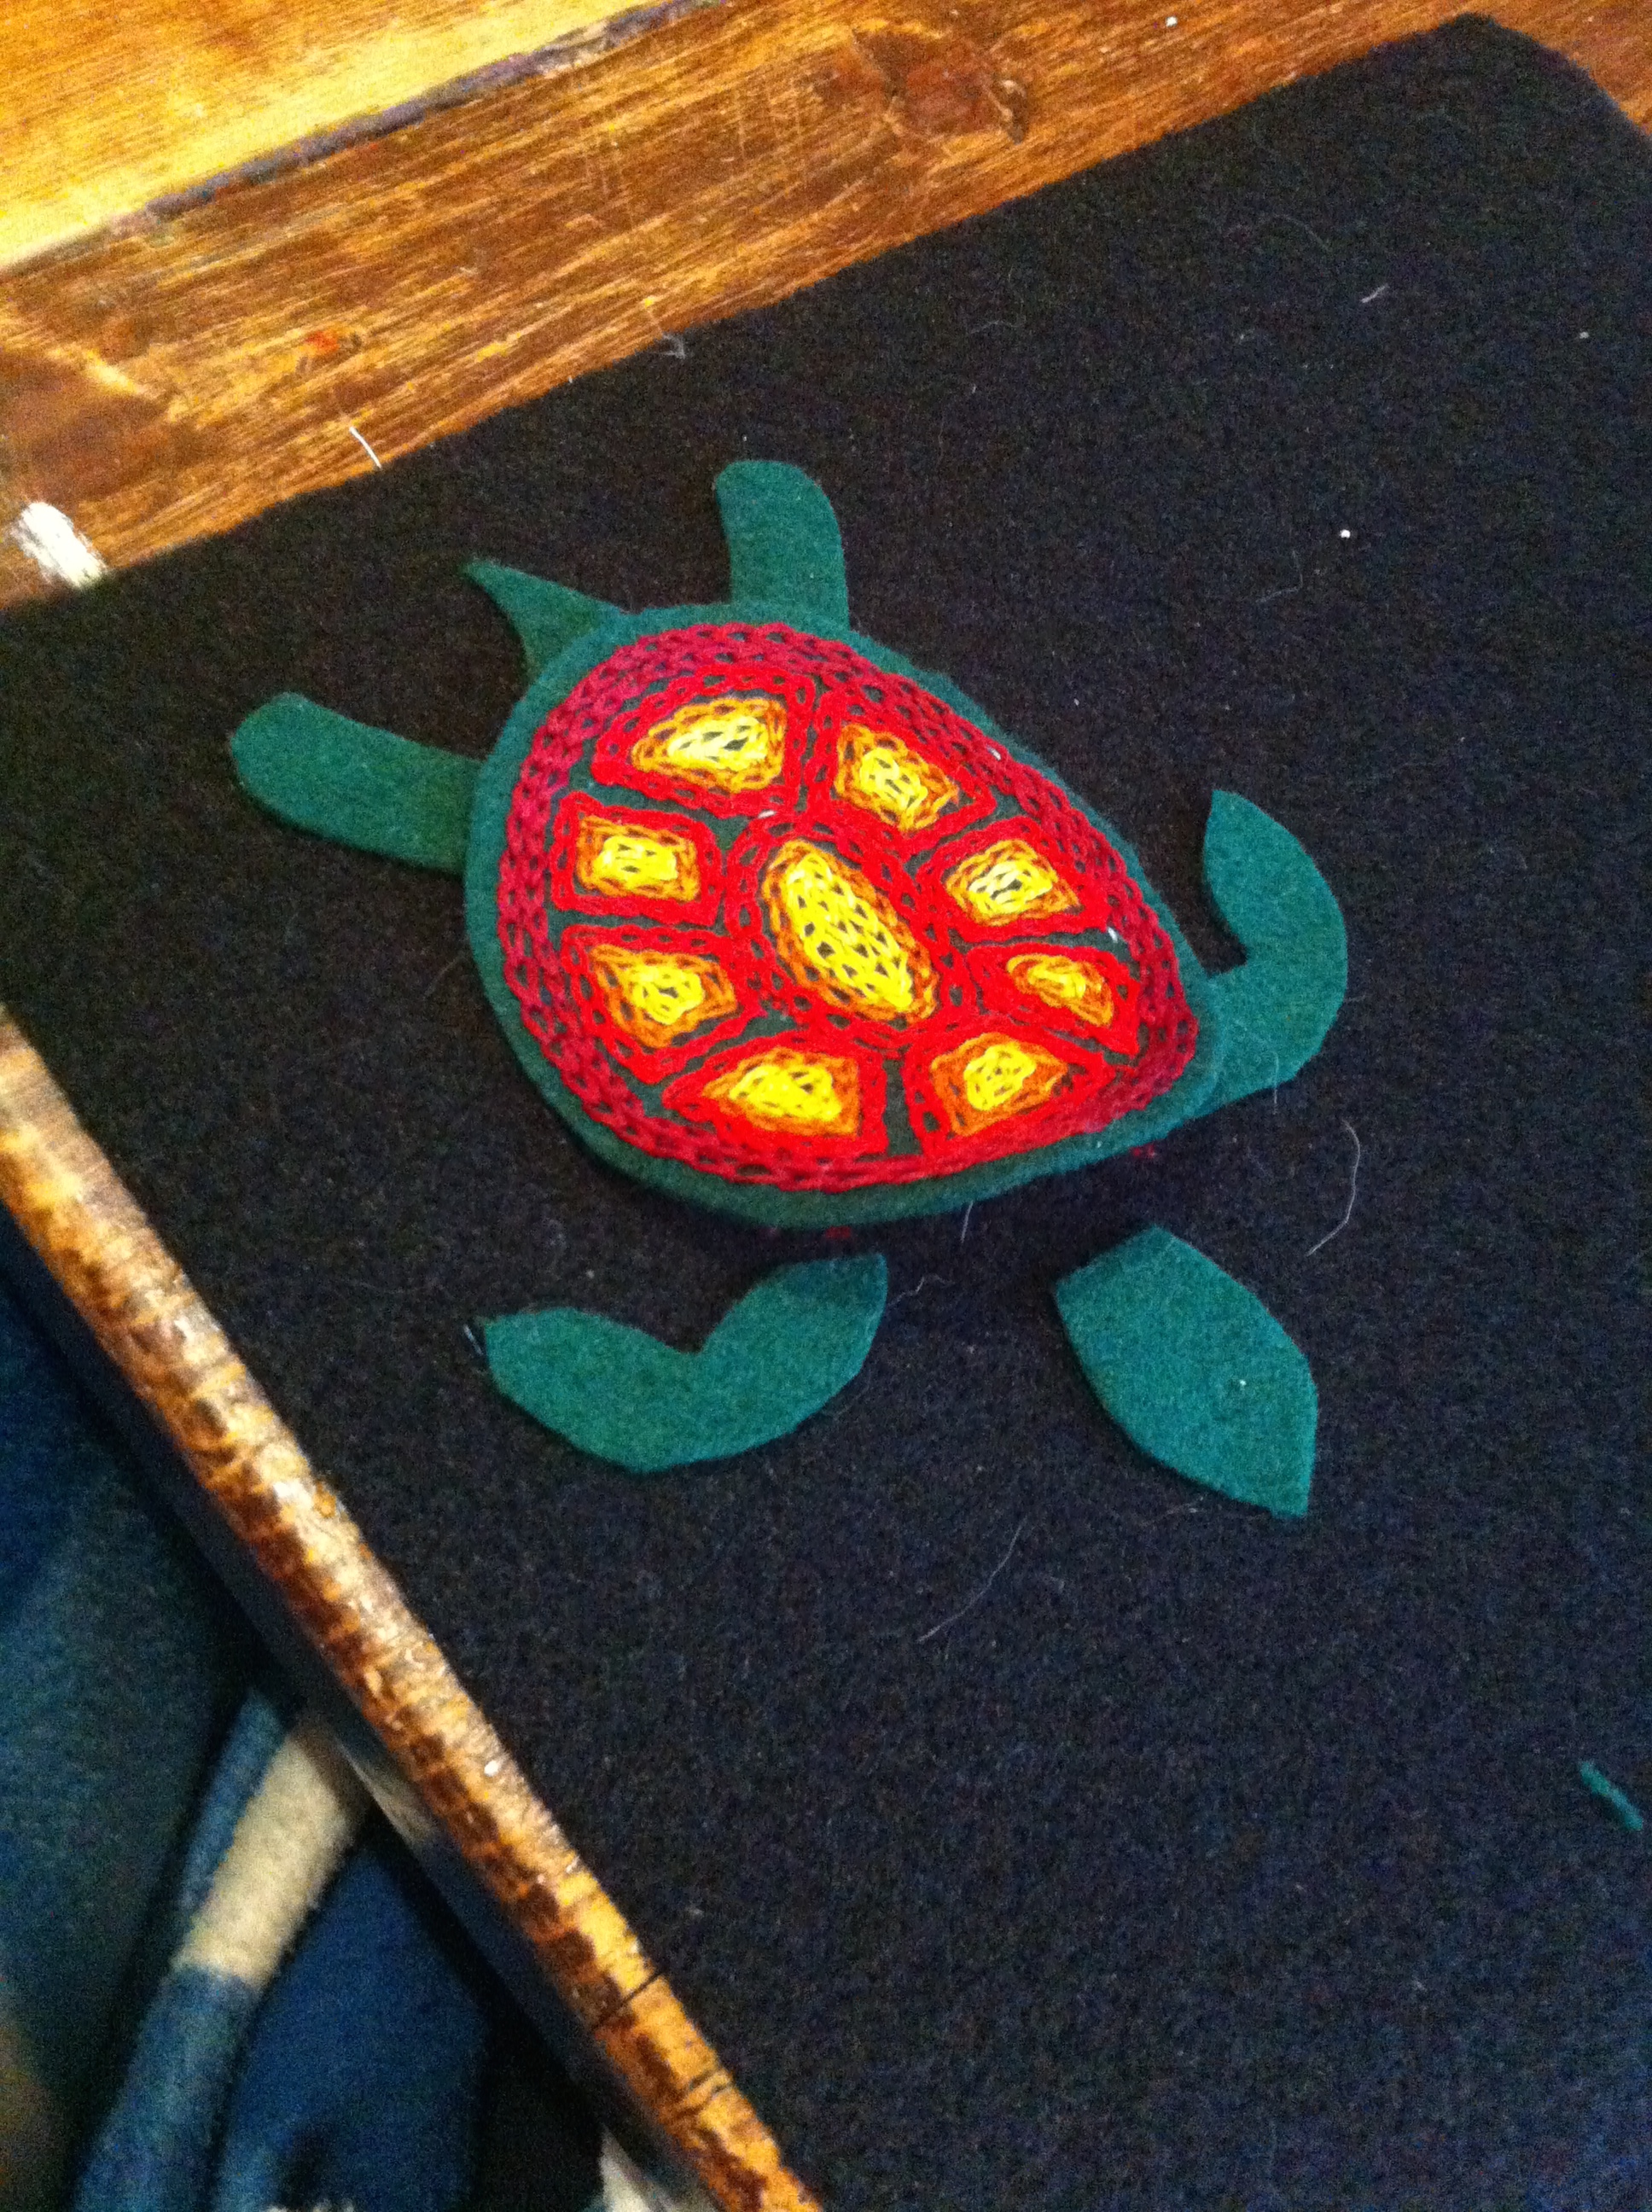
My mom and sisters and I are all fans of the Kawartha Turtle Trauma Centre, a great charity that works to support Ontario’s native turtles. Many native turtle species are on the ‘at risk’ list, and KTTC work to educate the public, conserve wetlands, and make Ontario a safer place for turtles.
I’m generally not a big fan of charities, but this one’s a good one, in my opinion.
Anyhow, they had a fund raiser planned called ‘The Art of the Turtle,’ and asked artists to create turtle ornaments and donate them to sell at their event. We decided to each make an ornament for this great cause.
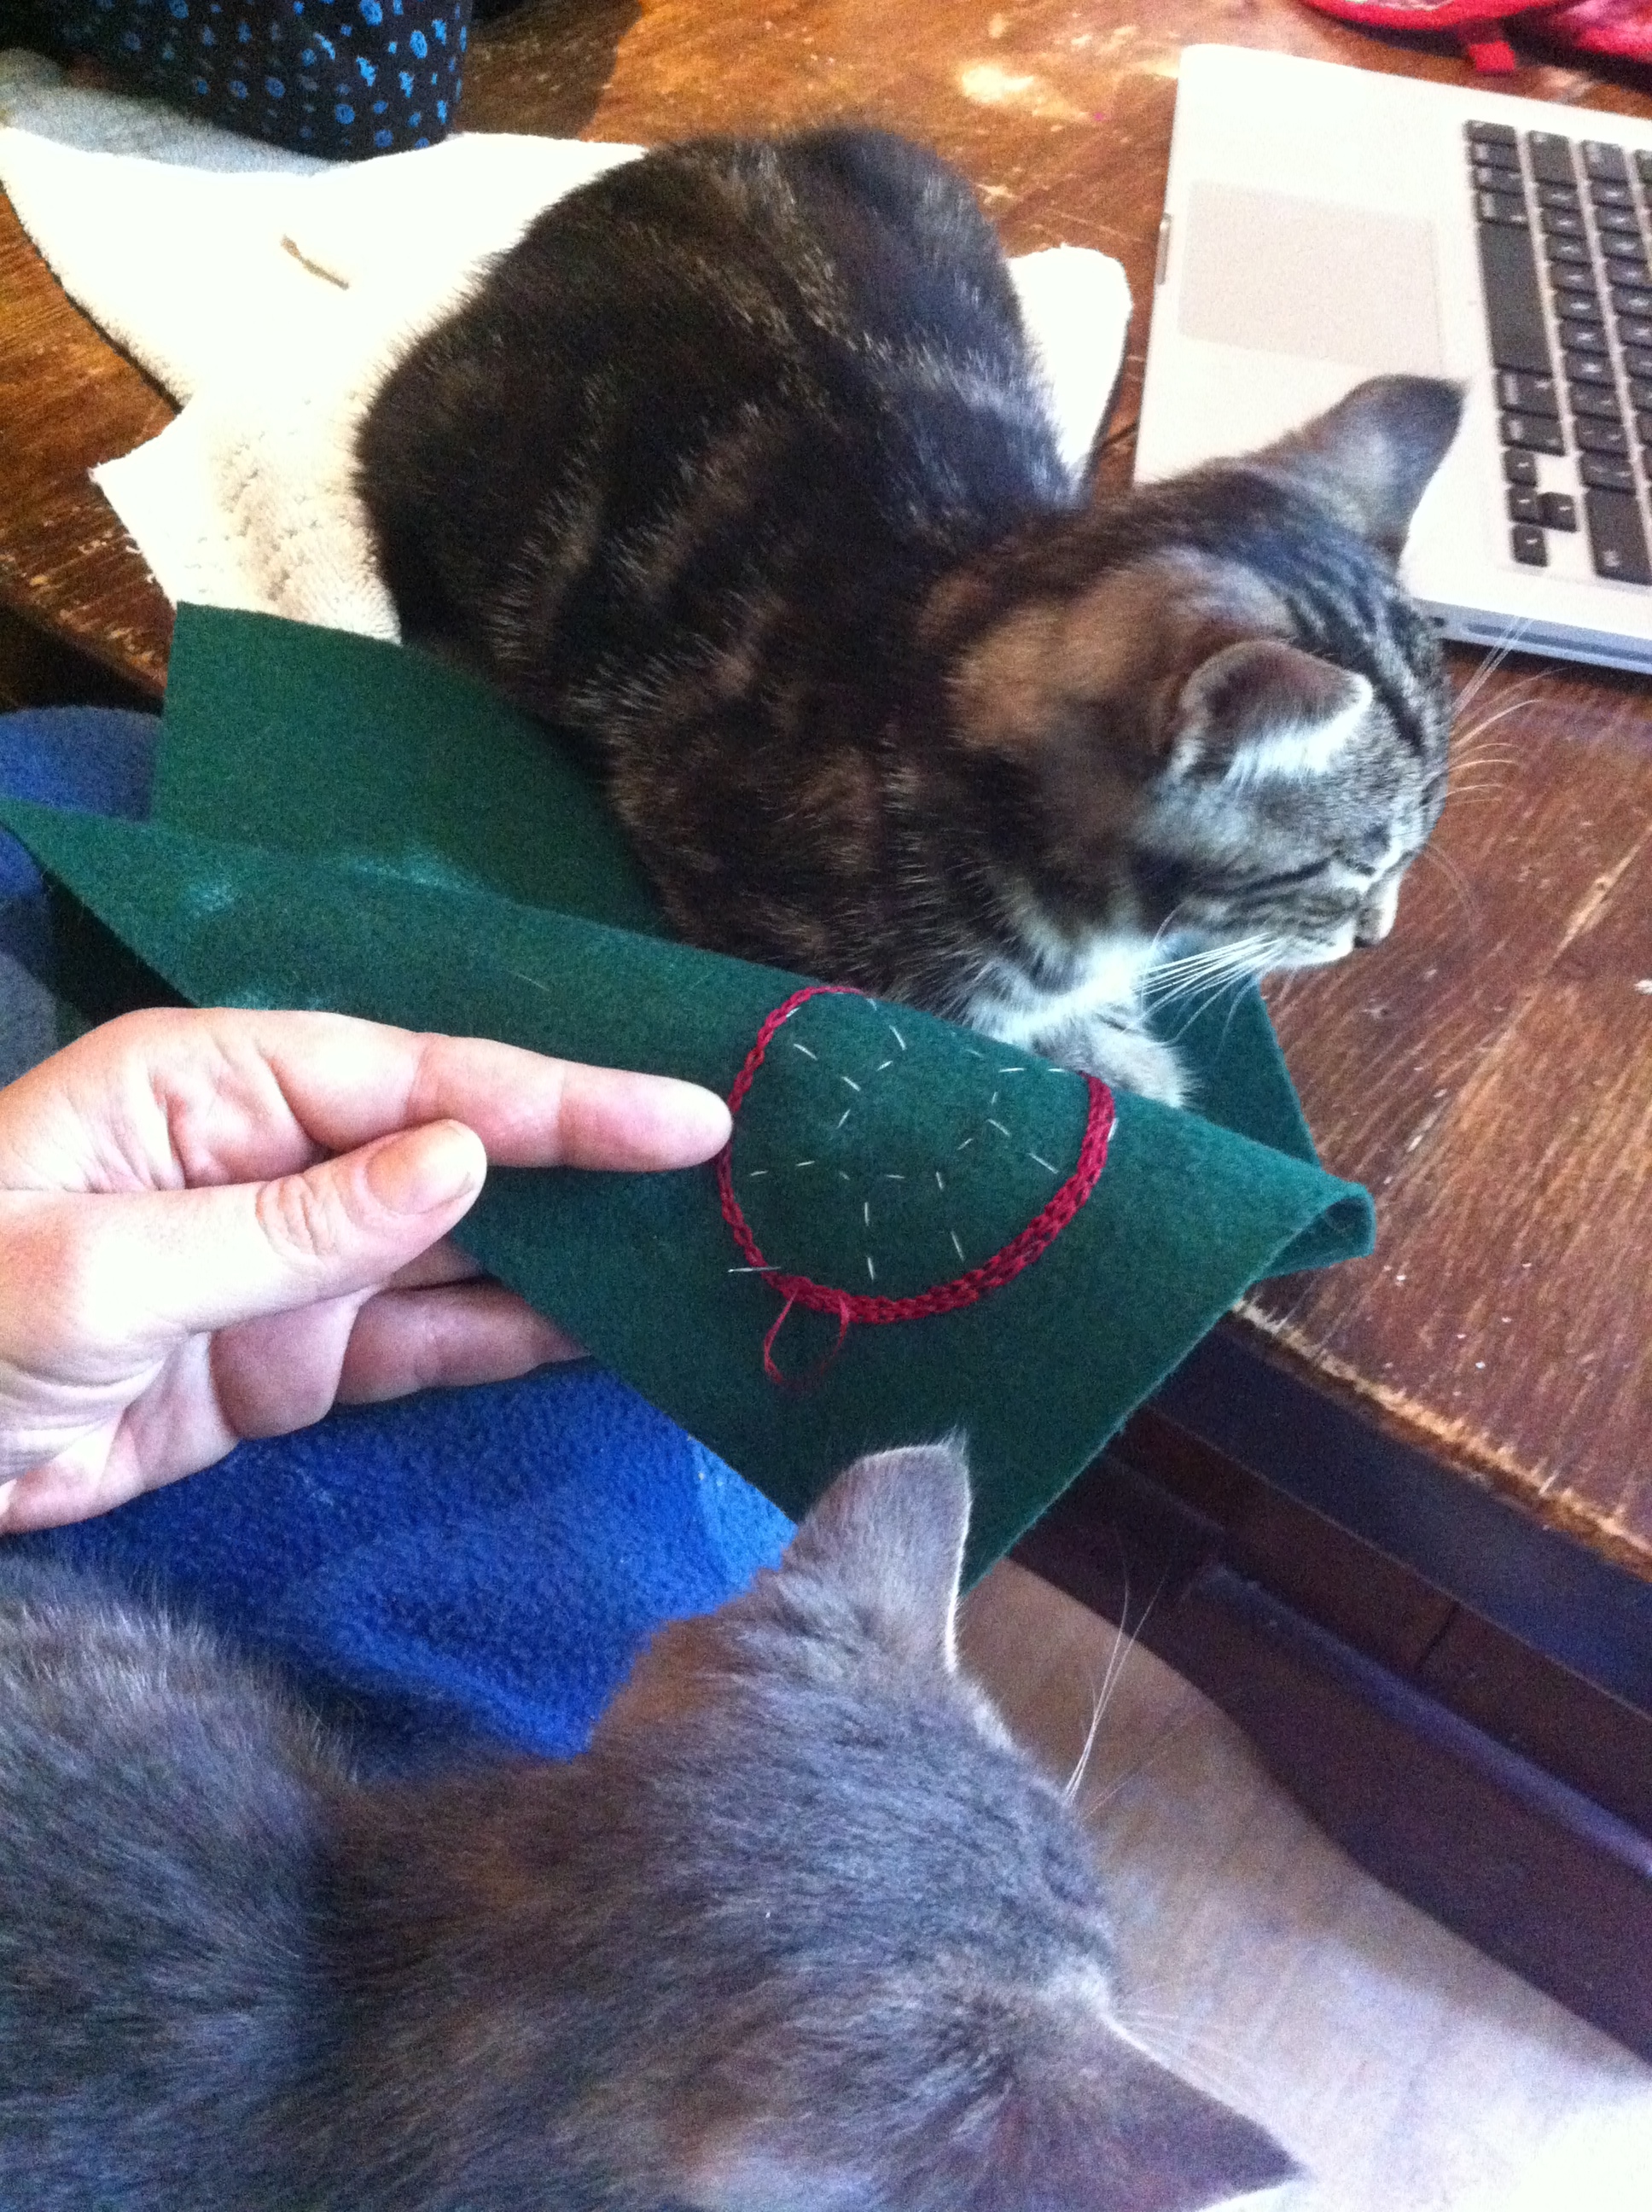
As you can see, the kittens were extremely helpful as I was working, holding the fabric so that it didn’t slip. I
I didn’t have a lot of time to get to this project, so worked on it while I was home for Thanksgiving back in October.
I’d wanted to do something sparkly to catch the light, but was more drawn to embroidery, and knew I could make something that glowed with colour. I research some Metis and Northern European embroidery and beadwork, and got to work.
Embroidering is a nice way to spend the time, particularly if you’ve got a happy cat – or a whole clutch of happy kittens – in your lap (as long as they don’t get too interested in your embroidery floss).
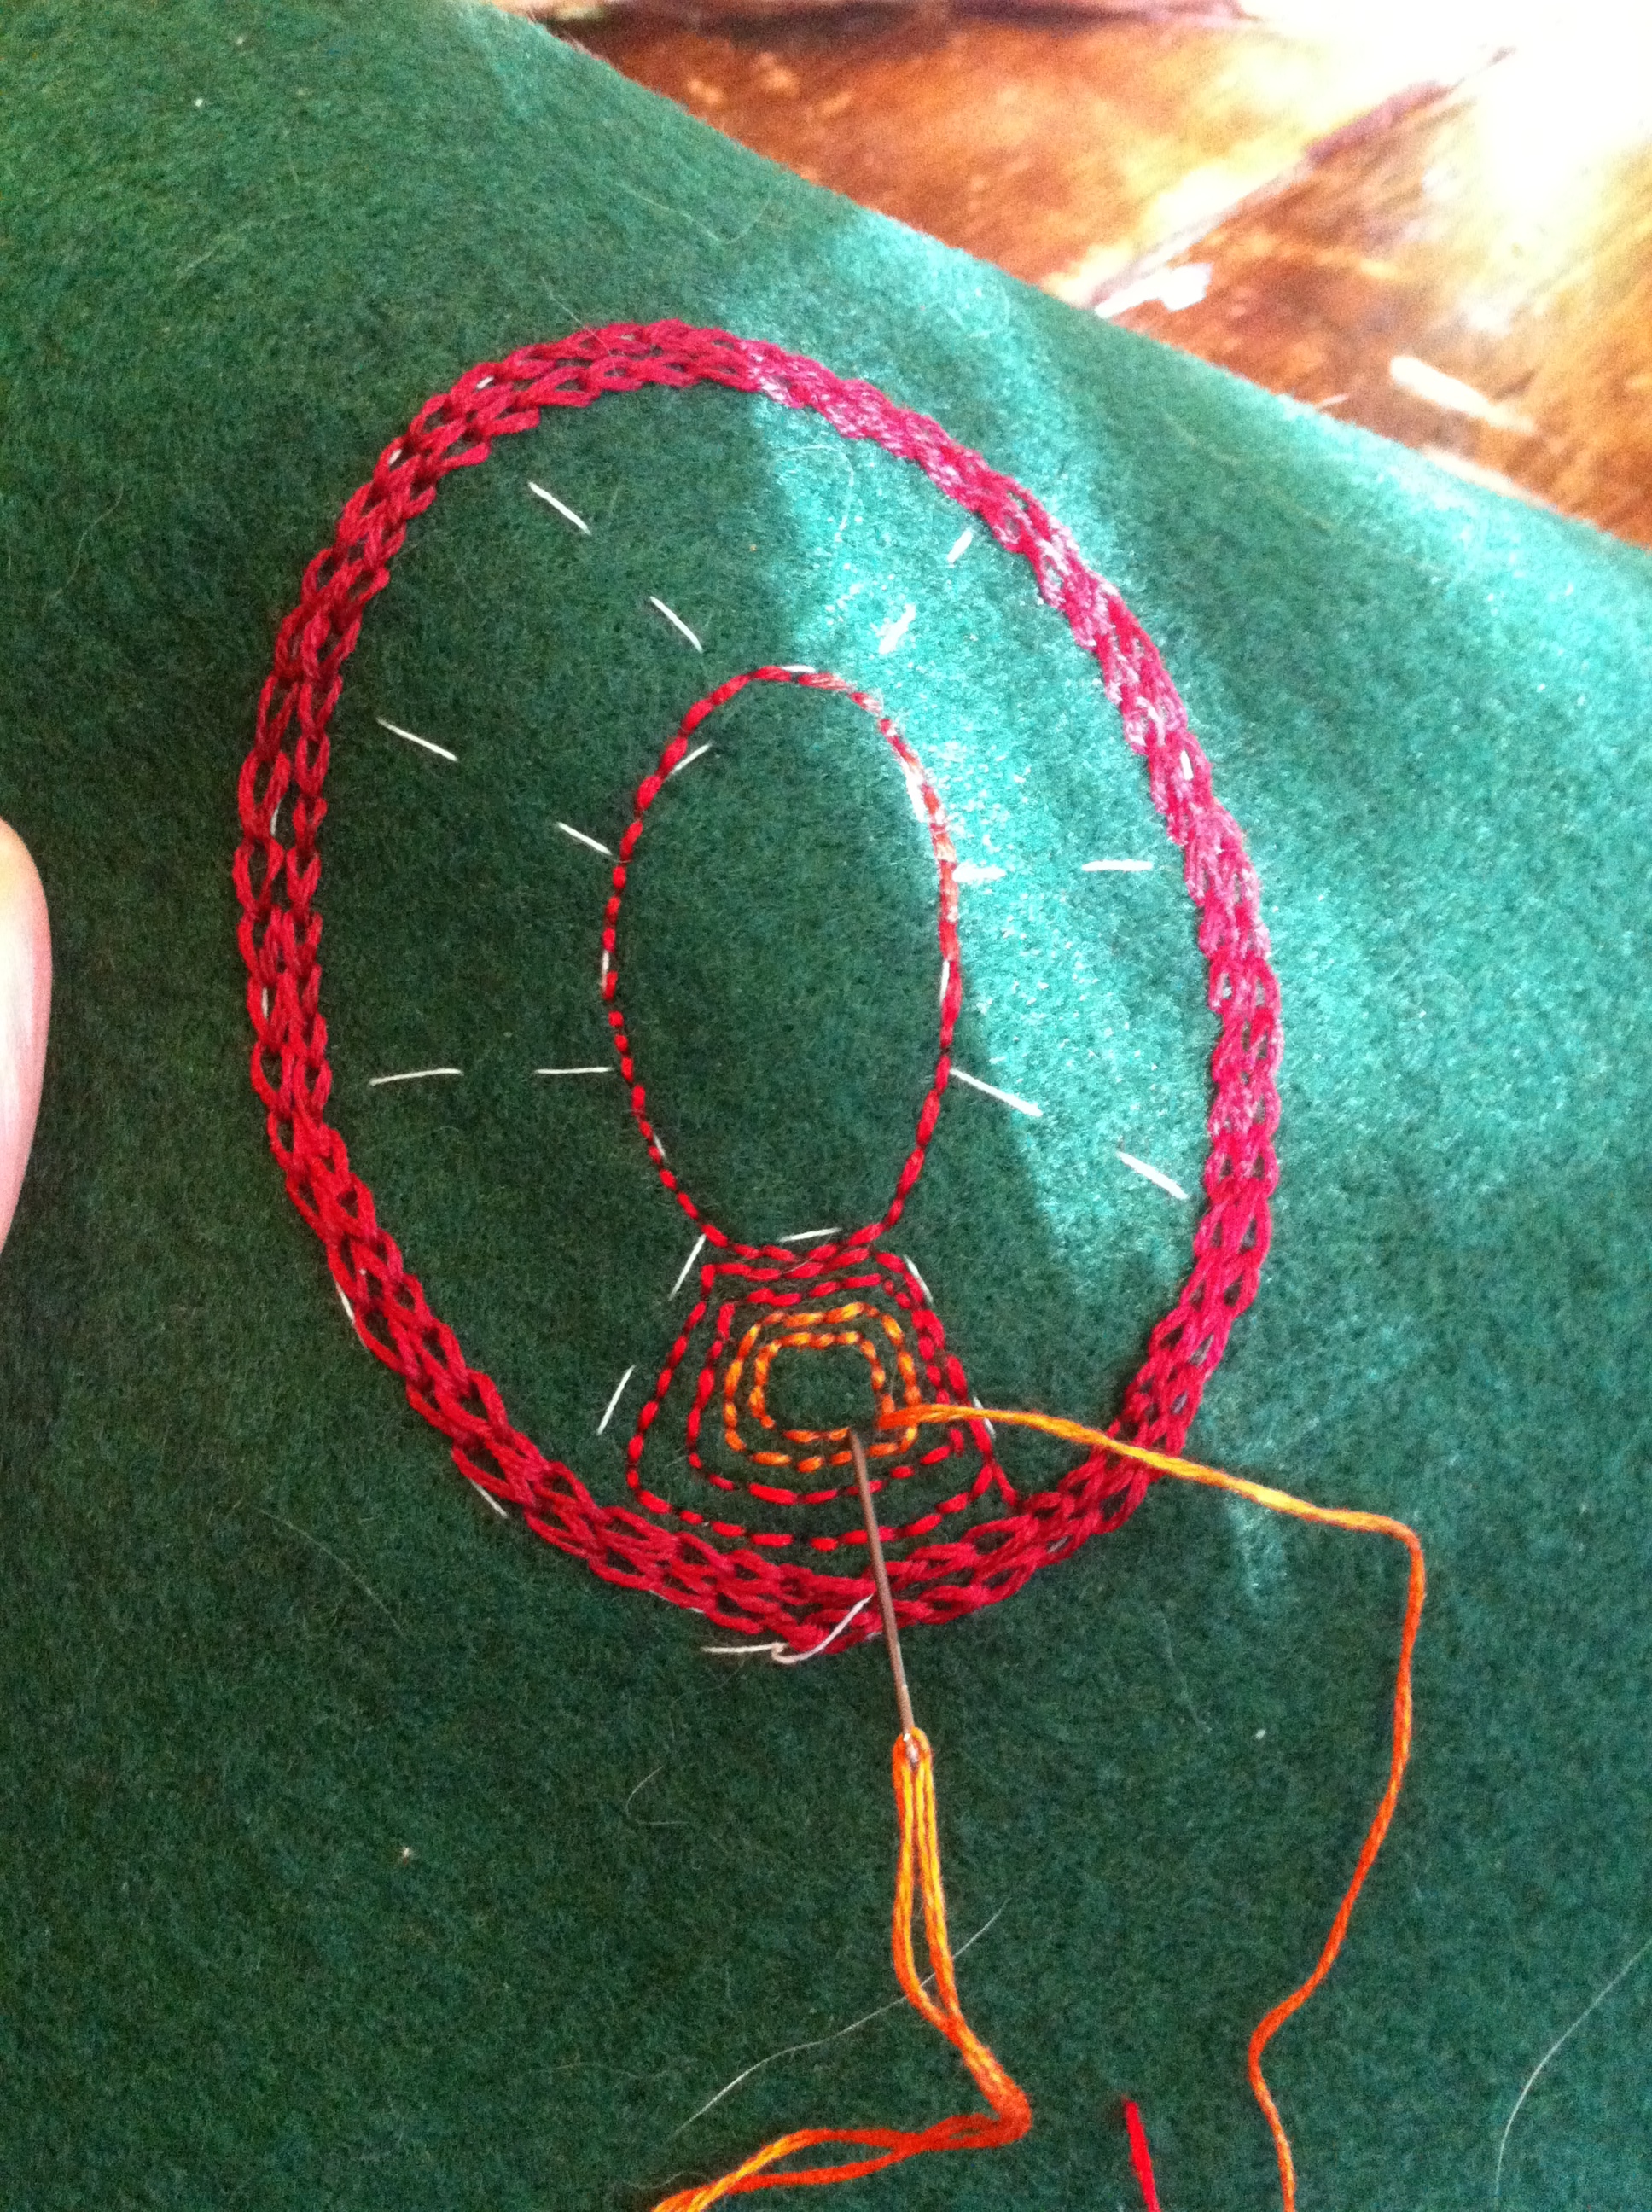
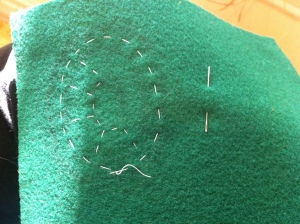
Since I’m working on a dark felt, and didn’t have a good way to draw on it, I sketched out the basic pattern in white thread.
I embroidered the outline in chain stitch, one of my least-favourtite stitches to do, but one that fills space with colour pretty fast.
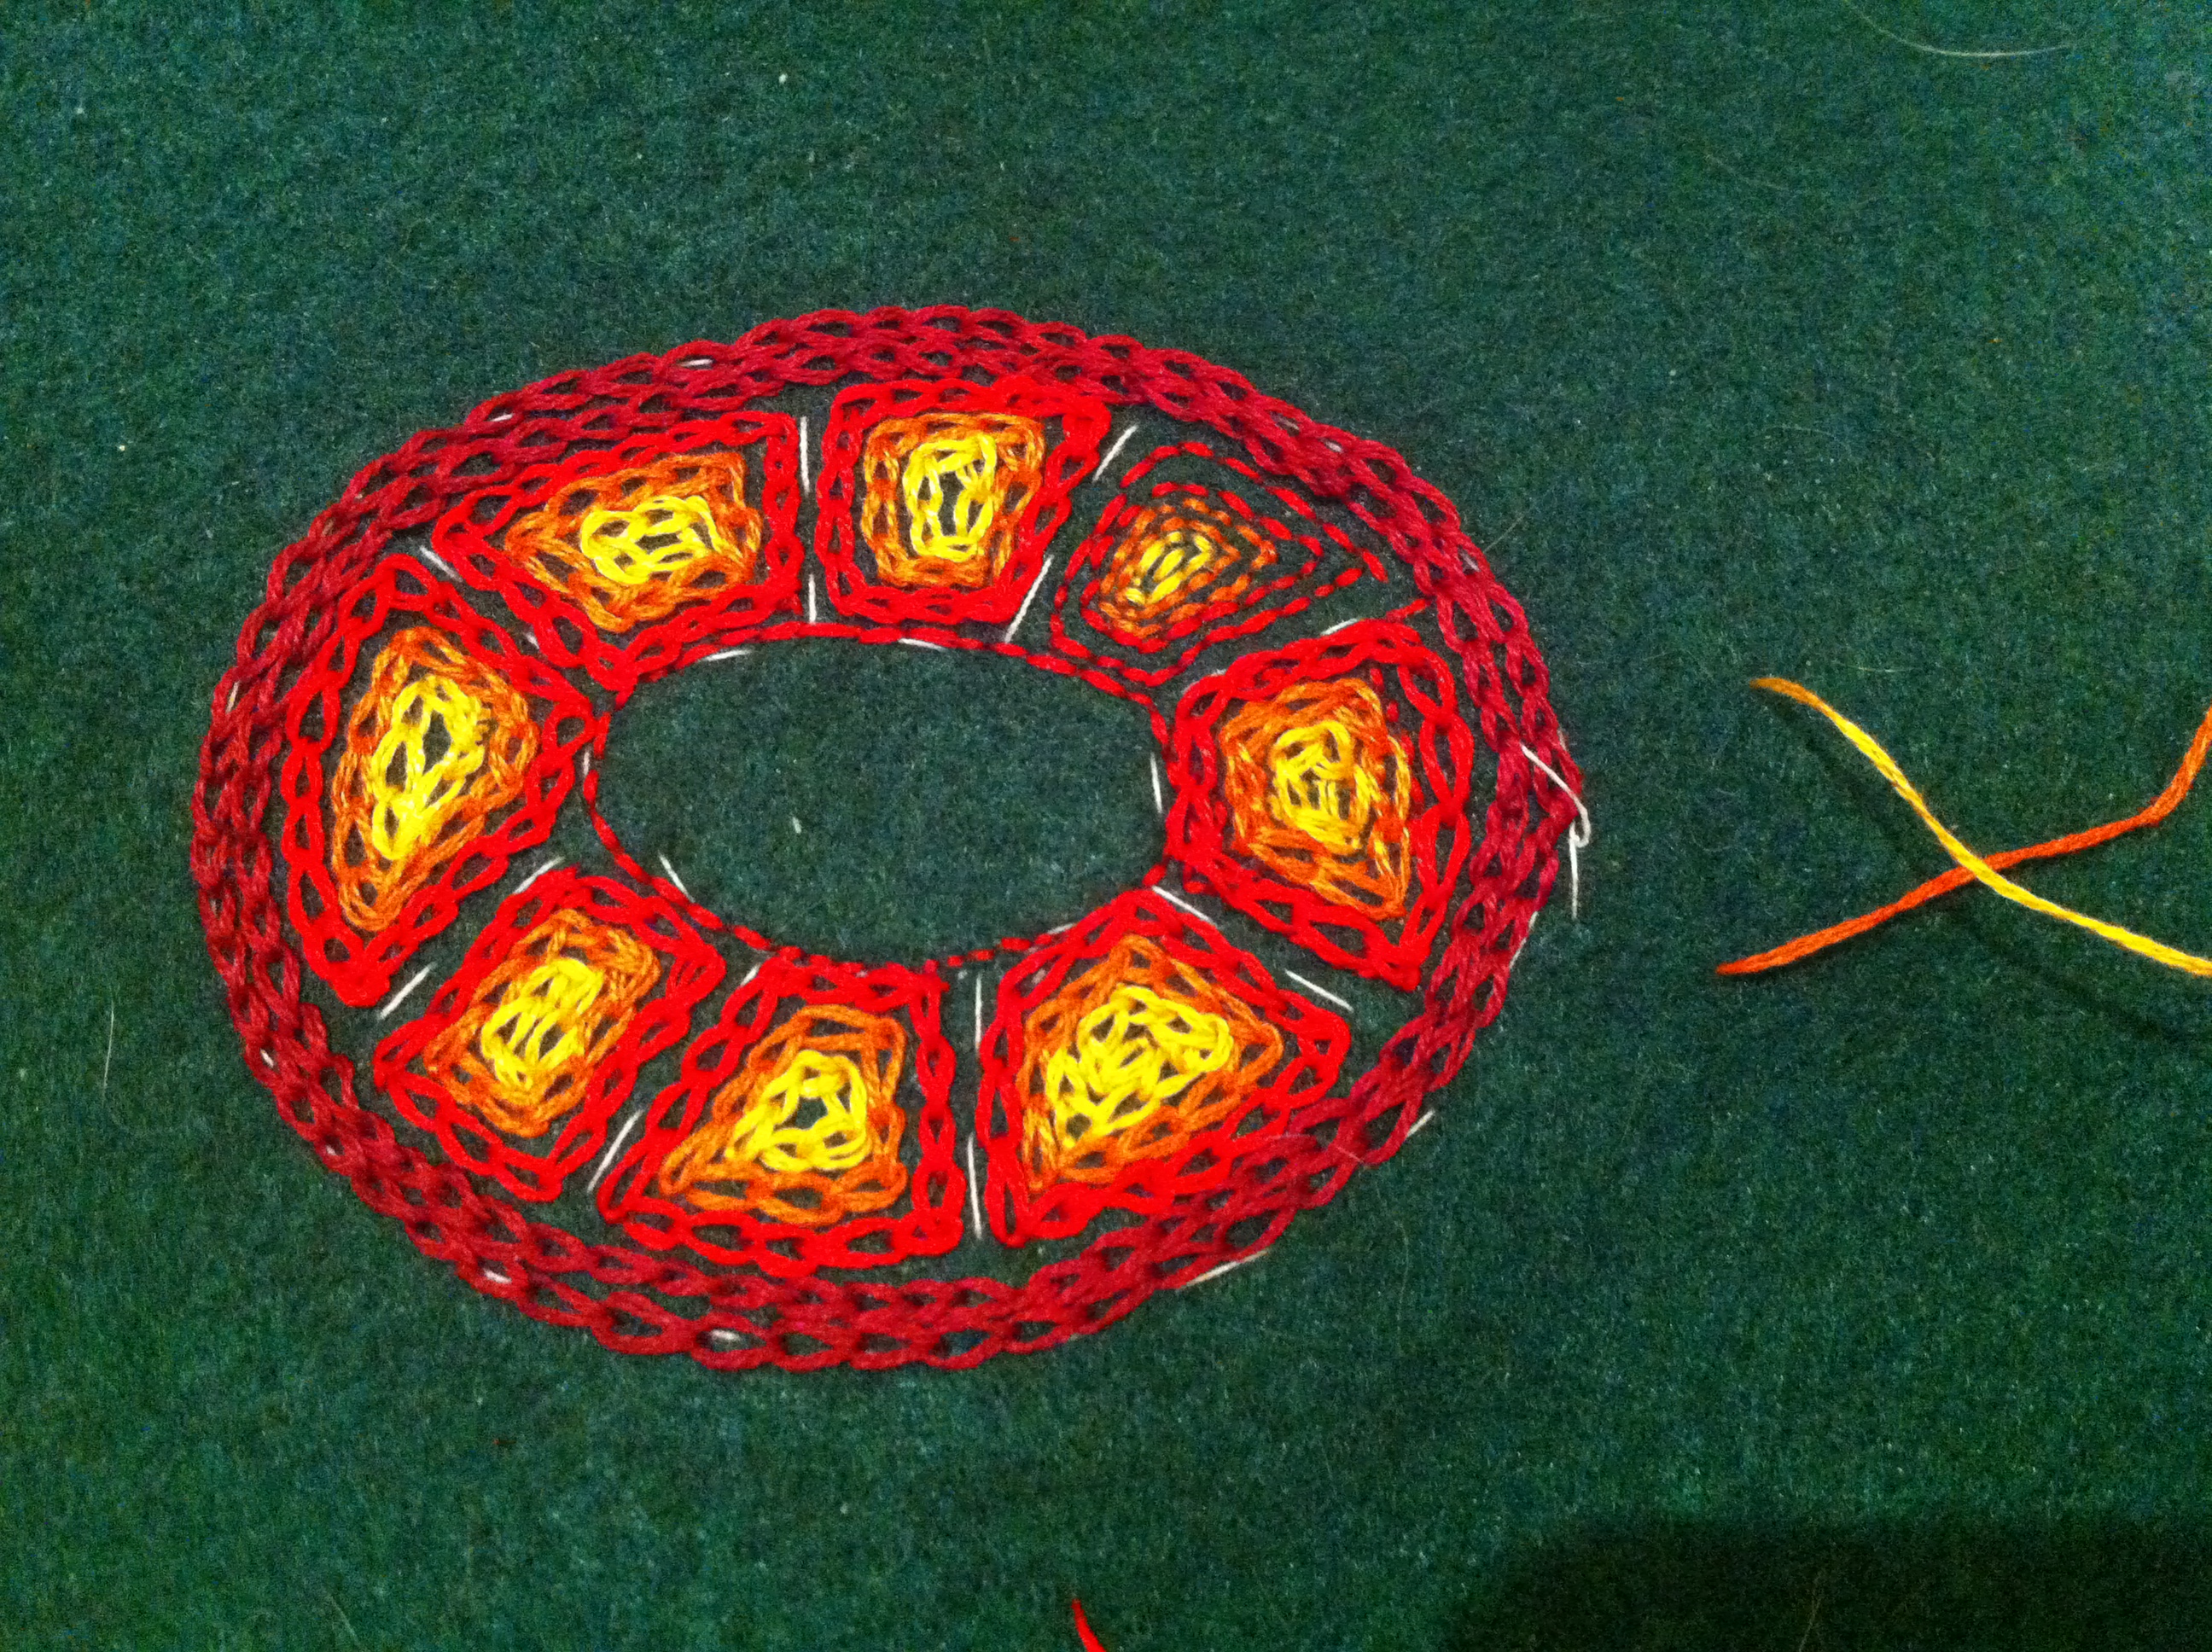
Then I began to fill in the sections of the shell; at first, I was doing backstitch, but switched back to chain stitch because it wasn’t showing the colours very well.
The shell, nearly complete.
I try to keep the back neat and tidy, but usually it just looks like a mess, especially if I know it will be hidden.
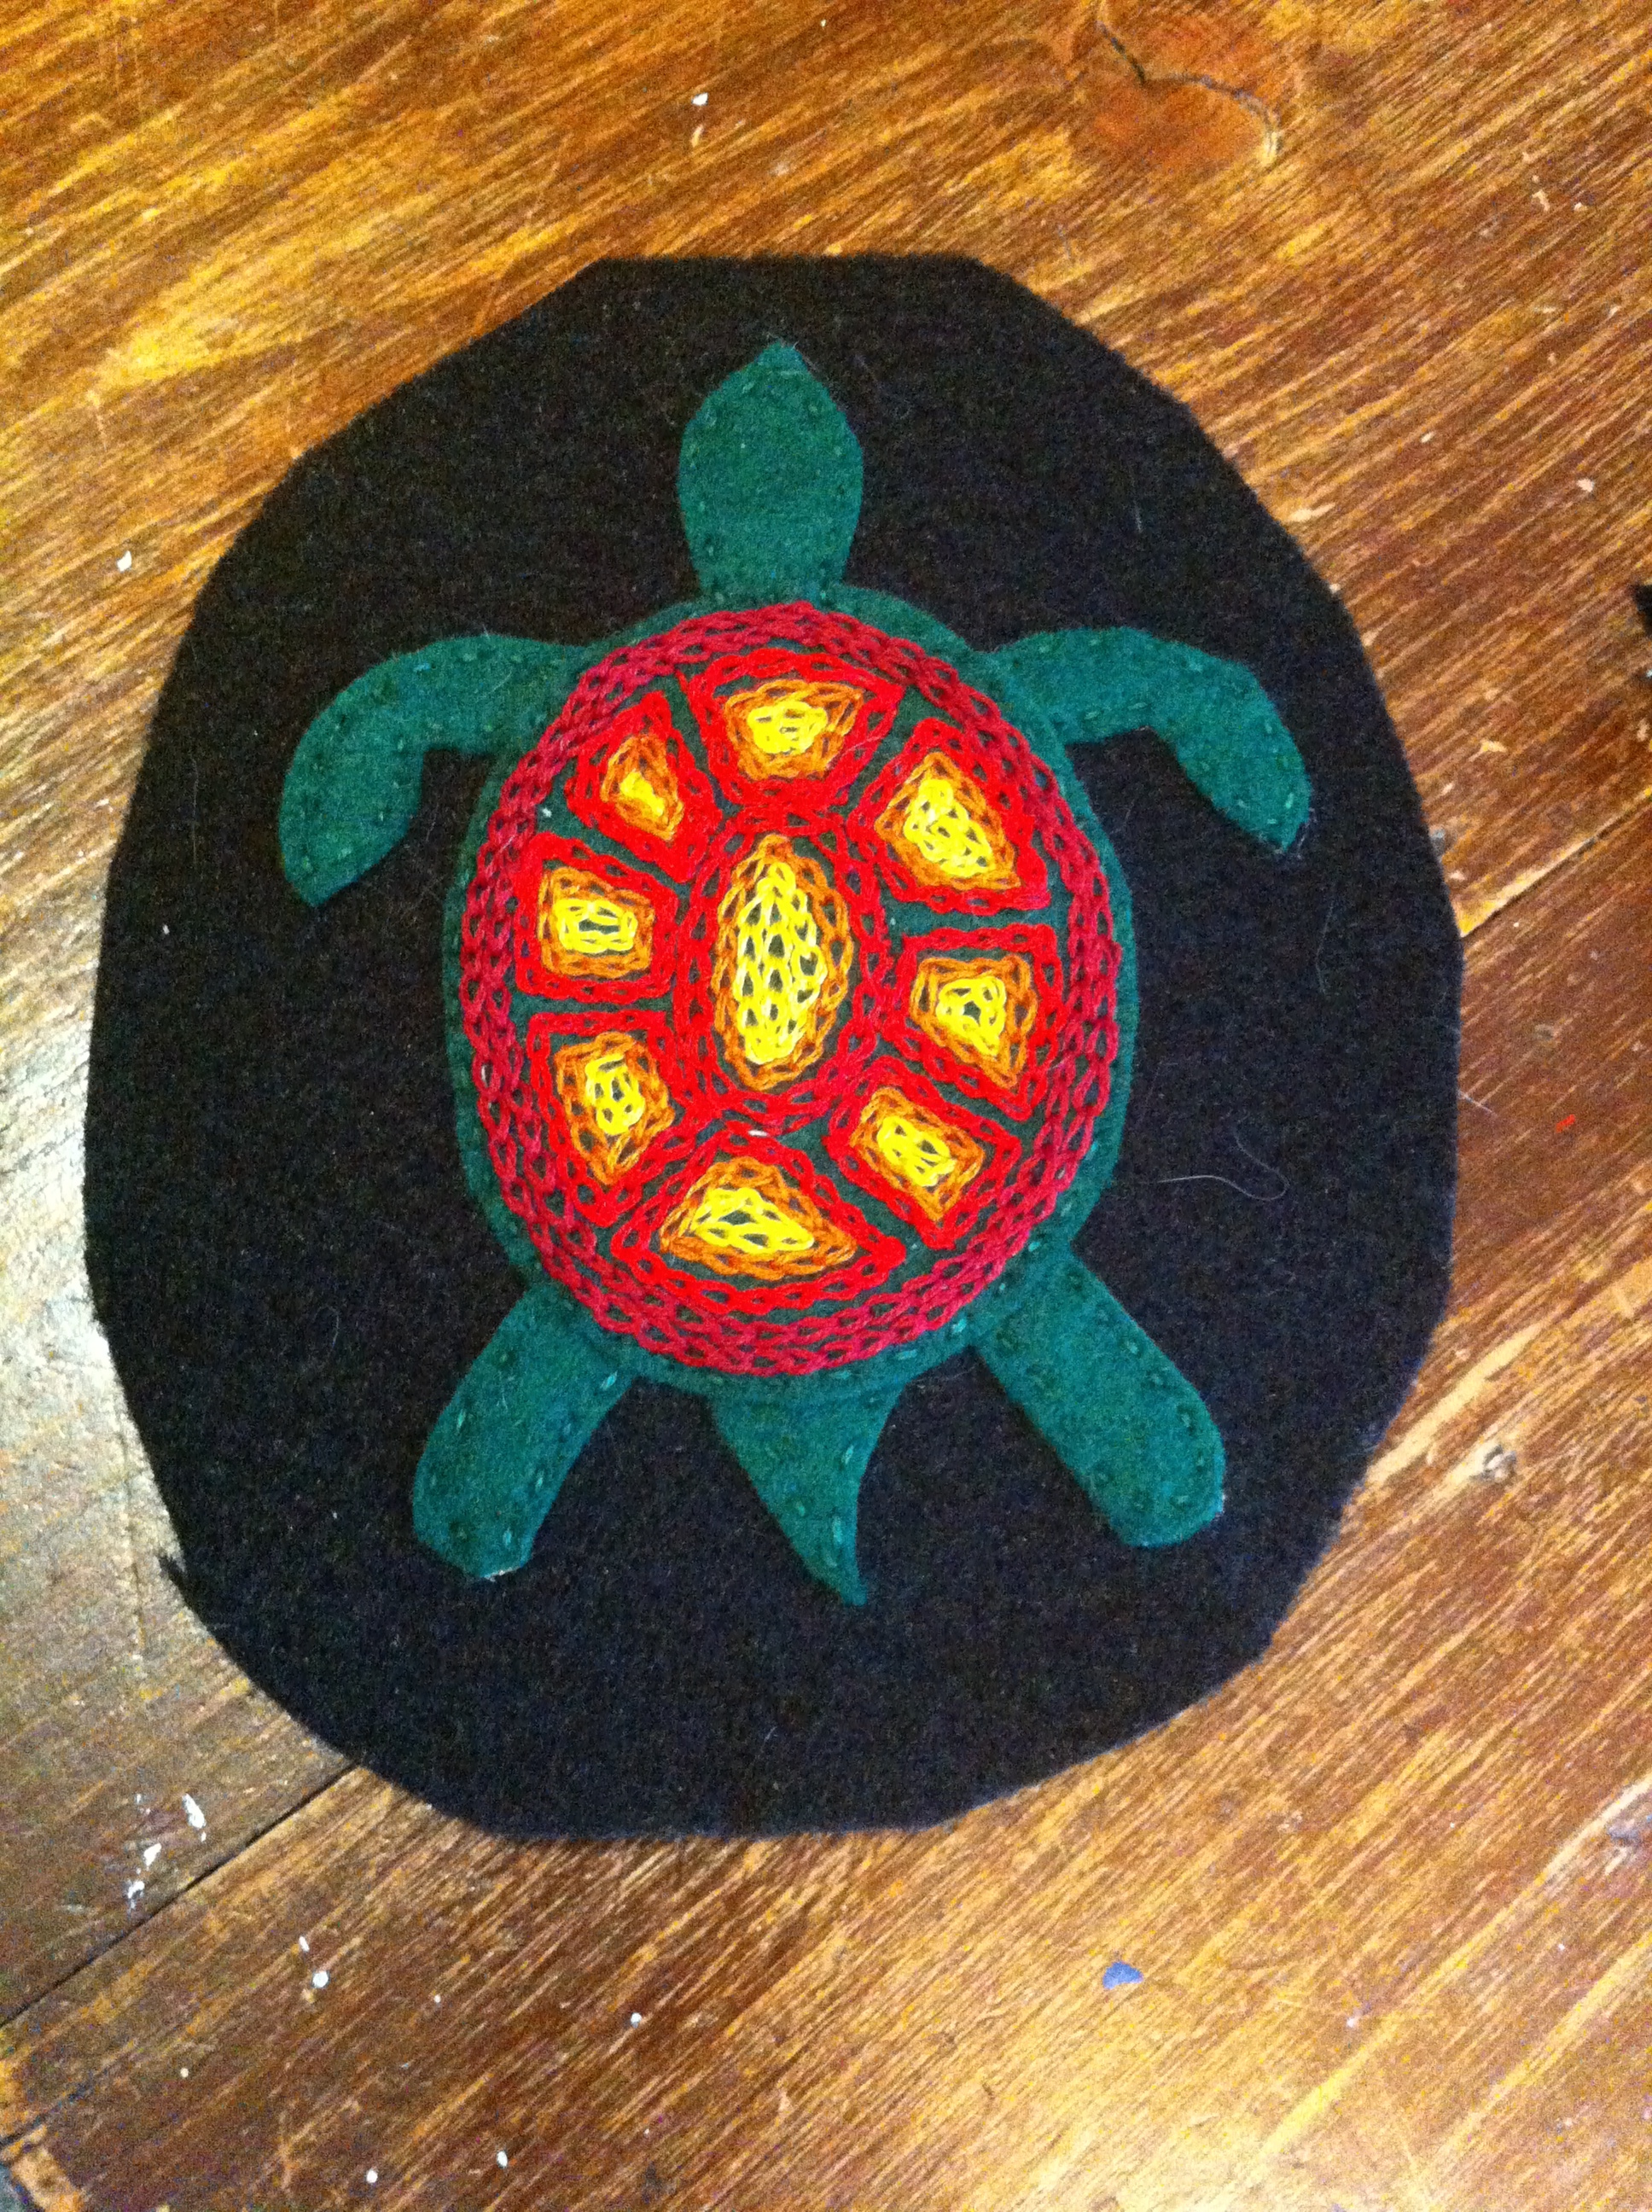
I cut out pieces for the head, legs, and tail from more of the green felt.
The kittens were helping me decide which way the turtle’s front legs should go.
I don’t love using glue guns for this kind of thing, but it was the easiest way to keep the layers together so that I could sew without them slipping.
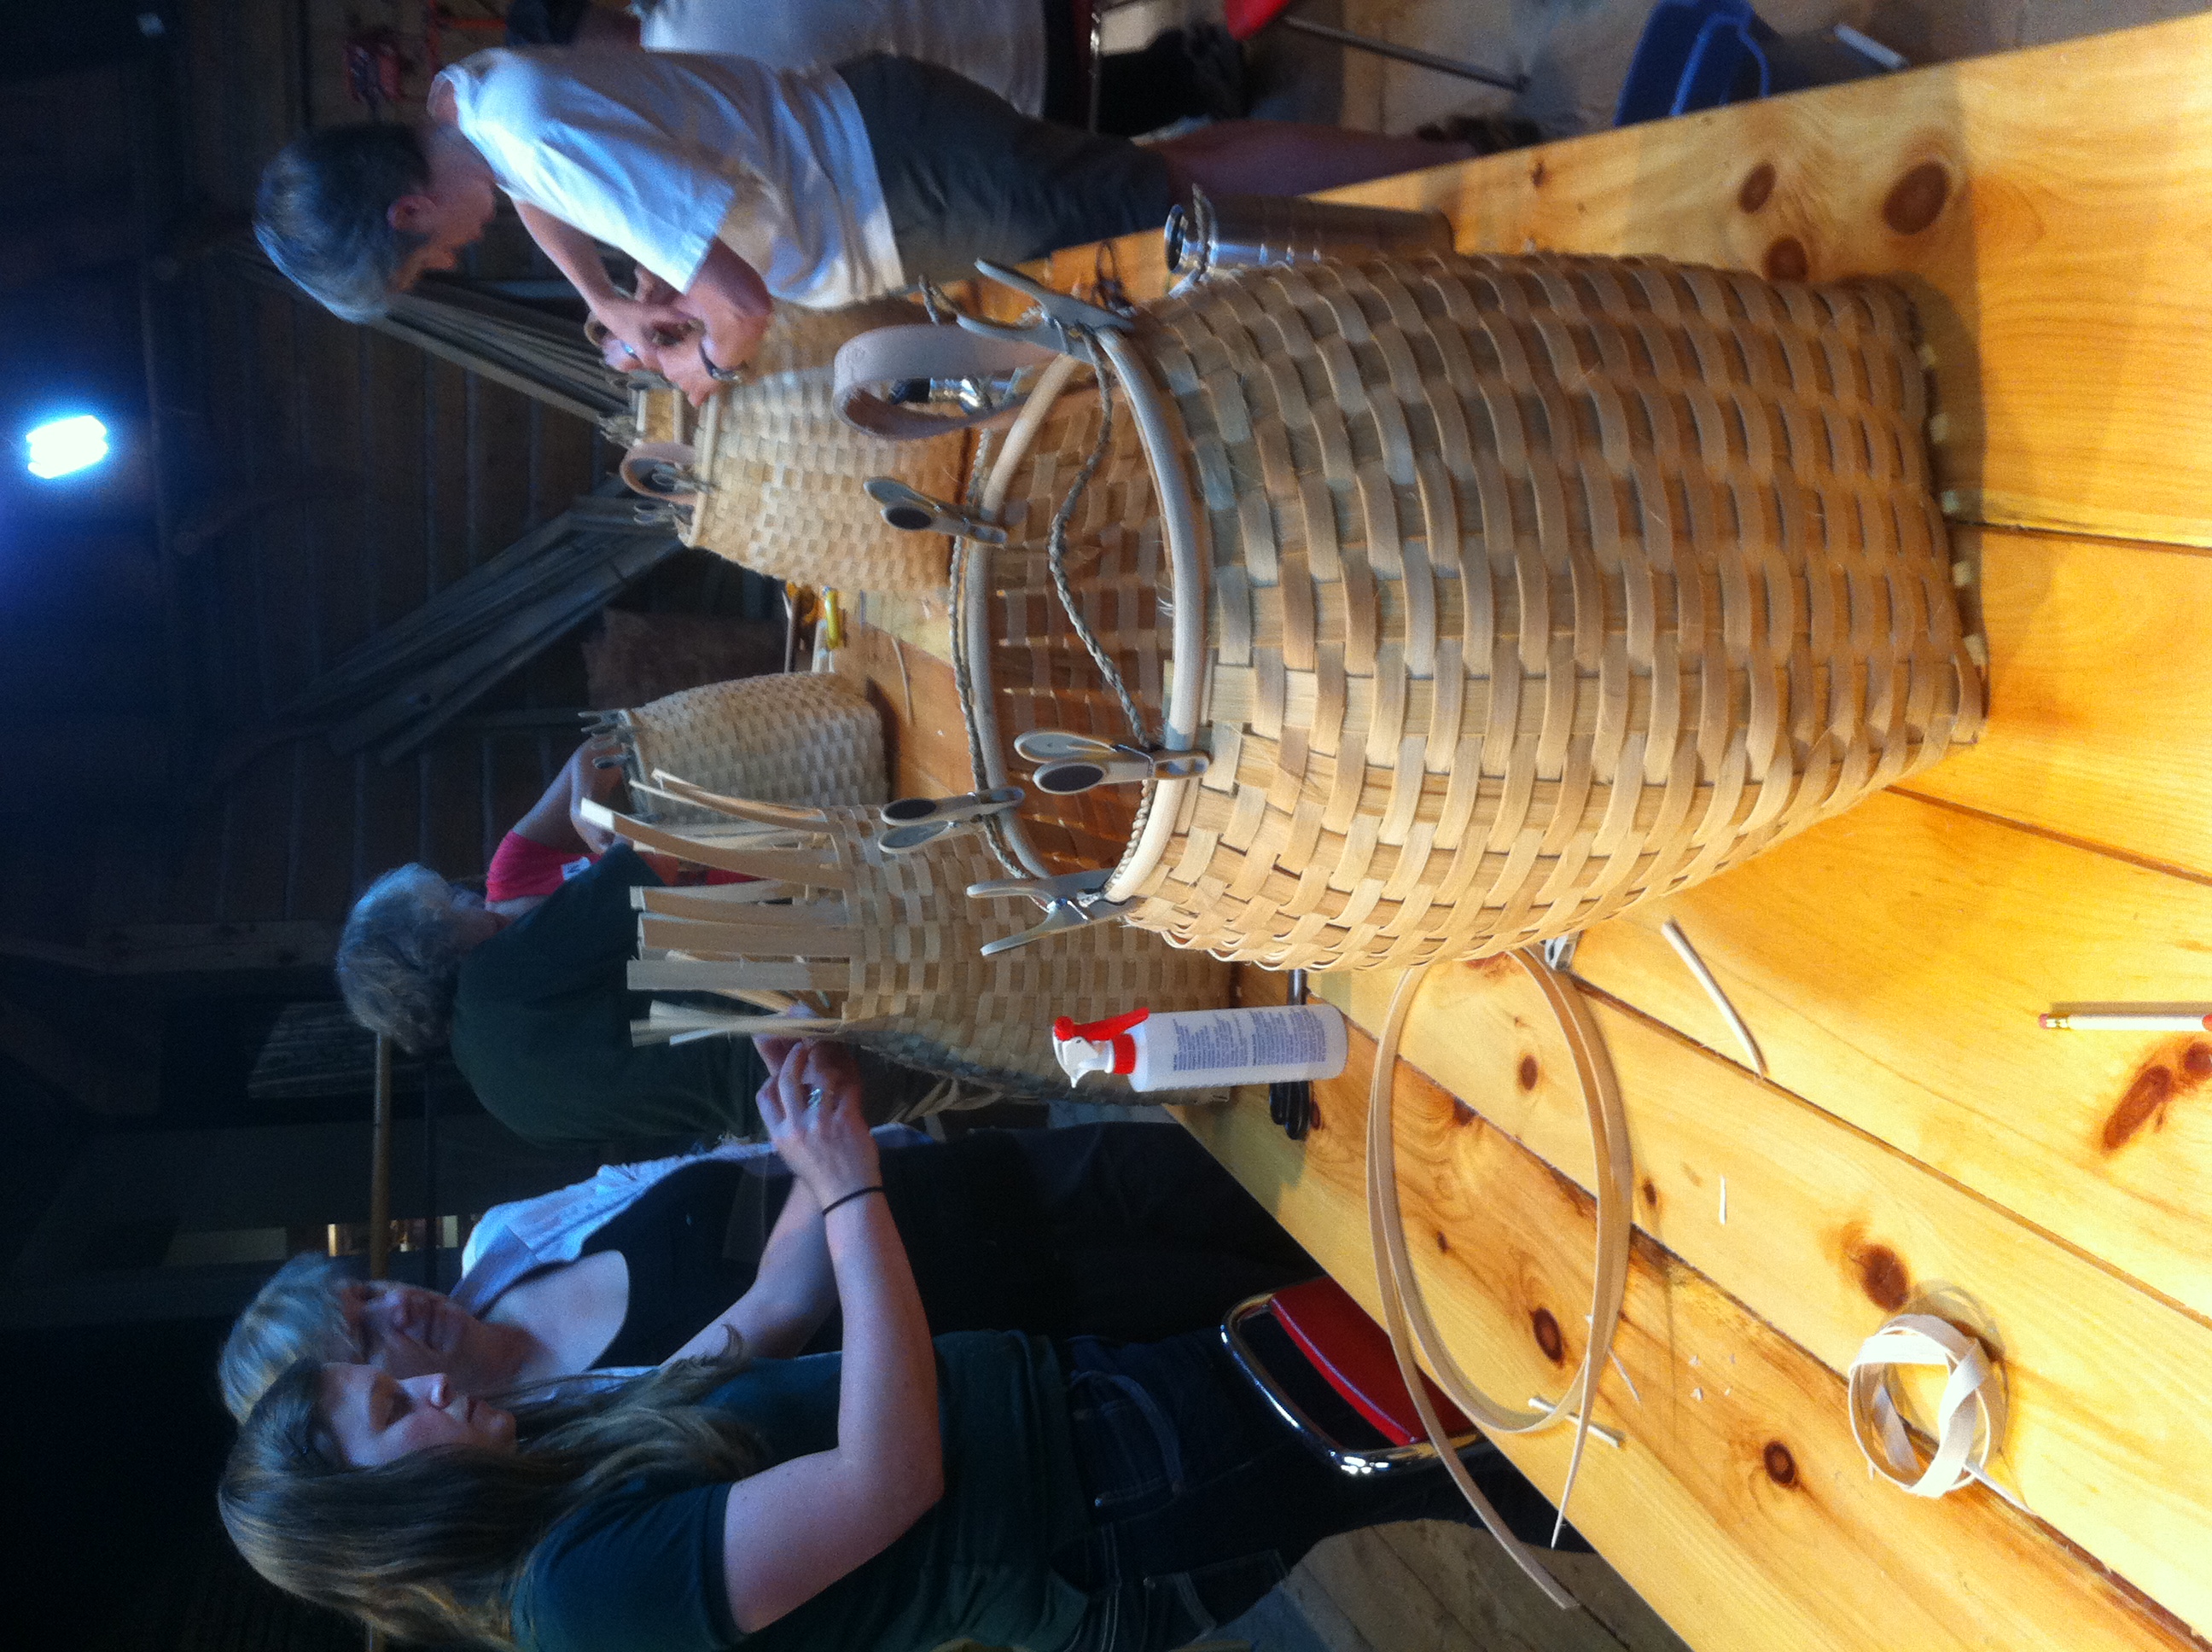
Some years ago, I worked at the Canadian Canoe Museum; it was my best job ever, (Largely because I had amazing coworkers and it was a pretty idyllic setting.) until it fairly abruptly wasn’t (Which had to do with a lot of factors: a changing workplace setting, upheavals in my personal life, and some interpersonal stuff which kind-of created the conditions to make my perfect job awful, quite suddenly). But during the time that it was awesome, it was really awesome, and occasionally I’d have the opportunity to do something really neat. Like weave my very own pack basket.
The Canoe Museum actually has loads of really good courses which I completely recommend – you can check out their full listing here. They’ve been carefully designed so that you can complete the project you’re working on by the end of the allotted time. As someone with more than my fair share of half-completed projects from ill-designed workshops stuffed away to be finished ‘someday,’ I have a keen appreciation for getting to finish a project with an experienced teacher and the appropriate tools.
Pack Basket – completing the base
I’d always wanted to try my hand at basketry; though it’s one of the more derided skills, it’s kind-of fascinating. It’s relatively easy, especially when someone has pre-cut everything for you, but meditative, especially if you’re trying to work fast. You get into a place mentally where you just focus on weaving, and on the shape that you’re creating, and you don’t think about much else except whether or not your bamboo is wet enough.
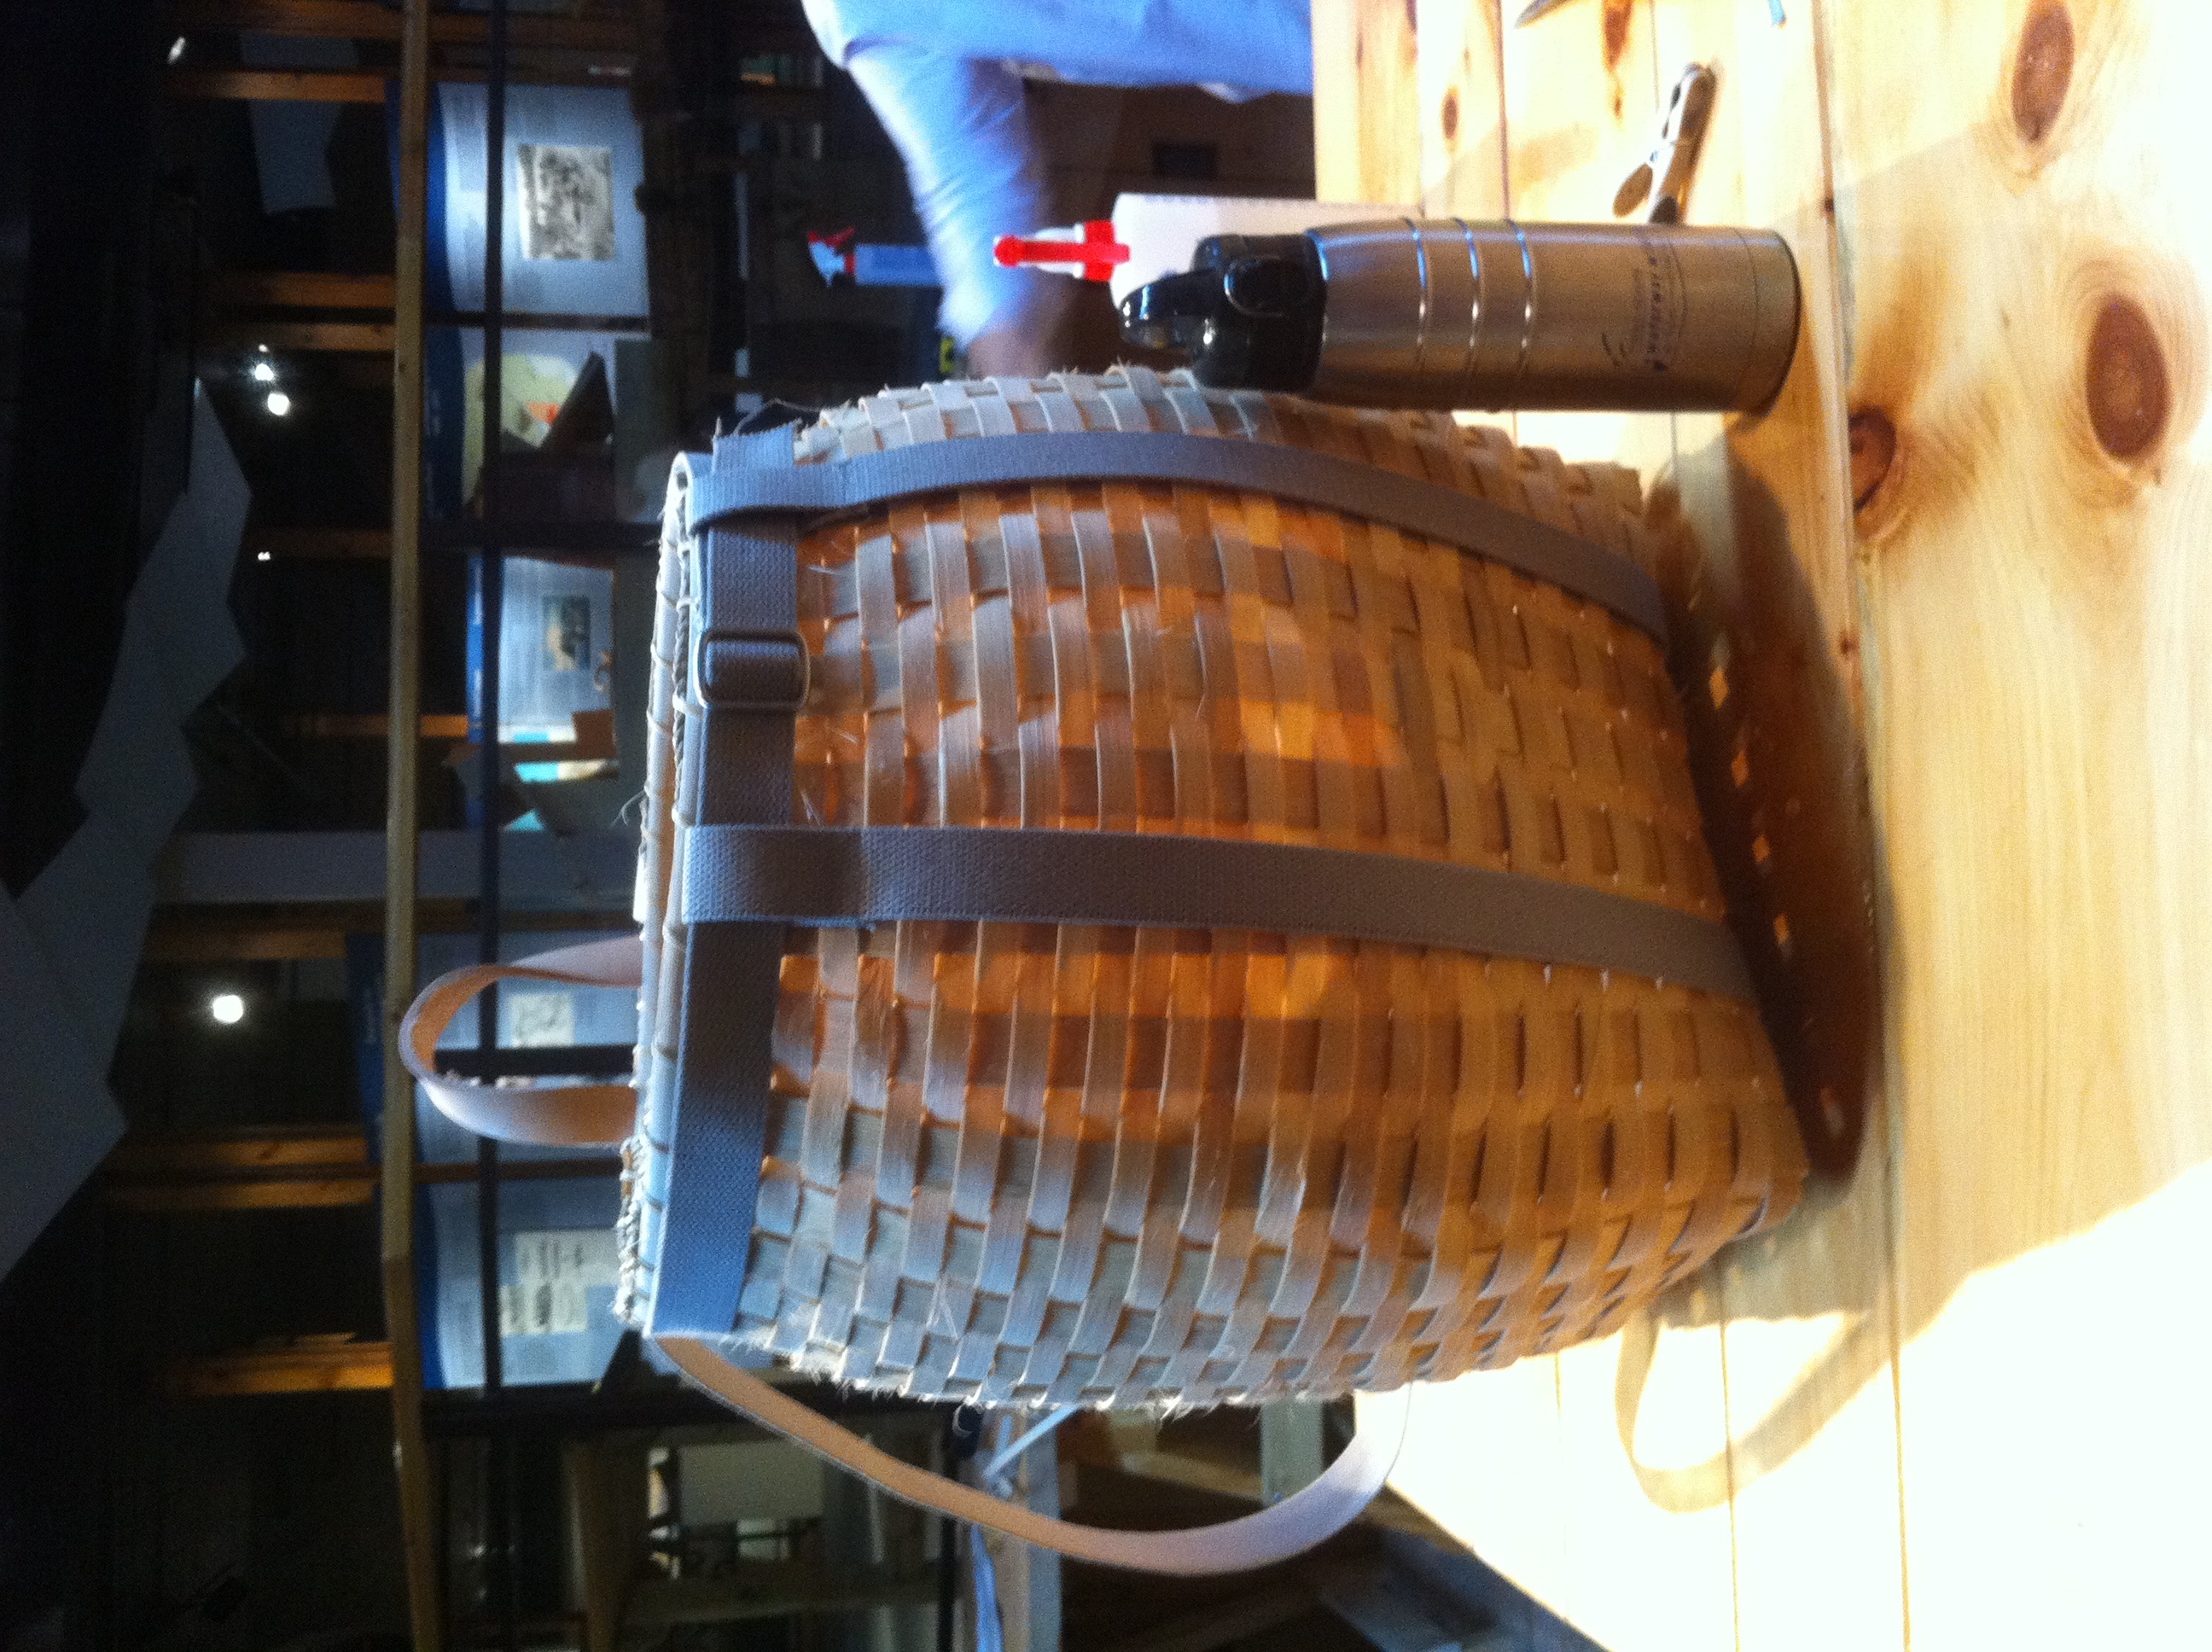
When it was finished, I wore it home on my back, still slightly damp, and so the part of the basket that rests against my back is fairly well-moulded into a shape that is comfortable for me to wear.
I know a lot of people might make this and never use it, or just have it as a decorative object around the house, but I’ve often worn it when biking down to the farmer’s market with my sisters, or to music festivals when I’ve needed to carry unwieldy things. I’ve worn it when wildcrafting – it’s a great container for wild apples, grapes, or dye plants, as it doesn’t crush its contents.
I prefer it to a knapsack – because it holds its shape, it’s easier to find things in it; the small holes in the sides let light in, so you can see what’s in the basket. Additionally, it breathes really well – fabric knapsacks tend to press agains the small of my back, which is where I generate a lot of heat. I find that super-annoying.
However, when you do wear it, you get a lot of attention – sometimes people stop you to compliment you or ask where you got it, and others just give you that look that people give other people who are doing something noticeably different. Most days, that’s not something that stops me, but as beautiful and useful a thing as a pack basket is, lots of people are going to give you the squint-eye if you go around using yours for its intended purpose.
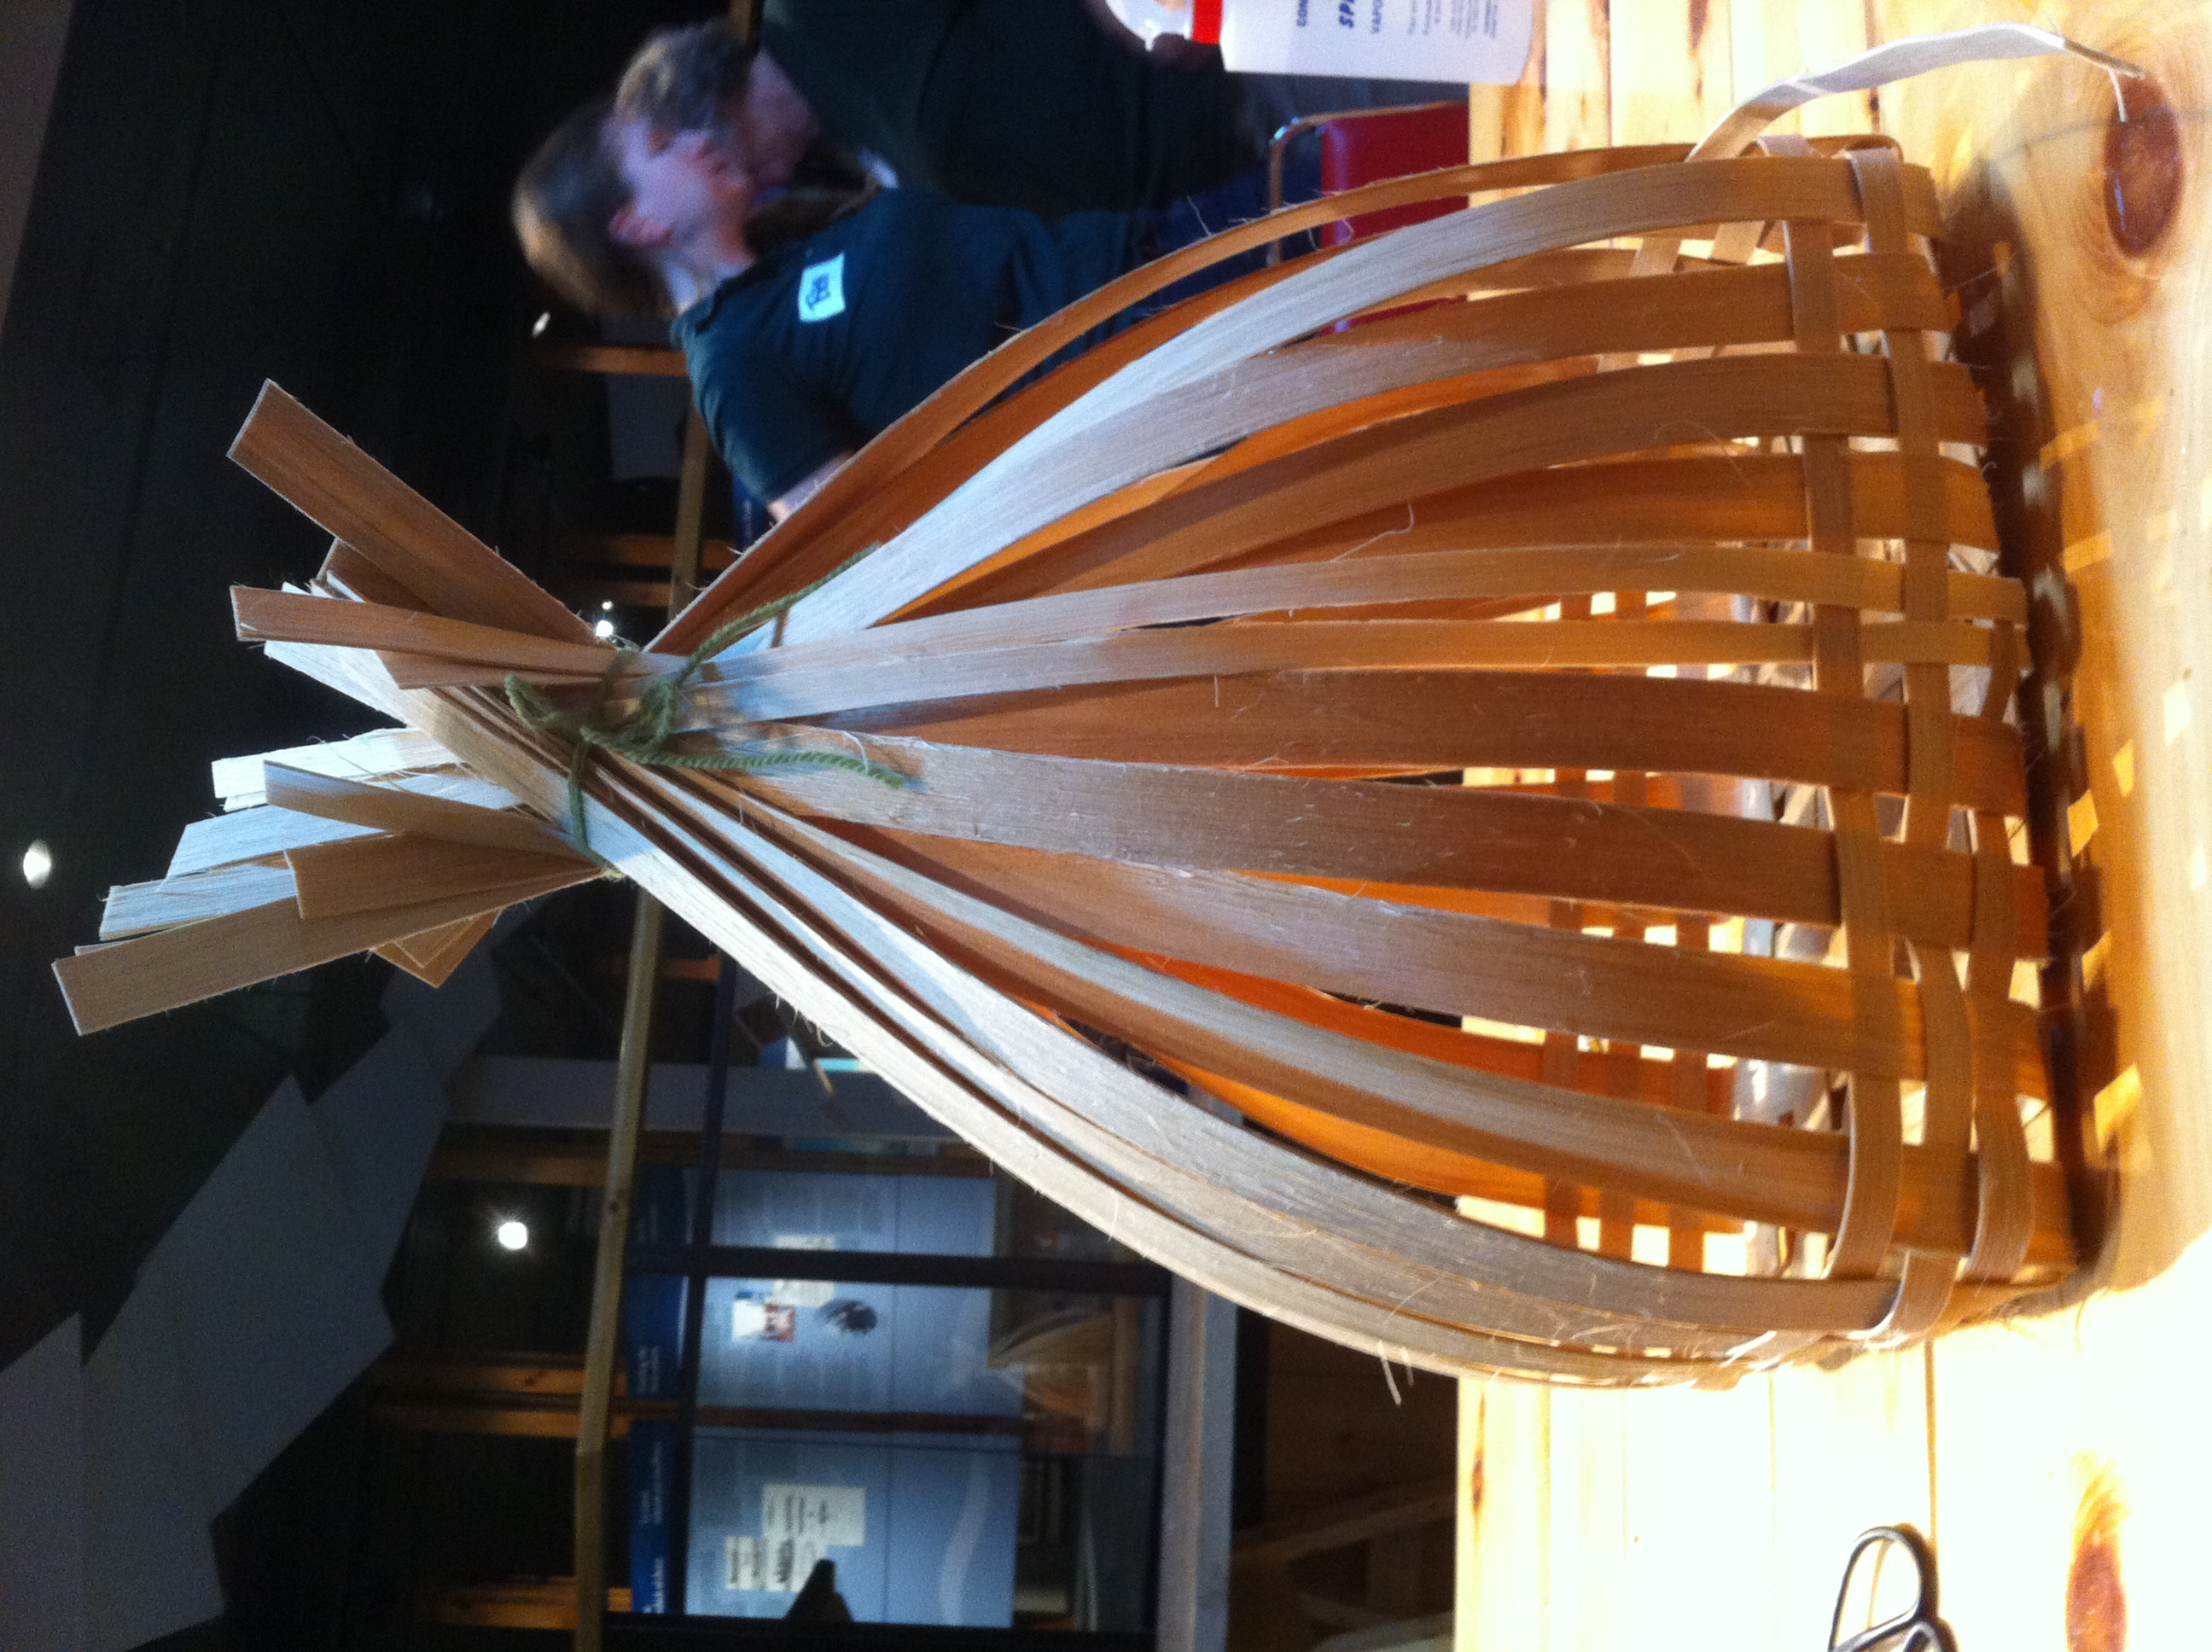
Pack Basket – starting to form the shape.
Pack Basket – starting to form the shape.
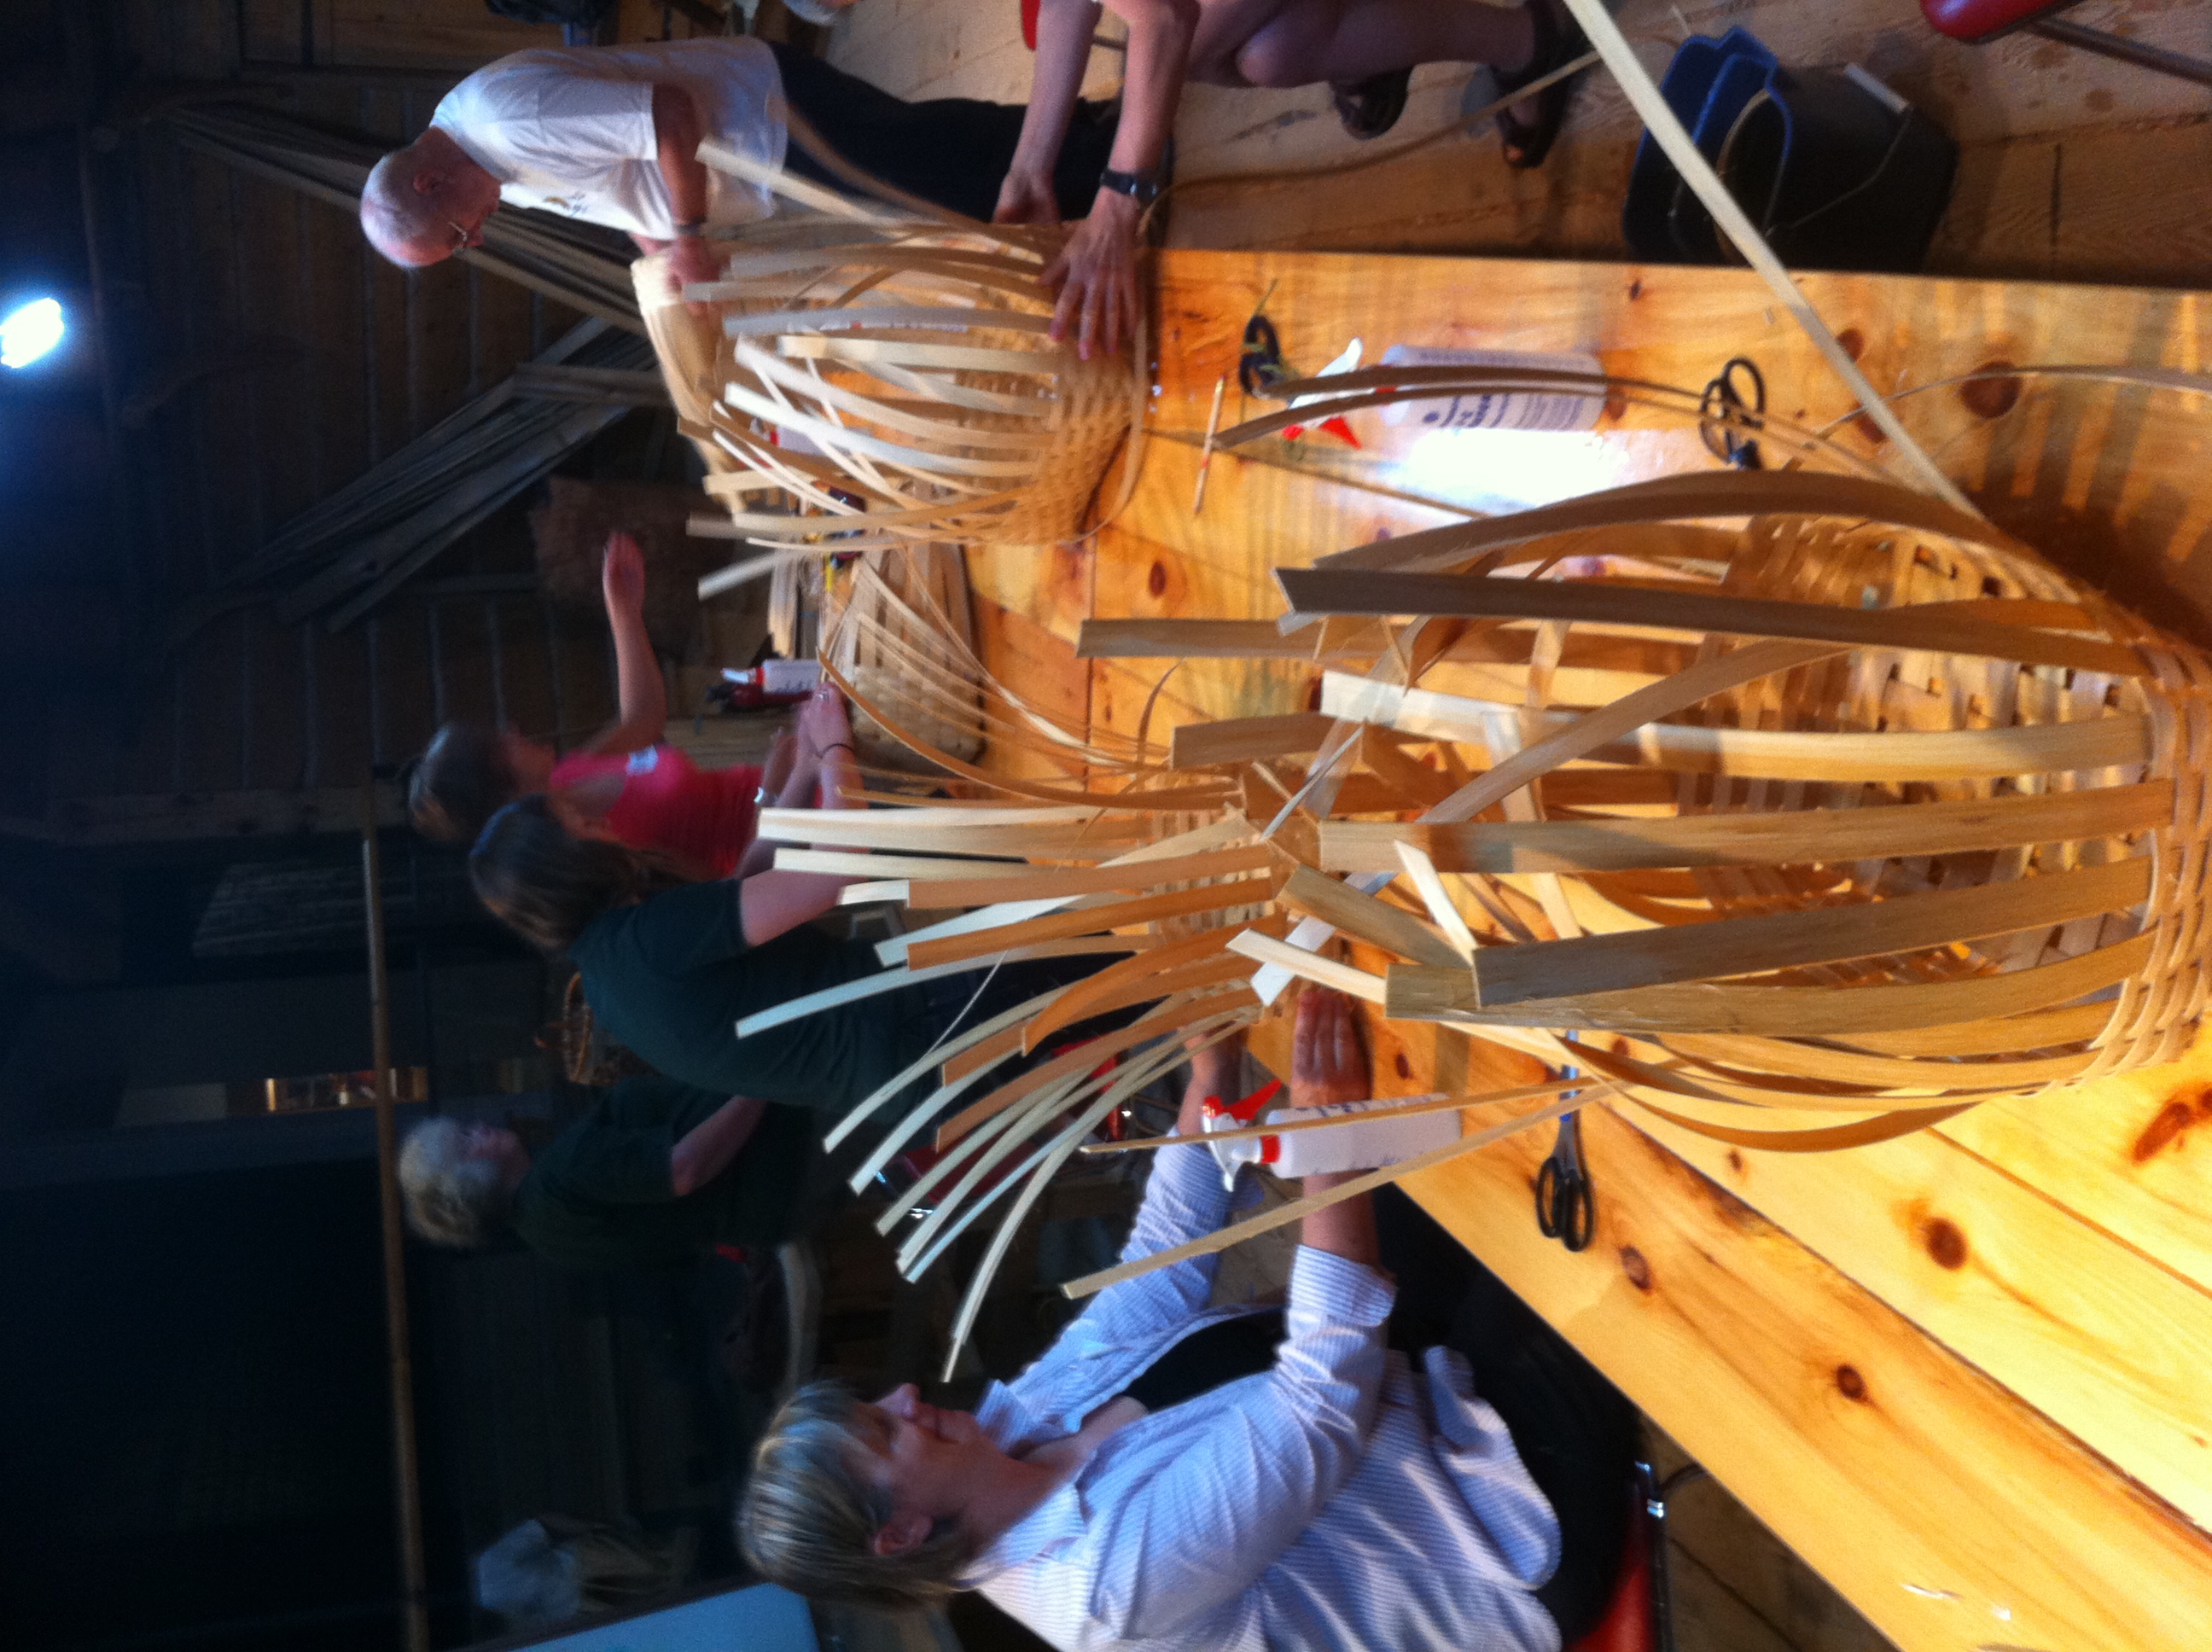
Pack Basket – a few participants weaving
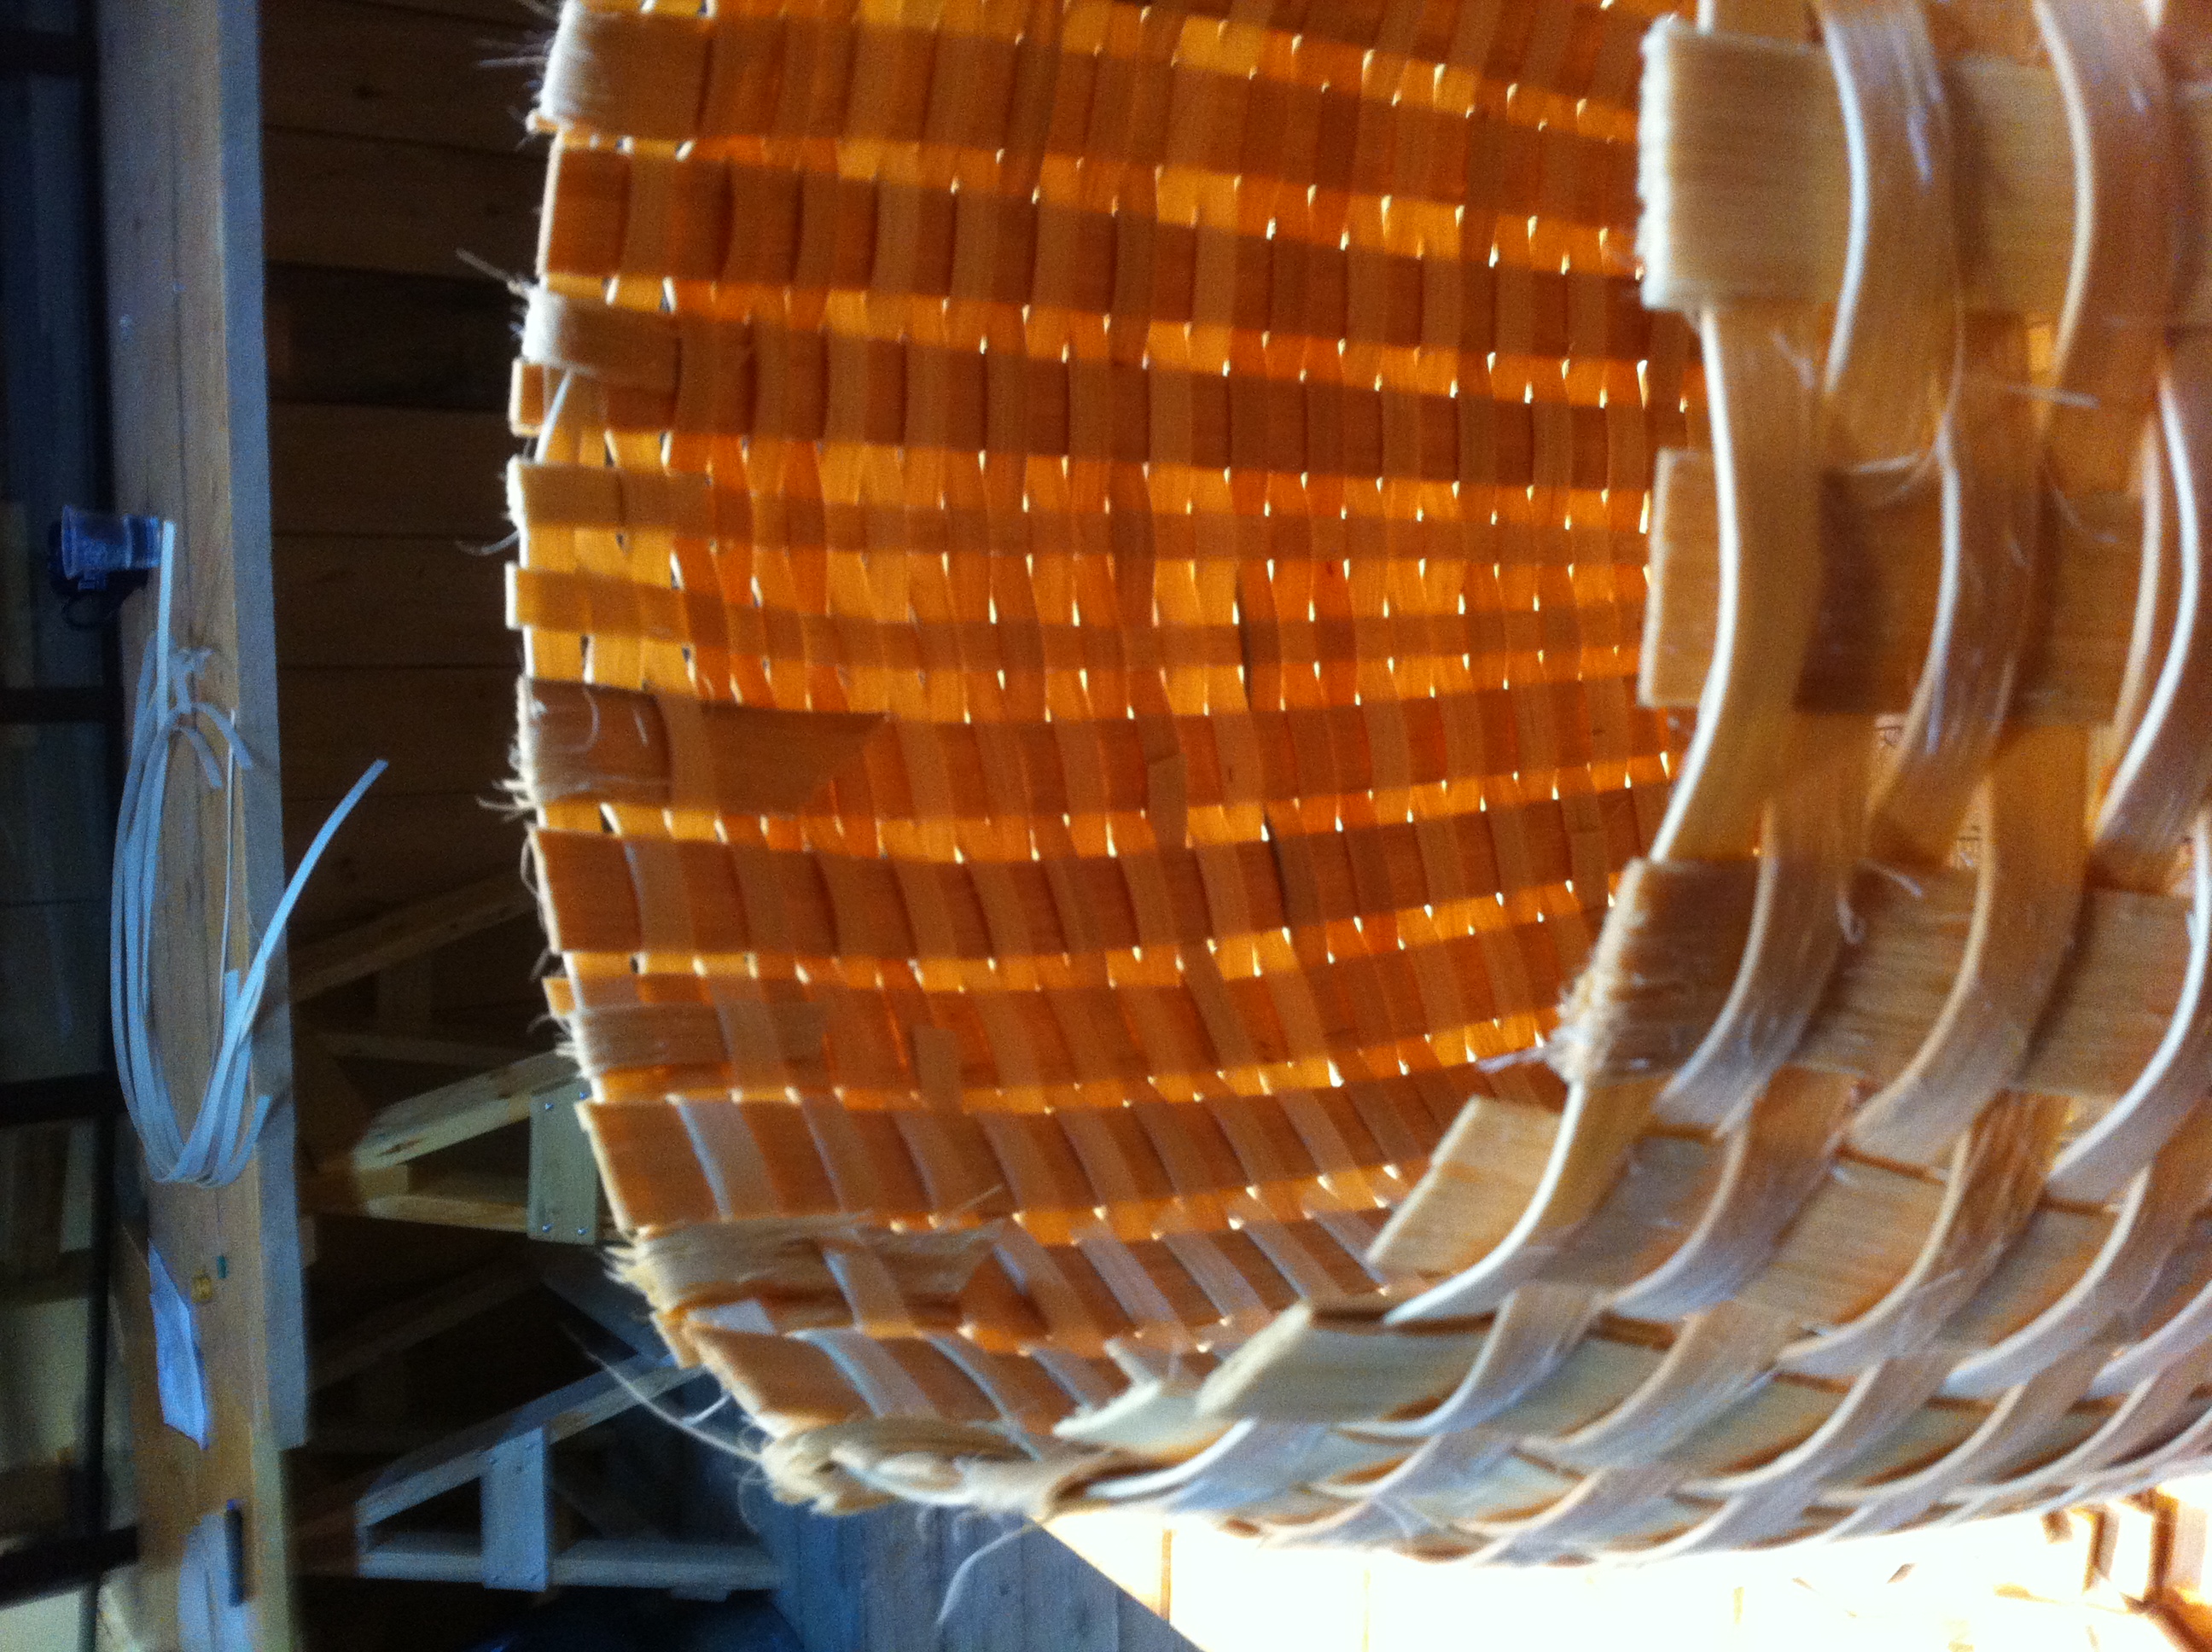
Pack Basket – weaving finished
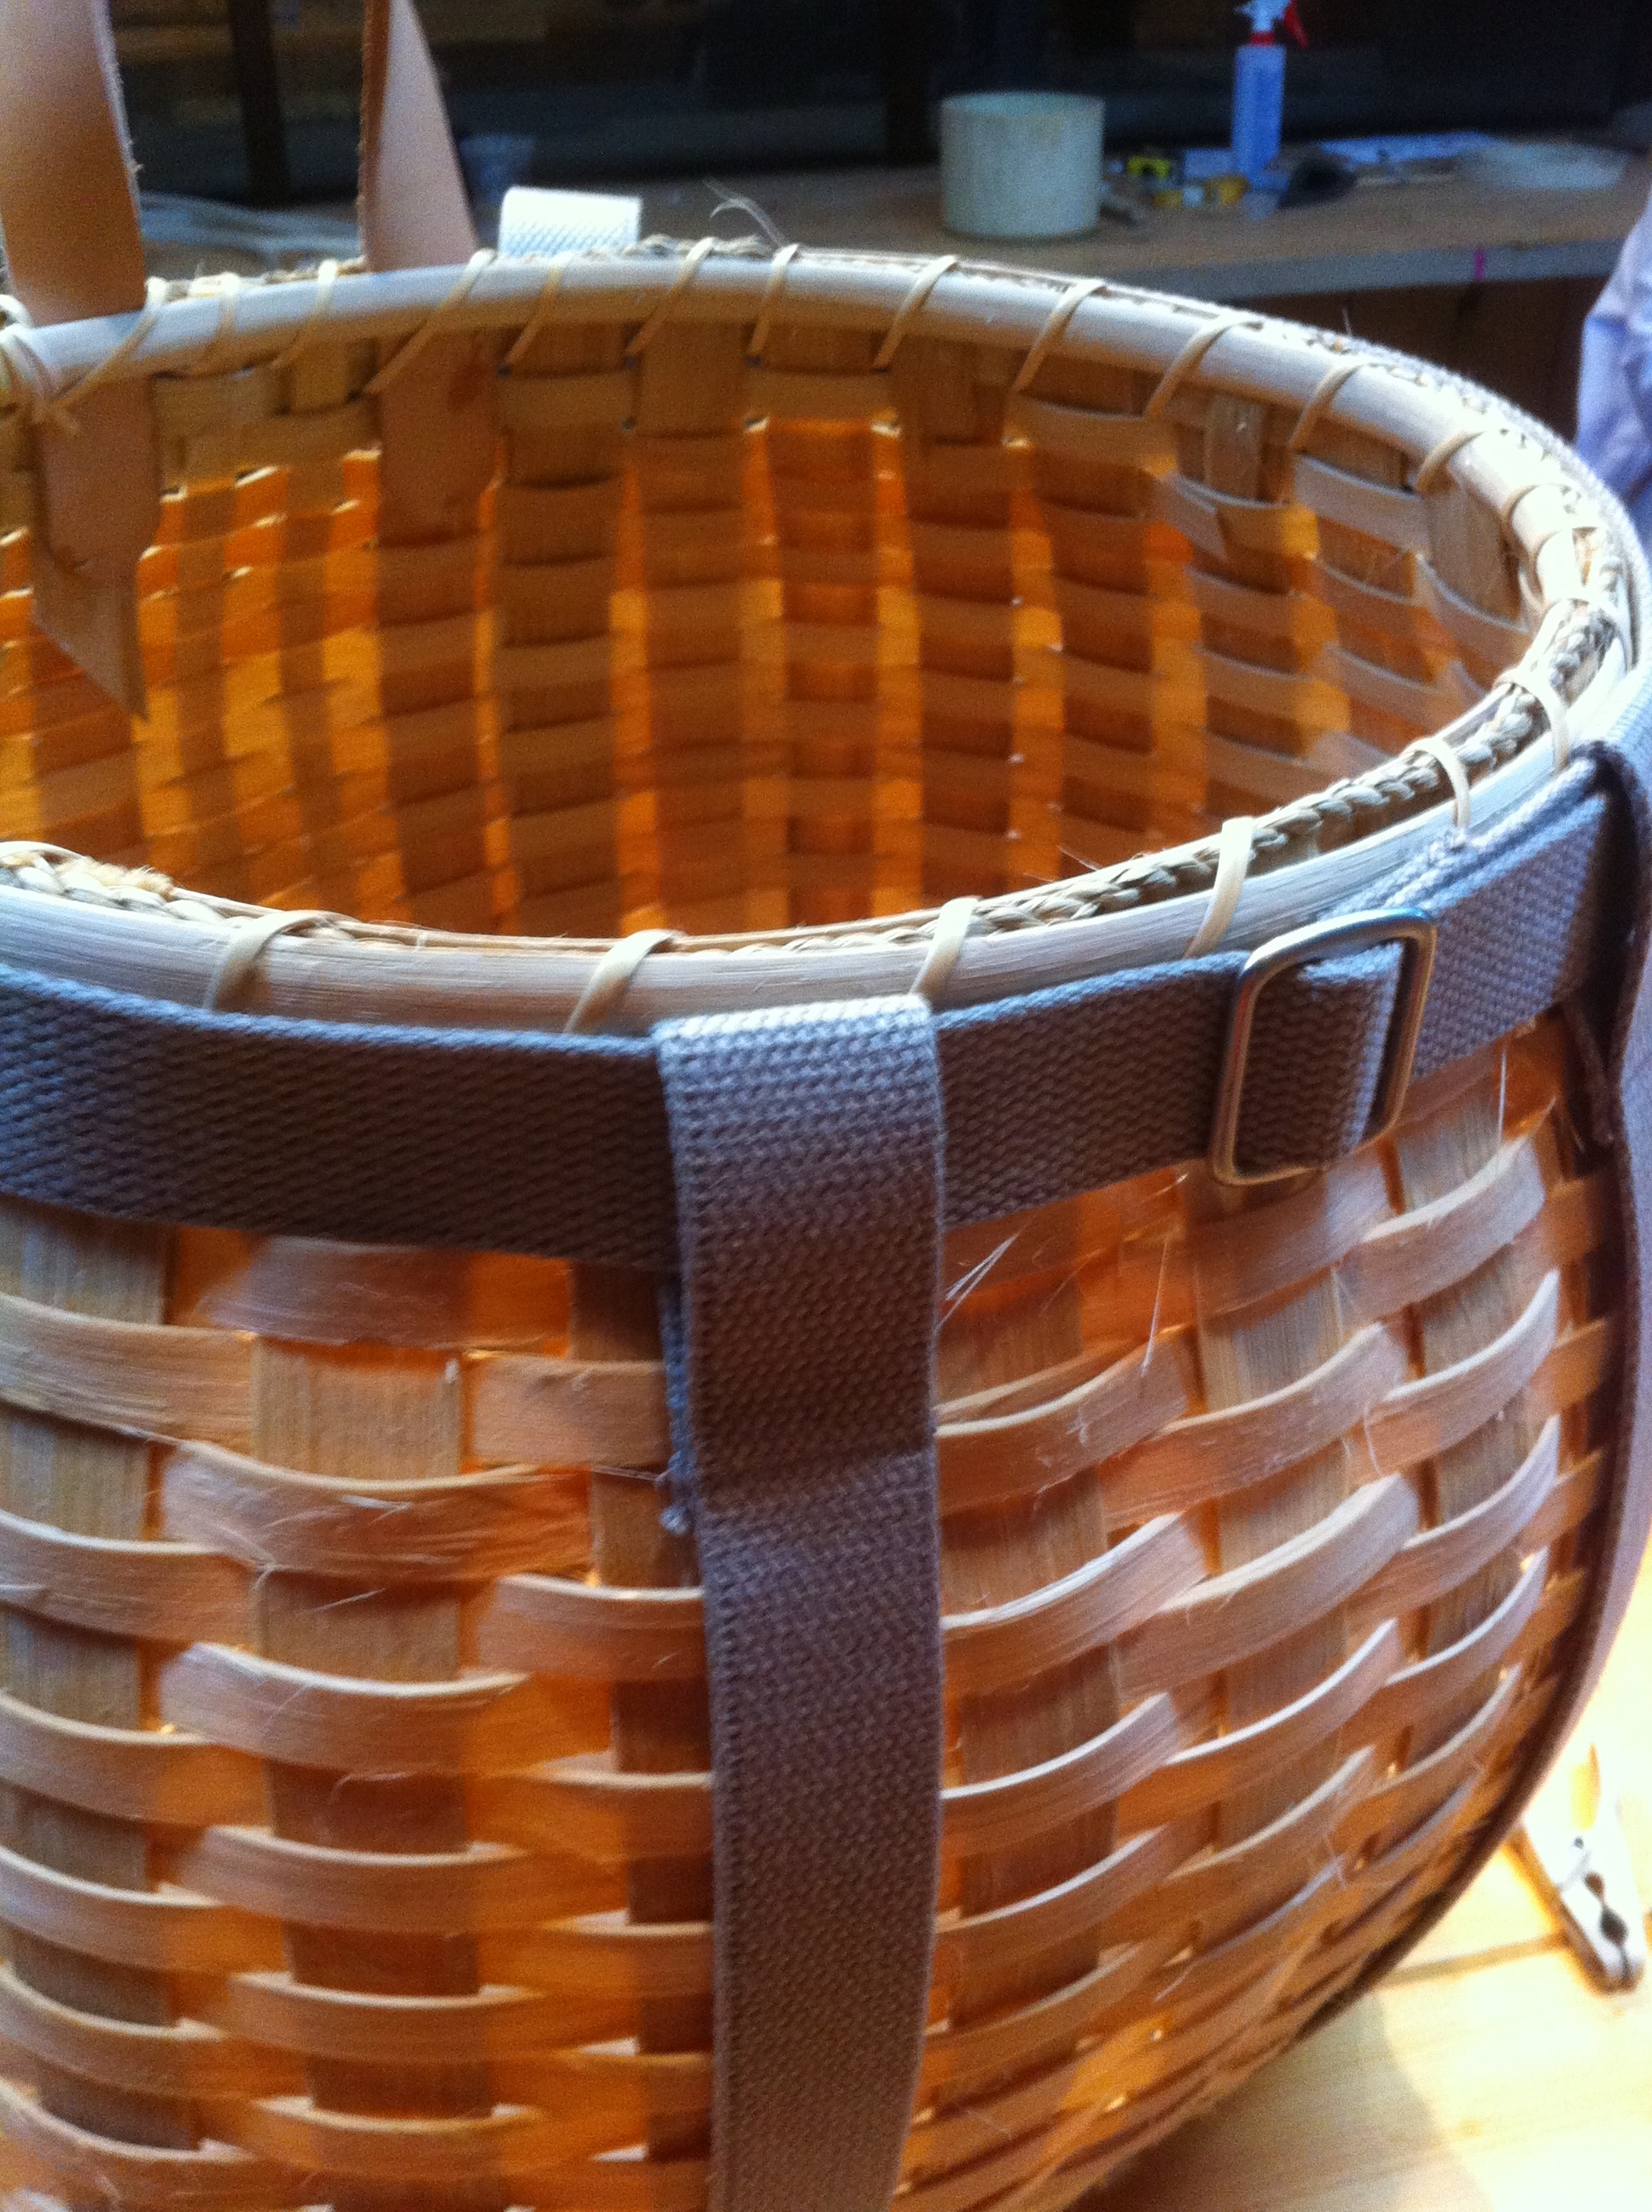
Pack Basket – clamping on the rim
Pack Basket – the rim and straps all fitted and finished!
Pack Basket – ready to be worn on the bike ride home!
I’ve been having a busy and stressful couple of weeks, so I’m not sure if this counts as art, but I feel like it does, so it’s going to have to do.
I’m not an expert at preserving, but it’s something we’ve been doing since I was a kid, when we would spend hot mornings at the U Pick farms, and long afternoons putting up jars of strawberry and raspberry jam.
When I moved to Toronto, I left most of my canning tools at my Mom’s house ((along with my favourite baking dishes!)), because I moved in a hurry and wasn’t sure how long I’d be staying. So last year I didn’t do any canning at all, and very little baking.
My summers are generally very busy, since I run Summer festivals and events for a living, but I almost always find time to do some preserving when the produce is cheap and plentiful. The trick is really to have all of the things you need ready to go, so that when you see a bushel of red peppers going super-cheap, you can take is home and be canning Roasted Red Pepper-Tomato Ketchup that evening.
After stewing the ingredients together, you fill mason jars with the hot fruit mixture.
So last weekend I noticed that flats of mangoes were pretty cheap, and I finally got around to buying one of those Bernardin home canning starter kits, which includes the giant pot, funnel, and jar tongs (as well as some other random stuff, like a DVD on canning.). You don’t need to buy one of these, but it is a handy way to get everything you need in one shot. It even comes with four one-cup mason jars, though that won’t get you very far.
Like a lot of older skills, people think it’s super-complicated to make preserves (or bake), but the main activities are washing – the ingredients, the tools, your hands – and peeling/cutting up the ingredients. Then you stew them up in a pot, add a few preservative ingredients like sugar and vinegar, et voila! You have jam, or ketchup, or chutney!
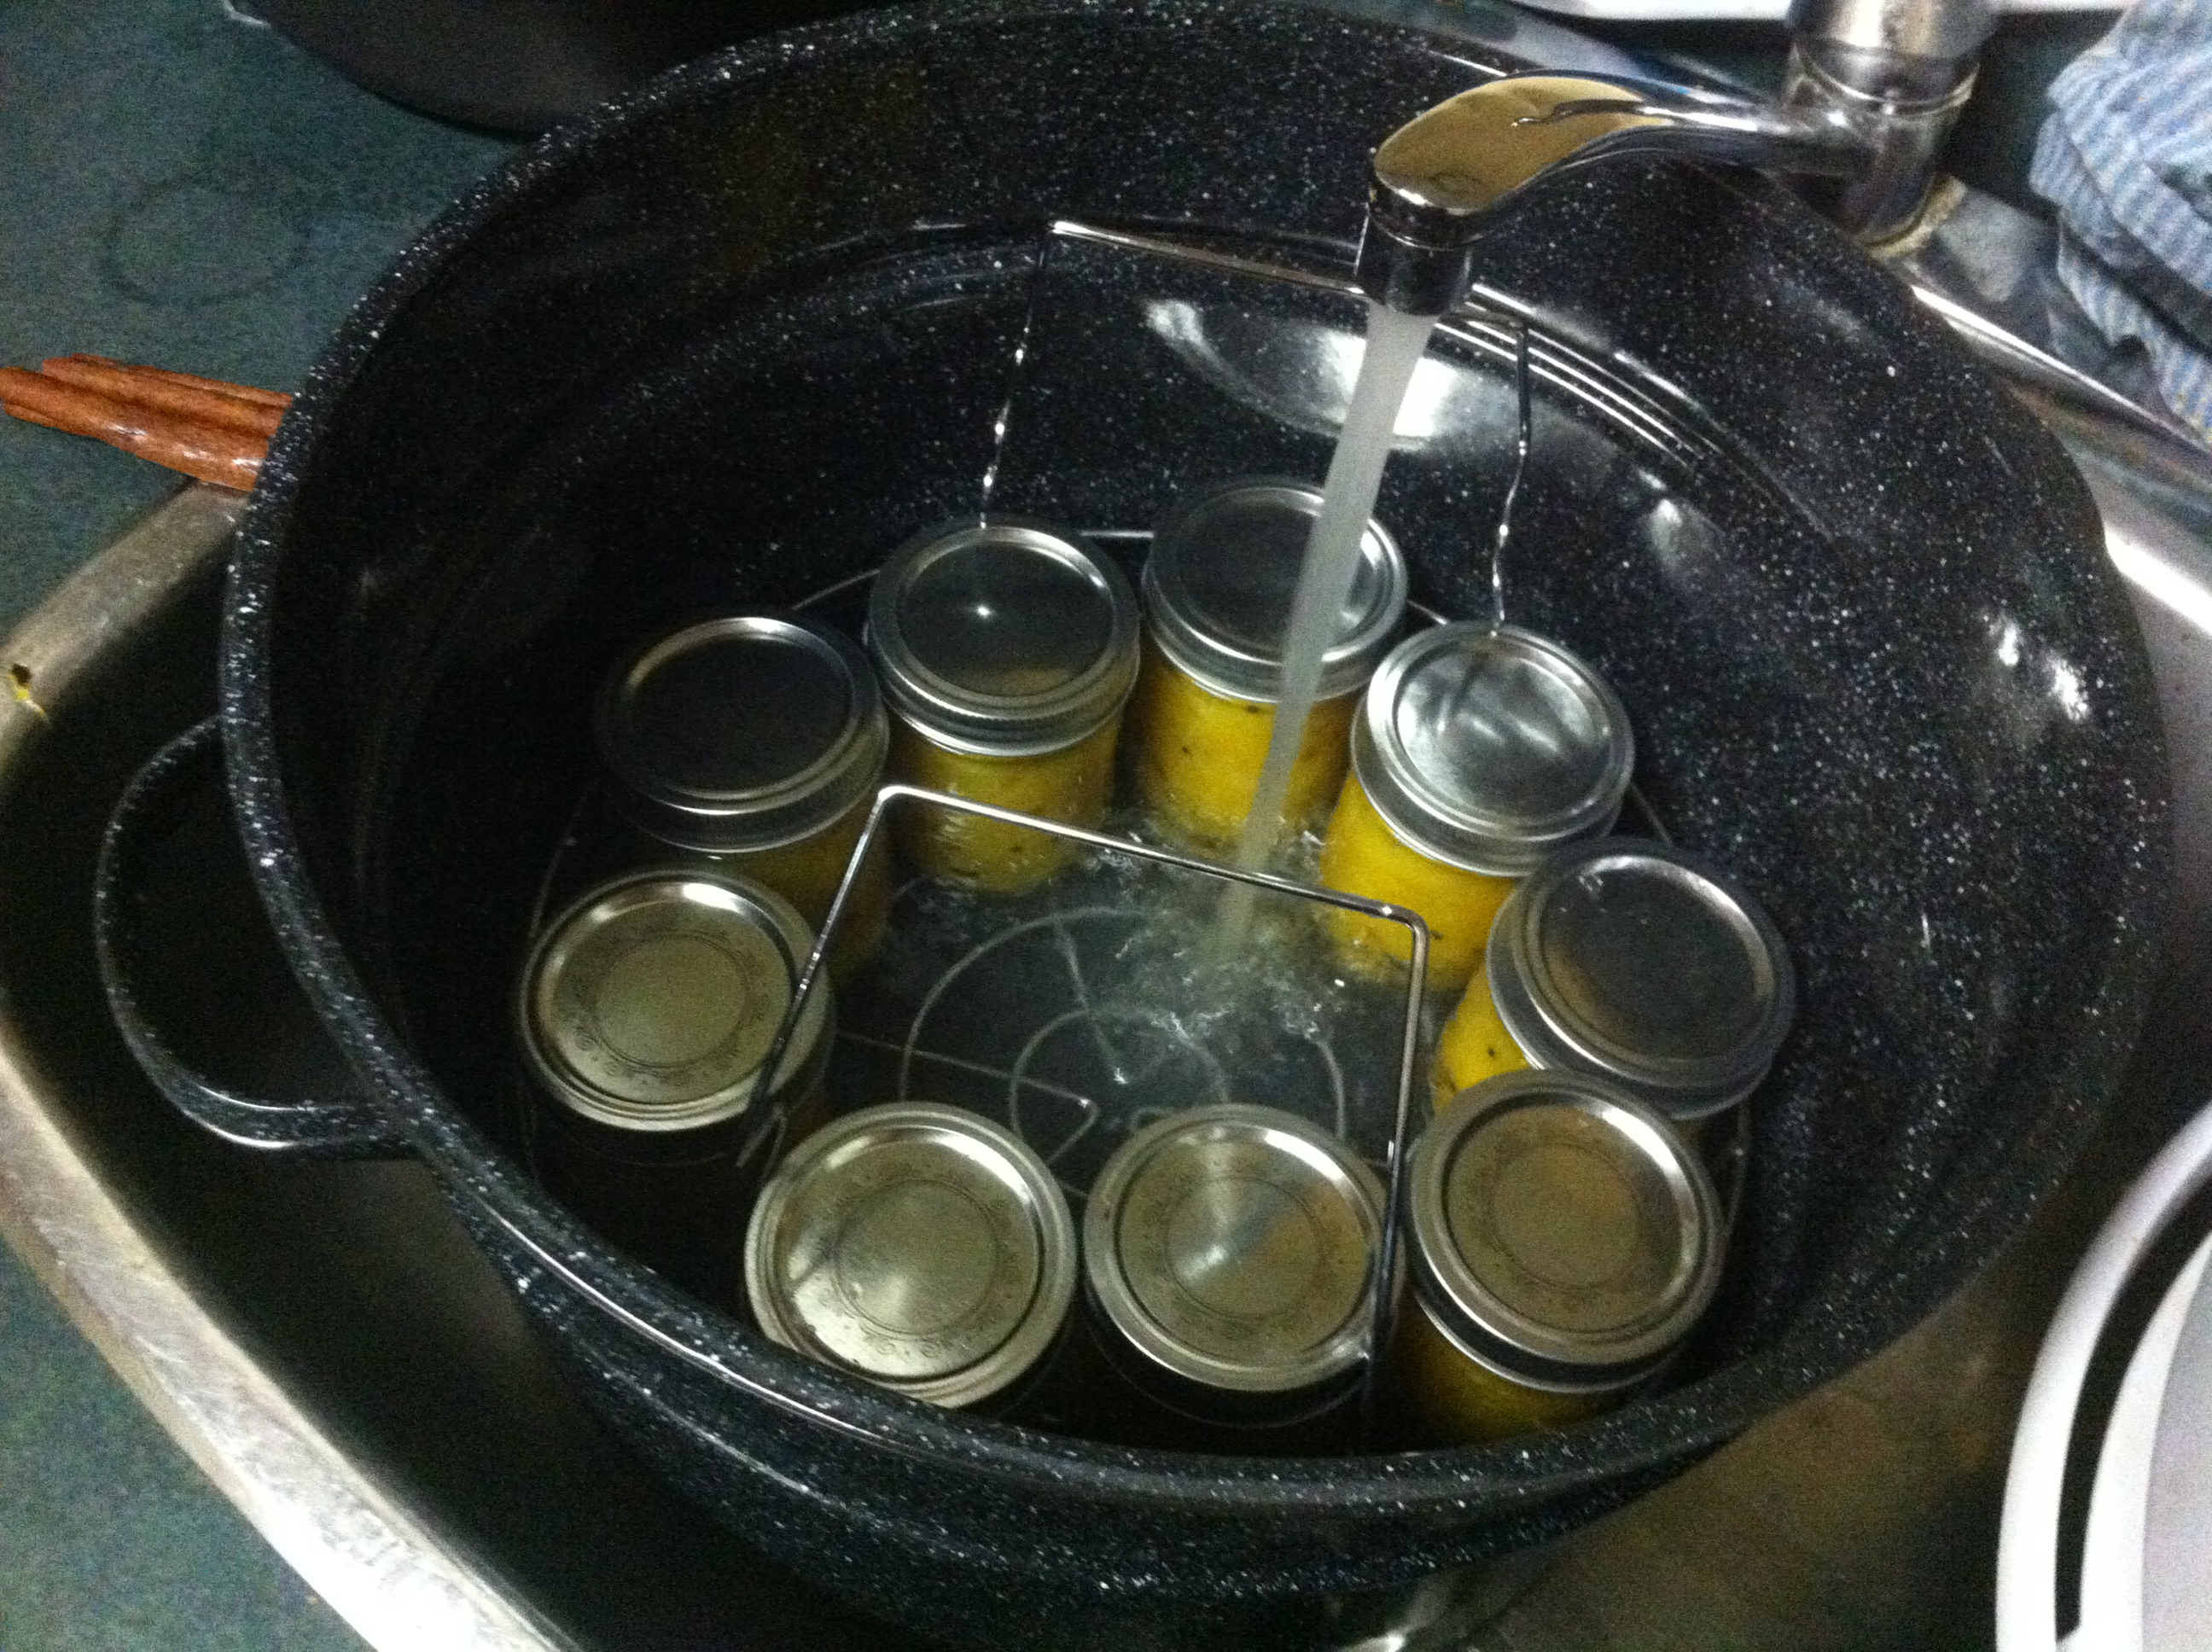
Yes, after that you move on to the canning process, which is usually another half an hour, and is super-anti-climactic if you think canning is complicated, but generally it means pouring your preserves into sterile jars, covering them with sterile lids, and then submerging them in boiling water for 20 minutes or so. ((This is a rough description, by no means a recipe – always check a canning site like Bernardin for proper directions! They’ve also got tonnes of really good recipes for all kinds of preserves.))
Placing the jars in the hot water bath to sterilize and seal them.
I’ve made this mango chutney a few times; it’s a recipe I cobbled together a few years ago when I made an impulse buy of a carton of over-ripe mangoes for $3. You can find it over on my personal website; don’t mess with the spices, unless you’re adding a little extra coriander, which is my favourite bit. Everytime I get a bite of chutney with a coriander seed, it’s like heaven.
The best part of the whole process is really that bit at the end, when you’re pulling the jars out of the boiling-water bath, and setting them somewhere to settle for the night. Not only do you get the pleasure of seeing those lovely jars all lined up with delicious food that you made, but there’s that pleasing “Thwok!” as the lids suction down, sealing the jars.
I really like this recipe; it tastes amazing on fried foods like latkes, samosas, or a grilled cheese sandwich (seriously, try it!). And it feels good to finally have the tools to preserve things in my own house again!
This batch made 9 one-cup jars of delicious mango chutney!
So I’m really, really late posting. I’d been learning a song for the past two weeks, and was finally getting to a point where I was pretty happy with it, when I sat to record. Listening back, I was kind-of overwhelmed by how much I hate the ukulele accompaniment; whether it’s the arrangement, or my playing, or whatever, I re-recorded it over and over, and never felt any better about it. I kept procrastinating, hoping I’d find a way to make it work, but in the end I just had to admit defeat.
So instead of a new song I’m posting an old piece of embroidery.
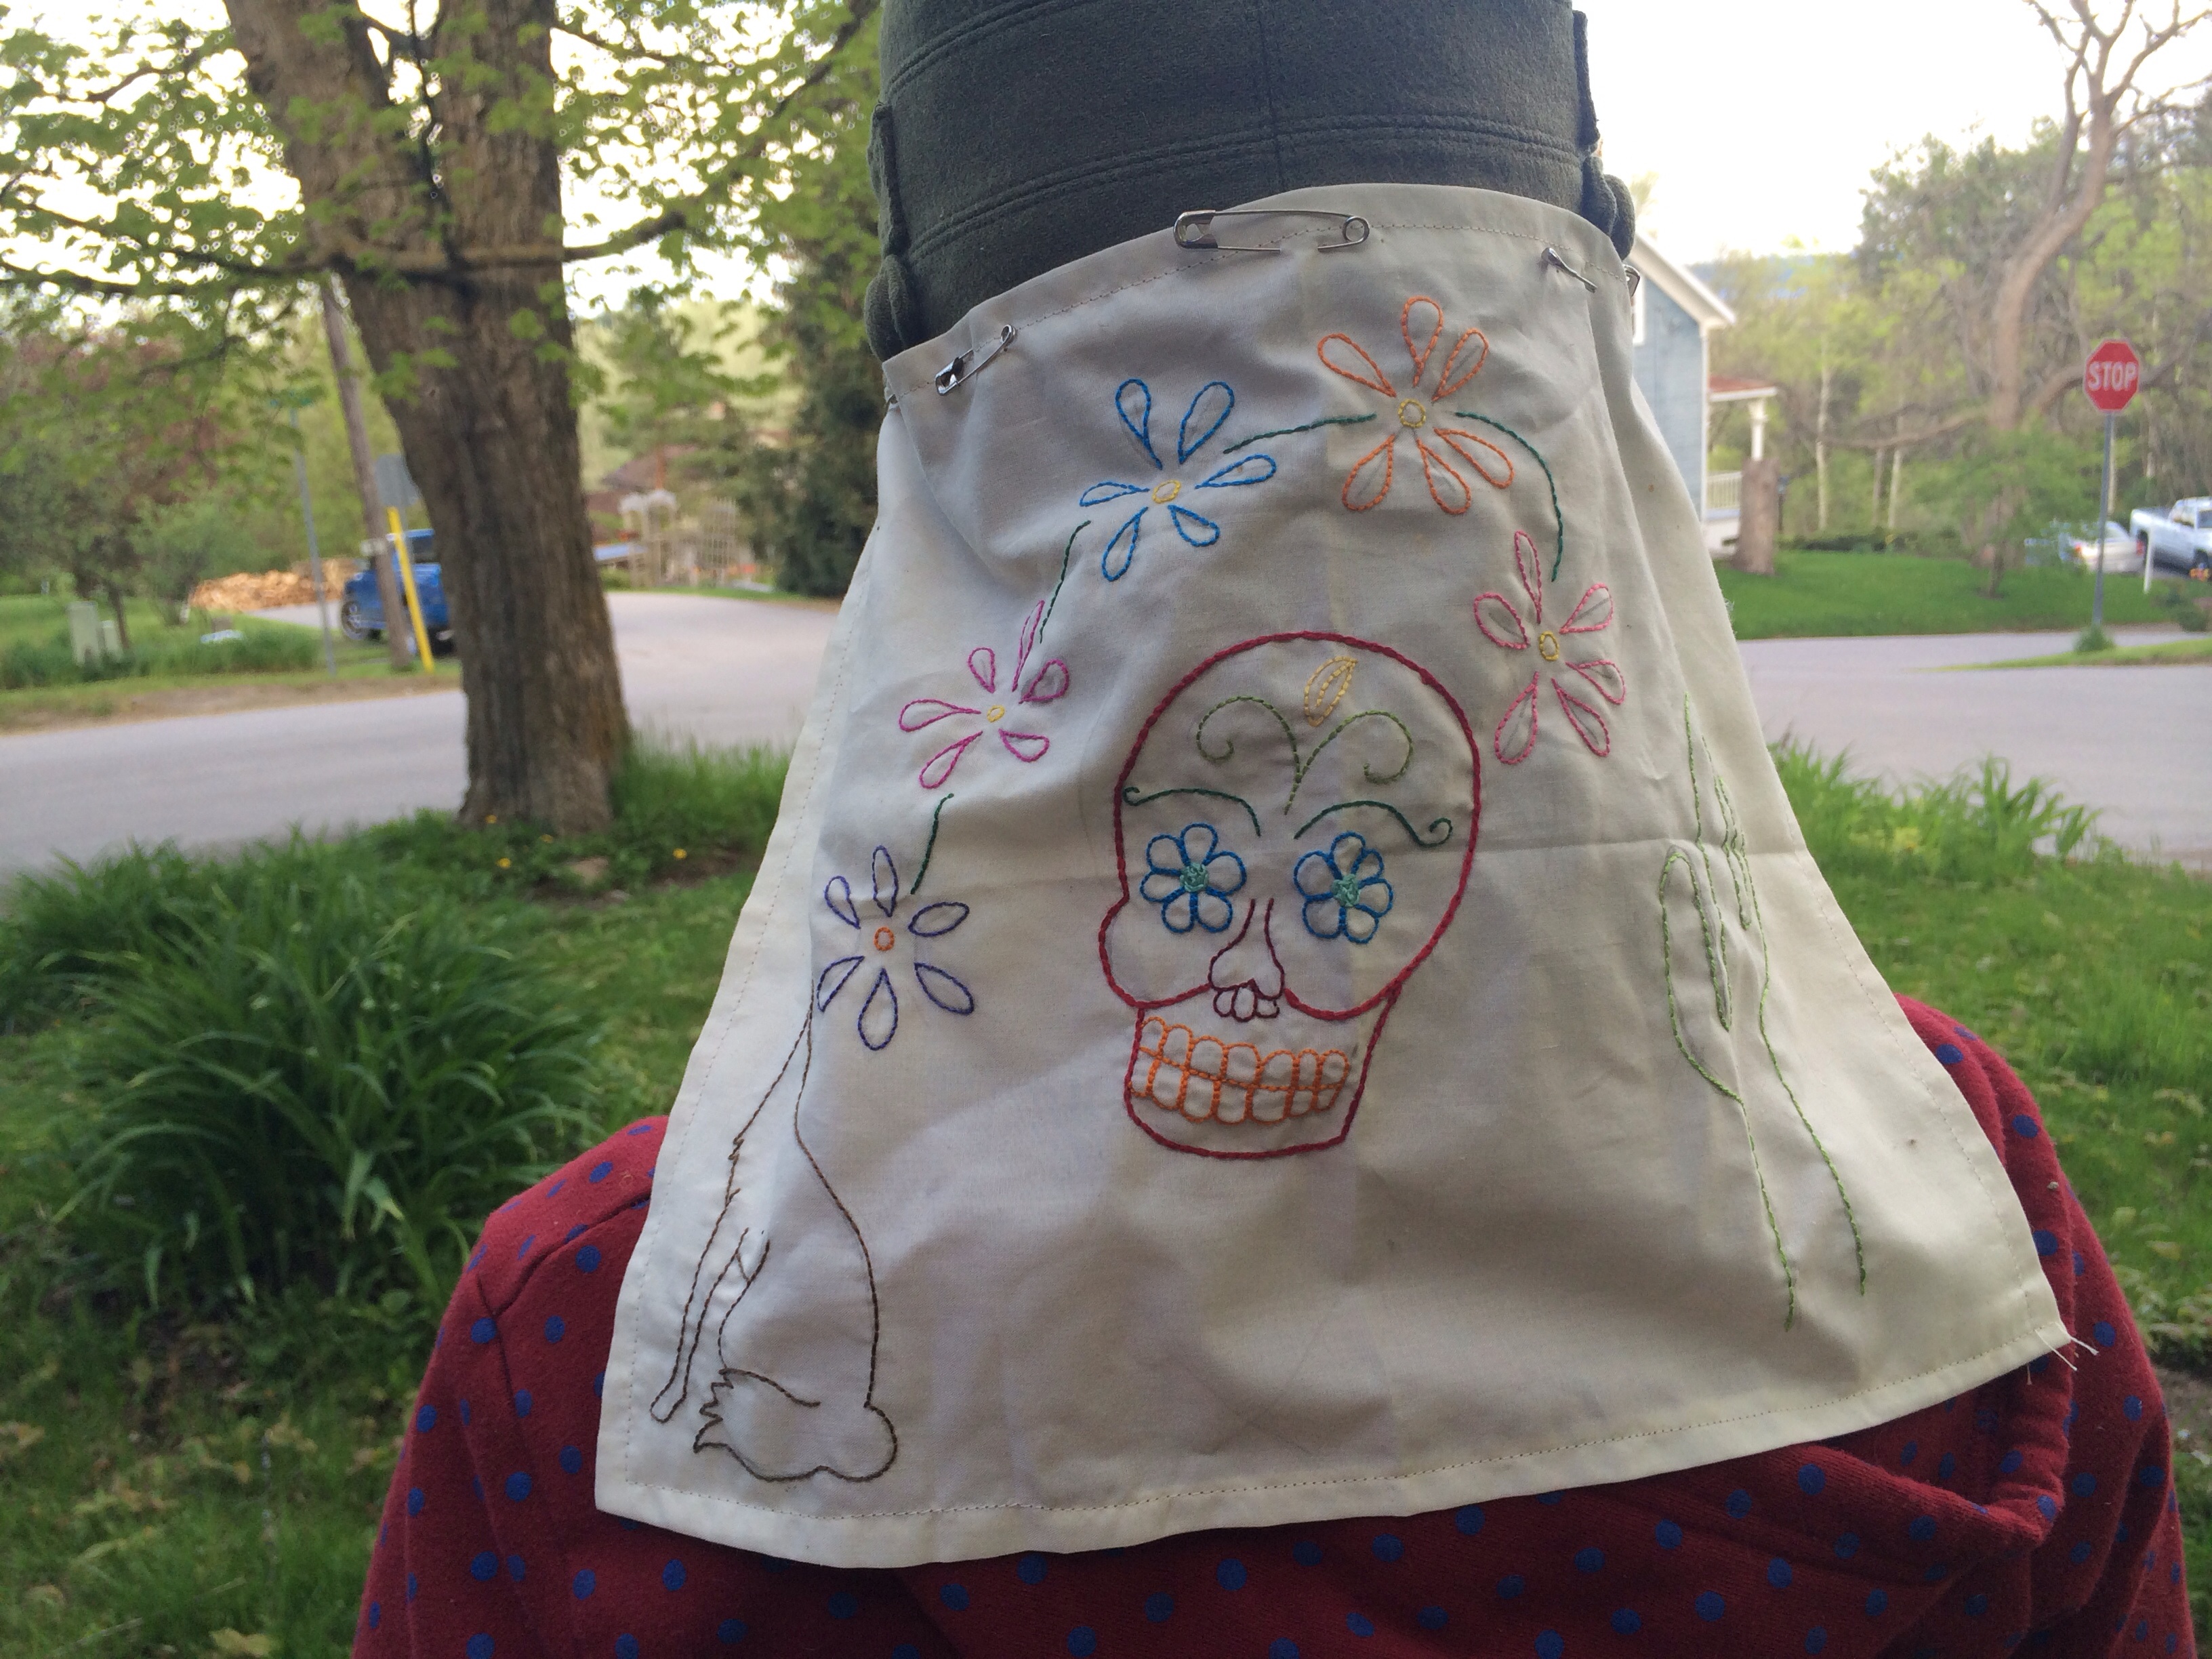
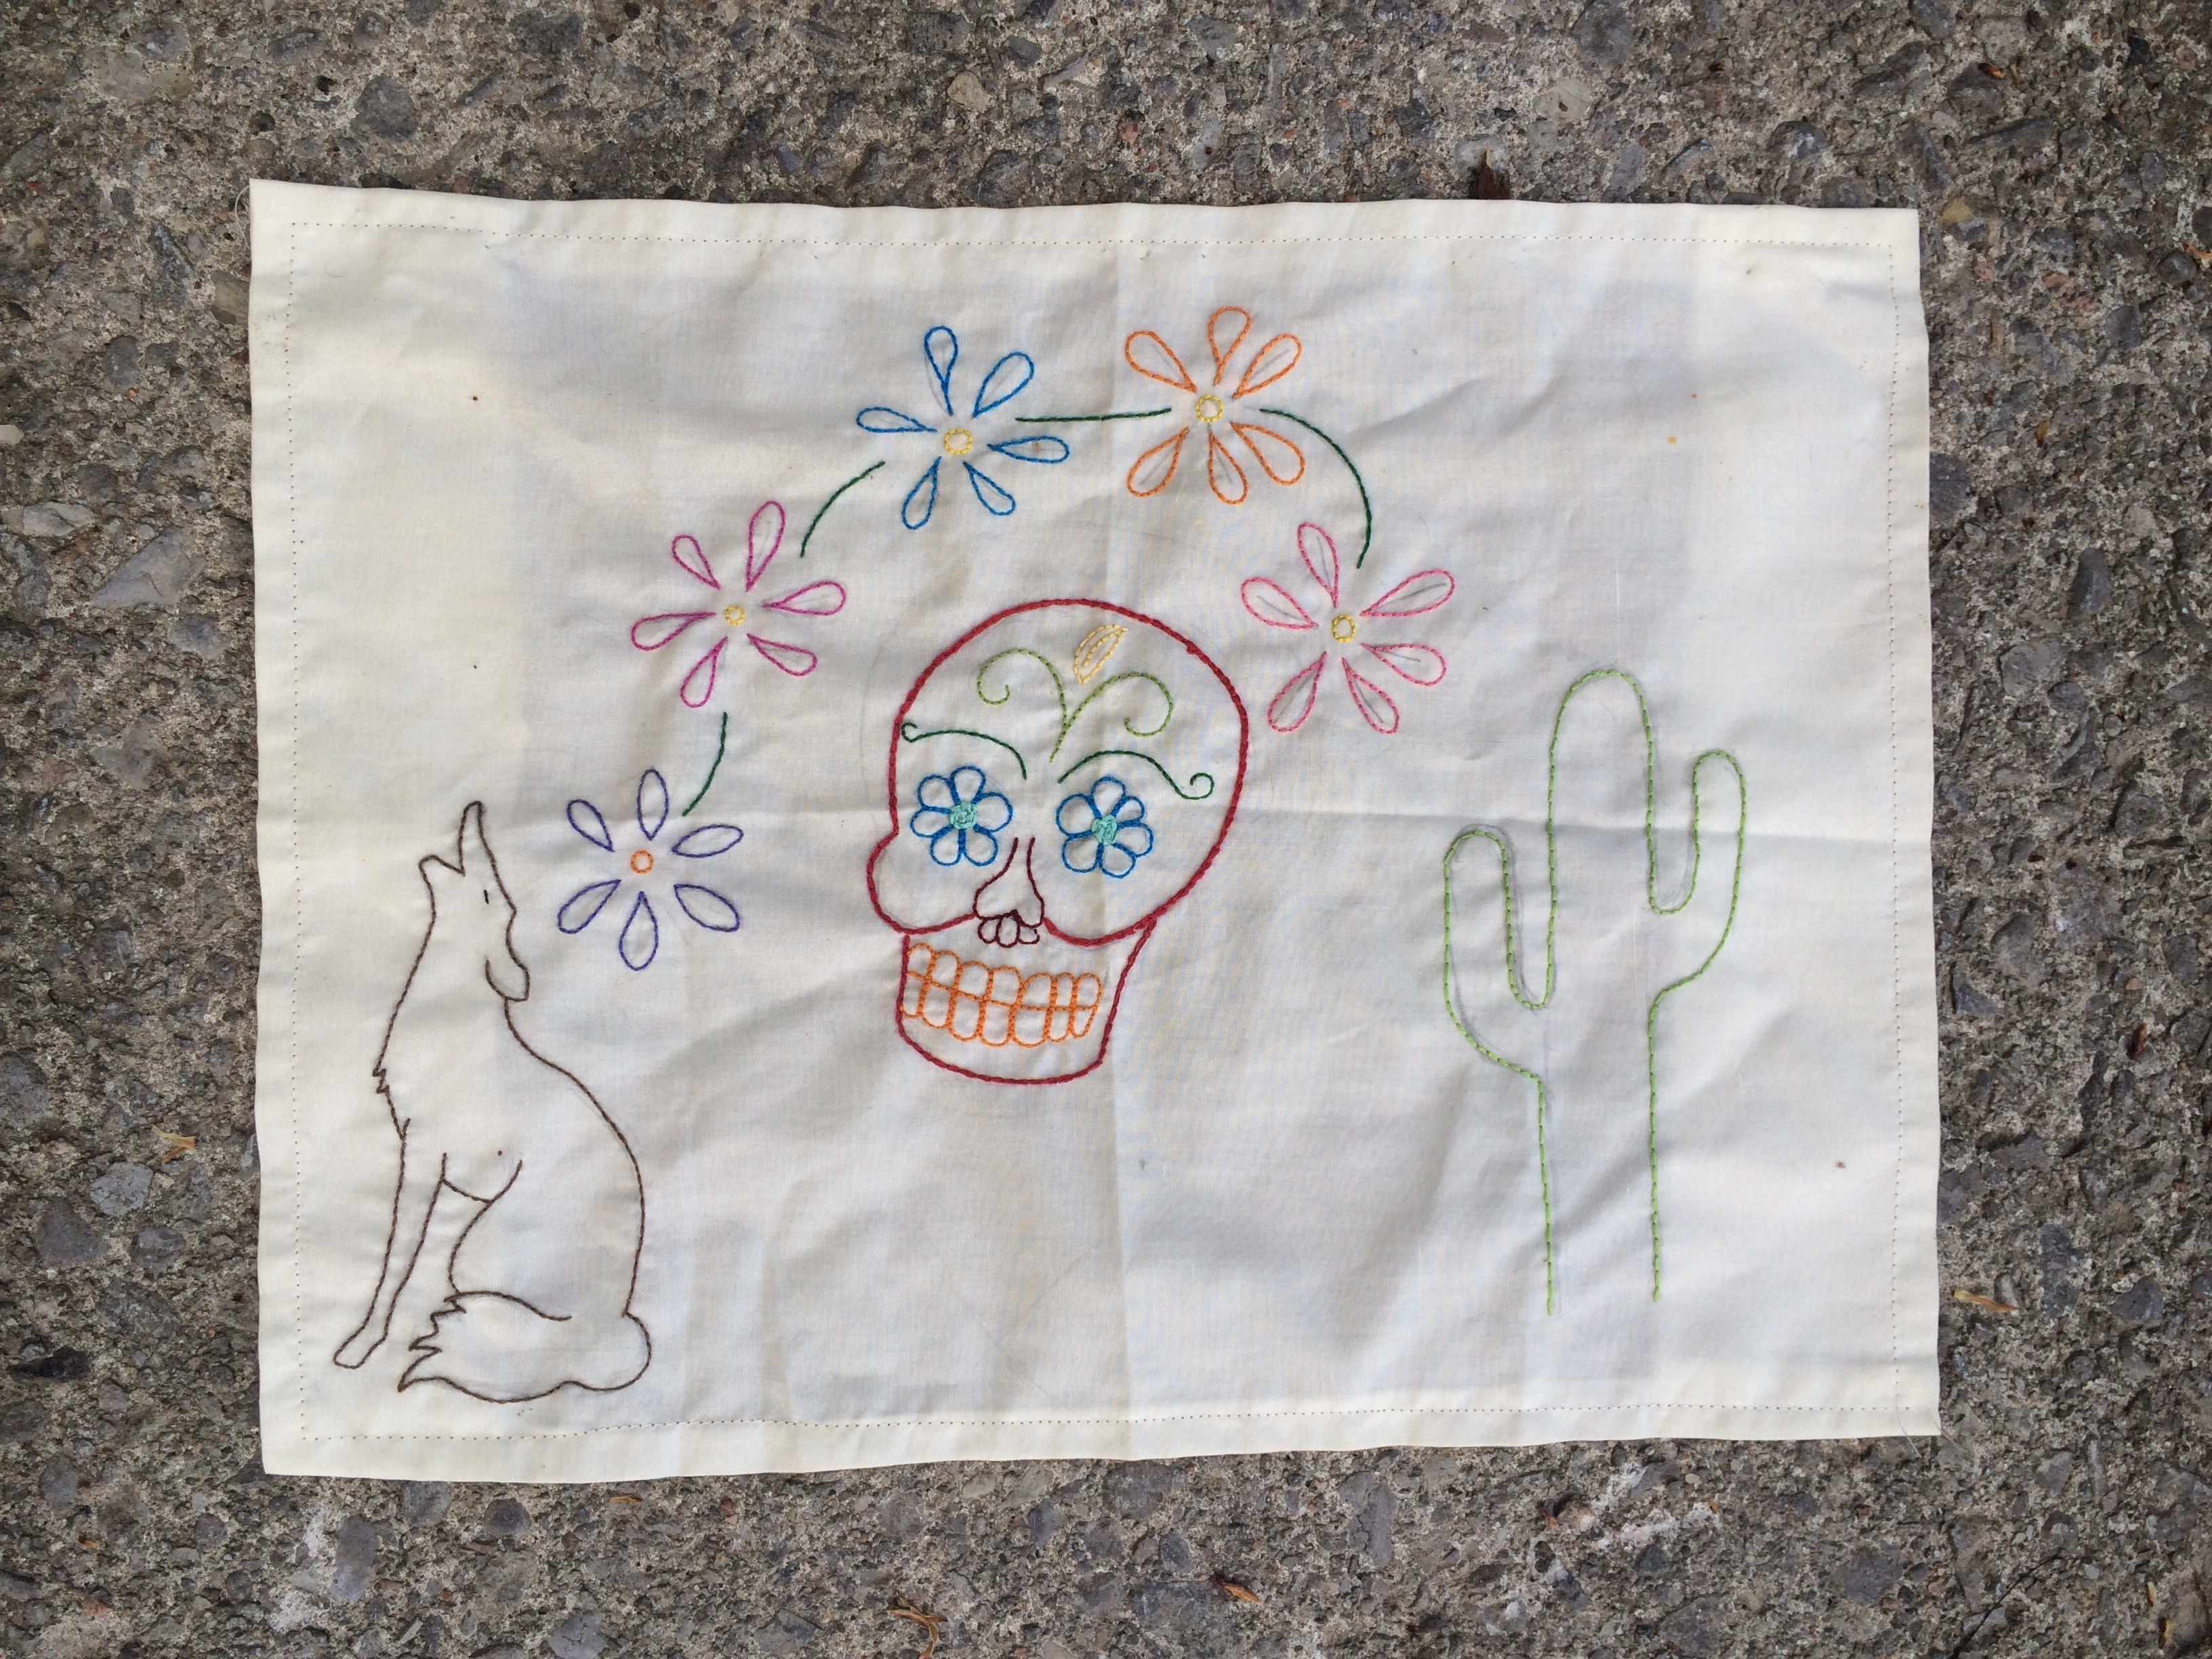
It’s something I made for Cassie, when she was travelling south to take a class in Desert Ecology. Since she was going to the desert, I thought I’d make her a piece of embroidery that she could attach to her hat, kind-of in the style of the French Foreign Legion.
I’d wanted to make it a lot more elaborate than I had time to do – I run Summer events, so as the weather warms my free time dries up. I remember that I was still working on the chain of flowers as we drove Cassie to meet up with her class in Southern Ontario, and I finished it off just in time.
The finished/unfinished nature of this particular project is kind-of obvious – the placement of all of the elements is random, because the white space between them was was supposed to be busy with flowers and images and colours.
This was a while ago, before sugar skulls appeared on everything, so I’m not sure if that makes it more or less culturally appropriative, but I was trying to represent that she’d be in the desert in both the southern U.S. and northern Mexico, which is why I included it (Also, I find them fascinating and pretty). The cactus is the universally-recognizable symbol for North American desert (even if it’s not found in all of them, Looney Tunes taught me that deserts have Saguaro cactus.), and of course, a howling wolf.
I’m most proud of the wolf; it’s probably the best-drawn and executed of anything on this piece. I feel a bit sheepish about having embroidered a howling wolf on something, but let’s just pretend I was embroidering it ironically, okay?
I’d really enjoyed creating a linoprint last year when I was working at Harbourfront Centre, and had been thinking of buying some supplies and trying it out again in a slightly less rushed situation. While I was home a month or two ago, my mom and sisters and I went to an auction, where I was lucky enough to snag a box full of linocutting supplies – carving tools and breyers, some (very old) ink and lino.
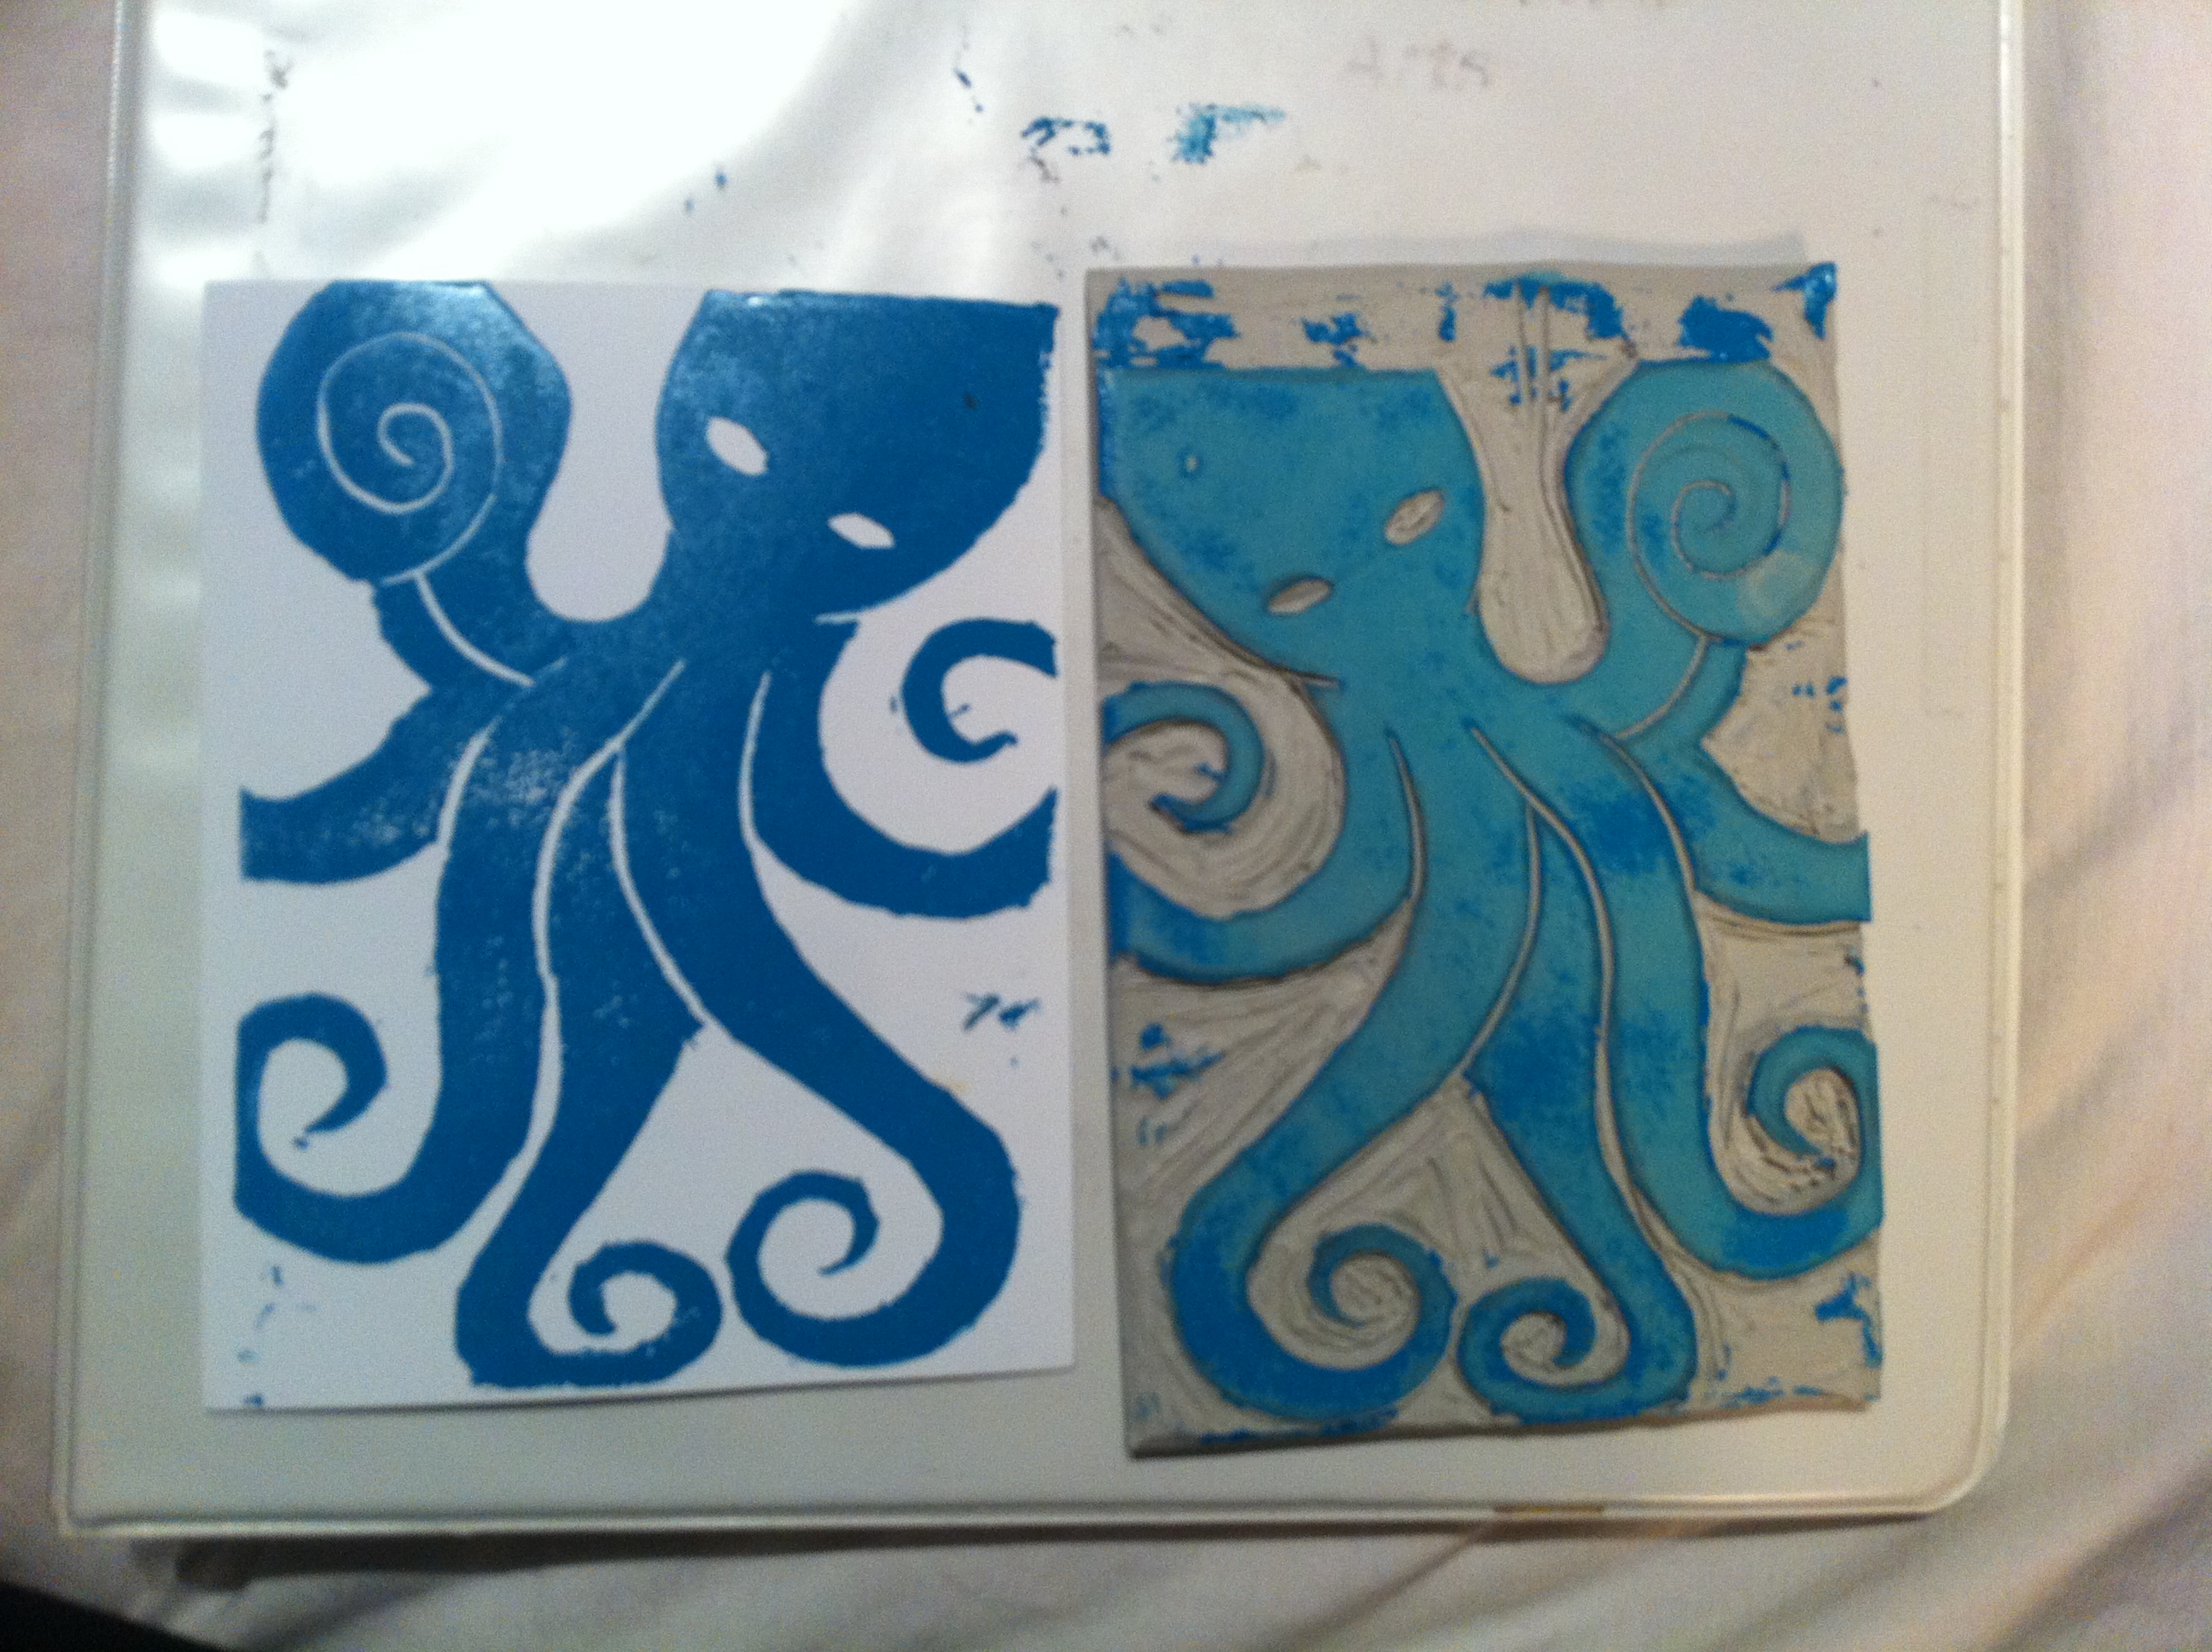
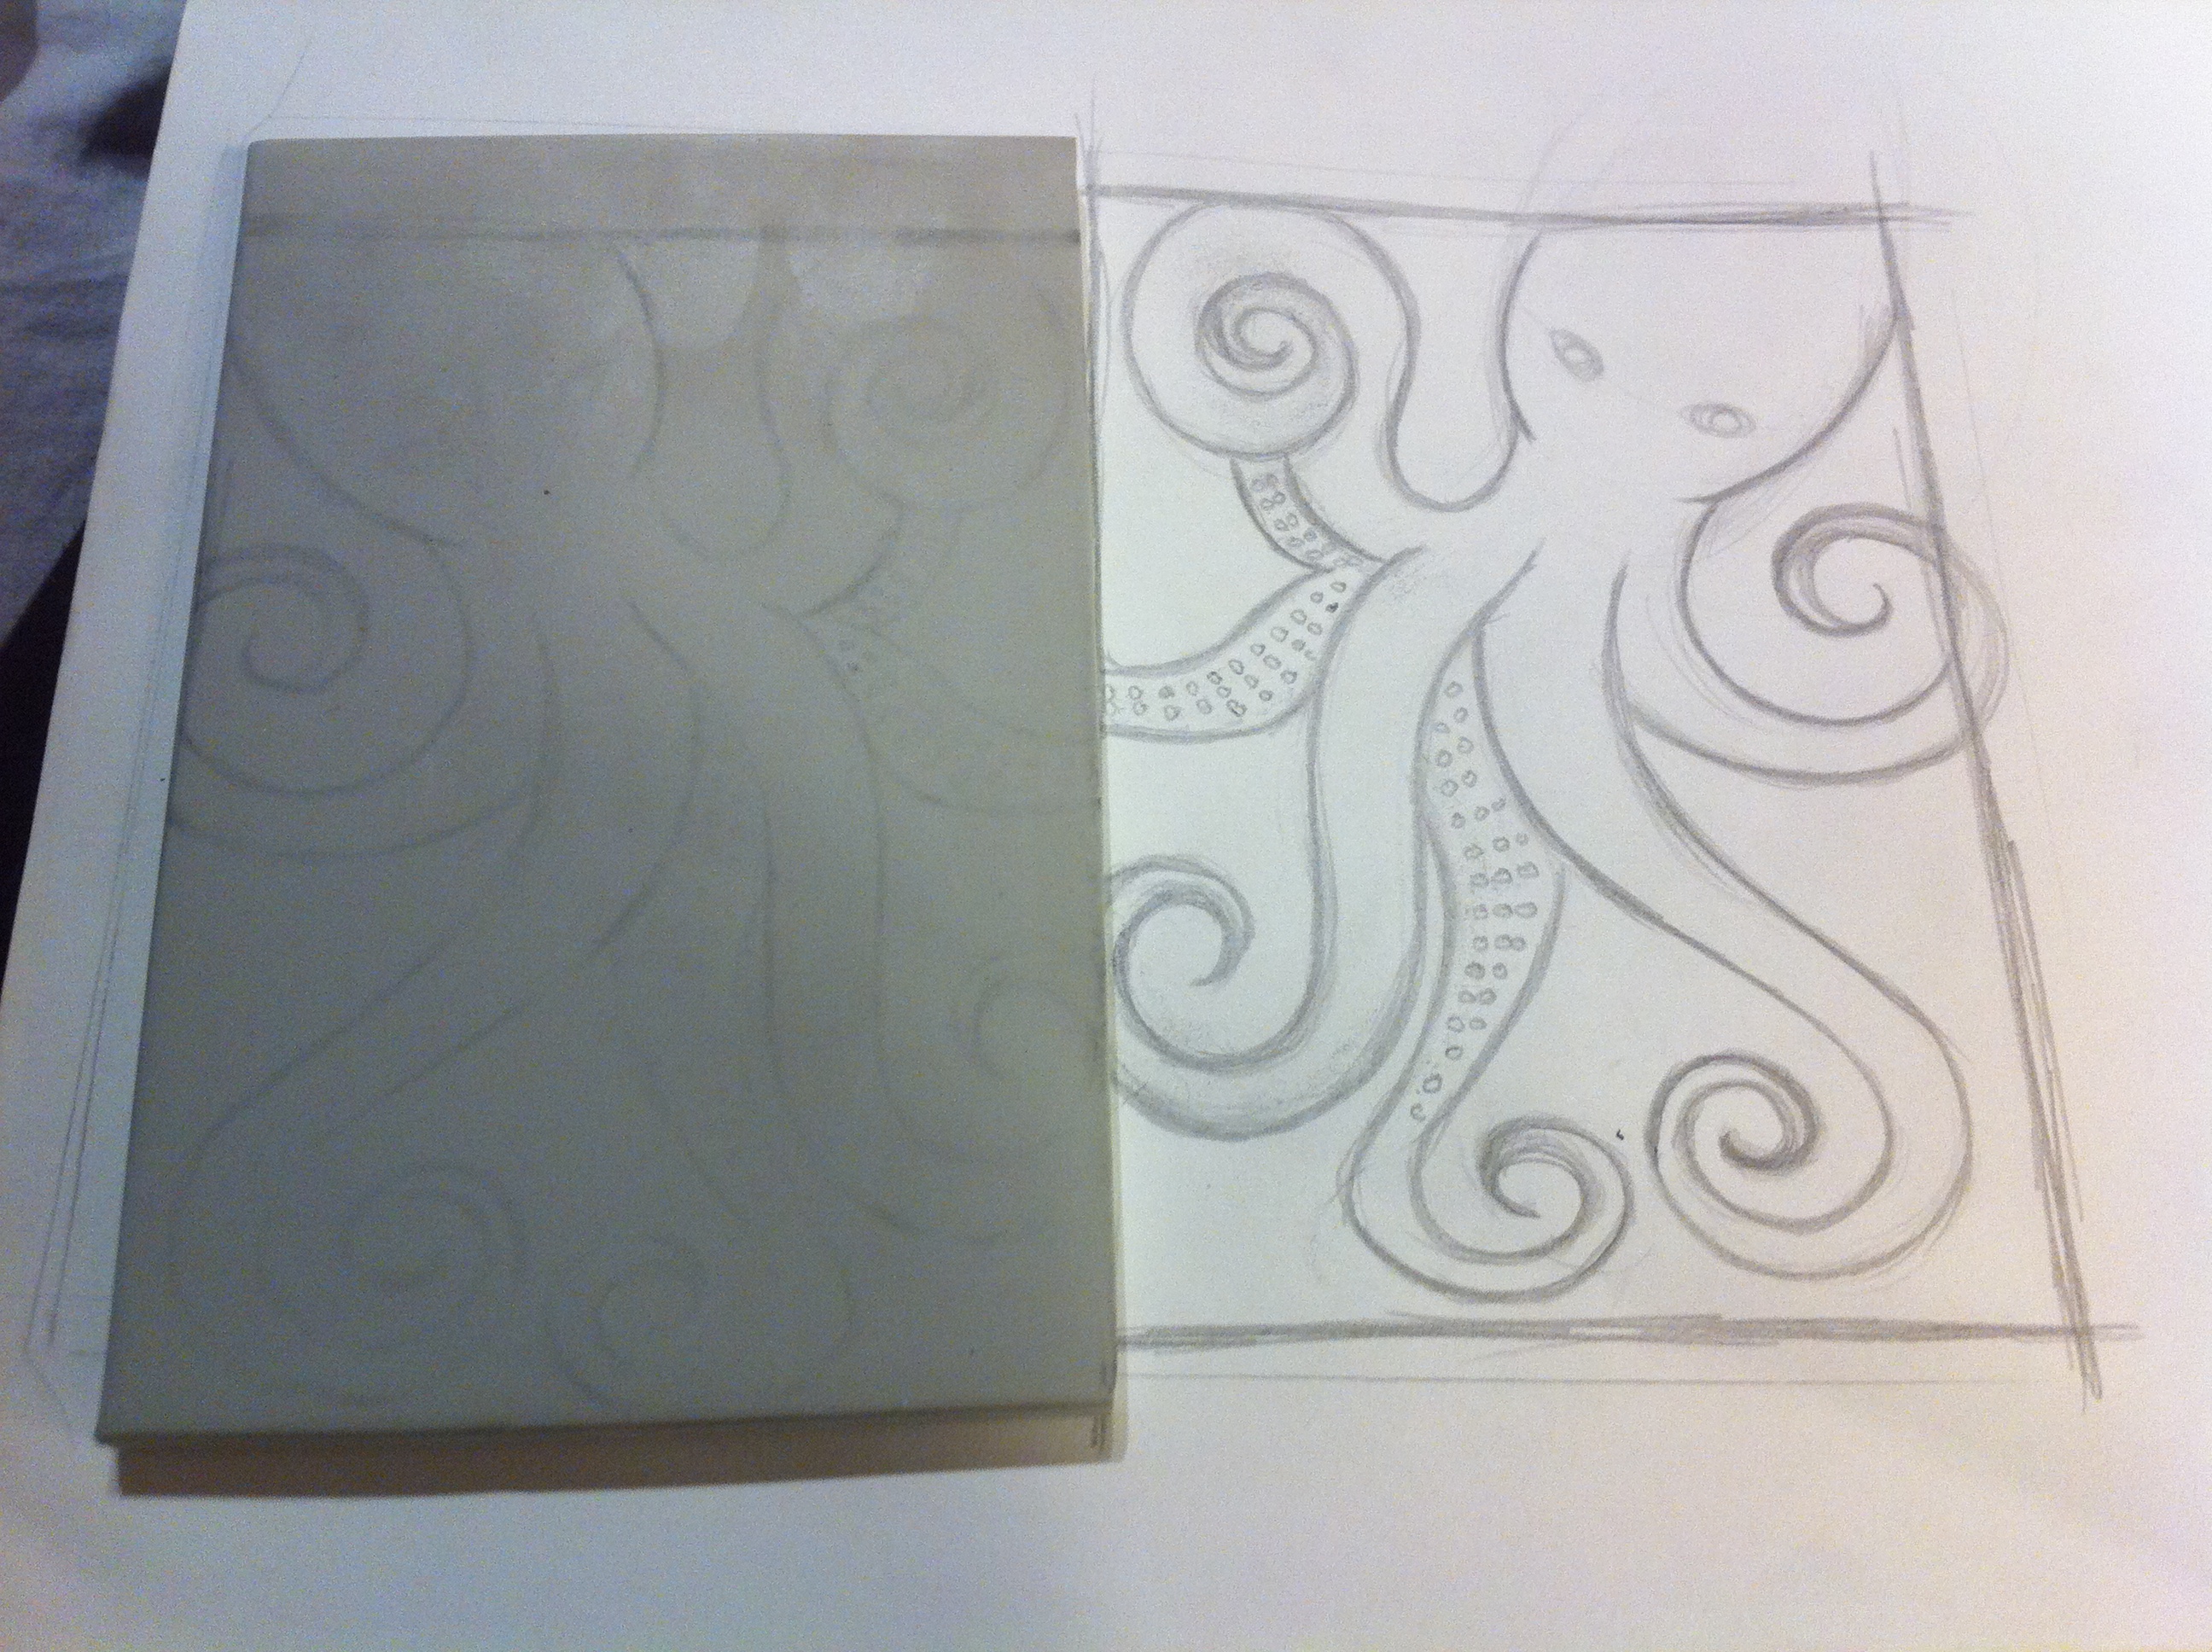
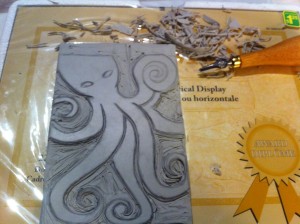
This past weekend I finally made it an art supply store, and picked up some fresh ink and some of the newer, rubbery lino. I sketched out an octopus and transferred it to the lino. Unfortunately, I find that this rubbery lino is a difficult medium – it’s not so bad if you’re using it to carve lines, but if you’re carving away a lot of material, it becomes quite annoying. I probably just need to work with it more, and learn how to work with the medium instead of struggling against it.
In the end, this turned out much better than I thought it was going to, but I’m still annoyed but a few things – the octopus’ highest tentacle didn’t turn out right, even in the sketch, and a lot of the lines aren’t very clean. I also don’t quite have the printing technique down, so I’m not getting a very clean print.
I may do some more work on the linocut, to see if I can clean it up and make it something that i’m happier with, and I may add some elements to the final prints with a pen or some other inks. We’ll see.


 My mom and sisters and I are all fans of the